Увод
This manual provides detailed instructions for the installation, operation, and maintenance of your DB DRIVE A3 2250.5 Okur Series A3 Class AB 1000 Watt 5-Channel Amplifier. Please read this manual thoroughly before attempting installation or operation to ensure proper use and to prevent damage to the unit or your vehicle's audio system.
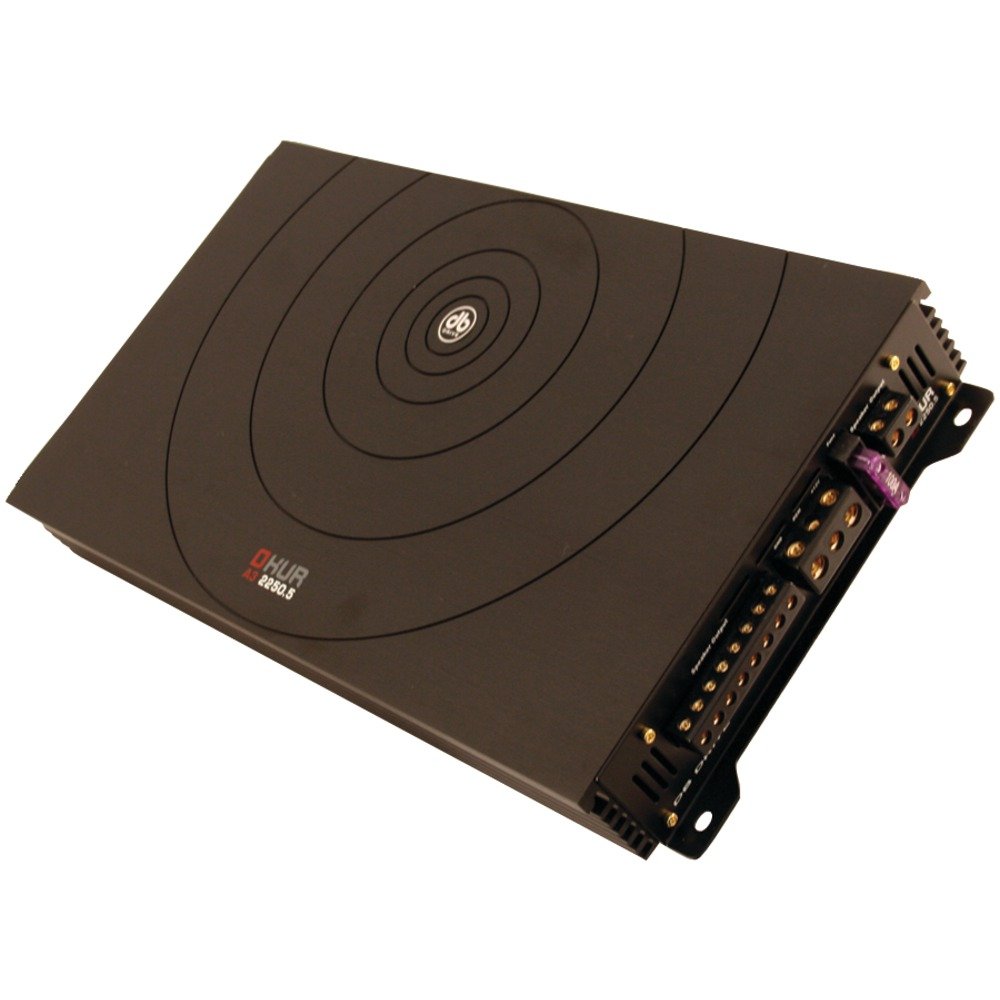
Image: DB DRIVE A3 2250.5 Okur Series A3 Class AB 1000 Watt 5-Channel Amplifier. This image shows the amplifier's top view, highlighting its compact design and branding.
Безбедносне информације
Увек се придржавајте следећих мера предострожности како бисте спречили повреде или оштећења:
- Disconnect the vehicle's battery negative terminal before making any power connections.
- Ensure all wiring is properly routed and secured to prevent pinching or short circuits.
- Use appropriate gauge wiring for power and ground connections as specified in the installation section.
- Инсталирајте ampУређај држите на месту које омогућава одговарајућу вентилацију како би се спречило прегревање.
- Izbegavajte instaliranje ampподизача у подручјима изложеним влази или прекомерним вибрацијама.
- Консултујте професионалног инсталатера ауто аудио система ако нисте сигурни у вези са било којим делом процеса инсталације.
Подешавање и инсталација
1. Распакивање и преглед
Пажљиво уклоните amplifier from its packaging. Inspect the unit for any signs of damage that may have occurred during shipping. Contact your dealer immediately if any damage is found.
2. Монтирање Ampлифиер
Choose a mounting location that is dry, well-ventilated, and secure. Common locations include under a seat, in the trunk, or behind a panel. Ensure there is sufficient airflow around the amplifier's heatsink.
- Mark the mounting holes using the amplifier as a template.
- Drill pilot holes if necessary, being careful not to damage any vehicle components.
- Осигурајте ampподизач помоћу приложених вијака за монтажу.
3. Ожичење
Proper wiring is crucial for performance and safety. Refer to the following guidelines:
- Напајање (BATT+): Connect a heavy-gauge wire (e.g., 4 AWG or 8 AWG depending on total power) directly from the positive terminal of the vehicle's battery. Install an inline fuse holder within 18 inches (45 cm) of the battery.
- уземљење (ГНД): Connect a heavy-gauge wire of the same size as the power wire to a clean, unpainted metal surface of the vehicle's chassis. Ensure a solid, low-resistance connection.
- Даљински (РЕМ): Connect a smaller gauge wire (e.g., 18 AWG) from the amplifier's remote terminal to the remote output of your head unit. This turns the amplifier on and off with the head unit.
- РЦА улазиПовежите RCA каблове са предуговода ваше главне јединице.amp излази на amplifier's RCA input jacks. Ensure correct channel matching (Front L/R, Rear L/R, Sub).
- Излази за звучнике: Connect speaker wires from the amplifier's speaker terminals to your speakers. Observe correct polarity (+ to + and - to -). This is a 5-channel amplifier, typically 4 channels for full-range speakers and 1 channel for a subwoofer.
4. Gain, Crossover, and Bass Boost Settings
These settings allow you to fine-tune the amplifier's output to match your audio system and preferences.
- Гаин Цонтрол: Adjust the gain to match the output voltagваше главне јединице. Почните са минимумом појачања, затим га полако повећавајте док не чујете изобличење, а затим мало смањите. Ово није контрола јачине звука.
- Crossover (LPF/HPF):
- Нископропусни филтер (ЛПФ): For the subwoofer channel, set the LPF to allow only low frequencies to pass (e.g., 80-120 Hz).
- Високопропусни филтер (ХПФ): For the full-range channels, set the HPF to block low frequencies from reaching your main speakers (e.g., 80-100 Hz) to prevent distortion and improve sound clarity.
- Басс Боост: Use the bass boost sparingly. Excessive bass boost can lead to distortion and speaker damage. Adjust to taste, ensuring sound remains clear.
Упутство за употребу
Once installed and configured, the amplifier will power on automatically with your head unit via the remote turn-on wire. Adjust volume and tone controls primarily from your head unit. The amplifier's settings (gain, crossover) are set during installation and generally do not require frequent adjustment.
Одржавање
The DB DRIVE A3 2250.5 ampСпајалица захтева минимално одржавање.
- Чишћење: Periodically wipe the amplifier's exterior with a soft, dry cloth to remove dust. Do not use harsh chemicals or abrasive cleaners.
- Инспекција: Occasionally check all wiring connections to ensure they are secure and free from corrosion. Ensure the amplifier's ventilation fins are not obstructed.
Решавање проблема
Ако имате проблема са својим ampспасилац, погледајте следеће уобичајене проблеме и решења:
| Проблем | Могући узрок | Решење |
|---|---|---|
| Нема струје / AmpЛифиер се не укључује |
|
|
| Нема излаза звука |
|
|
| Дистортед Соунд |
|
|
| Amplifier Overheating (Protection Mode) |
|
|
Спецификације
| Феатуре | Детаљ |
|---|---|
| Број модела | А3 2250.5 |
| Максимална излазна снага | 1000 Ваттс |
| Канали | 5-Channel (4 stereo, 1 mono for subwoofer) |
| Ampлифиер Цласс | Класа АБ |
| Компоненте | Audiophile Grade |
| Димензије (Д к Ш к В) | 53.59 к 30.48 к 10.92 цм |
| Тежина | 6.53 кг |
| Управљање топлотом | DRIVESINK (Okur Series A3 feature) |
Гаранција и подршка
DB Drive products are designed for reliability and performance. This product is covered by a limited warranty. Please refer to the warranty card included with your product or visit the official DB Drive webсајт за детаљне услове гаранције.
For technical support, service, or warranty claims, please contact your authorized DB Drive dealer or visit the DB Drive official webсајт за контакт информације и ресурсе за подршку.