
1. Увод
This manual provides detailed instructions for the installation, operation, and maintenance of the GeoVision GV-MFD2501-6F 2MP Mini Fixed Dome IP Security Camera. Please read this manual thoroughly before using the product to ensure proper setup and functionality. Keep this manual for future reference.
1.1 Производ завршенview
The GV-MFD2501-6F is a compact 2-megapixel mini fixed dome IP camera designed for various surveillance applications. It features a 2.3mm lens, super low lux capabilities, and supports network connectivity for remote monitoring.
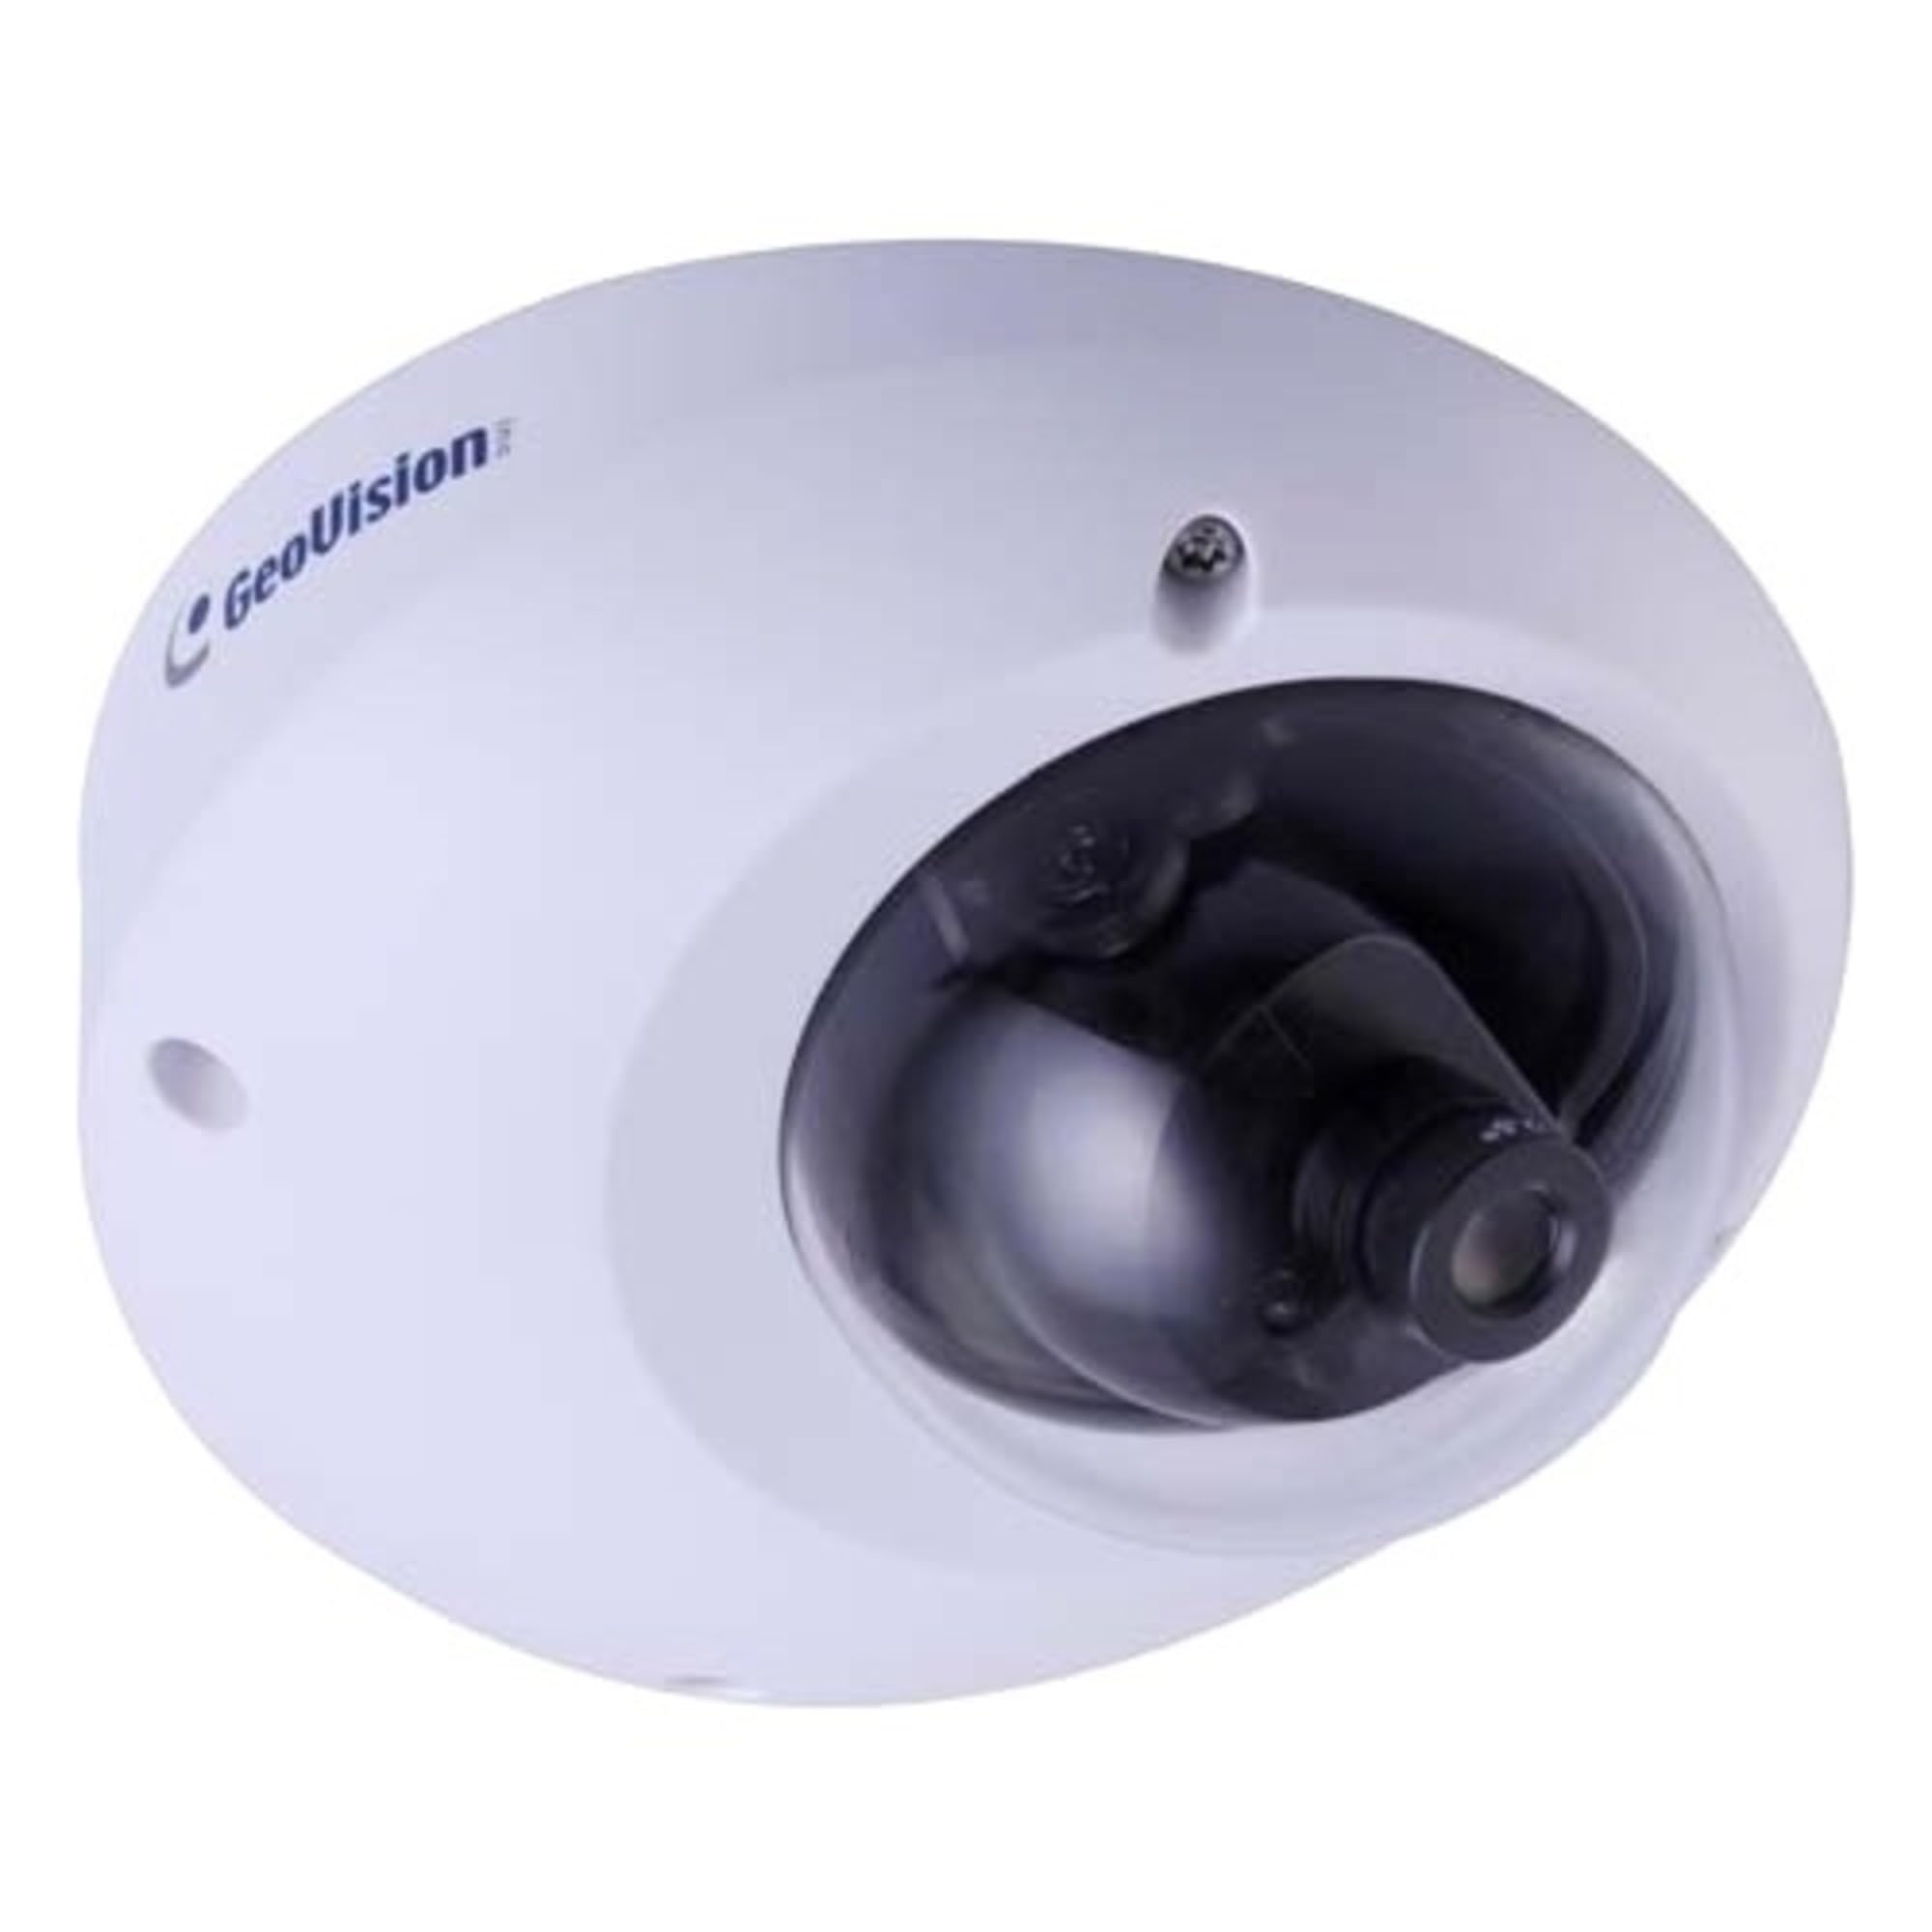
Figure 1.1: GeoVision GV-MFD2501-6F Mini Fixed Dome IP Security Camera. This image shows the compact design of the camera, highlighting its dome shape and lens.
1.2 Садржај пакета
Verify that all items are present in the package. If any items are missing or damaged, contact your dealer immediately.
- GV-MFD2501-6F IP Camera
- Комплет завртња за монтажу
- Упутство за инсталацију
- ЦД са софтвером (или линк за преузимање)
- Waterproof Connector (if applicable)
2. Безбедносне информације
WARNING: To prevent fire or shock hazard, do not expose this unit to rain or moisture.
- Use only the power adapter specified for this device.
- Do not open the camera housing. Refer all servicing to qualified personnel.
- Avoid placing the camera in direct sunlight, near heat sources, or in areas with high humidity or dust.
- Осигурајте одговарајућу вентилацију око камере.
- Искључите напајање пре чишћења или обављања одржавања.
3. Подешавање
3.1 Физичка инсталација
The GV-MFD2501-6F is designed for indoor use. Choose a suitable mounting location that provides the desired field of view and is within reach of network and power cables.
- Припремите монтажну површину: Use the provided mounting template (if included) to mark drill holes.
- Избушене рупе: Избушите пилот рупе за монтажне завртње.
- Обезбедите камеру: Attach the camera base to the mounting surface using the provided screws.
- Подесите угао: Loosen the adjustment screws to position the camera lens for the desired viewing angle, then tighten the screws to secure it.
Figure 3.1: Illustrative diagram of camera mounting. This image would typically show the steps for securing the camera to a ceiling or wall, including screw placement and cable routing.
3.2 Ожичење и прикључци
Connect the camera to your network and power source.
- Етернет кабал: Connect an Ethernet cable from your network switch or router to the camera's RJ-45 port. If using Power over Ethernet (PoE), this single cable provides both power and data.
- Power Adapter (if not using PoE): If PoE is not available, connect a compatible 12V DC power adapter (not included) to the camera's power input port.
Figure 3.2: Diagram showing camera wiring connections. This image would illustrate how to connect the Ethernet cable and, if necessary, the power adapter to the camera's ports.
3.3 Почетна конфигурација мреже
After physical installation and connection, configure the camera for network access.
- Укључено: Connect the camera to power. The camera will perform a self-test.
- Откријте камеру: Use the GeoVision GV-IP Device Utility (available on the GeoVision website) to discover the camera on your local network. The utility will display the camera's IP address.
- Приступ Web Интерфејс: Отвори а web прегледач (нпр. Chrome, Firefox) и унесите IP адресу камере у адресну траку.
- Пријава: Enter the default username (e.g., "admin") and password (e.g., "admin" or "1234"). You will be prompted to change the password upon first login for security.
- Подешавања мреже: Navigate to the network settings to configure IP address (DHCP or Static), subnet mask, gateway, and DNS settings as required by your network environment.
4. Упутство за употребу
Once configured, the camera can be accessed and managed through its web interface or compatible GeoVision VMS software.
4.1 Уживо View
Фром тхе web interface, navigate to the "Live View" section to see the real-time video feed from the camera. You can adjust video stream settings such as resolution, frame rate, and quality here.
4.2 Подешавања снимања
Configure recording schedules, motion detection recording, and continuous recording options. Recordings can be stored on a network-attached storage (NAS), local storage (if supported), or a GeoVision NVR/VMS.
4.3 Детекција покрета
Set up motion detection zones and sensitivity levels. When motion is detected, the camera can trigger recording, send email alerts, or activate other alarm outputs.
4.4 Удаљени приступ
To access the camera remotely, ensure your network router is configured for port forwarding (if not using a VPN or cloud service). Refer to your router's manual for port forwarding instructions. GeoVision also offers mobile applications for remote viewинг.
5. Одржавање
5.1 Чишћење камере
Regularly clean the camera lens and housing to ensure optimal image quality. Use a soft, dry cloth. For stubborn dirt, a slightly damp Може се користити крпа са благим детерџентом, а затим сува крпа. Не користите абразивна средства за чишћење или раствараче.
5.2 Ажурирања фирмвера
Periodically check the GeoVision website for firmware updates. Firmware updates can provide new features, performance improvements, and security enhancements. Follow the instructions provided with the firmware update package carefully.
5.3 Управљање лозинкама
Regularly change your camera's password to a strong, unique password to prevent unauthorized access.
КСНУМКС. Решавање проблема
| Проблем | Могући узрок | Решење |
|---|---|---|
| Нема напајања за камеру | Power adapter unplugged or faulty; PoE not active. | Check power connections. Ensure PoE switch/injector is active. Test with a known good power source. |
| Нема видео фида | Network cable disconnected; incorrect IP address; firewall blocking access. | Verify Ethernet cable connection. Use GV-IP Device Utility to find camera. Check network settings and firewall rules. |
| Не могу да се пријавим | Incorrect username/password. | Ensure correct credentials. If forgotten, refer to the GeoVision website for password reset procedures (may require physical access). |
| Лош квалитет слике | Dirty lens; improper focus; low light conditions; incorrect video settings. | Clean the lens. Adjust focus if applicable. Ensure adequate lighting. Check resolution, frame rate, and compression settings. |
7. Спецификације
The following are key specifications for the GeoVision GV-MFD2501-6F camera:
- Модел: 84-MFD2501-6F1U
- Резолуција: 2 мегапиксела
- Објектив: 2.3 мм фиксни објектив
- Повезивање: Бежични Note: While "Wireless" is listed in specifications, this IP camera primarily uses wired Ethernet for reliable data transmission and PoE. Wireless functionality may refer to specific optional modules or control methods.
- Снага: PoE (напајање преко Ethernet-а) или 12V DC (адаптер није укључен)
- Димензије: Approximately 21 x 18.6 x 9.3 cm (Parcel Dimensions)
- Тежина: Approximately 487 g (Parcel Weight)
- Радна температура: (Information not provided, typical range is -10°C to 50°C)
- Произвођач: ГеоВисион
8. Гаранција и подршка
8.1 Информације о гаранцији
GeoVision products typically come with a limited warranty. For specific warranty terms and conditions, please refer to the warranty card included with your product or visit the official GeoVision webсајт. Сачувајте доказ о куповини за потребе гаранције.
8.2 Техничка подршка
For technical assistance, product inquiries, or troubleshooting beyond this manual, please contact GeoVision customer support or your authorized GeoVision dealer. Visit the official GeoVision webсајт (ввв.геовисион.цом.тв) for support resources, FAQs, and contact information.