1. Увод
Thank you for choosing the EXCELVAN WH1281 Wireless Digital Weather Station. This device provides accurate indoor and outdoor temperature and humidity readings, along with a weather forecast display. Please read this manual carefully before use to ensure proper operation and to maximize the lifespan of your product.
2. Компоненте производа
The EXCELVAN WH1281 Weather Station consists of two main parts:
- Главна јединица за приказивање: Displays indoor/outdoor temperature, humidity, time, and weather forecast.
- Бежични спољни сензор: Measures outdoor temperature and transmits data to the main unit. This sensor is waterproof.
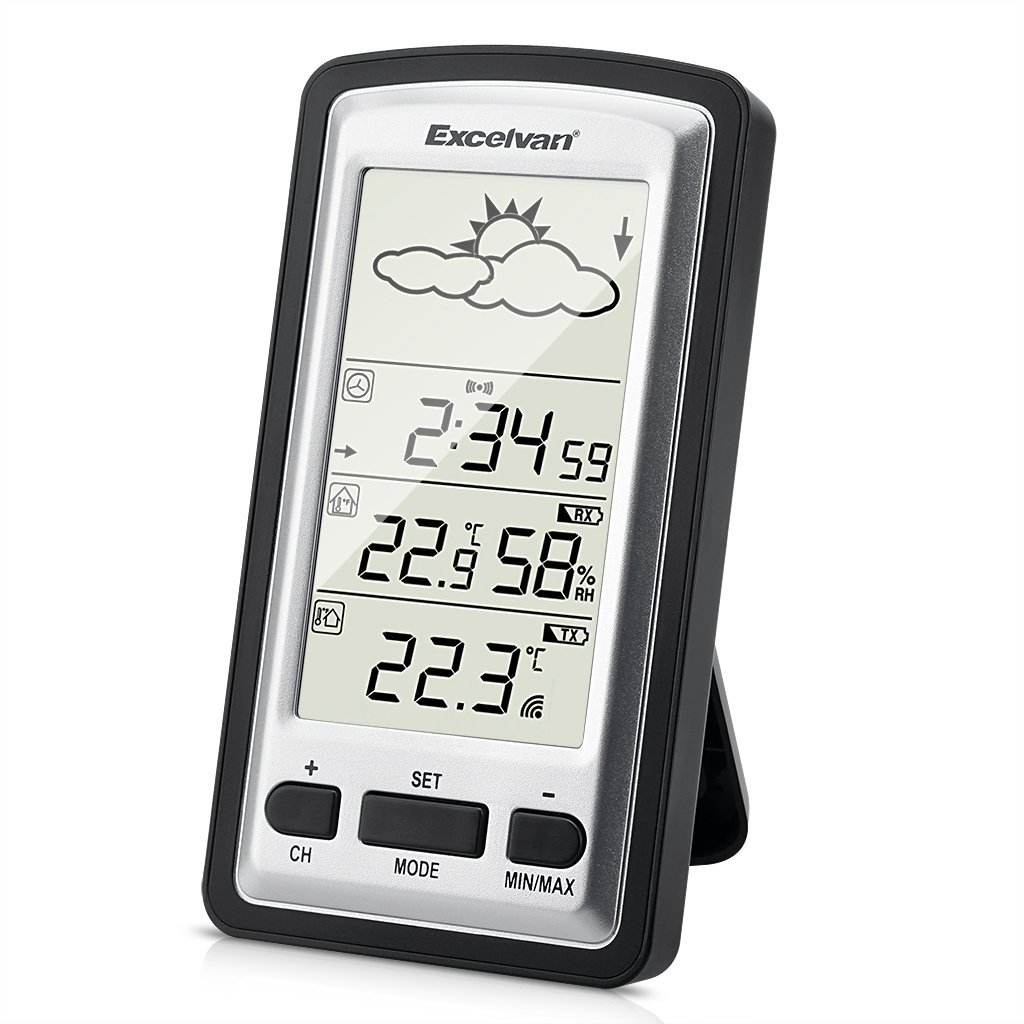
Image 1: Main Display Unit and Wireless Outdoor Sensor. The effective transmission distance between the sensor and the main unit is up to 100 meters in open areas.

Image 2: Separate view of the main display unit and the wireless outdoor temperature sensor.
3. Водич за подешавање
3.1 Инсталација батерије
Batteries are not included and must be purchased separately. Both the main unit and the outdoor sensor require batteries for operation.
- Спољни сензор:
- Open the battery compartment cover on the back of the outdoor sensor.
- Уметните 2 x 1.5 V AAA батерије, водећи рачуна о исправном поларитету (+/-).
- Добро затворите поклопац одељка за батерије.
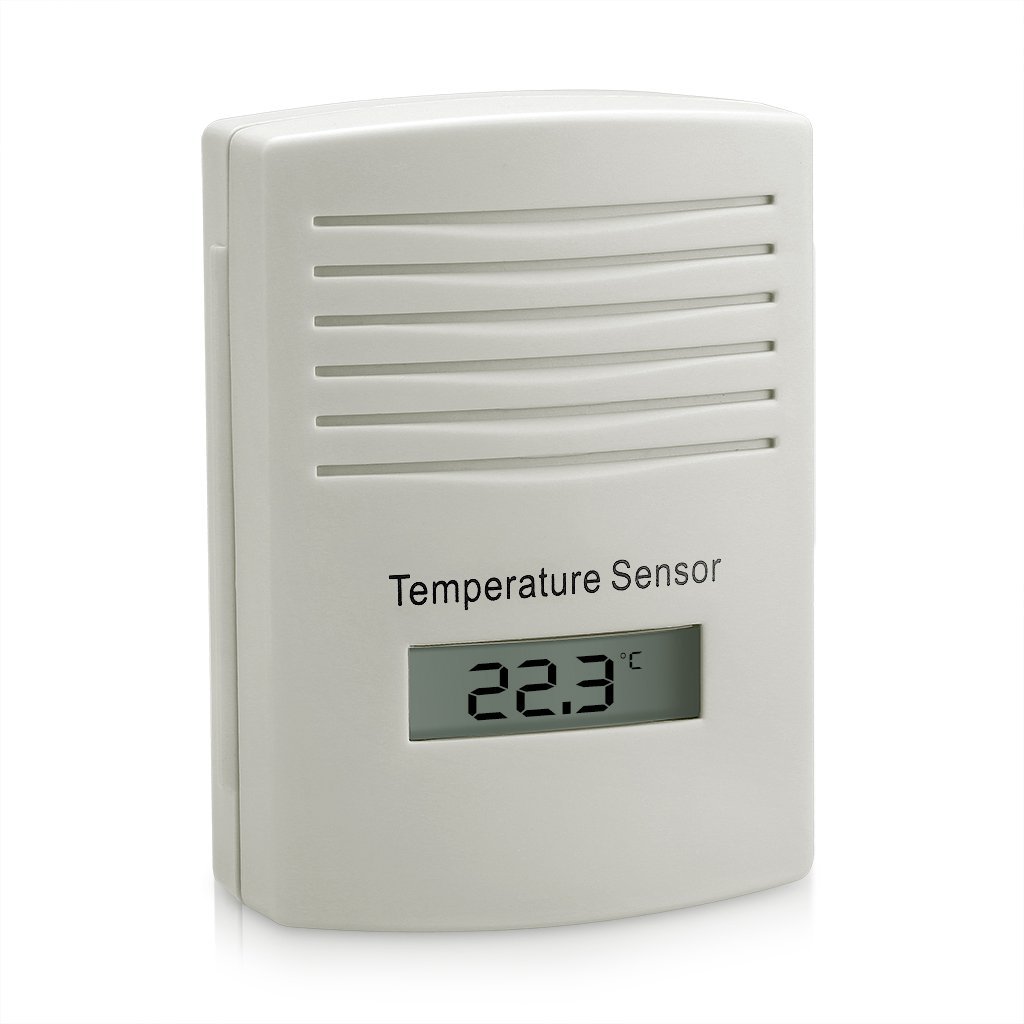
Слика 3: Позади view of the outdoor sensor, indicating the battery compartment and power requirements (2x1.5V AAA batteries).
- Главна јединица за приказивање:
- Отворите поклопац одељка за батерије на задњој страни главне јединице.
- Insert batteries (typically AAA or AA, refer to the unit's markings for exact type and quantity), ensuring correct polarity (+/-).
- Добро затворите поклопац одељка за батерије.
3.2 Sensor Pairing and Initial Synchronization
For optimal performance, always insert batteries into the outdoor sensor first, then into the main display unit. This ensures proper synchronization.
- After inserting batteries into both units, the main display unit will automatically search for the outdoor sensor. This process may take a few minutes.
- Once connected, the outdoor temperature and humidity will appear on the main display. If the connection is not established, try pressing the "CH" button on the main unit to manually search for the sensor, or remove and reinsert batteries in both units.
3.3 Placement of the Outdoor Sensor
To ensure accurate readings and prolong the sensor's life:
- Place the sensor in a shaded area, away from direct sunlight, which can cause artificially high temperature readings.
- Protect the sensor from direct rain and snow, even though it is designed to be waterproof. An overhang or protective cover is recommended.
- Ensure the sensor is within the effective transmission range (up to 100 meters in open air) of the main unit. Walls and other obstructions can reduce this range.
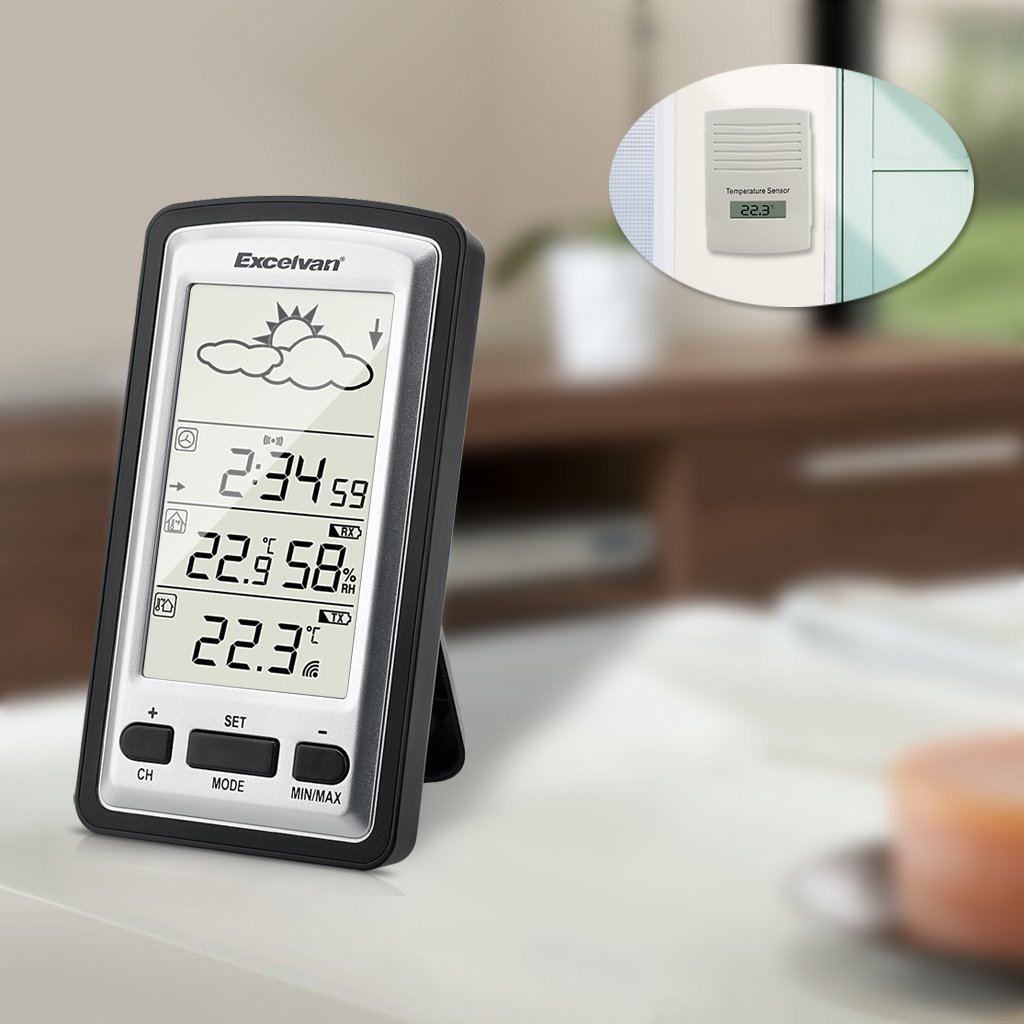
Слика 4: Примерample placement of the outdoor sensor, visible through a window, while the main unit is indoors.
4. Упутство за употребу
4.1 Main Display Overview
The main display unit features a clear LED screen showing various environmental data and time information.

Image 5: Main display unit with active green backlight, showing current time, indoor temperature and humidity, outdoor temperature, and weather forecast icons.
Key display elements include:
- Иконе временске прогнозе: Sun, clouds, rain, etc., indicating predicted weather trends.
- Приказ времена: Current time in HH:MM format.
- Температура и влажност у затвореном простору: Current indoor conditions.
- Спољна температура: Current temperature from the wireless sensor.
- Индикатор сигнала: Shows connection status with the outdoor sensor.
4.2 Функције дугмета
The main unit has several buttons for configuration and data viewинг:
- ЦХ (канал): Used to switch between multiple outdoor sensors (if supported and additional sensors are purchased) or to manually search for the sensor.
- КОМПЛЕТ: Enters settings mode for time, date, and other parameters. Also confirms settings.
- НАЧИН: Switches between different display modes (e.g., time, alarm).
- МИН / МАКС: Displays the minimum and maximum recorded indoor/outdoor temperatures and humidity since the last reset. Press again to cycle through values. Long press to reset MIN/MAX records.
- + / -: Used to adjust values during settings mode or to switch between Celsius (°C) and Fahrenheit (°F) temperature units (often by pressing one of these buttons outside of settings mode).
4.3 Подешавање времена и датума
- Притисните и држите дугме „SET“ док приказ времена не почне да трепери.
- Користите дугмад „+“ или „-“ да подесите сат.
- Press "SET" to confirm the hour and move to the minute setting.
- Поновите поступак за минуте, годину, месец и дан.
- Press "SET" again to exit the settings mode.
4.4 Избор јединице температуре (°C/°F)
Outside of settings mode, press the "+" or "-" button (depending on model, usually "+") to toggle between Celsius (°C) and Fahrenheit (°F) temperature display.
5. Одржавање
- Замена батерије: Replace batteries in both the main unit and the outdoor sensor when the low battery indicator appears on the display. It is recommended to replace all batteries at the same time. For the outdoor sensor, users have reported batteries lasting approximately one year.
- Чишћење: Обришите јединице меком крпомamp тканина. Немојте користити абразивна средства за чишћење или раствараче.
- Заштита сензора: While the outdoor sensor is waterproof, placing it under an eave or protective cover can extend its lifespan and prevent direct exposure to extreme weather conditions.
КСНУМКС. Решавање проблема
| Проблем | Могући узрок | Решење |
|---|---|---|
| Нема дисплеја на главној јединици. | Мртве или неправилно инсталиране батерије. | Проверите поларитет батерија и замените их новим батеријама. |
| Outdoor temperature not displayed or flashing. | No connection to outdoor sensor; sensor batteries low/dead; sensor out of range. |
|
| Нетачна очитавања температуре. | Outdoor sensor exposed to direct sunlight or heat sources; units not stabilized. |
|
| Сат губи време. | Non-radio controlled clock mechanism. | The WH1281 model is not radio-controlled. Manual time adjustment may be required periodically (e.g., monthly). |
7. Спецификације
| Феатуре | Детаљ |
|---|---|
| Модел | ВХКСНУМКС |
| Бранд | EXCELVAN |
| Димензије (главна јединица) | Approximately 143 x 81 x 27 mm (L x H x W) |
| Тежина | Отприлике 199.58 грама |
| Извор напајања (главна јединица) | Battery powered (type not specified, typically AAA or AA) |
| Извор напајања (спољни сензор) | 2 к 1.5 В ААА батерије |
| Дисплаи Типе | ЛЕД |
| Посебна карактеристика | Водоотпоран спољни сензор |
| Вирелесс Фрекуенци | 433.9 МХз |
| Ефективни домет | До 100 метара (на отвореном простору) |
| УПЦ | 708624290486 |
8. Гаранција и подршка
For warranty information, please refer to the documentation provided with your purchase or contact the retailer. For technical support or further inquiries, please reach out to EXCELVAN customer service or your point of purchase.