
Увод
The NEC E436 is a 43-inch direct-lit, commercial-grade LED backlit display designed for various applications including education, corporate environments, and digital signage. This display features LED backlighting for reduced power consumption, a thinner profile, and lighter weight. It offers Full HD resolution for clear image quality and includes an integrated ATSC/NTSC tuner and built-in speakers for broadcast capabilities. Additionally, the E436 incorporates a USB player for displaying video, audio, or JPEG image files.
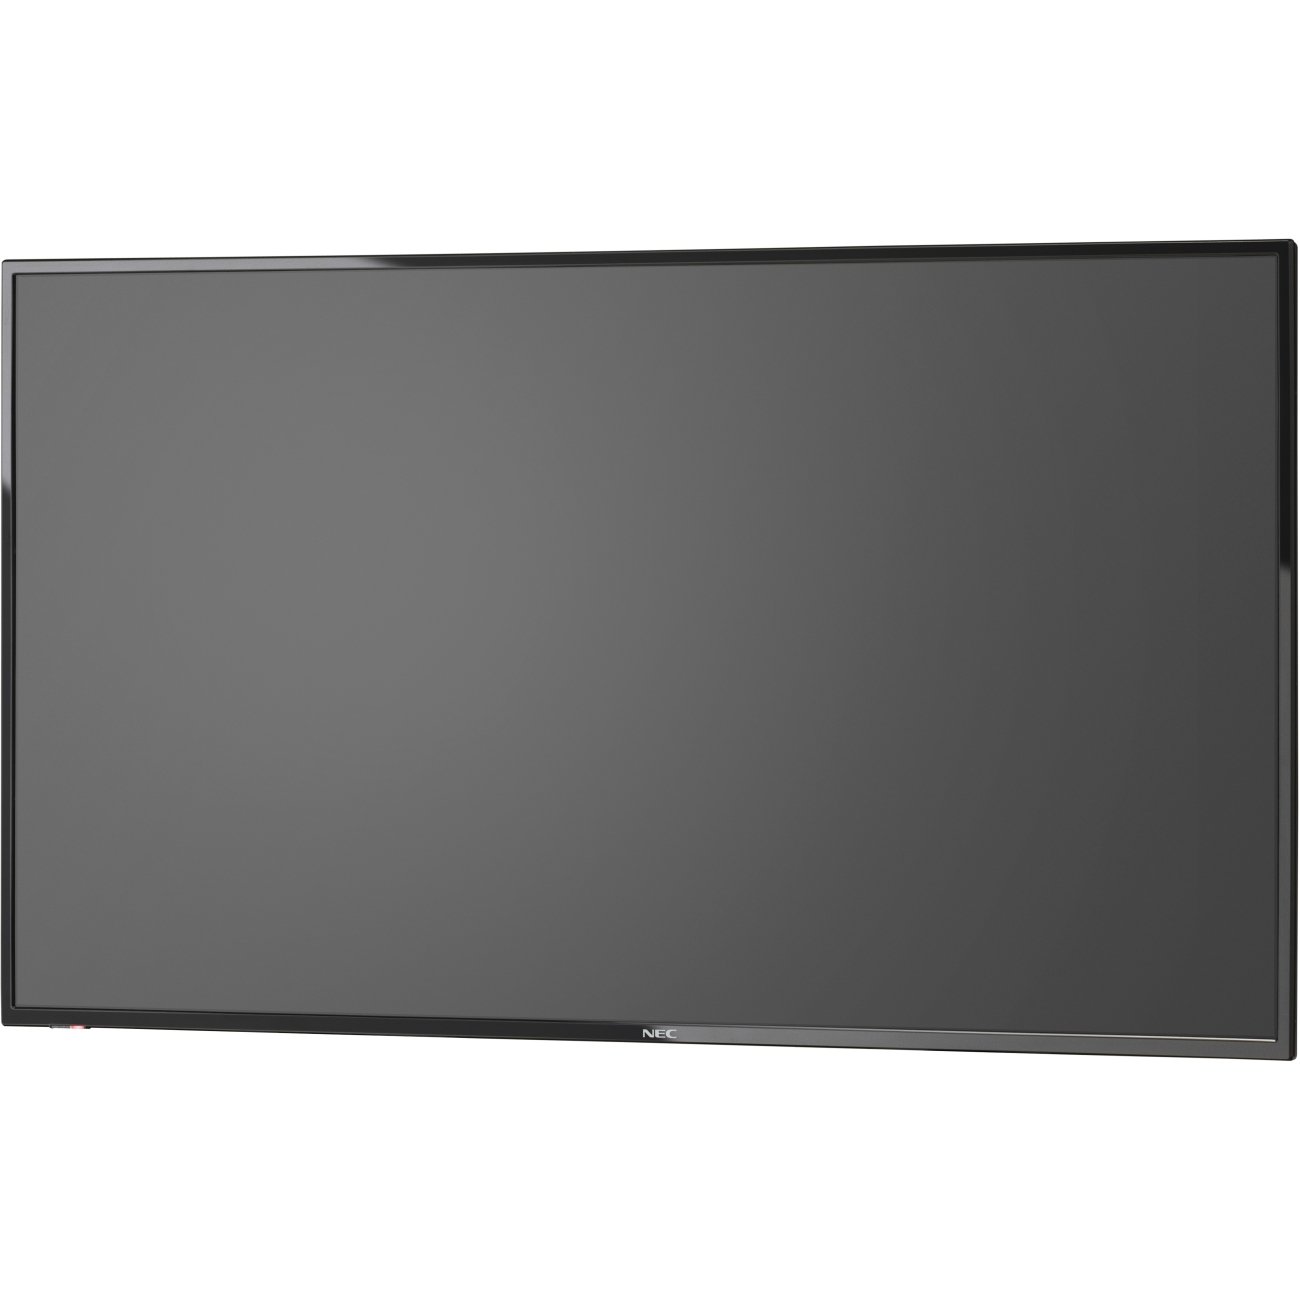
Слика 1: Предња страна view of the NEC E436 43-inch LED Backlit Display with its stand, showcasing a vibrant beach landscape on the screen.
Сетуп
1. Unpacking the Display
Carefully remove the display and all components from the packaging. Ensure all items listed below are present:
- NEC E436 43" LED Backlit Display
- Повер Цорд
- Даљински управљач (ако је укључен)
- Кориснички приручник (овај документ)
- Компоненте постоља (ако је применљиво)
2. Физичка инсталација
The display can be installed using its included stand or mounted on a VESA-compatible wall mount or stand.
Stand Assembly (if applicable)
- Place the display face down on a soft, clean surface to prevent screen damage.
- Attach the stand base to the display using the provided screws. Ensure it is securely fastened.
- Carefully lift the display and place it on a stable, level surface.
ВЕСА Монтажа на зид
The NEC E436 supports VESA 200 x 200mm mounting. Use M6 x 16mm screws for attachment. Consult your wall mount's instructions for proper installation. Ensure the mounting surface can support the display's weight (approximately 20 pounds).
3. Повезивање каблова
Connect the necessary cables to the display's input ports.
- Кабл за напајање: Прикључите кабл за напајање на улаз за напајање екрана, а затим на уземљену електричну утичницу.
- ХДМИ кабл: For video and audio input from a source device (e.g., computer, media player), connect an HDMI cable to the display's HDMI port and the source device's HDMI output.
- УСБ уређај: To use the integrated multimedia player, insert a USB flash drive containing your media files into the display's USB port.
- Антена/кабл: To utilize the integrated ATSC/NTSC tuner, connect an antenna or cable TV feed to the RF input port.
4. Прво укључивање
After connecting all cables, press the power button on the display or remote control to turn on the unit. Follow any on-screen prompts for initial setup, such as language selection or channel scanning for the integrated tuner.
Упутство за употребу
1. Основне контроле
The display can be controlled using the buttons on the unit itself or via the remote control.
- Снага: Укључује или искључује екран.
- Улаз/извор: Selects the desired input source (HDMI, TV, USB).
- Појачавање/утишавање: Adjusts the audio output level from the built-in 10W speakers.
- Мени: Accesses the on-screen display (OSD) menu for advanced settings.
- Дугмад за навигацију: Used to navigate through menu options.
- ОК/Ентер: Потврђује изборе у менију.
2. Using the Integrated Tuner
To watch broadcast television, ensure an antenna or cable feed is connected to the RF input.
- Притисните тастер Улаз/извор button and select "TV".
- Access the menu and navigate to the "Channel" or "Setup" section.
- Select "Auto Scan" or "Channel Search" to find available channels.
- Once scanning is complete, use the Channel Up/Down buttons to browse channels.
3. Using the USB Multimedia Player
The integrated USB player allows playback of video, audio, and JPEG image fileс директно са УСБ меморијског уређаја.
- Insert a USB flash drive containing your media files into the display's USB port.
- Притисните тастер Улаз/извор button and select "USB".
- The display will typically open a file browser. Navigate to your desired media file (video, audio, or image).
- Изаберите file да бисте започели репродукцију.
- Use the remote control for playback functions such as play, pause, stop, next, and previous.
4. Подешавање подешавања екрана
Access the OSD menu to customize picture, sound, and other display settings.
- Подешавања слике: Adjust brightness, contrast, color, sharpness, and picture mode (e.g., Standard, Dynamic, Movie).
- Подешавања звука: Подесите бас, високе тонове, баланс и режим звука.
- Подешавања времена: Set the current time, sleep timer, or auto power-off.
- Системска подешавања: General display options, including language, factory reset, and software updates.
Одржавање
1. Чишћење екрана
To maintain optimal picture quality, clean the display regularly.
- Екран: Нежно обришите екран меком крпом која не оставља влакна. За тврдокорне мрље, лагано дampобришите крпу водом или специјализованим средством за чишћење екрана. немој spray liquid directly onto the screen.
- Кабинет: Wipe the display's frame and back with a soft, dry cloth.
- Опрез: Always unplug the display from the power outlet before cleaning. Avoid using abrasive cleaners, waxes, or solvents.
2. Општа нега
- Avoid placing the display in direct sunlight or near heat sources.
- Ensure adequate ventilation around the display to prevent overheating.
- Protect the display from moisture and extreme temperatures.
- Не блокирајте отворе за вентилацију.
Решавање проблема
Пре него што контактирате подршку, испробајте следећа решења за уобичајене проблеме:
| Проблем | Могуће решење |
|---|---|
| Нема струје |
|
| No signal/No picture |
|
| Слика је изобличена или нејасна |
|
| Нема звука |
|
Спецификације
| Феатуре | Детаљ |
|---|---|
| Бранд | НЕЦ |
| Број модела | Е436 |
| Величина екрана | 43 инча |
| Дисплаи Типе | ЛЕД позадинско осветљење |
| Резолуција | Фулл ХД (1920 к 1080) |
| Аспецт Ратио | 16:9 |
| Рефресх Рате | 60 Хз |
| Време одговора | 8 милисекунди |
| Однос контраста | 2000:1 |
| Повезивање | 1x HDMI, 1x USB (USB 3.0) |
| Integrated Tuner | АТСЦ/НТСЦ |
| Аудио | Уграђени звучници од 10В |
| Тип монтаже | VESA 200 x 200mm (M6 x 16mm) |
| Тежина артикла | 20 фунти |
Гаранција и подршка
Информације о гаранцији
The NEC E436 display comes with a 3 година гаранције. This warranty covers defects in materials and workmanship under normal use. Please retain your proof of purchase for warranty claims. For specific terms and conditions, refer to the warranty card included with your product or visit the official NEC webсајту.
Корисничка подршка
For technical assistance, troubleshooting beyond this manual, or warranty service, please contact NEC customer support. Contact details can typically be found on the official NEC webсајту или у документацији коју сте добили уз куповину.
When contacting support, please have your model number (E436) and serial number ready.