
1. Готовоview
The LDSOLAR Sky Dream Series PWM Solar Charge Controller is designed for efficient and reliable management of solar power systems. Utilizing full digital technology and an intuitive LCD display, this controller operates in series PWM mode, optimizing the charging process for extended battery life and enhanced system performance. It is suitable for a wide range of applications, including off-grid solar home systems, traffic indicators, solar street lights, and solar garden lights.
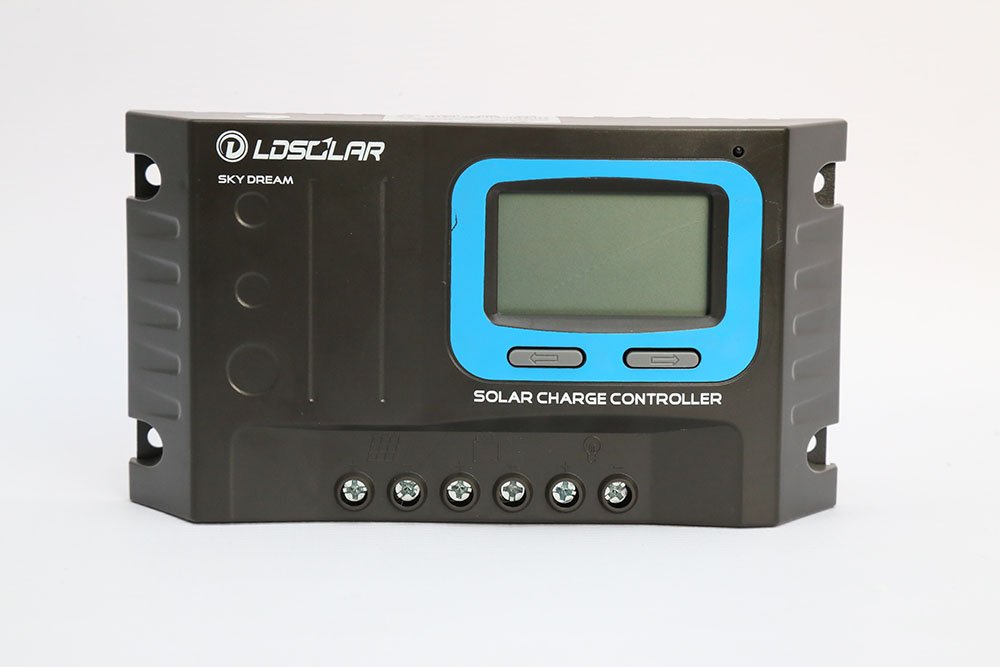
Слика 1: Предња страна view of the SD Series Sky Dream Solar Charge Controller, showing the LCD screen and control buttons.
2. Кључне карактеристике
- 32-bit CPU: Ensures higher sampling precision and faster operation speed.
- Аутоматски системски звукtagе Идентификација: Supports 12V/24V DC systems.
- 3-Сtage PWM Charging: Features Bulk, Boost, and Float charging stages for optimal battery health.
- Избор типа батерије: Compatible with Sealed, Gel, and Flooded batteries.
- Humanized LCD Display: Provides dynamic display of operation data and working status.
- Built-in Operation Log: Records system working state for monitoring.
- Multi-Load Control Modes: Includes Normal mode, Sensor mode, and Timer mode.
- Функција компензације температуре: Adjusts charging parameters based on ambient temperature.
- Comprehensive Digital Protection: Safeguards against overcharging, over-discharging, overload, short circuit, and reverse connection.
- Max 16mm² Connectors: Accommodates robust wiring.
- 5V 1A USB Output: Convenient for charging small electronic devices.
3. Подешавање и инсталација
Proper installation is crucial for the safe and efficient operation of your solar charge controller. Please follow these steps carefully:
- Припремите ожичење: Ensure all wires are of appropriate gauge for the current and length, and that all connections are clean and secure.
- Повежите батерију: Connect the battery to the charge controller first. Ensure correct polarity (+ to + and - to -). The controller will automatically detect the system voltagе (12В или 24В).
- Повежите соларну плочу: Connect the solar panel array to the charge controller. Again, observe correct polarity. The controller will begin charging the battery.
- Повежи оптерећење: Finally, connect the DC load to the charge controller's load terminals. Do not exceed the maximum rated load current.
Important: Always connect the battery first and disconnect the battery last to prevent damage to the controller.
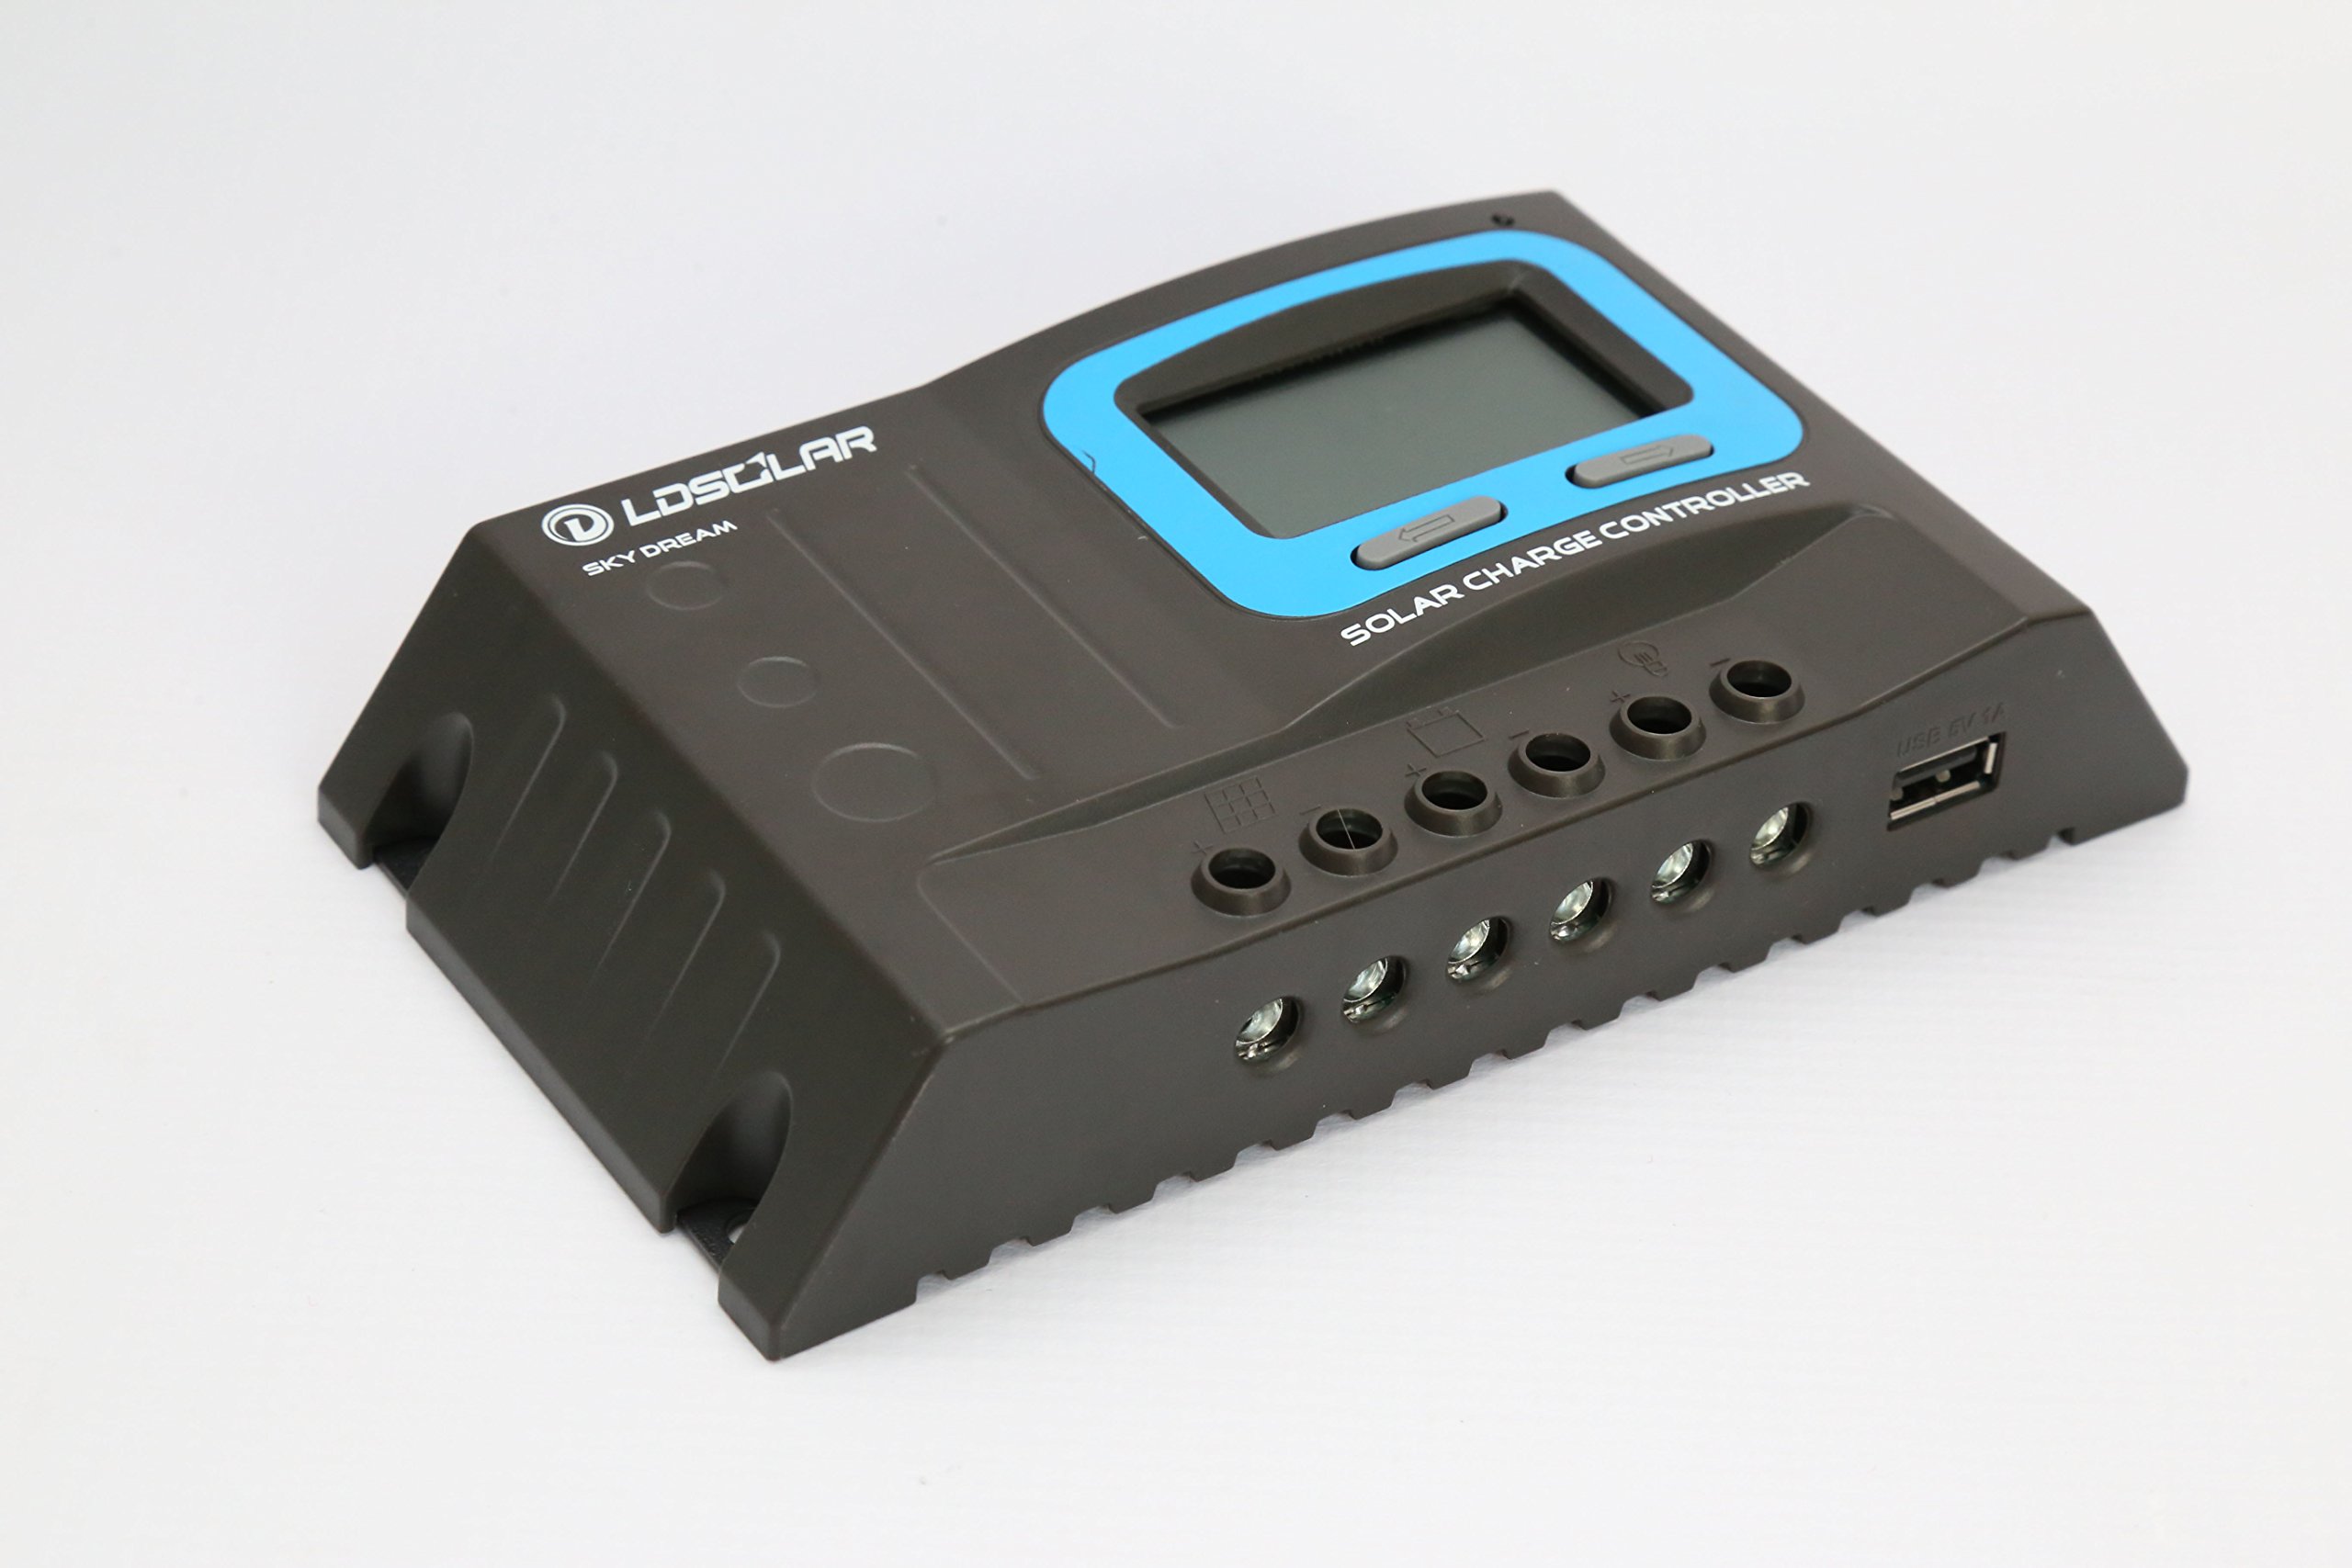
Слика 2: Под углом view of the controller showing the input/output terminals for battery, solar panel, and load connections.
4. Упутство за употребу
4.1. ЛЦД екран
The LCD display provides real-time information about the system's status. It shows battery voltage, charging current, discharging current, battery state of charge, and various error indicators.
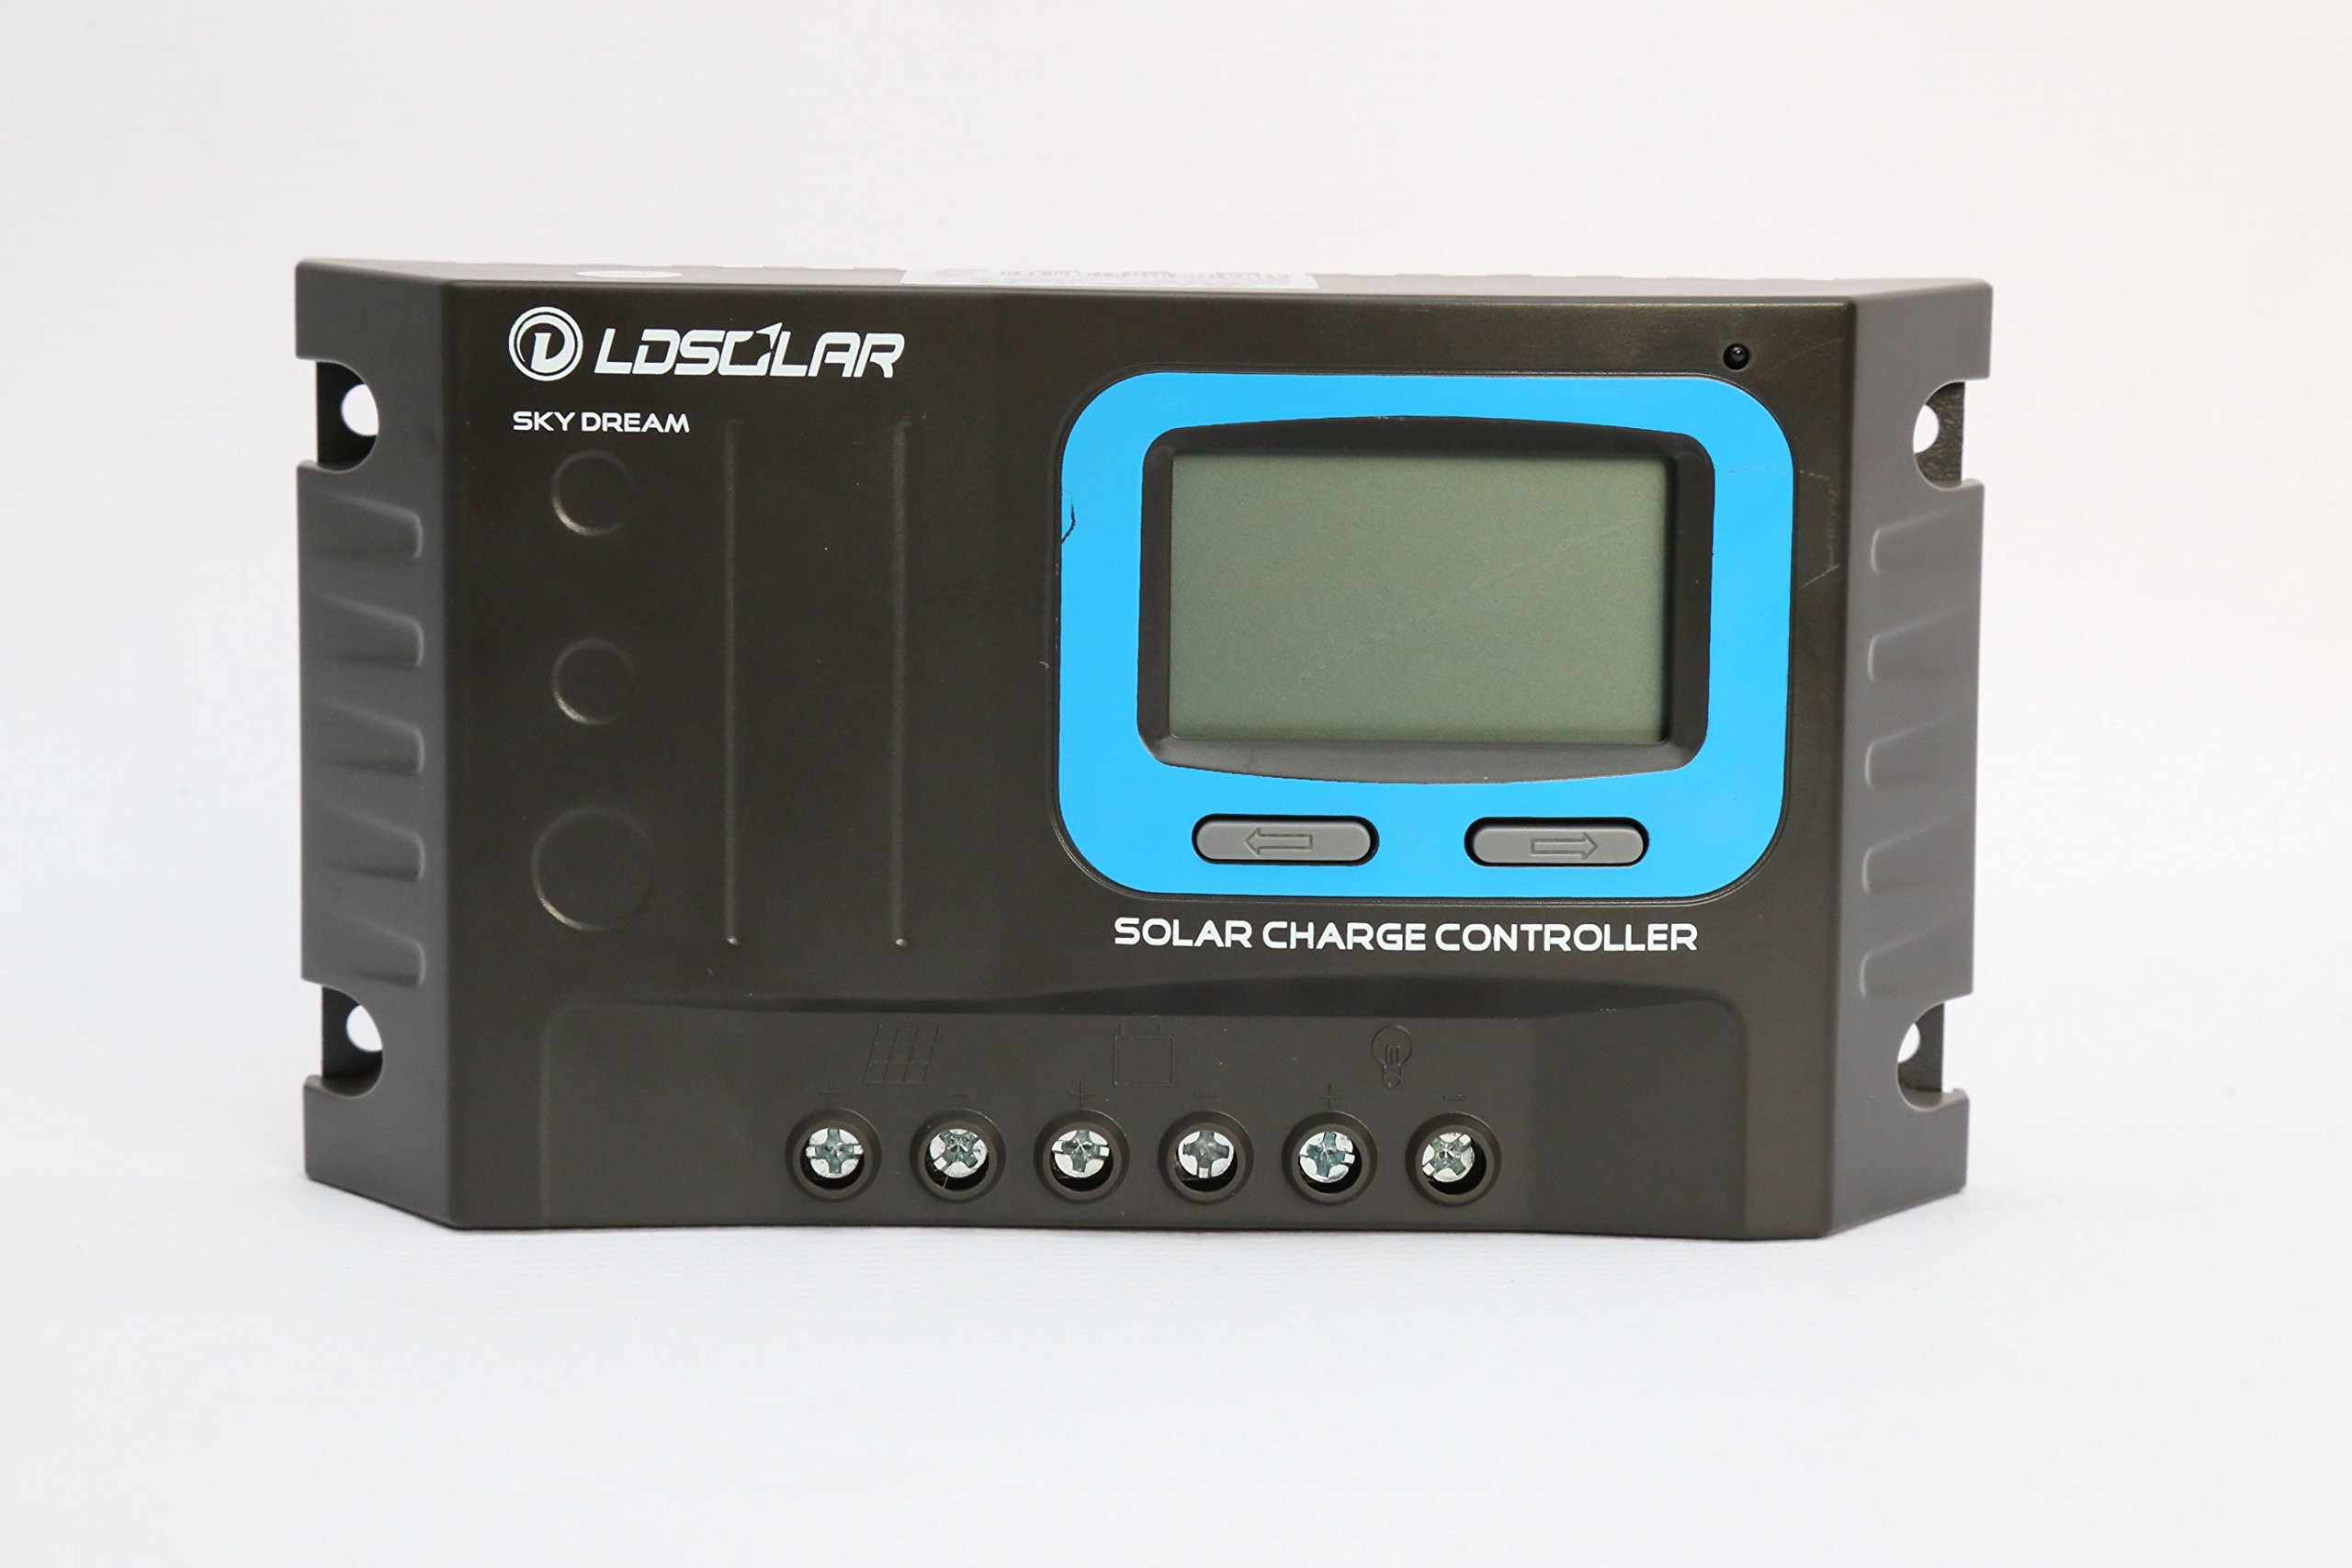
Figure 3: Close-up of the LCD display and control buttons for navigation and settings.
4.2. Функције дугмета
The controller features two buttons for navigation and setting adjustments:
- Left Button (Menu/Select): Used to cycle through display screens and enter/confirm settings.
- Right Button (Up/Adjust): Used to increase values or navigate options within settings.
4.3. Load Control Modes
The controller supports multiple load control modes to suit different application needs:
- нормалан режим: Load is continuously ON or OFF based on manual setting.
- Режим сензора: Load turns ON automatically when it gets dark and OFF when it gets light (e.g., for street lights).
- Режим тајмера: Load turns ON when it gets dark and stays ON for a set number of hours.
4.4. Избор типа батерије
To ensure optimal charging, select the correct battery type in the controller settings:
- Запечаћено: For sealed lead-acid batteries.
- гел: For gel batteries.
- Поплављено: For flooded (wet cell) lead-acid batteries.
Refer to the detailed instructions in the full manual for specific steps on navigating menus and adjusting settings.
5. Одржавање
Regular maintenance ensures the longevity and optimal performance of your solar charge controller:
- чистоћа: Одржавајте контролер чистим и без прашине и прљавштине. Користите суву крпу за чишћење.
- Провере везе: Periodically inspect all wiring connections to ensure they are tight and free from corrosion. Loose connections can cause overheating and poor performance.
- вентилација: Ensure the controller has adequate ventilation to prevent overheating. Do not block ventilation holes.
- Услови животне средине: Operate the controller within its specified temperature range (-20℃ to +55℃) and avoid exposure to direct sunlight or excessive moisture. The waterproof grade is IP32.
КСНУМКС. Решавање проблема
This section outlines common issues and their potential solutions. The controller features comprehensive digital protection functions to prevent damage.
| Проблем | Могући узрок | Решење |
|---|---|---|
| Дисплеј контролера је искључен. | Battery not connected or reverse polarity; battery voltagе прениско. | Check battery connections and polarity. Ensure battery voltage is above LVD (Low Voltage Disconnection) threshold. |
| Батерија се не пуни. | Solar panel not connected or reverse polarity; insufficient sunlight; PV input voltagе прениско. | Check solar panel connections and polarity. Ensure adequate sunlight. Verify PV voltagе је у оквиру спецификација. |
| Оптерећење не ради. | Load over current; short circuit; battery voltage too low (LVD); load control mode setting. | Check load current and wiring for short circuits. The controller has load over current protection (auto restart every 30s). Check battery voltage. Adjust load control mode settings. |
| Прегревање контролера. | Poor ventilation; excessive load or charging current. | Ensure proper airflow around the controller. Reduce load or charging current if consistently high. |
For issues not listed here, or if problems persist, please contact LDSOLAR customer support.
7. Техничке спецификације
| Параметар | Value (SD2410C) |
|---|---|
| Систем Волtage | 12В/24В Ауто |
| ПВ Мак Инпут Волtage | 55В |
| Самопотрошња | ≤12мА |
| Максимална струја пуњења | 10А |
| Максимална струја пражњења | 10А |
| Лов Волtagе Искључивање (ЛВД) | 11.0V ADJ (9V…12V); ×2/24V |
| Лов Волtagе Поновно повезивање (ЛВР) | 12.6V ADJ (11V…13.5V); ×2/24V |
| Флоат Волtage | 13.8V ADJ (13V…15V); ×2/24V |
| Боост Волtage | 14.4V; ×2/24V (auto boost 2 hours if battery voltagе < 12.6В) |
| Баттери Овер Волtagе Искључивање | 16.5В; ×2/24В |
| Заштита од обрнутог повезивања | Да |
| Заштита од прекомерне струје | Yes, auto restart every 30s |
| Цхарге Типе | ПВМ |
| Температурна компензација | -24 mV /℃ for 12V system; ×2/24V |
| Радна температура | -20℃ до +55℃ |
| Терминал Сцале | 14---6 AWG (16mm²) |
| Ватерпрооф Граде | ИП32 |
| Димензије производа | 190mm × 108mm × 41.5mm (7.48 x 4.25 x 1.63 inches) |
| Нето тежина | 450 г (15.8 унци) |
* Please ensure the product is used under its rated power in high temperature environments.
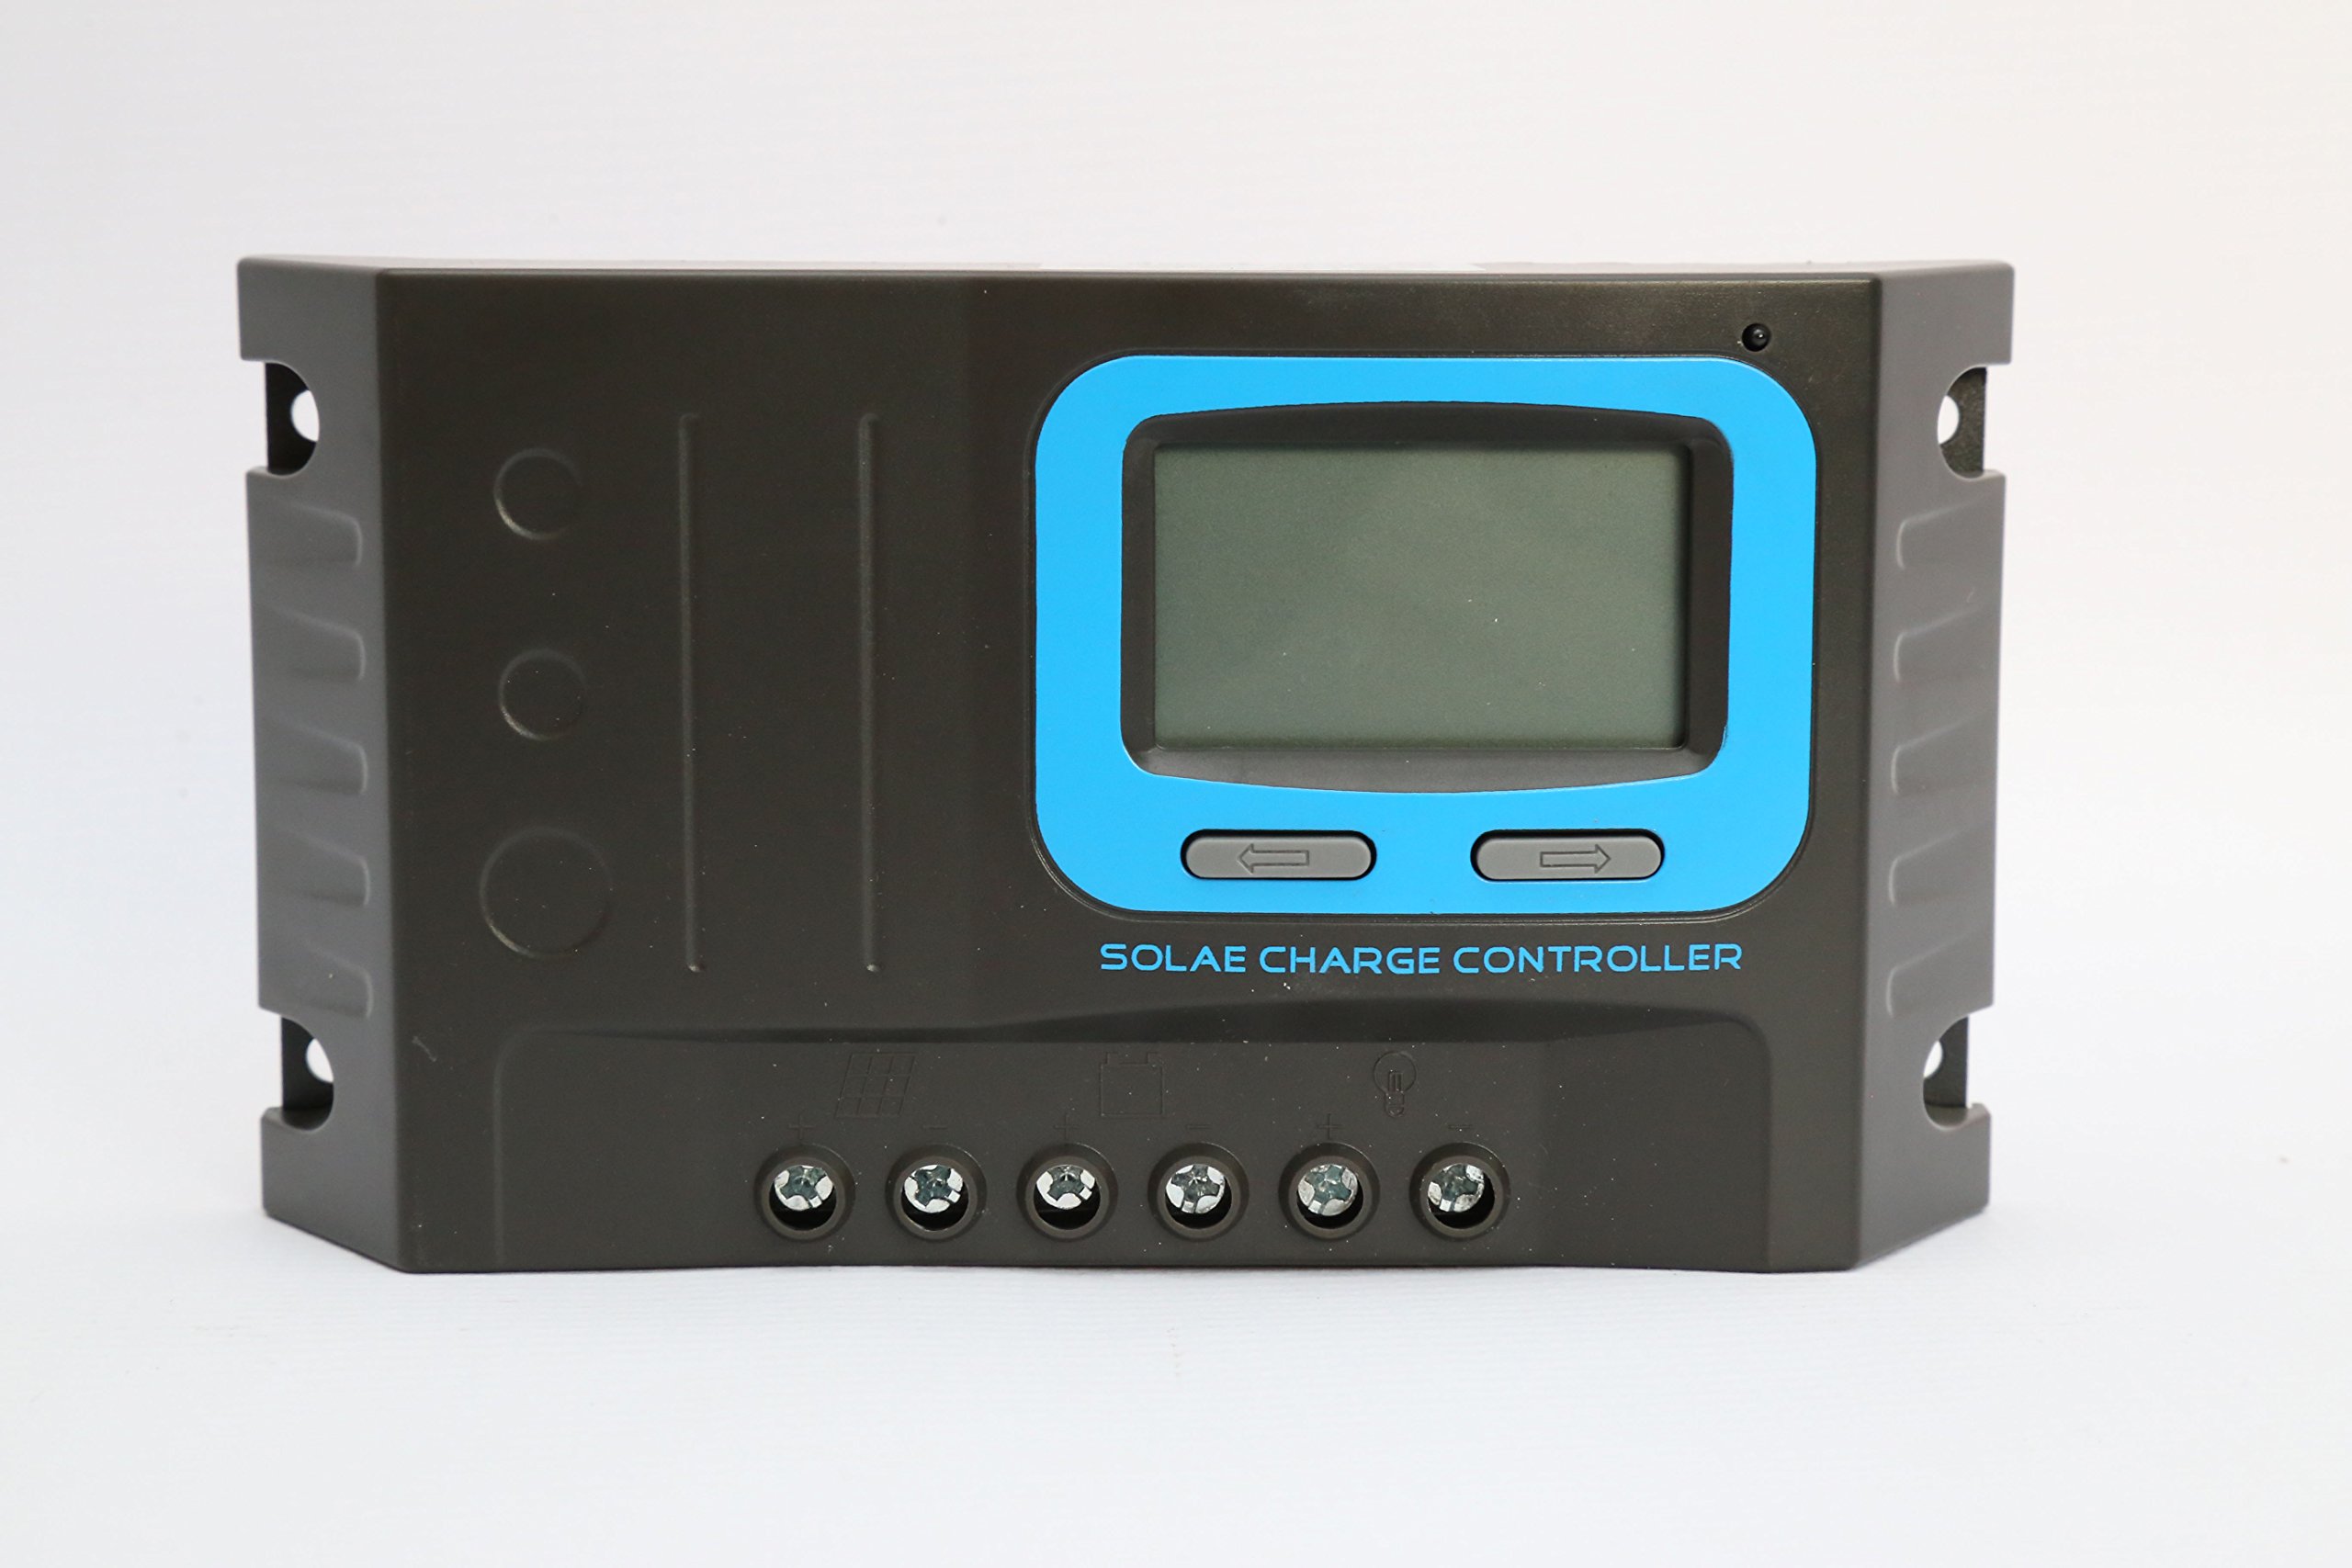
Figure 4: Diagram illustrating the dimensions and port layout of the solar charge controller.
8. Информације о гаранцији
Specific warranty terms and conditions for the LDSOLAR SD Series Sky Dream PWM Solar Charge Controller are typically provided with the product packaging or on the manufacturer's official website. Please refer to these resources for detailed warranty coverage, duration, and claim procedures. Keep your proof of purchase for warranty claims.
9. Подршка
For technical assistance, troubleshooting beyond this manual, or inquiries regarding your LDSOLAR product, please contact LDSOLAR customer support. You can typically find contact information on the product packaging, the manufacturer's official webсајту или преко вашег места куповине.
LDSOLAR Official Webсајт: ввв.лдсолар.цом (Напомена: Ово је резервисано место URL, молимо вас да проверите стварног званичника webсајт за подршку.)