
1. Увод
The StarTech.com SV231DPU34K is a 2-Port DisplayPort KVM Switch designed to allow control of two DisplayPort-enabled computers from a single monitor, keyboard, and mouse. This device supports high-resolution video up to 4K at 60Hz and includes an integrated USB 3.0 hub for sharing additional USB peripherals between connected systems. It also features 3.5mm analog audio switching and offers flexible control via front-panel push buttons or hotkey commands.
2. Садржај пакета
- 1x KVM Switch (SV231DPU34K)
- 1x Universal Power Adapter (NA/JP, EU, UK, ANZ)
- 4x Rubber Foot Pads
3. Производ је готовview
3.1 Предња плоча
The front panel provides convenient access to a USB HID port, a USB 3.0 port, and selection buttons for switching between connected computers.

Слика 1: Front Panel of the SV231DPU34K KVM Switch. Features include a USB HID port, a USB 3.0 port, and two computer selection buttons (1 and 2) with a 'SELECT' button.
3.2 Задња плоча
The rear panel houses the power input, console DisplayPort and USB HID ports, and dedicated DisplayPort, USB, and audio ports for each connected PC.
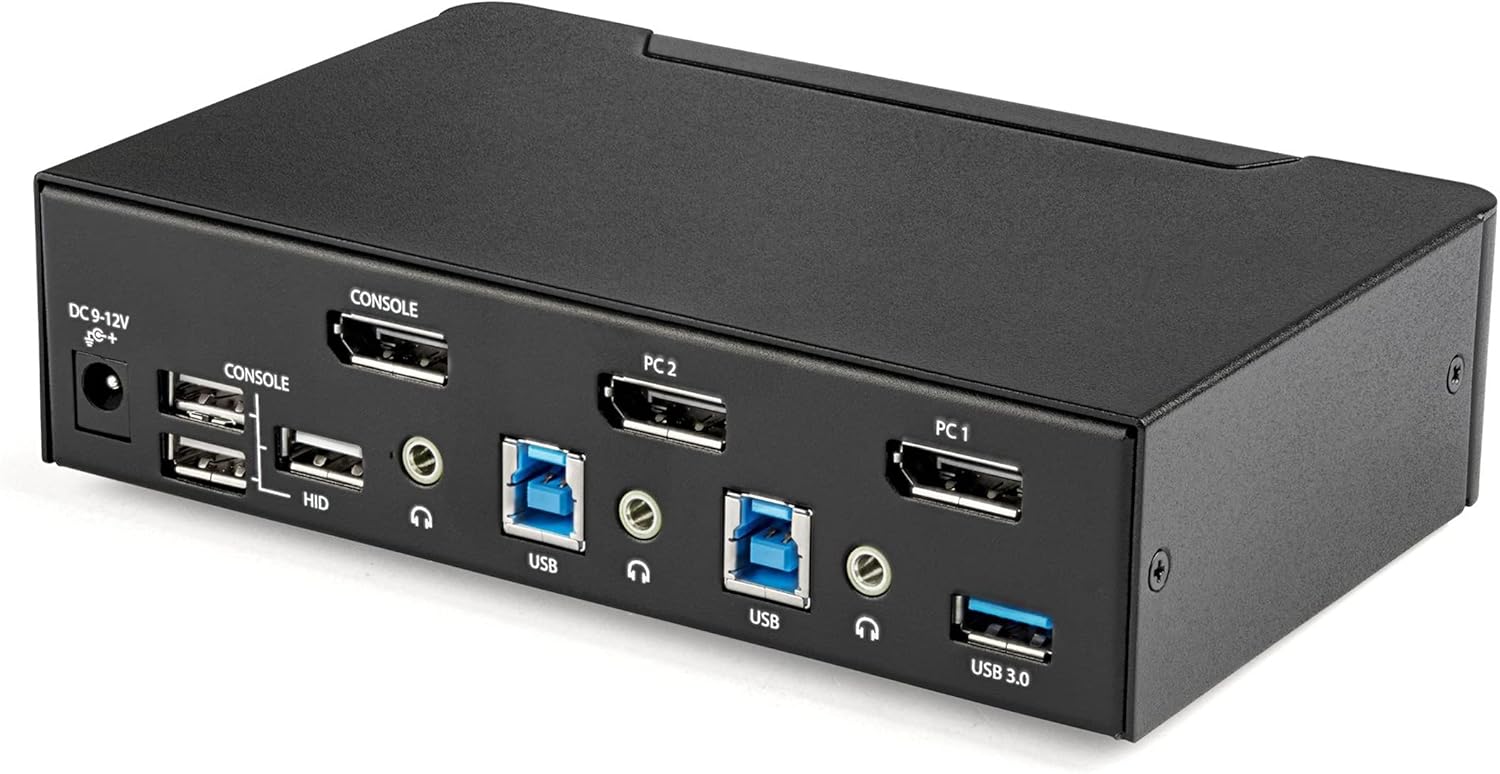
Слика 2: Rear Panel of the SV231DPU34K KVM Switch. Connections include DC 9-12V power, Console DisplayPort, Console USB HID ports, and individual DisplayPort, USB 3.0 Type-B, and 3.5mm audio jacks for PC1 and PC2.
3.3 Labeled Diagram
Овај дијаграм пружа свеобухватан view of all ports and their functions on both the front and rear panels.

Слика 3: Labeled diagram illustrating all ports on the SV231DPU34K KVM Switch, including console connections for monitor, keyboard, and mouse, and PC connections for two computers.
4. Упутства за подешавање
Follow these steps to set up your StarTech.com SV231DPU34K KVM Switch:
- Уређаји за искључивање: Ensure all computers, monitors, and peripherals are powered off before beginning the installation.
- Повежите конзолне уређаје:
- Connect your DisplayPort monitor to the CONSOLE DisplayPort on the rear of the KVM switch.
- Повежите УСБ тастатуру и миш са CONSOLE HID USB Type-A ports on the rear of the KVM switch.
- If using external speakers or a microphone, connect them to the CONSOLE 3.5mm audio jacks на задњој страни.
- Connect Computers (PC1 and PC2): За сваки рачунар:
- Connect a DisplayPort cable from your computer's DisplayPort output to the corresponding PC1 DisplayPort or PC2 DisplayPort input on the KVM switch.
- Connect a USB 3.0 Type-A to Type-B cable from your computer's USB 3.0 port to the corresponding PC1 USB 3.0 Type-B or PC2 USB 3.0 Type-B input on the KVM switch.
- If using audio, connect 3.5mm audio cables from your computer's audio output/input to the corresponding PC1/PC2 3.5mm audio jacks.
- Повежите УСБ периферне уређаје: Connect any additional USB 3.0 peripherals (e.g., USB hub, printer, flash drive) to the УСБ 3.0 портови типа А on the front or rear of the KVM switch.
- Прикључите напајање: Connect the included universal power adapter to the ДЦ 9-12В улаз за напајање on the rear of the KVM switch, then plug it into a power outlet.
- Укључено: Power on the KVM switch, then power on your monitor, and finally power on your connected computers.
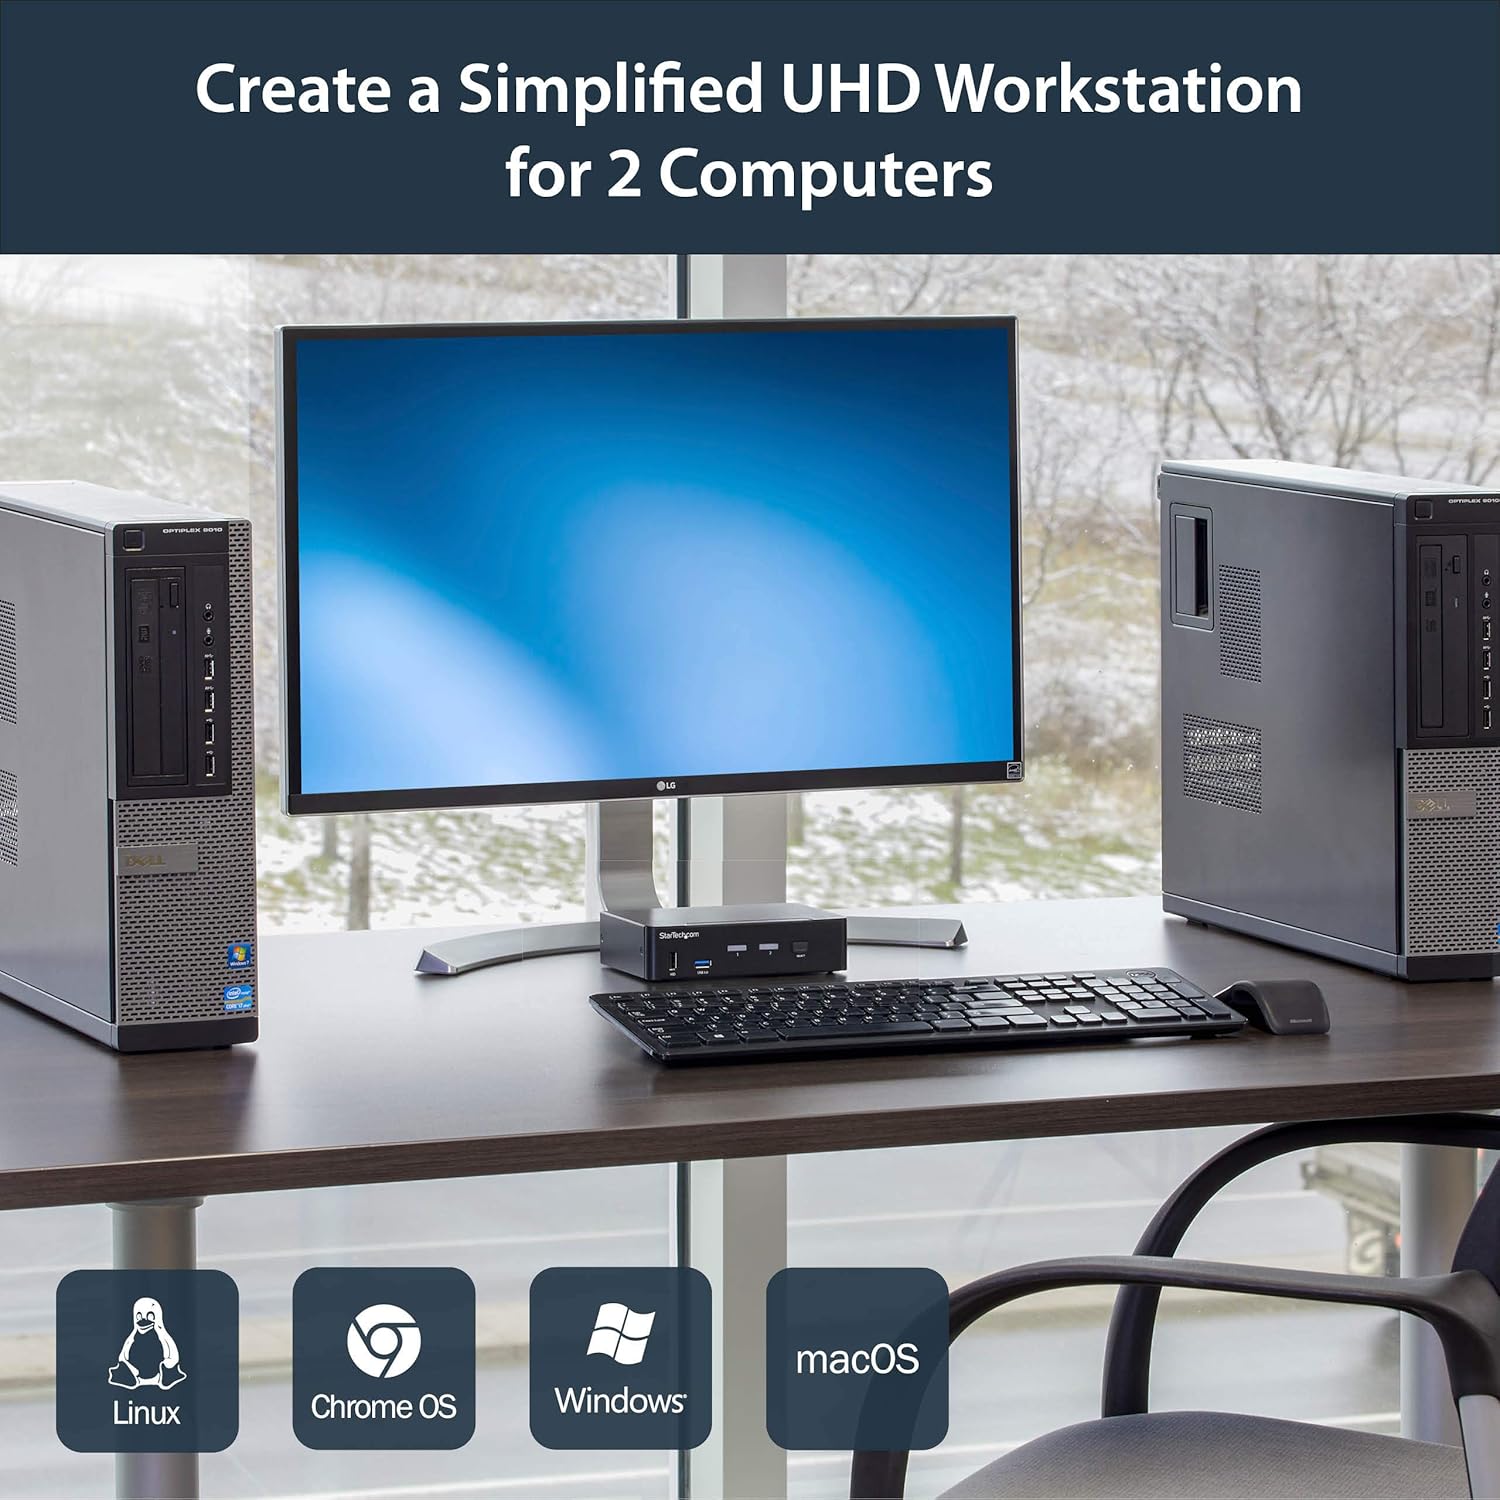
Слика 4: Connection diagram for the SV231DPU34K KVM Switch, showing how two computers share one display and peripherals.
5. Упутство за употребу
The SV231DPU34K KVM Switch offers two methods for switching between connected computers:
5.1 Front Panel Push Buttons
Притисните одговарајућу СЕЛЕЦТ button on the front panel of the KVM switch to switch to the desired computer (PC1 or PC2). The LED indicator for the selected computer will illuminate.
Слика 5: Front panel with computer selection buttons.
5.2 Hotkey Switching
The KVM switch supports hotkey commands for switching between computers. Refer to the quick start guide or the official StarTech.com product page for specific hotkey sequences.
6. Одржавање
To ensure optimal performance and longevity of your KVM switch, follow these maintenance guidelines:
- Чишћење: Keep the device clean and free from dust. Use a soft, dry, lint-free cloth for cleaning. Avoid using liquid or aerosol cleaners.
- вентилација: Ensure adequate airflow around the KVM switch to prevent overheating. Do not block any ventilation openings.
- Управљање кабловима: Organize cables to prevent strain on ports and accidental disconnections.
- Услови животне средине: Operate the device within its specified temperature and humidity ranges. Avoid extreme temperatures or moisture.
КСНУМКС. Решавање проблема
Ако наиђете на проблеме са KVM прекидачем, погледајте следеће уобичајене проблеме и решења:
| Проблем | Могуће решење |
|---|---|
| No display or flickering display after switching. |
|
| Тастатура или миш не реагују. |
|
| USB 3.0 devices not detected or working intermittently. |
|
| Audio issues (static, no sound). |
|
| G-Sync or FreeSync not working. |
|
8. Спецификације
| Феатуре | Детаљ |
|---|---|
| Модел | SV231DPU34K |
| Бранд | СтарТецх.цом |
| Видео интерфејс | ДисплаиПорт 1.2 |
| Максимална резолуција | 3840 x 2160 @ 60Hz (4K UHD) |
| MST Passthrough | Подржано |
| УСБ Хуб | 2-портни УСБ 3.0 чвориште |
| УСБ ХИД портови | 4x USB Type-A (for keyboard/mouse) |
| Аудио | 3.5mm Analog Audio Switching |
| Методе пребацивања | Push Button, Hotkey |
| Материјал | Челик |
| Димензије (Д к Ш к В) | 3.9 к 6.3 к 1.6 инча (9.9 к 16.0 к 4.1 цм) |
| Тежина артикла | 1.3 фунти (0.59 кг) |
| Повер Инпут | DC 9-12V, 18 Watts |
| Боја | Црно |
| Радна температура | 0°Ц до 40°Ц (32°Ф до 104°Ф) |
| Температура складиштења | -20°Ц до 60°Ц (-4°Ф до 140°Ф) |
| Влажност | 0-80% РХ (без кондензације) |
9. Гаранција и подршка
9.1 Информације о гаранцији
This StarTech.com product is backed by a 2-годишња гаранција. For detailed warranty terms and conditions, please refer to the official StarTech.com webсајту.
9.2 Техничка подршка
For technical assistance, product documentation, or driver downloads, please visit the official StarTech.com support webсајт: