1. Производ је готовview
This manual provides instructions for the weelye RX18 12V 2.4G Bluetooth Remote Control and Receiver Kit. This kit is designed as a replacement part for specific children's electric ride-on toys, enabling remote control functionality.
The kit includes a 12V control box (receiver) and a 2.4G Bluetooth remote control.
2. Compatibility and Identification
Ensure that the purchased part has the same appearance and specifications as your original component. This kit is specifically the weelye RX18 12V model with a 7-pin four-sided socket. Receivers with a 7-pin single-sided socket are not compatible.

Слика 2.1: Comparison of Old Style (WELLYE) and New Style (weelye) receivers. Both styles have identical functions.

Слика 2.2: Close-up of an old style receiver, highlighting the 7-pin four-sided socket for connection.
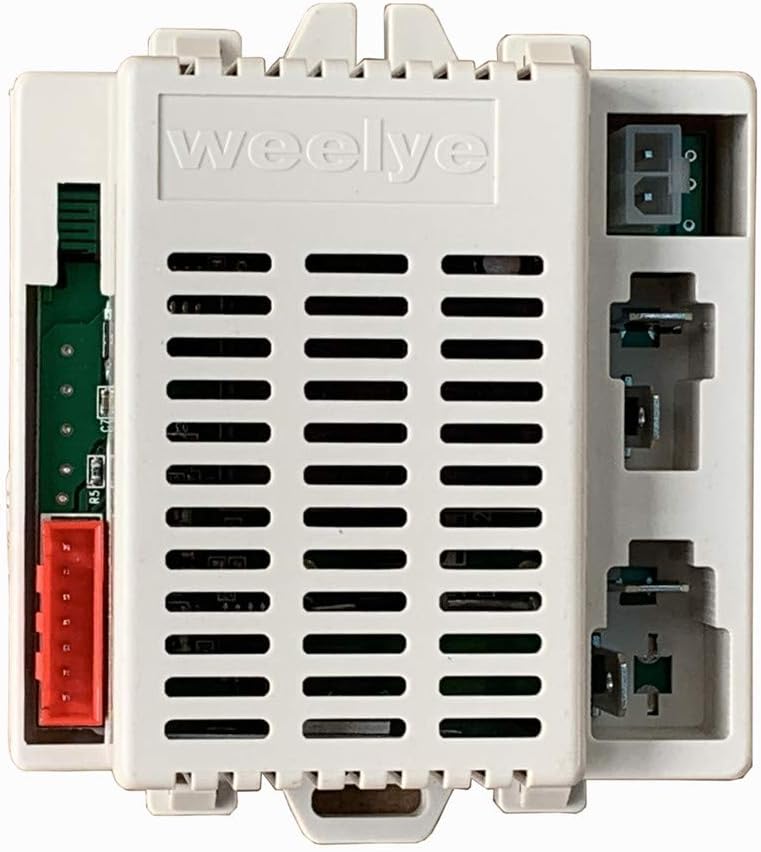
Слика 2.3: The new style weelye receiver, which is functionally equivalent to the old style.
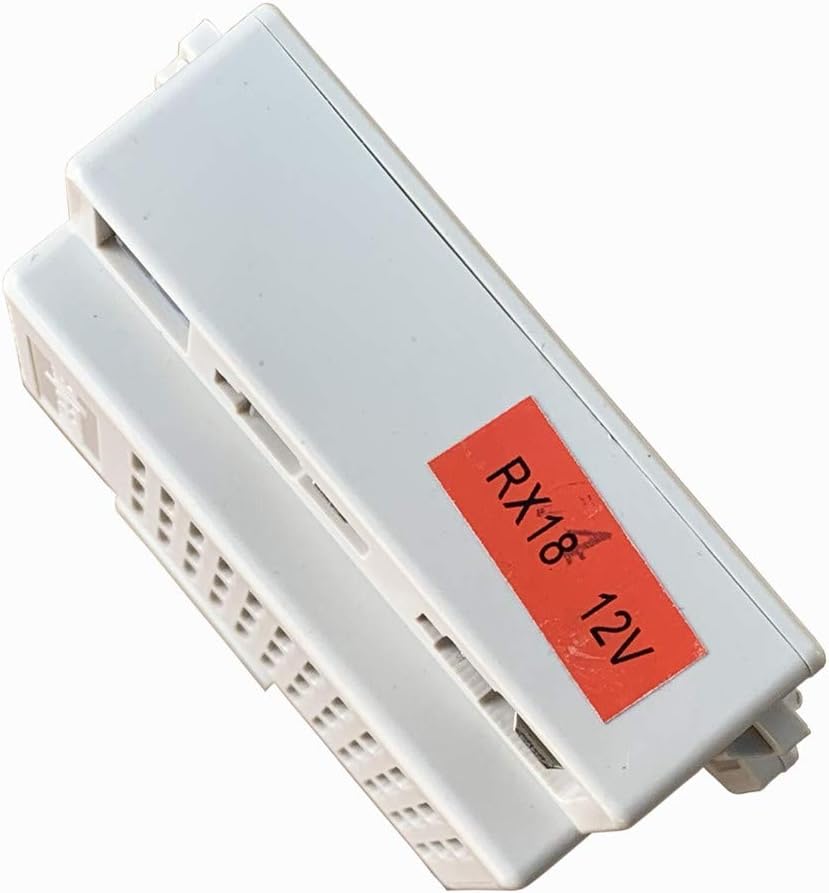
Слика 2.4: The RX18 12V label on the receiver, confirming the model number.
3. Безбедносне информације
- This product is for external use only as a replacement part for children's ride-on toys.
- Keep the components away from naked flames or direct heat sources.
- Do not mix old and new batteries, or different types of batteries in the remote control.
- Remove exhausted batteries from the remote control promptly.
4. Подешавање
4.1 Инсталација батерија даљинског управљача
The remote control requires two (2) AAA 1.5V batteries.
- Use a Phillips screwdriver to unscrew the screw on the back of the remote control.
- Скините поклопац батерије.
- Insert two AAA 1.5V batteries, ensuring correct polarity.
- Вратите поклопац батерије и причврстите га завртњем.
4.2 Frequency Binding (First Use or Battery Replacement)
The remote control must be paired with the receiver for the first time or after replacing the remote control batteries.
- Ensure batteries are installed in the remote control.
- Дуги притисак the frequency key on the remote control for 2-4 seconds. The low speed LED lights on the remote will flash.
- Turn on the power of the ride-on car. The low speed LED lights on the remote will change from flashing to a steady, long light, indicating successful frequency binding.
- If the frequency binding fails (low speed LED lights continue to flash), remove the batteries from the remote control and repeat steps 1-3.

Слика 4.1: Detailed instructions for remote control battery installation and frequency binding, as found on the product packaging.
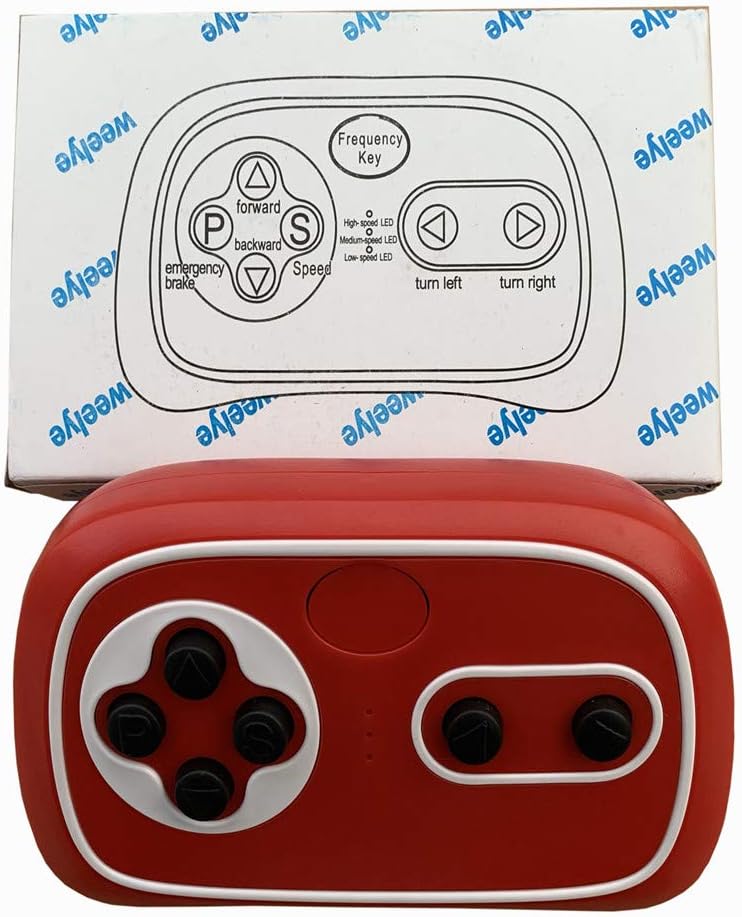
Слика 4.2: The weelye RX18 remote control alongside its packaging, which contains essential setup instructions.
5. Упутство за употребу
5.1 Remote Control Button Functions

Слика 5.1: The weelye RX18 remote control, showing its various buttons.
- Frequency Key: Used for pairing the remote control with the receiver (see Section 4.2).
- Triangle Up (△): Moves the ride-on car forward.
- Triangle Down (▽): Moves the ride-on car backward.
- Left Arrow (<): Turns the ride-on car left.
- Right Arrow (>): Turns the ride-on car right.
- S (Speed): Adjusts the speed of the ride-on car. The remote control has indicators for High-speed LED, Medium-speed LED, and Low-speed LED.
- P (Emergency Brake): Press this button to activate the emergency brake, which will stop the car's running function. Press it again to release the brake and resume normal operation.
5.2 Режим уштеде енергије
If the remote control is not operated for 10 seconds, its indication light will turn off, and it will enter power-saving mode to conserve battery life.
6. Одржавање
- Regularly check the remote control for any physical damage.
- Ensure the battery compartment is clean and free of corrosion.
- Always remove exhausted batteries from the remote control promptly to prevent leakage and damage.
- Store the remote control and receiver in a dry environment, away from extreme temperatures.
КСНУМКС. Решавање проблема
7.1 Remote Control Not Responding / Frequency Binding Failure
- Проверите батерије: Ensure the remote control has fresh AAA 1.5V batteries installed correctly.
- Repeat Binding Process: Follow the frequency binding steps outlined in Section 4.2 carefully.
- Близина: Ensure the remote control is within close range of the ride-on car during the binding process.
7.2 Ride-On Car Not Functioning Correctly
- Check Car's Power: Verify that the ride-on car's main power switch is on and its battery is charged.
- Прегледајте везе: Ensure all connections to the RX18 receiver are secure and correctly seated, especially the 7-pin four-sided socket.
- Verify Other Functions: Check if other functions of your car (e.g., lights, sounds, manual operation) are working properly. This can help determine if the issue is with the receiver/remote or another component of the car.
- Компатибилност: Reconfirm that the RX18 receiver is the correct replacement part for your specific ride-on toy model.
8. Спецификације
| Феатуре | Спецификација |
|---|---|
| Број модела | weelye RX18 12V |
| Повезивање | 2.4Г Блуетоотх |
| Receiver Socket Type | 7-pin four-sided socket |
| Димензије производа | 3.5 к 3.5 к 2 инча (приближно) |
| Тежина артикла | 4.8 унце (приближно) |
| Препоручена старост | 12 months - 12 years (for compatible ride-on toys) |
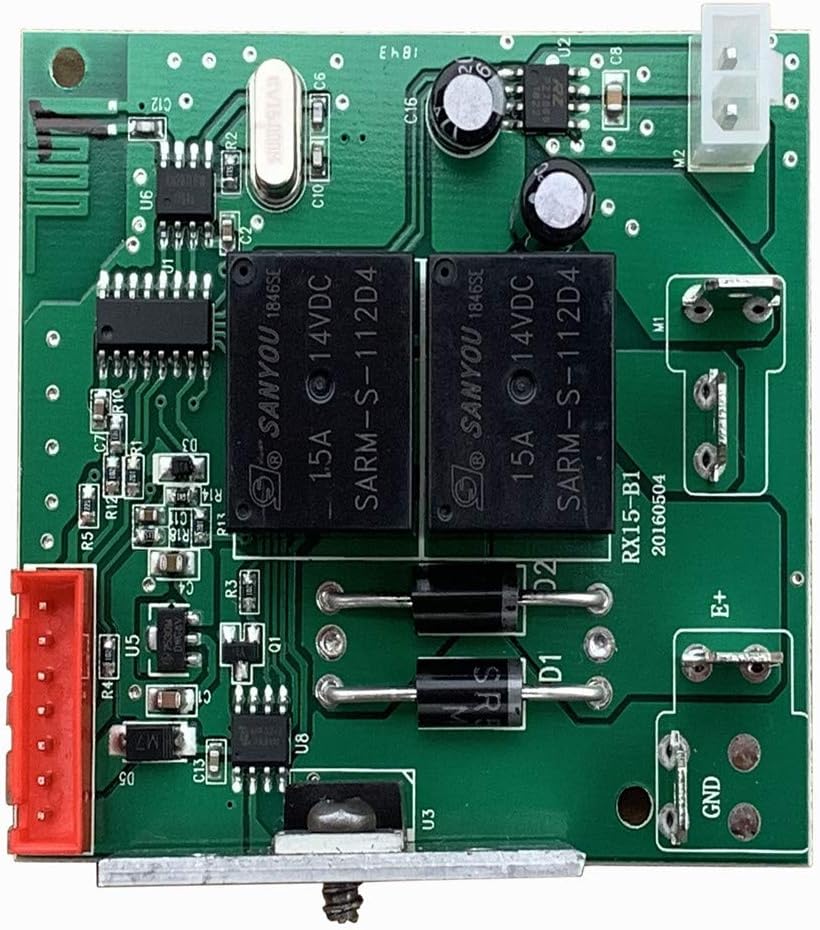
Слика 8.1: Internal circuit board of a weelye receiver. Note: The board shown is labeled RX15-B1, but the product is RX18. This image serves as a general reference for internal components.
9. Информације о гаранцији
No specific warranty information is provided with this product. Please refer to the retailer or manufacturer's website for any applicable warranty details or return policies.
10. Корисничка подршка
For further assistance, technical support, or inquiries regarding this product, please contact the manufacturer, weelye, directly through their official channels or the retailer from whom the product was purchased.