1. Увод
Thank you for choosing the XTUGA EW240 UHF 4-Channel Wireless Microphone System. This professional wireless microphone system is designed to deliver clear and powerful audio performance for various applications, including family parties, stages, churches, and karaoke. This manual provides detailed instructions for setup, operation, maintenance, and troubleshooting to ensure optimal performance and longevity of your system.
2. Важне информације о безбедности
- Пажљиво прочитајте сва упутства пре употребе производа.
- Сачувајте ово упутство за будућу употребу.
- Не излажите уређај киши или влази како бисте спречили пожар или струјни удар.
- Обезбедите одговарајућу вентилацију и не блокирајте ниједан вентилациони отвор.
- Користите само струјни адаптер који је испоручен са јединицом.
- Не покушавајте да растављате или модификујете уређај. Сва сервисирања препустите квалификованом особљу.
- Батерије одложите у складу са локалним прописима.
3. Садржај пакета
Молимо вас да проверите пакет како бисте били сигурни да су сви састојци присутни:
- 1 x 4-Channel Receiver
- 1 к Упутство за употребу
- 4 к Бодипацк предајника
- 4 x Lavalier Microphones
- 4 x Headset Microphones
- 1 к 110В/220В адаптер за напајање
4. Производ је готовview
4.1 Пријемна јединица
The receiver is the central unit of the wireless microphone system, featuring a durable metal design and individual volume controls for each of its four channels. It includes four receiving antennas for stable signal reception and an LCD display for monitoring operating status.


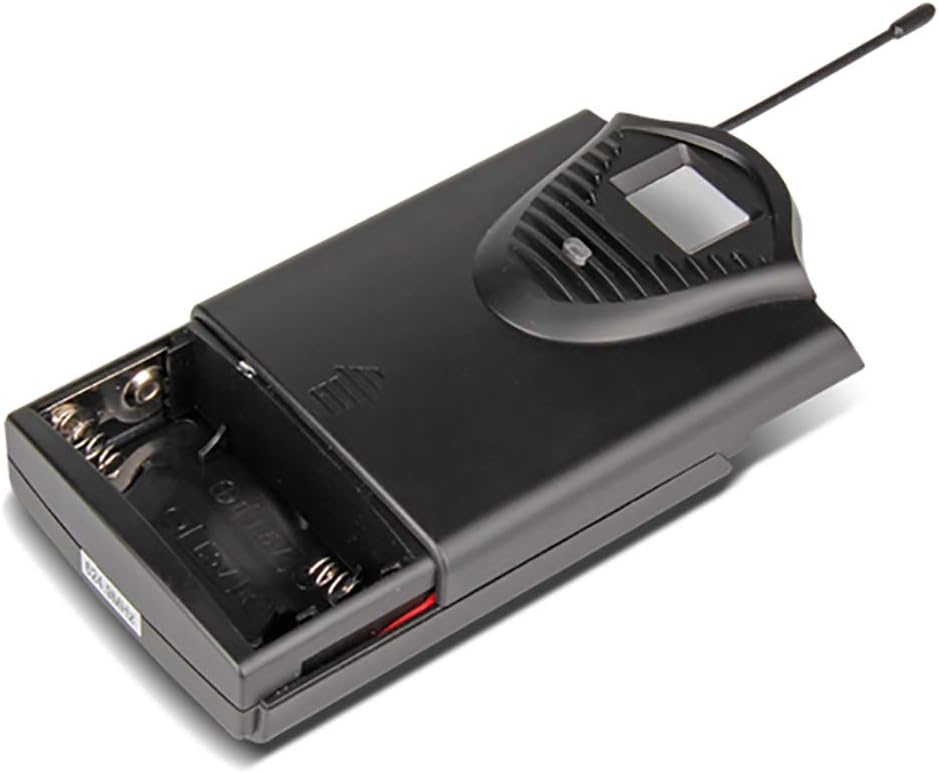
4.2 Бодипацк предајника
The system includes four bodypack transmitters, each designed for use with either a lavalier or headset microphone. These transmitters are compact, feature an LCD display for battery and operating status, and are powered by two 1.5V batteries, offering up to 8 hours of continuous use.


5. Упутства за подешавање
5.1 Подешавање пријемника
- Пласман: Place the receiver on a stable, flat surface, away from potential sources of interference (e.g., computers, Wi-Fi routers). Ensure adequate ventilation around the unit.
- Антенска веза: Screw the four included antennas onto the ANT A, ANT B, ANT C, and ANT D connectors on the rear panel of the receiver. Position them vertically for optimal signal reception.
- Прикључак за напајање: Connect the supplied power adapter to the DC 16V, 400mA input on the rear of the receiver, then plug it into a suitable power outlet.
- Аудио излаз: Повежите рисивер са вашим миксером, amplifier, or sound system using either the 6.3cm (1/4 inch) mixed output or the individual 6.3cm (1/4 inch) outputs for each channel (OUT A, OUT B, OUT C, OUT D).


5.2 Подешавање предајника
- Инсталација батерије: Open the battery compartment of each bodypack transmitter. Insert two 1.5V AA batteries, ensuring correct polarity. Close the compartment securely.
- Повезивање микрофона: Plug the lavalier or headset microphone into the input jack on the bodypack transmitter.
- Укључено: Turn on the power switch on the bodypack transmitter. The LCD display will illuminate, showing the channel and battery status.
6. Упутство за употребу
- Укључивање система: First, power on the receiver. Then, power on each bodypack transmitter.
- Подешавање јачине звука: Use the individual volume control knobs on the receiver for each channel (CH 01, CH 02, CH 03, CH 04) to adjust the microphone levels. Start with the volume low and gradually increase it to avoid feedback.
- Индикатори сигнала: The receiver's LCD display will show the active channel frequencies. The RF (Radio Frequency) and AF (Audio Frequency) indicators will light up when a signal is being received and audio is present, respectively.
- Употреба: Position the lavalier microphone approximately 6-8 inches from your mouth, or wear the headset microphone comfortably. Speak clearly into the microphone.
- Искључивање: When finished, first turn off the bodypack transmitters, then power off the receiver. This helps prevent pops or thumps through your sound system.
7. Одржавање
- Чишћење: Use a soft, dry cloth to clean the receiver and transmitters. Do not use liquid cleaners or solvents.
- Замена батерије: Replace batteries in the bodypack transmitters when the low battery indicator appears on the LCD display. Always use fresh, high-quality 1.5V AA batteries.
- Складиштење: Store the system in a cool, dry place when not in use. Remove batteries from transmitters if storing for extended periods to prevent leakage.
- Брига о антени: Handle antennas carefully. Avoid bending them excessively.
КСНУМКС. Решавање проблема
| Проблем | Могући узрок | Решење |
|---|---|---|
| Нема звука из микрофона | Transmitter or receiver not powered on; low batteries; microphone not connected; receiver output not connected to sound system; volume too low. | Ensure all units are powered on. Replace batteries. Check microphone connection to transmitter. Verify receiver output is connected and sound system is on. Increase receiver and sound system volume. |
| Лош квалитет звука/Сметње | Interference from other wireless devices; transmitter too far from receiver; antennas not positioned correctly; low batteries. | Move away from other wireless devices. Ensure line of sight between transmitter and receiver. Position antennas vertically. Replace batteries. |
| Кратак радни домет | Obstructions between transmitter and receiver; antennas not positioned correctly; environmental interference. | Ensure clear line of sight. Position antennas vertically. Avoid using in areas with high RF interference. |
| Receiver LCD not displaying | Receiver not powered on; power adapter faulty. | Check power connection and ensure receiver is switched on. Try a different power outlet. |
9. Спецификације
9.1 General System
- Број канала: 4 канала
- Стабилност: ± 0.006%
- Normal Deviation: ± 22 кХз
- С/Н однос: <120 дБ
- ТХД: <0.6 %
- Фреквенцијски одзив: 50 Hz - 15 kHz
- Опсег: 65 метара
9.2 Пријемник
- Осетљивост: > 80 дБ
- Аудио излаз: Balanced and Unbalanced (6.3cm mixed output, four 6.3cm individual outputs)
- Захтеви за напајање: AC 16 V, 400 mA
- Димензије: 440 к 210 к 40 мм
- Тежина: Отприлике 1.3 кг
- Материјал: Метал
9.3 Wireless Microphone (Transmitter)
- Тип кертриџа: Динамиц
- РФ излаз: <10 мВ
- Normal Deviation: ± 22 кХз
- Максимално одступање: ± 80 кХз
- батерија: 2 к 1.5 В АА батерије
- Трајање батерије: 8 сата
10. Гаранција и подршка
XTUGA products are designed for reliability and performance. For warranty information and technical support, please refer to the contact details provided with your purchase or visit the official XTUGA webсајт. Сачувајте рачун као доказ о куповини за евентуалне рекламације по гаранцији.