1. Увод
The CHACON DiO 1.0 Nano On/Off Plugs and 3-Channel Remote Control system allows you to wirelessly control your lamps and electrical appliances. This system offers individual, centralized, or automatic control via the included remote control, a compatible switch, or a smartphone when integrated with a home automation hub. This manual provides essential information for safe and effective use of your device.
2. Садржај пакета
Проверите да ли су све ставке присутне у вашем пакету:
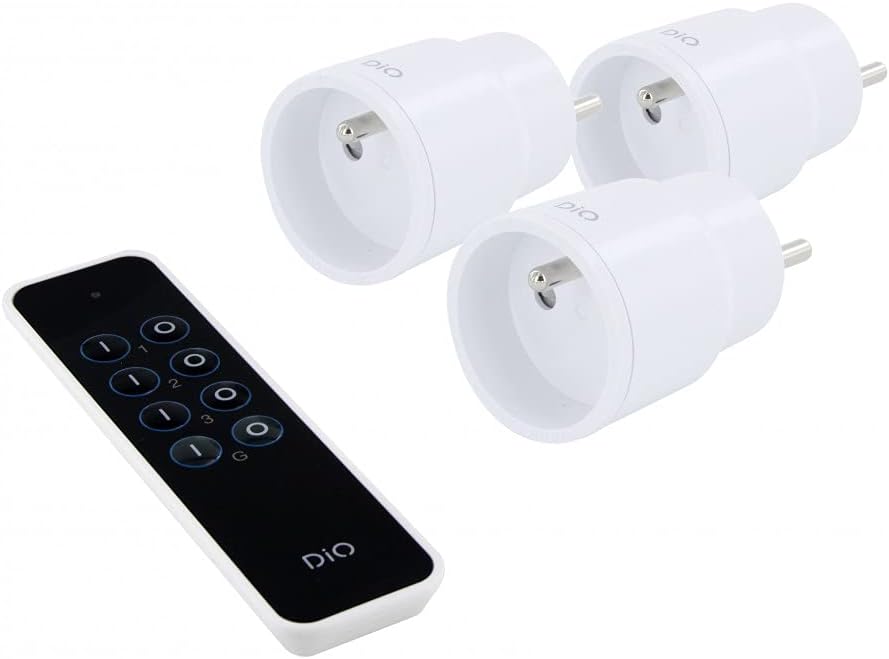
- 3 x DiO 1.0 Nano On/Off Plugs
- 1 x 3-Channel Remote Control
- 1 x CR2032 - 3V Battery (for remote control)

Слика 1: Contents of the CHACON DiO 1.0 Nano Plugs and Remote Control package. Shows three compact white plugs and a sleek black remote control.
3. Спецификације
| Бранд | ШАКОН |
| Број модела | 54895 |
| Технологија повезивања | Радио фреквенција (РФ) |
| Фреквенција | 433.92 MHz (DiO 1.0) |
| Максимални домет | До 30 метара (без препрека) |
| Power Supply (Plugs) | 230ВАЦ / 50Хз |
| Maximum Load (Plugs) | 2300В |
| Компатибилни типови сијалица | LED, Halogen, Energy-saving, Incandescent |
| Батерија за даљински управљач | 1 x CR2032 (3V) Lithium Manganese Dioxide |
| Number of Channels (Remote) | 3 channels + 1 group |
| Maximum Emitters Supported | Up to 32 commands |
| Димензије (приближне) | 16cm (L) x 9cm (W) x 5cm (H) (Package) |
| Тежина (приближно) | 250g (Package) |

Слика 2: Illustration of the wireless connection between a DiO plug and the remote control, highlighting the 230VAC/50Hz power and CR2032 3V battery for the remote.
4. Подешавање
4.1. Инсталација батерије даљинског управљача
- Пронађите одељак за батерије на полеђини даљинског управљача.
- Отворите поклопац одељка.
- Insert the CR2032 3V battery, ensuring the correct polarity (+/-).
- Добро затворите поклопац одељка за батерије.
4.2. Pairing Plugs with the Remote Control
Each plug needs to be paired with the remote control to establish communication. Follow these steps for each plug:
- Plug the DiO Nano On/Off Plug into a standard wall socket. The LED indicator on the plug will flash slowly.
- Within 5 seconds of plugging in the device, press the ON button for the desired channel (1, 2, or 3) on your remote control.
- The LED indicator on the plug will flash rapidly to confirm successful pairing.
- Repeat this process for each plug, assigning each to a different channel (or the same channel if you wish to control multiple plugs simultaneously).
Напомена: If the pairing is not successful within 5 seconds, unplug the device and try again. Each plug can be linked to up to 32 different DiO 1.0 transmitters.
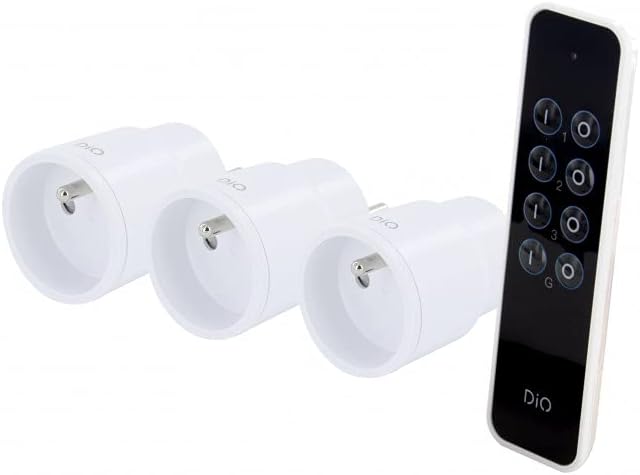
Слика 3: The remote control and three nano plugs, ready for pairing and use.
5. Оперативни
Once paired, you can control your appliances using the remote control.
5.1. Individual Control
- To turn on an appliance connected to a specific plug, press the ON button corresponding to its assigned channel (1, 2, or 3).
- To turn off an appliance, press the ОФФ button corresponding to its assigned channel (1, 2, or 3).

Слика 4: A hand operating the DiO remote control to switch an appliance on or off.
5.2. Групна контрола
The remote control includes a group function to control all paired plugs simultaneously.
- To turn on all paired appliances, press the G ON дугме.
- To turn off all paired appliances, press the G OFF дугме.
Слика 5: A user comfortably controlling home lighting with the DiO remote control from a sofa.
6. Одржавање
- Чишћење: Use a soft, dry cloth to clean the plugs and remote control. Do not use liquid cleaners or abrasive materials.
- Замена батерије: Replace the CR2032 battery in the remote control when its range decreases or it stops responding. Ensure proper disposal of used batteries according to local regulations.
- Складиштење: Чувајте уређаје на хладном и сувом месту, даље од директне сунчеве светлости и екстремних температура када се не користе дуже време.
КСНУМКС. Решавање проблема
| Проблем | Могући узрок | Решење |
|---|---|---|
| Plug does not respond to remote control. |
|
|
| LED on plug does not flash during pairing. |
|
|
| Remote control range is reduced. |
|
|
8. Безбедносне информације
- Немојте растављати или модификовати уређај.
- Не излажите уређаје води, влази или екстремним температурама.
- Ensure the total load of connected appliances does not exceed 2300W.
- Чувати ван домашаја деце.
- Користите само у затвореном простору.
- Одложите електронски отпад и батерије одговорно у складу са локалним прописима.
9. Гаранција и подршка
This product comes with a 2-year warranty. For technical support or warranty claims, please contact your retailer or the manufacturer directly. Information regarding spare parts availability is not provided.
Manufacturer: Chacon