1. Увод
Thank you for choosing the Power Acoustik OD41300 1300 Watt 4 Channel Amplifier. This manual provides essential information for the proper installation, operation, and maintenance of your new car audio ampспасилац. Молимо вас да пажљиво прочитате ово упутство пре него што покушате да инсталирате или користите како бисте осигурали оптималне перформансе и безбедност.
2. Безбедносне информације
Увек се придржавајте следећих мера безбедности током инсталације и рада:
- Disconnect the vehicle's negative battery terminal before making any power connections.
- Уверите се да су све жице правилно постављене и осигуране како бисте спречили оштећења или кратки спојеви.
- Use appropriate gauge wiring for power and ground connections as specified in this manual.
- Инсталирајте ampУређај држите на месту које омогућава одговарајућу вентилацију како би се спречило прегревање.
- Избегавајте монтирање ampподизача у подручјима изложеним влази или прекомерним вибрацијама.
- This product contains chemicals known to the State of California to cause cancer and birth defects or other reproductive harm. Handle with care and wash hands after use.
3. Производ је готовview
The Power Acoustik OD41300 is a 4-channel Class A/B amplifier designed to deliver powerful and clear audio. It features variable crossovers, gain controls, and bass boost for precise sound tuning.
3.1 AmpРаспоред за снимање
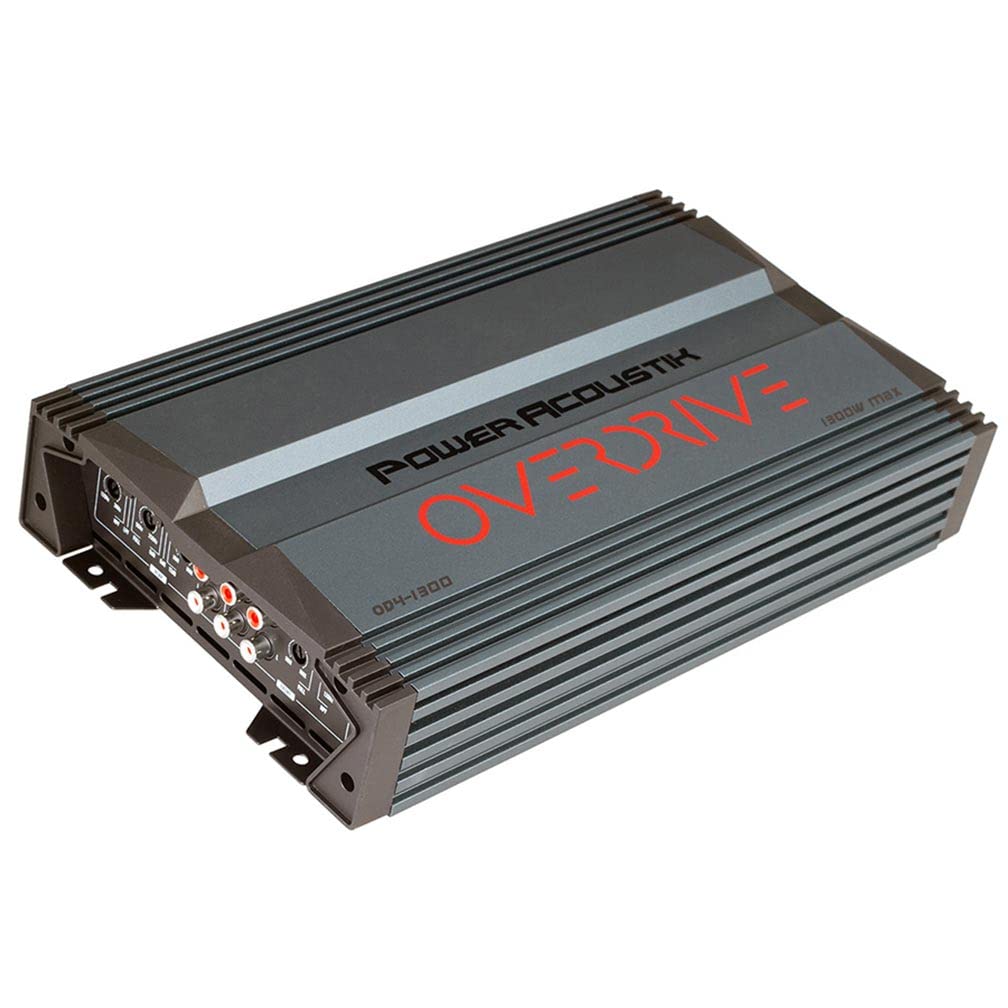
This image displays both the control panel (top section) and the power/speaker connection panel (bottom section) of the Power Acoustik OD41300 amplifier. The top section shows RCA inputs, gain controls, crossover adjustments (HPF, LPF, FULL), and bass boost settings for both front and rear channels. The bottom section illustrates the power input terminals (GND, REM, +12V), fuse slots, and speaker output terminals (FR+, FR-, RR+, RR-, FL+, FL-, RL+, RL-), including bridge mode indicators.
3.2 Монтажни држачи

This image shows two black mounting brackets, designed to securely fasten the Power Acoustik OD41300 amplifier in a vehicle. These brackets ensure stable installation and help dissipate heat.
4. Подешавање и инсталација
Правилна инсталација је кључна за перформансе и дуговечност вашег ampспасилац. Ако нисте сигурни у вези са било којим корацима, консултујте професионалног инсталатера.
4.1 Место монтирања
- Choose a dry, well-ventilated area, away from direct sunlight or heat sources.
- Ensure the mounting surface is sturdy enough to support the amplifier's weight.
- Allow at least 2 inches of clearance around the ampупијач за правилан проток ваздуха.
- Use the provided mounting brackets and screws to secure the ampлифиер.
4.2 Ожичење
Refer to the connection panel image in Section 3.1 for visual guidance.
- Power (BATT +12V): Connect a heavy-gauge wire (e.g., 8 AWG or larger) directly from the positive terminal of the vehicle's battery to the +12V terminal on the amplifier. Install an in-line fuse (not supplied) within 18 inches of the battery.
- Уземљење (ГНД): Connect a heavy-gauge wire (same as power wire) from the GND terminal on the ampПоставите пуњач на чисту, неофарбану металну површину на шасији возила. Обезбедите добру електричну везу.
- Даљински управљач (REM): Connect a smaller gauge wire (e.g., 18 AWG) from the REM terminal on the amplifier to the remote turn-on output of your head unit. This wire turns the ampукључивање и искључивање лампе помоћу вашег стерео уређаја.
- RCA Inputs (IN): Повежите RCA каблове са предње стране ваше главне јединице.amp outputs to the corresponding RCA input jacks (FRONT and REAR) on the ampлифиер.
- Излази за звучнике: Connect your speakers to the speaker terminals (FL, FR, RL, RR) on the amplifier. Observe correct polarity (+ to + and - to -). For bridged operation, refer to the markings on the amplifier's connection panel.
5. Упутство за употребу
Once installed, follow these steps to configure and operate your ampлифиер.
5.1 Почетно подешавање
- Before powering on, set all GAIN controls to minimum.
- Set crossover switches (HPF/LPF/FULL) to the desired mode (e.g., FULL for full range, LPF for subwoofers, HPF for component speakers).
- Set BASS BOOST to 0dB initially.
5.2 Подешавање контрола
- Гаин Цонтрол: Play a familiar music track at a moderate volume on your head unit. Slowly increase the amplifier's GAIN control until you hear distortion, then back it off slightly. This matches the ampулазну осетљивост уређаја за напајање у односу на излаз ваше главне јединице.
- Crossover (HPF/LPF): Adjust the HPF (High Pass Filter) or LPF (Low Pass Filter) frequency knobs to tailor the sound. HPF allows frequencies above the set point to pass, ideal for component speakers. LPF allows frequencies below the set point to pass, ideal for subwoofers.
- Басс Боост: Use the BASS BOOST control (0/+6/+12dB) to enhance low frequencies. Use sparingly to avoid distortion and speaker damage.
6. Одржавање
Your Power Acoustik ampСпајалица захтева минимално одржавање.
- Периодично проверавајте све спојеве ожичења како бисте били сигурни да су безбедни и да немају корозије.
- Задржи ampчист и без прашине и остатака. За чишћење користите меку, суву крпу.
- Уверите се да отвори за вентилацију нису зачепљени.
- If a fuse blows, replace it only with a fuse of the same type and rating (2 x 20A).
КСНУМКС. Решавање проблема
Ако имате проблема са својим ampспасилац, погледајте табелу испод за уобичајене проблеме и решења.
| Проблем | Могући узрок | Решење |
|---|---|---|
| Нема напајања / нема звука | Blown fuse, loose power/ground/remote wire, ampлифиер у режиму заштите. | Check fuses (amplifier and in-line). Verify all power, ground, and remote connections. Ensure battery voltagе је довољно. |
| Дистортед Соунд | Gain set too high, improper crossover settings, poor speaker connections, damaged speakers. | Reduce gain. Adjust crossover frequencies. Check speaker wiring for shorts or loose connections. Test speakers. |
| Но Басс | LPF not engaged or set too high, phase issues, subwoofer wiring incorrect. | Ensure LPF is active and set to an appropriate frequency. Check subwoofer polarity. |
| Ampлифиер Прегрева | Insufficient ventilation, impedance too low, prolonged high output. | Обезбедите адекватан проток ваздуха око amplifier. Check speaker impedance. Reduce volume or gain. |
| Engine Noise / Whine | Poor grounding, RCA cables too close to power wires, faulty head unit. | Improve ground connection. Reroute RCA cables away from power wires. Install a ground loop isolator if necessary. |
8. Спецификације
Technical specifications for the Power Acoustik OD41300 ampдизалица:
| Феатуре | Спецификација |
|---|---|
| Модел | OW-OD4-1300 |
| Излазна снага (макс.) | 1300 Ваттс |
| RMS снага (4 ома) | 100W x 4 Channels |
| RMS снага (2 ома) | 160W x 4 Channels |
| RMS Power (4 Ohms Bridged) | 320W x 2 Channels |
| Ampлифиер Цласс | Класа А/Б |
| Лов Пасс Цроссовер | 50 - 250 Hz (Variable 12dB) |
| Хигх Пасс Цроссовер | 120 - 3 kHz (Variable 12dB) |
| Басс Боост | 0 / +6 / +12dB |
| Осигурачи | 2 к 20А |
| Димензије (Ш к В к Д) | 7.25 cm x 2.5 cm x 12.25 cm (приближно) |
| Димензије артикла (Д к Ш к В) | 16 x 8.75 x 4 инча (паковање/укупно) |
| Заштита струјног кола | Direct Short, Thermal, Overload |
| ПЦБ Типе | Милитари Граде |
| Повер Суппли | PWM MOSFET |
9. Гаранција и подршка
Power Acoustik products are designed for reliability and performance. For specific warranty details, please refer to the warranty card included with your product or visit the official Power Acoustik website. For technical support or service inquiries, please contact Power Acoustik customer service through their official channels.