1. Производ је готовview
The RICOO TS4011 Monitor Stand is designed to provide an ergonomic and space-saving solution for your display. This stand offers a wide range of adjustments including rotation, swivel, tilt, and height, ensuring optimal viewing comfort for monitors between 17 and 32 inches and up to 7 kg in weight.
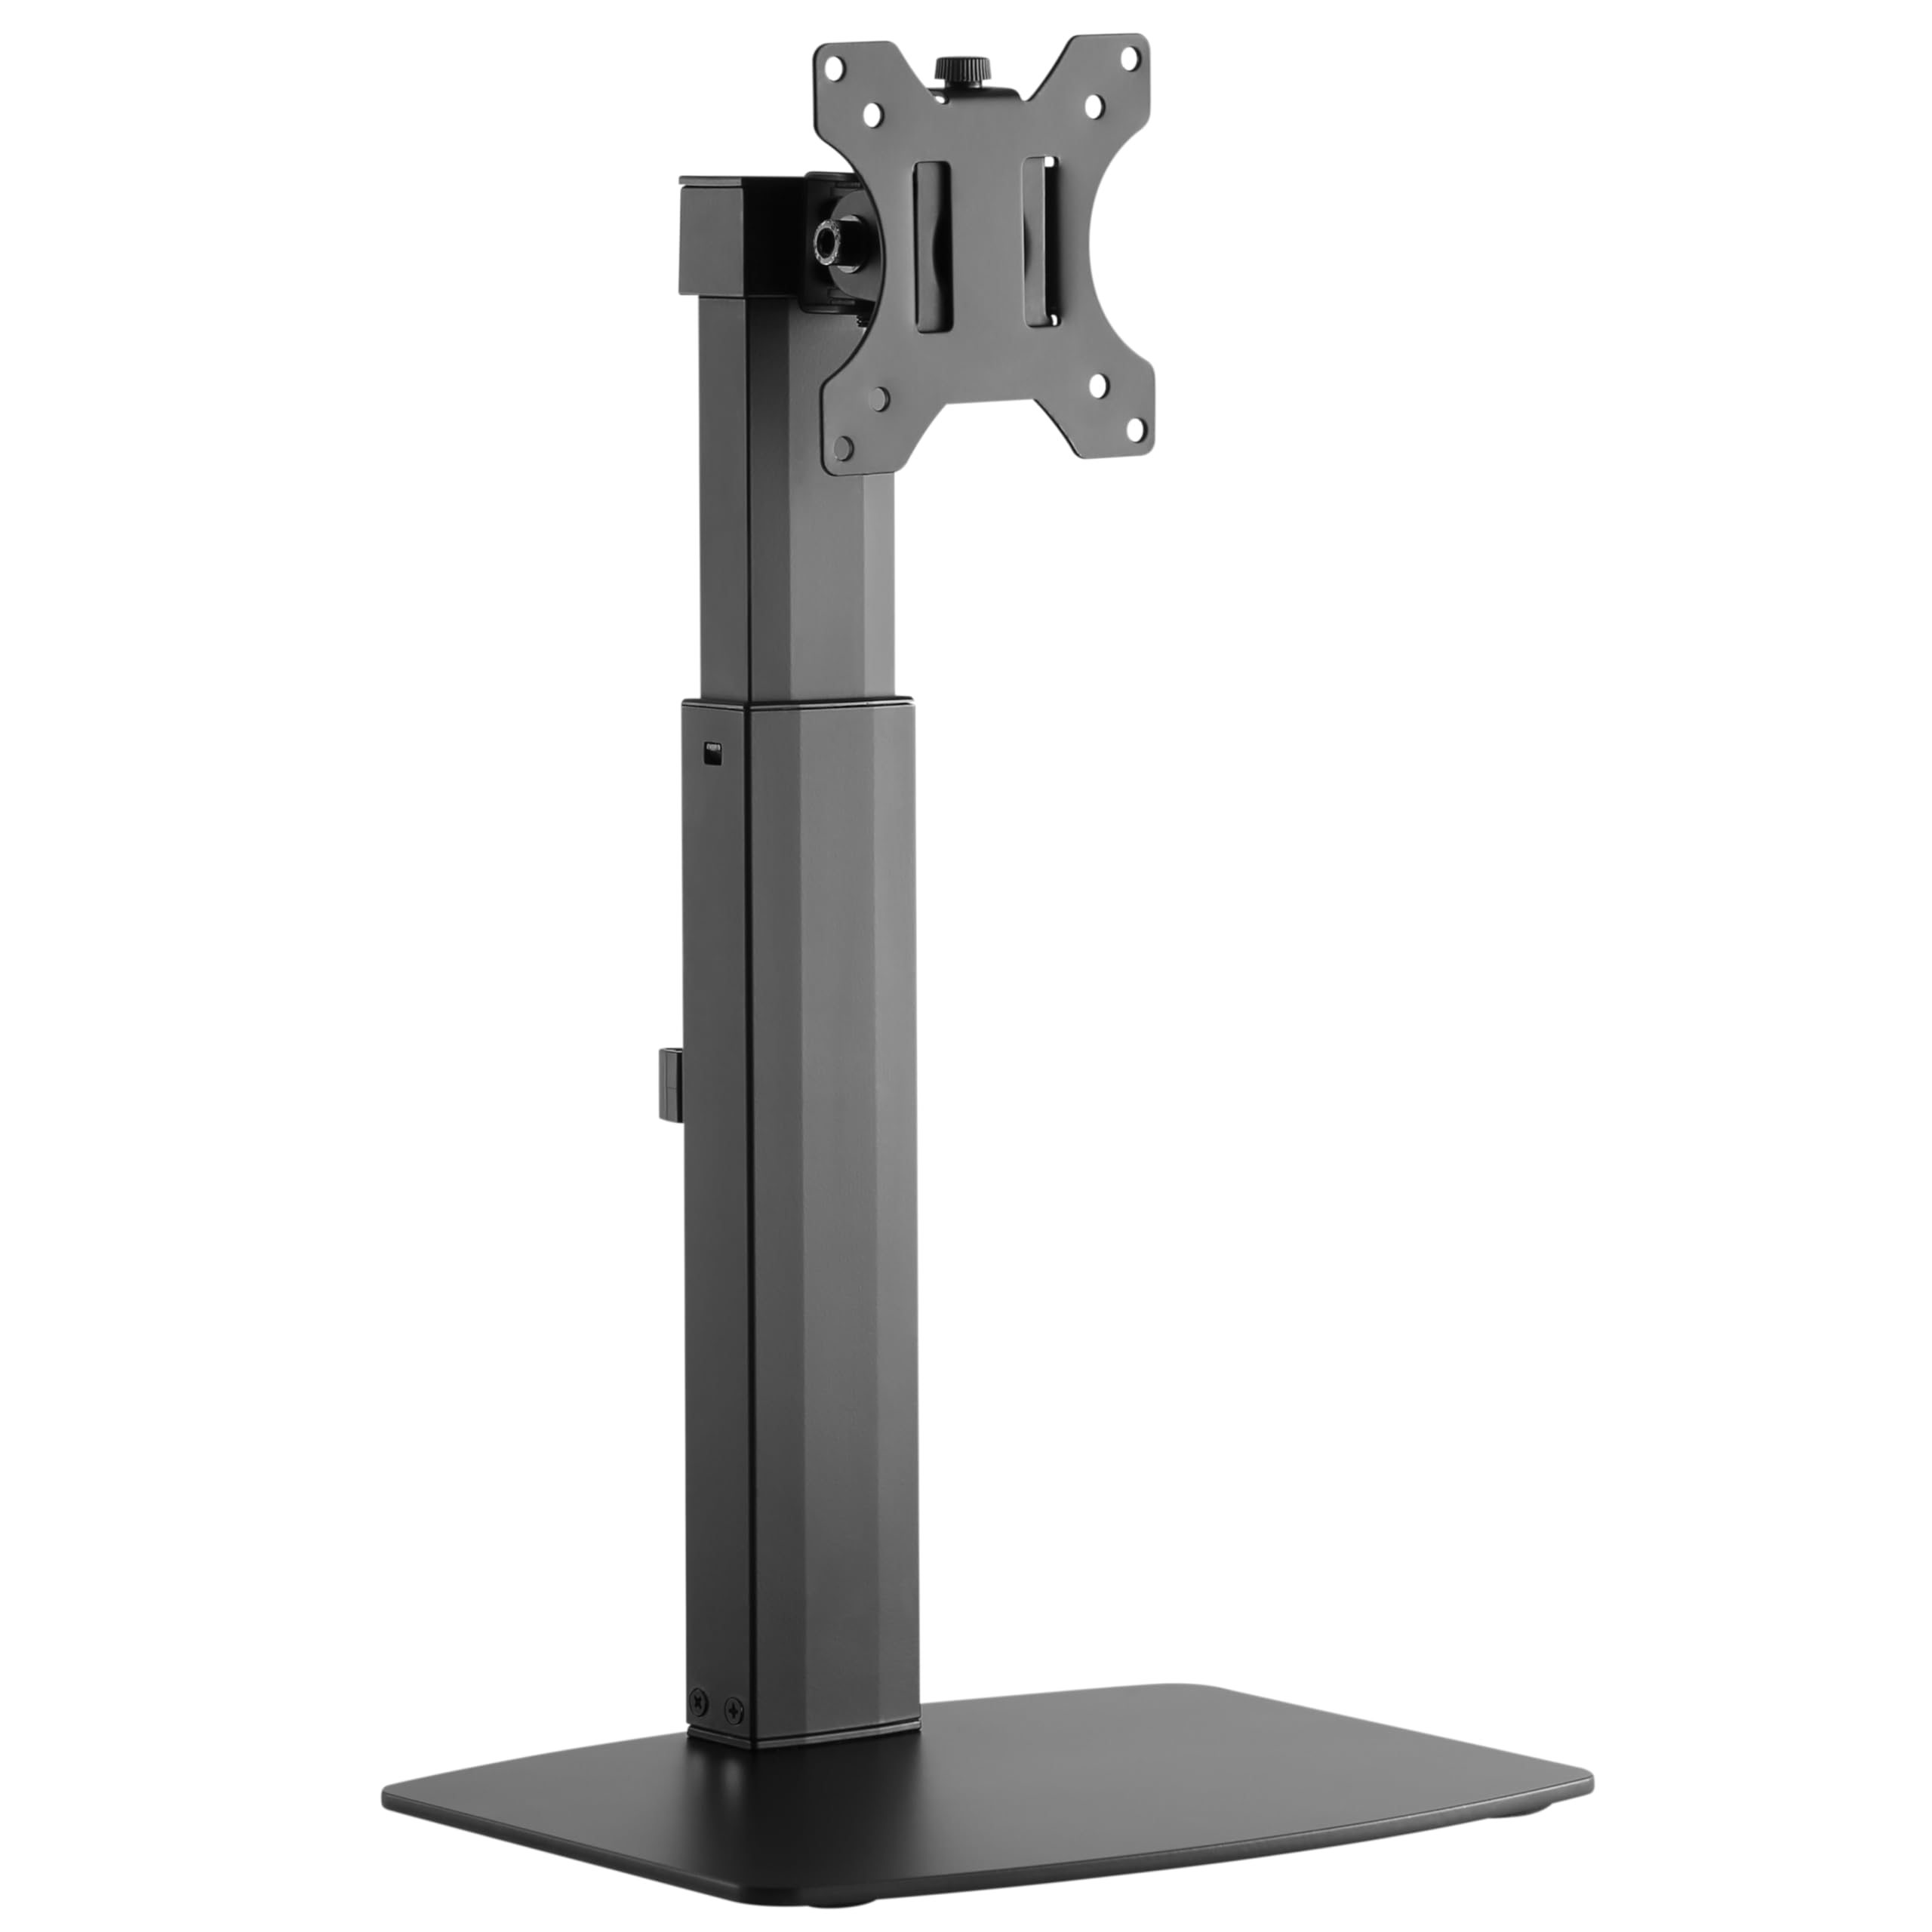
Image: The RICOO TS4011 Monitor Stand, black, supporting a monitor on a light wooden desk.
2. Безбедносне информације
Please read all instructions carefully before assembly and use. Keep this manual for future reference. Failure to follow these instructions may result in property damage, serious injury, or death.
- Ensure all components are present and undamaged before assembly. Do not use damaged parts.
- Не прекорачујте максималну дозвољену тежину од 7 кг (15.4 фунте).
- Ensure your monitor's VESA mounting pattern (75x75mm or 100x100mm) is compatible with this stand.
- Овај производ је намењен само за унутрашњу употребу.
- Држите децу и кућне љубимце подаље током склапања. Мали делови могу представљати опасност од гушења.
- Always use appropriate tools and follow the assembly steps in order.
- If you have any doubts about the installation, consult a qualified professional.
3. Садржај пакета
Проверите да ли су све ставке наведене у наставку укључене у ваш пакет:
- Monitor Desk Stand (Main Unit)
- Mounting Kit (various screws, washers, spacers, Allen keys)
- Упутство за употребу
4. Упутства за подешавање
Follow these steps to assemble and install your RICOO TS4011 Monitor Stand.
4.1. Assemble the Base
Attach the main support pole to the base plate using the provided screws and tools. Ensure all connections are secure.

Image: Diagram illustrating the base dimensions and attachment points for the stand pole.
4.2. Attach VESA Plate to Monitor
Carefully place your monitor face down on a soft, clean surface. Align the VESA mounting plate from the stand with the mounting holes on the back of your monitor. Use the appropriate screws, washers, and spacers from the mounting kit. Tighten securely, but do not overtighten.

Image: Diagram indicating VESA mounting hole measurements (A and B) on the back of a monitor.

Image: Illustration showing the VESA mounting plate securely attached to the back of a monitor.
4.3. Mount Monitor to Stand
With the VESA plate attached to your monitor, carefully lift the monitor and slide the VESA plate onto the mounting head of the stand. Ensure it clicks into place or is secured with any locking mechanisms. Double-check that the monitor is firmly attached before releasinг ит.

Слика: Позади view of a monitor securely mounted on the RICOO TS4011 stand, showcasing the VESA attachment.
4.4. Менаџмент каблова
Utilize the integrated cable management clips on the stand pole to route your monitor cables neatly. This helps to maintain a tidy workspace and prevents cables from snagging during adjustments.

Слика: Крупни план view of the cable management clips on the stand pole, with cables routed through them for an organized setup.
5. Упутства за употребу и подешавања
The RICOO TS4011 Monitor Stand offers various adjustment options to customize your viewинг искуство.

Image: Visual representation of the stand's adjustable features: 45-degree swivel, 360-degree rotation, 20-degree tilt, and 110mm height adjustment range.
5.1. Подешавање висине
To adjust the monitor height, gently push the monitor upwards to its maximum height. This will release the locking mechanism, allowing you to then lower it to your desired position. To raise the monitor, simply lift it. The stand features a gas spring mechanism for smooth height transitions within its 110mm range.
5.2. Подешавање нагиба
The monitor can be tilted +/-20 degrees vertically. Loosen the tilt screw (if applicable, refer to diagram) on the VESA plate, adjust the monitor to your preferred angle, and then retighten the screw to secure it.
5.3. Подешавање окретања
The monitor can be swiveled +/-45 degrees horizontally. Gently rotate the monitor to the left or right to achieve your desired viewугао уласка.
5.4. Подешавање ротације
The VESA plate allows for a full 360-degree rotation, enabling you to switch between landscape and portrait orientations. Simply rotate the monitor to the desired orientation.
6. Одржавање
To ensure the longevity and proper function of your monitor stand, follow these maintenance guidelines:
- Чишћење: Обришите постоље меком крпомamp крпом. Избегавајте абразивна средства за чишћење или раствараче који би могли оштетити завршну обраду.
- Периодичне провере: Regularly check all screws and connections to ensure they remain tight and secure. Retighten if necessary.
- подмазивање: The gas spring mechanism is maintenance-free. Do not attempt to lubricate internal components.
КСНУМКС. Решавање проблема
If you encounter issues with your monitor stand, refer to the following common problems and solutions:
| Проблем | Могући узрок | Решење |
|---|---|---|
| Монитор се увија или не држи положај. | Screws are loose; monitor weight exceeds capacity; tilt mechanism not tightened. | Check and tighten all mounting screws. Ensure monitor weight is within the 7kg limit. Tighten the tilt adjustment screw. |
| Тешкоће у подешавању висине. | Gas spring mechanism needs to be reset or is stiff. | To lower the monitor, first push it up to its maximum height to release the mechanism, then gently push down to the desired position. Ensure the monitor is within the specified weight range for optimal gas spring function. |
| Monitor is not level. | Uneven installation or VESA plate not perfectly aligned. | Check the VESA plate attachment to the monitor and the stand. Adjust the monitor's rotation slightly if possible to correct the level. |
| Стајање делује нестабилно. | Base not fully tightened; stand placed on an uneven surface. | Ensure the base screws are fully tightened. Place the stand on a flat, stable surface. |
8. Спецификације производа
Detailed specifications for the RICOO TS4011 Monitor Stand:
- Модел: ТС4011
- Компатибилне величине екрана: 17 - 32 инча (43 - 81 цм)
- Максимални капацитет оптерећења: 7 кг (15.4 лбс)
- ВЕСА компатибилност: 75x75 mm, 100x100 mm
- Материјал: Легирани челик, алуминијум, гвожђе, метал, пластика
- Боја: Црно
- Тип покрета: Articulating, Swiveling, Tilting, Rotating, Height Adjustable
- Угао нагиба: +/- 20 степени
- Угао окретања: +/- 45 степени
- ротација: 360 degrees (for VESA plate)
- Опсег подешавања висине: Approximately 110 mm (from 352mm to 462mm, based on diagram)
- Тежина артикла: 3.6 кг (7.9 лбс)
- Тип монтаже: Table Mount (Freestanding Base)

Image: Visual summary of key specifications: Max 7kg load, 13"-32" screen size compatibility, and VESA 75x75 / 100x100 standards.

Image: Detailed technical diagram of the TS4011 stand, showing all dimensions in millimeters, including height range, VESA plate size, and base measurements.
9. Гаранција и подршка
гаранција: This product comes with a legal warranty of 24 months for new products, as per European Union regulations.
Подршка: For any further questions regarding our products, please do not hesitate to contact us. Our support team will be happy to assist you.
Емаил: суппорт@рицоо.де
RICOO is a registered trademark in Germany, certified by the European Union Intellectual Property Office, ensuring proven quality and reliability.