
1. Увод
This manual provides detailed instructions for the safe and effective operation of your Teslong Rigid Rifle Borescope Model TSNTG500H. This device is designed for inspecting the interior of rifle barrels, aiding in cleaning regimen evaluation and firearm problem diagnosis. Please read this manual thoroughly before use and retain it for future reference.

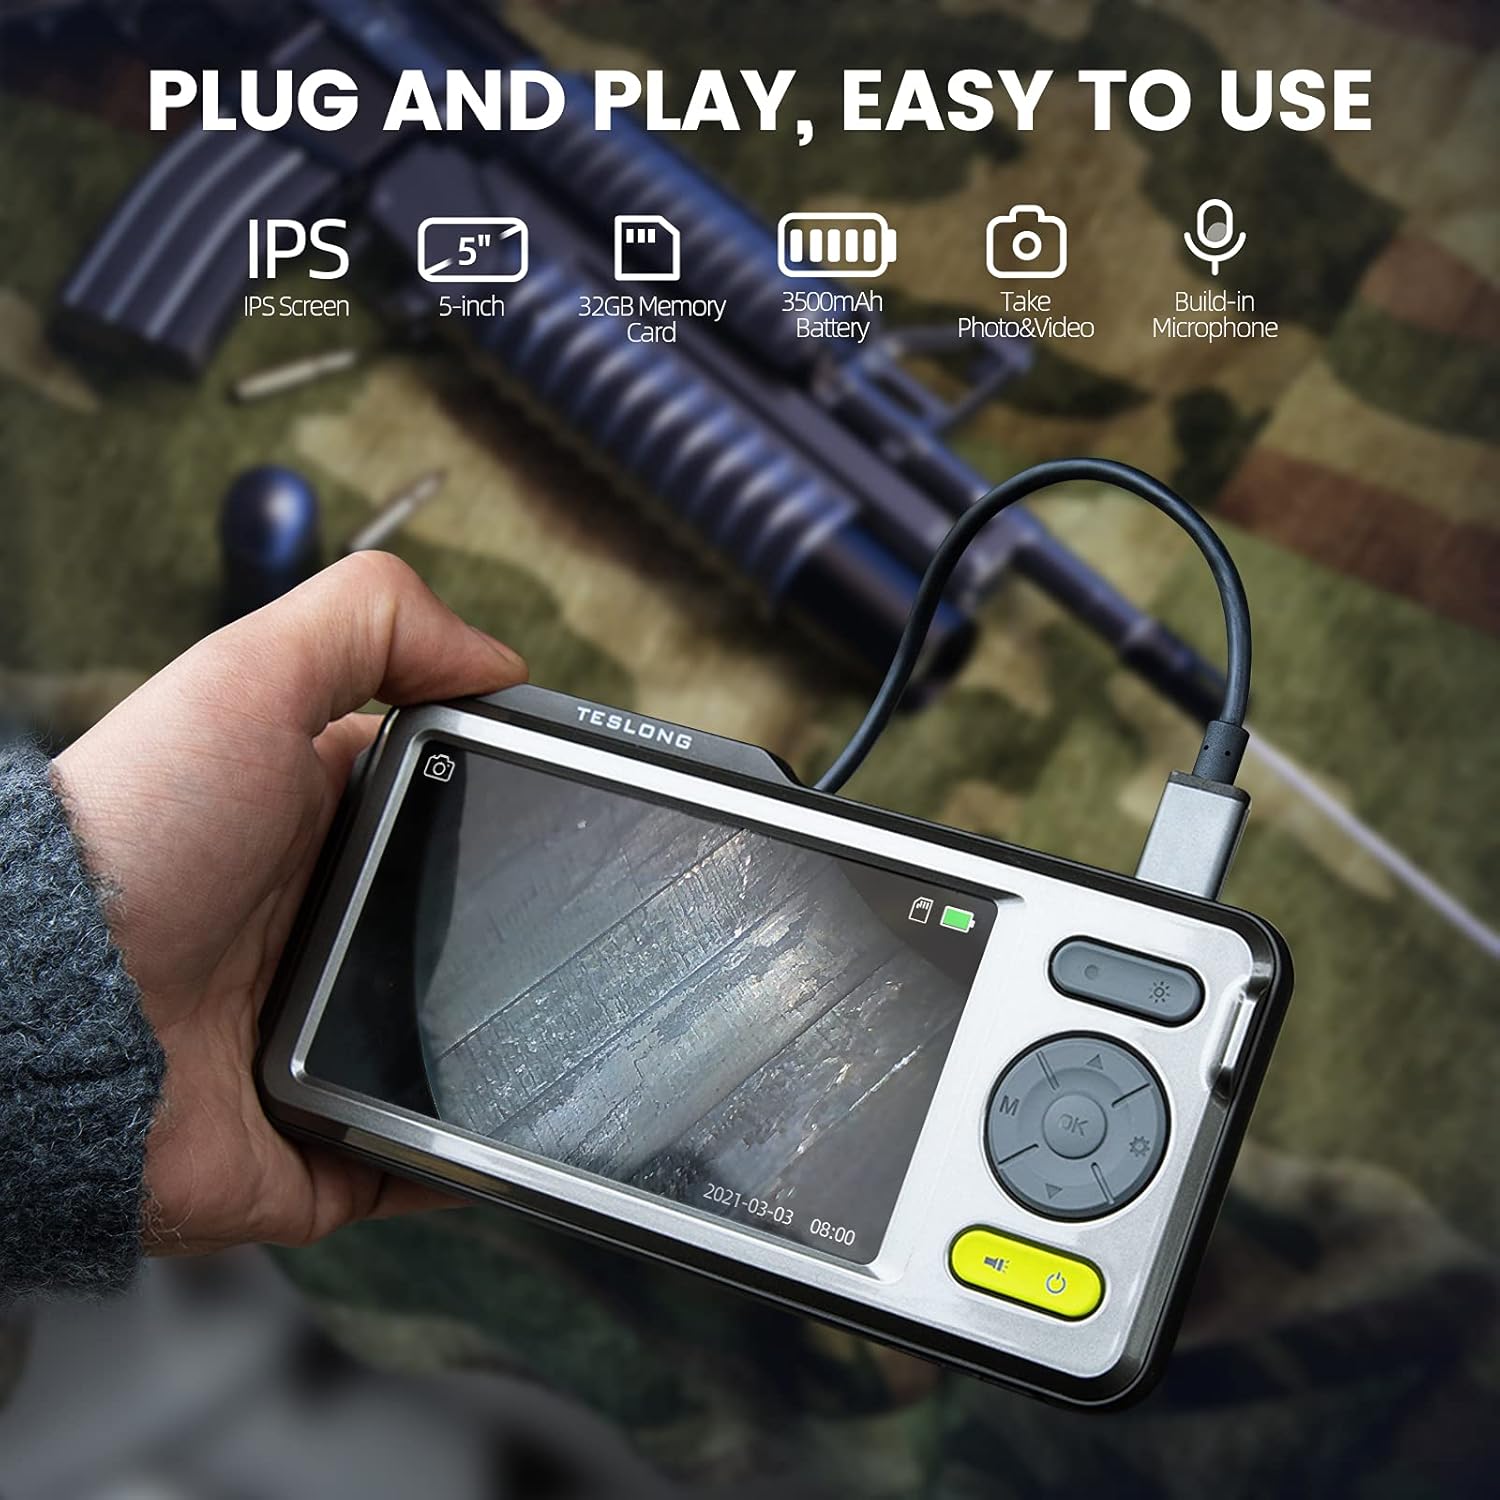
Image: The Teslong Rigid Rifle Borescope in use, showing the monitor displaying the bore's interior.
2. Садржај пакета
Проверите да ли се у вашем пакету налазе све ставке наведене у наставку:
- Teslong NTG500H Rifle Borescope with 5-inch IPS Screen
- Rigid Camera Probe (26-inch long, 0.2-inch diameter)
- Aviation to USB-C Cable
- Aviation to USB-A Cable
- USB-A to USB-C Cable (for charging and data transfer)
- Постоље за монитор
- Set of 5 Side-View Mirrors (5mm, 6mm, 7mm, 8.5mm, 10mm)
- Микро СД картица од 32 ГБ (унапред инсталирана)
- Кориснички приручник (овај документ)
Слика: Прекоview of the Teslong Borescope components and accessories.
3. Производ је готовview
3.1. Monitor Features
The 5-inch HD color IPS LCD screen provides a clear view of the inspection area. It features intuitive controls for operation.
- Дугме за напајање: Укључује/искључује уређај.
- Дугме за режим (М): Switches between Photo, Video, and Playback modes.
- Дугме ОК/Ентер: Потврђује изборе.
- Дугме за подешавања (икона зупчаника): Приступ подешавањима уређаја.
- Lights Button (Sun Icon): Adjusts LED brightness (3 levels) or turns lights off.
- Стрелице горе/доле: Креће се кроз меније и подешава подешавања.
- УСБ-Ц порт: За пуњење и повезивање са рачунаром.
- Утор за микро СД картицу: For storing images and videos (32GB card included).
- Probe Lock: Secures the camera probe connection.
- говорник: За репродукцију звука.
- Монтажа на постоље: For attaching the monitor stand.
- Дугме за ресетовање: Resets the device.

Image: The Teslong Borescope monitor highlighting its various buttons and ports.
3.2. Camera Probe Features
The rigid probe is specifically designed for rifle barrel inspection.
- Rigid Tube: 26-inch long for stable insertion.
- Small Diameter: 0.2-inch diameter fits .20 caliber and larger barrels.
- ЛЕД прстенасто светло: Six adjustable LED lights illuminate dark inspection areas.
- Сиде-View Огледало: Detachable 90° mirror for inspecting barrel walls. Includes various sizes for different calibers.
- Inch Scale: Laser-marked scale on the probe for depth measurement.

Image: The rigid probe of the borescope, illustrating its length and diameter.
4. Подешавање
- Напуните монитор: If the battery indicator is low, connect the monitor to a power source using the USB-A to USB-C cable.
- Убаците Мицро СД картицу: Ensure the 32GB Micro SD card is properly inserted into the slot on the bottom of the monitor.
- Повежите сонду:
- Thread the Aviation to USB-C cable onto the camera probe.
- Plug the other end of the cable into the probe port on top of the monitor.
- Secure the connection using the probe lock.
- Remove Protective Tip: Carefully remove the black protective tip from the end of the probe.
- Attach Side-View Mirror (Optional): If side-view inspection is required, select the appropriate caliber mirror and carefully screw it onto the threaded end of the probe. Use the lock ring to secure it in place once focus is achieved.
Video: A detailed instruction video on setting up and using the Teslong Rigid Rifle Borescope.
5. Упутство за употребу
5.1. Укључивање/искључивање
Притисните и држите Дугме за напајање (green button) for a few seconds to turn the monitor on or off. The Teslong logo will appear, and the probe's ring light will illuminate.
5.2. Промена режима
Притисните тастер Дугме за режим (М) to cycle through the following modes:
- Фото режим: За снимање непокретних слика.
- Видео режим: За снимање видео записаtage.
- Режим репродукције: За реviewснимљене фотографије и видео записе.
5.3. Подешавање светла
Притисните тастер Lights Button (Sun Icon) to adjust the brightness of the LED ring light on the probe. There are three brightness levels, and you can also turn the lights off.
5.4. Image and Video Capture
- Ensure the probe is inserted into the barrel and positioned correctly.
- Пребаците се на Пхото Моде or Видео Моде користећи се Дугме за режим (М).
- Притисните тастер OK/Enter Button to capture a photo or start/stop video recording. A timecode will appear on the screen when recording video.

Image: The borescope monitor showing a detailed view of a rifle barrel's interior.
5.5. Mirror Installation and Adjustment
The borescope comes with various side-view mirrors to inspect barrel walls. The probe has a fixed focal distance of approximately 10mm for direct viewing. When using a mirror, the focus is adjusted by how far the mirror is threaded onto the probe.
- For smaller caliber barrels (e.g., .22 caliber), position the mirror farther away from the lens.
- For larger caliber barrels (e.g., .30 caliber), move the mirror closer to the lens to achieve sharp focus.
- Use the small lock ring on the threads to secure the mirror in place once the desired focus is achieved.

Image: A selection of removable side-view mirrors for various caliber rifles.
Video: A demonstration of how to attach and adjust the side-view mirrors for optimal focus.
6. Пренос података
There are two primary methods to transfer photos and videos from your borescope to a computer:
- Директна веза:
- Connect the monitor to your computer using the provided USB-A to USB-C cable.
- Turn on the monitor. Your computer should recognize the device as a removable drive.
- Navigate to the "DCIM" folder to access your stored photos and videos. You can then drag and drop them to your computer.
- Читач микро СД картица:
- Carefully remove the Micro SD card from the monitor's slot.
- Insert the Micro SD card into a compatible card reader connected to your computer.
- Access the "DCIM" folder on the card to transfer your files.
7. Одржавање
Proper maintenance ensures the longevity and optimal performance of your borescope:
- Чишћење сочива и огледала: Always clean the camera lens and any attached mirrors before and after each use. Use a soft microfiber cloth and a cotton swab. For stubborn stains, warm water or rubbing alcohol can be used. Do not use stronger solvents as they may damage the lens or mirror coatings.
- Чишћење монитора: Wipe the monitor screen and case with a microfiber cloth and a few drops of warm water or rubbing alcohol to remove dust and fingerprints.
- Складиштење: Store the borescope and its accessories in the provided protective case in a cool, dry place when not in use.
КСНУМКС. Решавање проблема
- Уређај се не укључује: Ensure the monitor is fully charged. If the battery indicator is low, connect it to a power source.
- Нема слике на екрану: Verify that the camera probe is securely connected to the monitor and the probe lock is engaged. Check if the LED lights are on.
- Замућена слика: If using a side-view mirror, adjust its position by threading it closer or farther from the lens until a clear image is achieved. Ensure the lens and mirror are clean.
- Не могу да пренесем Fileс на рачунар: Ensure the monitor is turned on when connected to the computer. If it's off, it will only charge. Try using a different USB port or a Micro SD card reader.
- Уређај не реагује: Use a small pin to press the Дугме за ресетовање који се налази на задњој страни монитора.
9. Спецификације
| Феатуре | Спецификација |
|---|---|
| Модел | TSNTG500H |
| Величина екрана | 5-инчни ИПС екран |
| Тип сонде | Чврсто |
| Дужина сонде | 26 инча |
| Пречник сонде | 0.2 inches (fits .20 caliber & larger) |
| Резолуција снимања видео записа | 1080п |
| Складиштење | Мицро СД картица од 32 ГБ (укључена) |
| Батерија | Потребна је 1 батерија (укључена) |
| Macro Focus Range | 1-10 цм |
| Боја | Црно |
| Тежина артикла | 2.29 фунти |
| Димензије пакета | 30.75 к 4.25 к 2 инча |
10. Гаранција и подршка
Teslong products are designed for reliability and performance. For warranty information, technical support, or service inquiries, please refer to the official Teslong webсајт или директно контактирајте њихову корисничку службу. Сачувајте рачун као доказ о куповини за потребе гаранције.
За додатне ресурсе и информације о производу, посетите Teslong Store on Amazon.