
1. Увод
This manual provides detailed instructions for the installation, configuration, operation, and maintenance of your TP-Link EAP610 AX1800 Gigabit Dual-Band Wi-Fi 6 Access Point. Please read this manual thoroughly before using the device to ensure proper functionality and to avoid any potential issues.
2. Производ је готовview
The TP-Link EAP610 is a high-performance Wi-Fi 6 access point designed for demanding network environments. It offers advanced features for enhanced wireless connectivity and efficient network management.
Кључне карактеристике:
- Ултрабрзи Wi-Fi 6 брзина: Delivers combined speeds of up to 1775 Mbps (574 Mbps on 2.4 GHz and 1201 Mbps on 5 GHz) for smooth streaming and fast downloads.
- High-Density Connectivity: Supports up to 4 times more connected devices simultaneously compared to Wi-Fi 5, ideal for environments with many users.
- Integrated with Omada SDN: Provides Zero-Touch Provisioning, Centralized Cloud Management, and Intelligent Monitoring for simplified network administration.
- Беспрекорни роминг: Ensures uninterrupted video and voice calls as users move between access points.
- Флексибилне опције напајања: Supports both 802.3at Power over Ethernet (PoE) and DC power for versatile installation.
3. Садржај пакета
Проверите да ли ваш пакет садржи следеће ставке:
- 1 × EAP610 Access Point
- Mounting Kit (Ceiling/Wall Mount)
- Упутство за инсталацију
Ако било која ставка недостаје или је оштећена, обратите се свом продавцу.
4. Инсталација хардвера
The EAP610 can be mounted on a wall or ceiling. Ensure the chosen location provides optimal Wi-Fi coverage and is near a power source (PoE switch/injector or DC outlet).
4.1 Уређај је завршенview
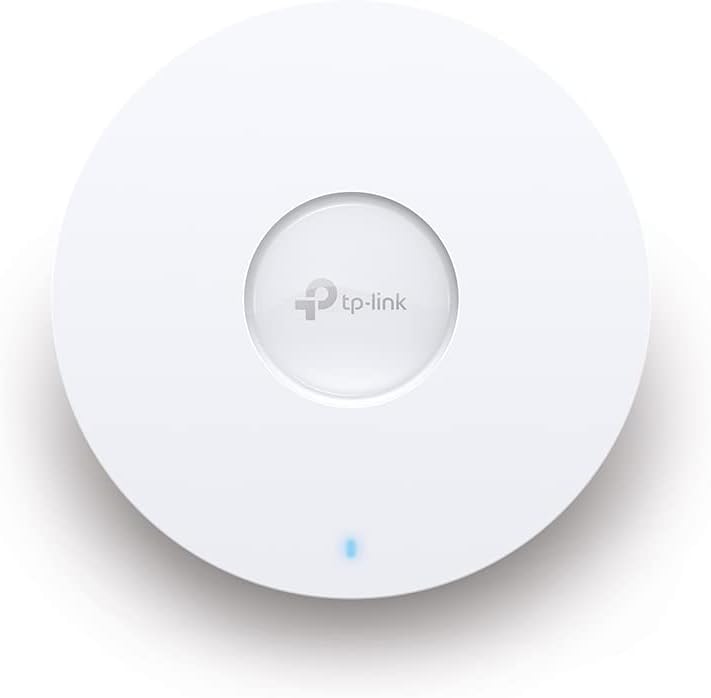
Слика 1: Предња страна view of the TP-Link EAP610 Access Point, showing the TP-Link logo and status LED.

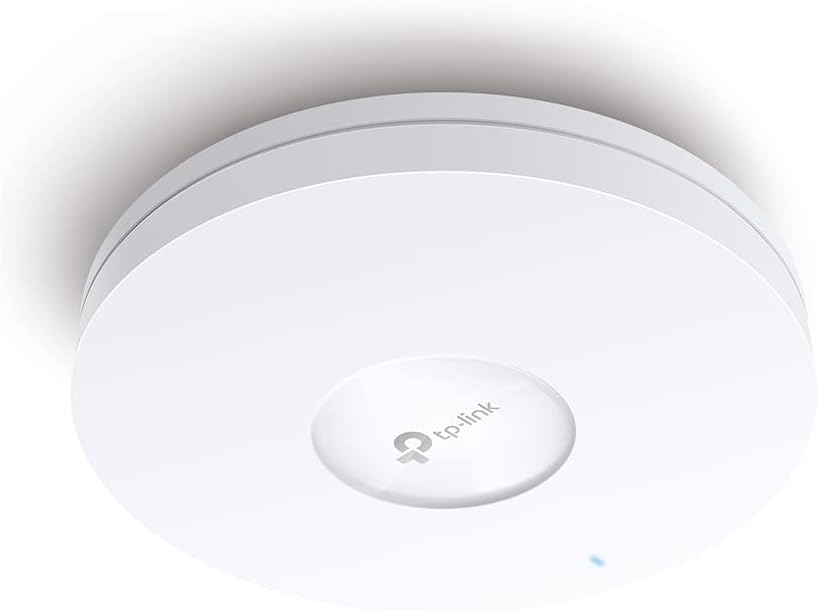
Слика 2: Страна view of the TP-Link EAP610 Access Point, illustrating its slim profile.
Слика 3: Дно view of the TP-Link EAP610 Access Point, showing the Ethernet port and power input.
4.2 Монтирање приступне тачке
Use the provided mounting kit to secure the EAP610 to a wall or ceiling. Ensure the mounting surface is stable and can support the device's weight.
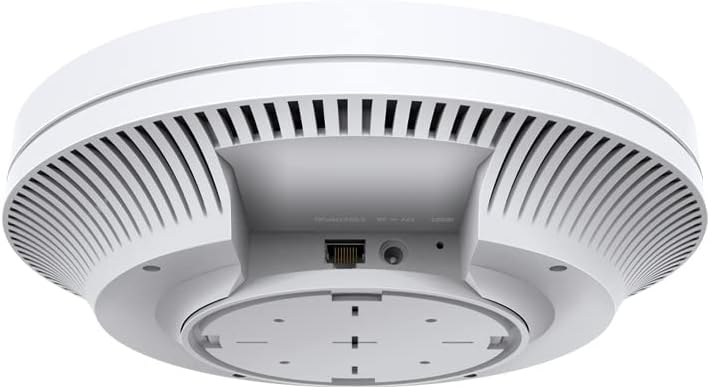
Figure 4: The EAP610 Access Point installed on a ceiling in an office environment.

Figure 5: The EAP610 Access Point installed on a wall in a commercial setting.
4.3 Напајање уређаја
EAP610 подржава два начина напајања:
- Напајање преко Етхернета (ПоЕ): Connect an Ethernet cable from a PoE-enabled switch or PoE injector to the EAP610's Ethernet port. This provides both data and power.
- ДЦ снага: Connect a 12V DC power adapter (not included) to the DC power jack on the EAP610.
Ensure the power source meets the device's requirements to prevent damage.
5. Конфигурација софтвера
The EAP610 can be configured and managed using the TP-Link Omada SDN platform or the Omada app.
5.1 Omada SDN Controller
For centralized management of multiple Omada devices, use the Omada SDN Controller. This allows for zero-touch provisioning, cloud access, and intelligent network monitoring.
- Download the Omada SDN Controller software from the official TP-Link webсајту.
- Follow the on-screen instructions to install and set up the controller.
- Connect your EAP610 to the network where the Omada Controller is running. The controller will detect and allow you to adopt the EAP610.
5.2 Omada App
For convenient management via your mobile device, use the Omada app.
- Download the TP-Link Omada app from the App Store (iOS) or Google Play (Android).
- Launch the app and follow the instructions to add your EAP610.
For detailed configuration steps, refer to the official TP-Link Omada documentation available on their support webсајту.
6. Упутство за употребу
Once installed and configured, the EAP610 will broadcast Wi-Fi signals for client devices to connect.
6.1 Повезивање на Ви-Фи
- На свом бежичном уређају (паметном телефону, лаптопу, таблету) потражите доступне Wi-Fi мреже.
- Select the SSID (Wi-Fi network name) configured for your EAP610.
- Унесите лозинку за Ви-Фи ако се то од вас затражи.
- Your device should now be connected to the EAP610's Wi-Fi network.
6.2 Беспрекорни роминг
When multiple EAP610 access points are deployed and managed by an Omada Controller, client devices can seamlessly roam between them without interruption. This ensures a consistent connection for applications like video calls and voice over IP (VoIP) as you move within the coverage area.
7. Одржавање
Regular maintenance helps ensure optimal performance and longevity of your EAP610 access point.
- Ажурирања фирмвера: Периодично проверавајте ТП-Линк website or your Omada Controller for new firmware versions. Updating firmware can improve performance, add new features, and fix security vulnerabilities.
- Чишћење: Одржавајте уређај чистим и без прашине. Користите меку, суву крпу за брисање спољашњости. Не користите течна средства за чишћење или аеросоле.
- Оптимално постављање: Ensure the access point remains in an unobstructed location for best signal propagation. Avoid placing it near large metal objects or sources of electromagnetic interference.
- Поновно покретање: If you experience network issues, a simple restart of the access point can often resolve them.
КСНУМКС. Решавање проблема
Овај одељак се бави уобичајеним проблемима на које можете наићи са својим EAP610.
8.1 Нема напајања
- Ensure the Ethernet cable is securely connected to both the EAP610 and the PoE source (switch or injector).
- Verify that the PoE source is powered on and functioning correctly.
- If using a DC adapter, ensure it is properly connected and the power outlet is active.
8.2 Нема Wi-Fi сигнала
- Check the status LED on the EAP610. Refer to the installation guide for LED indicator meanings.
- Verify that the EAP610 is properly configured via the Omada Controller or app.
- Ensure the Wi-Fi function is enabled and the SSIDs are broadcasting.
- Restart the EAP610.
8.3 Мала брзина Wi-Fi-ја
- Проверите да ли постоје сметње од других електронских уређаја или суседних Wi-Fi мрежа.
- Ensure your client device supports Wi-Fi 6 (802.11ax) to take full advantagмогућности EAP610-а.
- Verify the EAP610's channel settings and adjust if necessary to avoid congestion.
- Ensure the Ethernet connection to the EAP610 is gigabit-speed.
For more advanced troubleshooting, consult the comprehensive FAQ and support resources on the TP-Link webсајту.
9. Спецификације
| Феатуре | Детаљ |
|---|---|
| Бранд | ТП-Линк |
| Назив модела | ЕАП610 |
| Број модела ставке | ЕАП610 |
| Димензије производа | 13.34 к 0.79 к 4.22 цм |
| Тежина артикла | 600 грама |
| Боја | Бела |
| Вирелесс Типе | 802.11ак (Ви-Фи 6) |
| Класа фреквенцијског опсега | Дуал-Банд |
| Стандард бежичне комуникације | КСНУМКСак |
| Технологија повезивања | Етхернет |
| Извор напајања | DC, Power over Ethernet (PoE) |
| Волtage | 12 Волтс |
| Оперативни систем | RouterOS (Note: This might be a generic entry, Omada SDN is the primary management platform) |
| Посебне карактеристике | RJ-45, Wireless |
| Компатибилни уређаји | Wi-Fi 6 enabled devices (smartphones, laptops, etc.) |
| Препоручена употреба за производ | Company, Commercial |
| Укључене компоненте | 1 × EAP610 |
| Батерије | Not known, requires batteries (Note: This device typically does not use batteries) |
| Батерије укључене | бр |
10. Гаранција и подршка
За информације о гаранцији, техничку подршку и додатне ресурсе, посетите званичну веб страницу компаније TP-Link. webсајт:
You can find FAQs, updated drivers and firmware, and contact information for technical assistance.