1. Увод
This manual provides detailed instructions for the setup, operation, and maintenance of your Volcora Thermal Receipt Printer, Model 500204. This high-speed 80mm POS printer features an auto cutter and offers versatile connectivity options including USB and Bluetooth, supporting various operating systems. Please read this manual thoroughly before using the printer to ensure proper functionality and longevity.
2. Безбедносне информације
- Ensure the printer is connected to a grounded power outlet.
- Не излажите штампач води или високој влажности.
- Избегавајте постављање штампача на директну сунчеву светлост или близу извора топлоте.
- Use only the power adapter supplied with the printer.
- Do not attempt to disassemble or repair the printer yourself. Contact customer support for assistance.
- Keep hands clear of the auto cutter mechanism during operation.
3. Садржај пакета
Проверите да ли су све ставке наведене у наставку укључене у ваш пакет:
- Volcora Thermal Receipt Printer - Standard
- Повер Адаптер
- Папер Роллер
- УСБ кабл
- CD (for drivers and manual)
- Мануал
- Sample Receipt Paper

Слика 3.1: Included Components - Thermal Receipt Printer, Power Adapter, USB Cable, Test Paper, and Installation CD.
4. Производ је готовview

Слика 4.1: Фронт view of the Volcora Thermal Receipt Printer with a sampрачун.
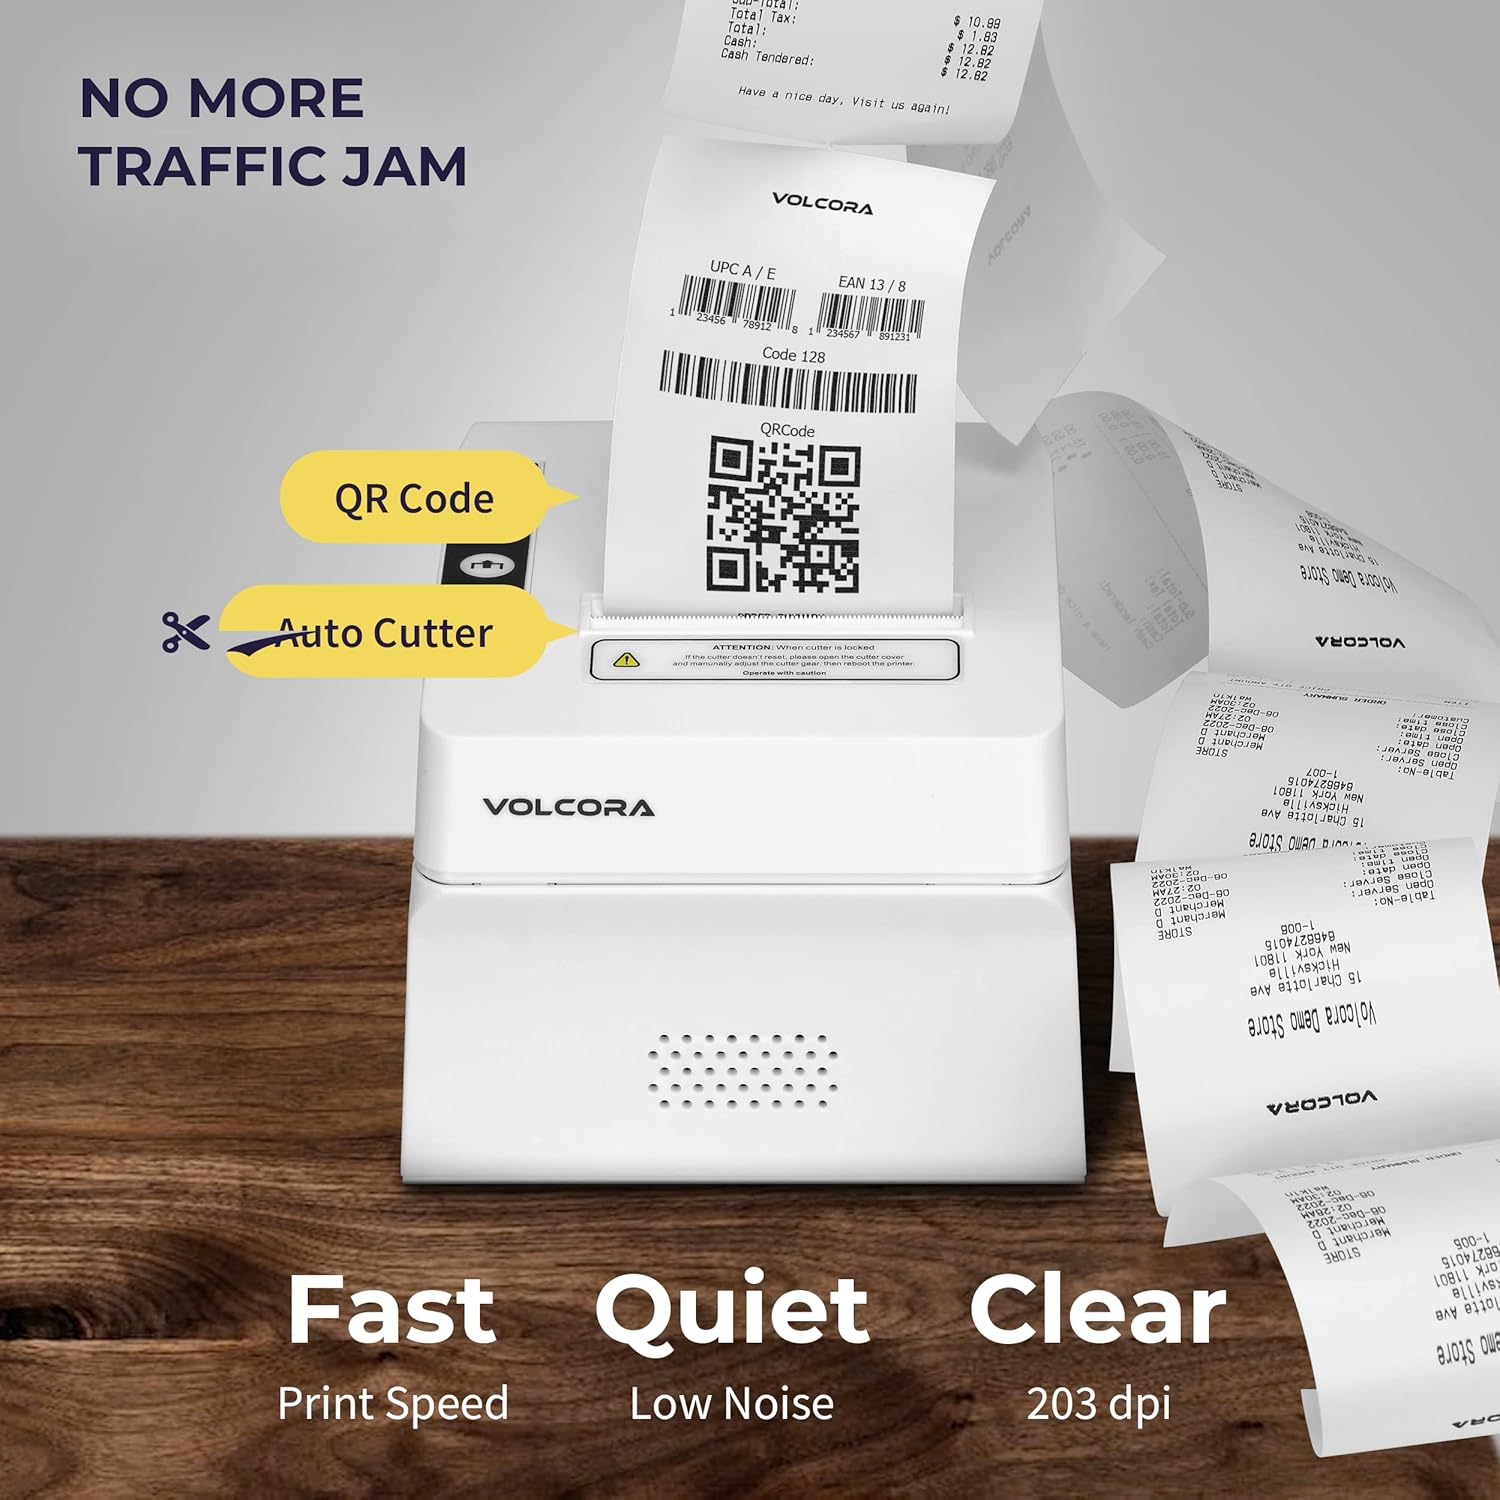
Слика 4.2: Key features include QR code printing, automatic cutter, fast print speed, low noise, and 203 dpi clear printing.
4.1 Портови и дугмад

Слика 4.3: Rear ports include Power Supply, Cash Drawer Port (6Pin RJ11), and USB Port. Front panel features Power LED, Error LED, Paper LED, Feed Button, and Cover Open Button.
4.2 Опције пласмана

Слика 4.4: The printer supports both wall mounting (as a kitchen printer) and counter placement (as a receipt printer).
5. Подешавање
5.1 Initial Connection and Paper Roll Installation
- Unbox the printer and all accessories.
- Прикључите адаптер за напајање на штампач и утичницу.
- Open the paper cover by pressing the "PUSH" button.
- Insert the 80mm thermal paper roll, ensuring the paper feeds from the bottom and the leading edge extends slightly past the cutter.
- Чврсто затворите поклопац за папир док не кликне на место.
- Connect the USB cable from the printer to your computer (for initial setup or USB printing).

Слика 5.1: Готовоview of the installation process: Download drivers, Install, Connect power and USB, and Test print.
5.2 Printer Self-Test
Performing a self-test helps verify the printer's basic functionality and prints its configuration settings.
- Уверите се да је штампач искључен.
- Press and hold the "Feed" button.
- While holding the "Feed" button, power on the printer.
- Release the "Feed" button after approximately 5 seconds. The printer should print a self-test page.
For a visual guide on unboxing, connecting, and performing a self-test, please watch the video below:
Видео 5.1: Getting Started with Volcora Thermal Receipt Printer - Unboxing, Connecting, and Self-Test.
6. Driver Installation and Connectivity
The Volcora Thermal Receipt Printer supports USB and Bluetooth connectivity. Proper driver installation is crucial for seamless operation.
6.1 Компатибилност система
Молимо реview the compatibility chart before proceeding with driver installation:

Слика 6.1: Компатибилност је завршенаview for USB and Bluetooth connections across various operating systems. Note that Mac OS and iOS are not supported.

Слика 6.2: List of compatible and non-compatible POS software applications.
6.2 Windows Driver Installation (USB)
For Windows users, download the latest drivers from the official Volcora support website. The installation CD also contains the necessary drivers.
- Преузмите драјвер за Виндовс са volcora.com/support.
- Распакујте преузето file and open the driver application.
- Follow the on-screen prompts, select your printer model (500204), and complete the installation.
- After installation, the printer should be recognized in your Windows "Printers & Scanners" settings, allowing you to print a test page.
Refer to Video 5.1 for initial connection steps. The video also demonstrates driver installation and testing tools for Windows.
6.3 Bluetooth Connection with Windows PC
This section outlines two methods for connecting your printer via Bluetooth to a Windows PC.
Method 1: Driver Pre-installed with USB Connection
- Ensure the printer driver has been installed using a USB cable connection (refer to Section 6.2).
- Go to Windows Settings > Bluetooth & devices > Add device > Bluetooth.
- Select the printer (e.g., "500203" or "Volcora Thermal Printer") from the list of available devices and pair it. Enter the default PIN (usually "0000" or "1234").
- After pairing, check the printer's properties in "Devices and Printers" to identify the assigned COM port (e.g., COM4).
- Use the Setting Tool (available from volcora.com/support) to select the correct COM port and perform a test print.
Method 2: Driver Installation After Bluetooth Connection
- Start by pairing the printer via Bluetooth directly (Windows Settings > Bluetooth & devices > Add device > Bluetooth). Enter the default PIN.
- Open Device Manager (search in Windows) and expand "Ports (COM & LPT)" to find the COM port used by the Bluetooth printer (e.g., COM3 or COM4).
- Install the printer driver (from volcora.com/support or CD), selecting the identified COM port during the installation process. If the first COM port doesn't work, try the other one listed.
- Once the driver is installed, the printer should appear in "Printers & Scanners" and be ready for use.
Видео 6.3: How to connect your Volcora Thermal Receipt Printer via Bluetooth to a Windows PC.
6.4 Bluetooth Connection with Android Tablets
To connect your printer to an Android tablet, follow these steps:
- Go to your Android tablet's Settings and enable Bluetooth.
- Тражи new devices and select your printer (e.g., "500203"). Pair the device using the default PIN (usually "0000" or "1234").
- Download the "PrintDemo Tool" from volcora.com/support.
- Open the PrintDemo Tool, go to "Setting", select "Bluetooth" as the interface, and search for your paired printer.
- Perform a "print test" to confirm connectivity.
- For POS applications like Loyverse POS or W&O POS, navigate to their printer settings, select "Bluetooth" as the interface, and choose your Volcora printer to perform a test print.
Видео 6.4: How to connect your Volcora Thermal Receipt Printer via Bluetooth to an Android Tablet.
7. Упутство за употребу
Once the printer is successfully connected and drivers are installed, it will function as a standard printer for your compatible system or POS application. Ensure your application is configured to use the Volcora Thermal Printer for receipt printing.
- Штампање: Send print commands from your software. The printer will automatically feed and cut the receipt.
- Увлачење папира: Press the "Feed" button on the front panel to manually advance the paper.
- Индикатор грешке: The "Error" LED will illuminate if there is a paper jam, paper out, or other issues. Refer to the troubleshooting section.
8. Одржавање
Редовно одржавање обезбеђује оптималне перформансе и продужава век трајања вашег штампача.
- Чишћење главе штампача: Користите меку крпу која не оставља длачице дampened with isopropyl alcohol to gently wipe the thermal print head. Ensure the printer is off and cooled down before cleaning.
- Чишћење ваљка за штампање: Rotate the platen roller and wipe it with an alcohol-dampened cloth to remove paper dust or adhesive residue.
- Спољно чишћење: Wipe the exterior of the printer with a soft, dry cloth. Avoid abrasive cleaners.
9. Спецификације
Detailed technical specifications for the Volcora Thermal Receipt Printer Model 500204:

Слика 9.1: Visual representation of printer dimensions and key specifications.
| Феатуре | Детаљ |
|---|---|
| Димензије производа | 4"Д к 8"Ш к 8"В |
| Брзина штампања | 220мм/с |
| Папер Видтх | 80 mm (79.5 millimeters) |
| Принт Видтх | 72 мм |
| Густина тачака | 8 dot/mm, 576 dot/line |
| Резолуција штампања | 203 dpi (203 x 203 dpi) |
| Команда штампача | ЕСЦ/ПОС |
| Врсте бар кодова | UPC-A/ UPC-E/ EAN13/ EAN8/ CODE39/ ITF25/ CODABAR/ CODE93/ CODE128/ QRCODE/ PDF417/ Data matrix |
| Инпут Повер | АЦ 110В/240В, 50-60Хз |
| Излазна снага | ДЦ 24В/2А |
| Трајање аутоматског резача | 1.5 милиона резова |
| Технологија повезивања | Блуетоотх, УСБ |
| Технологија штампе | Тхермал |
| Компатибилни уређаји | Laptops, PC, Tablets |
| Капацитет меморије | 64 КБ |
| Тежина артикла | 3.76 фунте (1.71 килограма) |
| Број модела | 500204 |
| УПЦ | 810041565044 |
КСНУМКС. Решавање проблема
If you encounter issues with your Volcora Thermal Receipt Printer, consider the following common solutions:
- Штампач не реагује:
- Проверите прикључке за напајање и уверите се да је штампач укључен.
- Verify USB or Bluetooth connection status.
- Perform a printer self-test (Section 5.2) to confirm internal functionality.
- Reinstall drivers if necessary.
- Лош квалитет штампе:
- Уверите се да користите висококвалитетни термални папир.
- Clean the thermal print head (Section 8).
- Check printer settings for print density or speed adjustments.
- Заглављивање папира:
- Turn off the printer and carefully open the paper cover.
- Remove any jammed paper or debris.
- Ensure the paper roll is correctly installed and not too tight.
- Проблеми са Блуетоотх везом:
- Ensure Bluetooth is enabled on both the printer and your device.
- Unpair and re-pair the printer.
- Verify the correct COM port is selected in your driver or application settings.
For further assistance, please refer to the support information in Section 11.
11. Гаранција и подршка
All Volcora products are backed by a limited lifetime warranty. Our US-based customer support team is available to assist with any issues regarding setup, connection, compatibility, or other product-related concerns.
- Visit Help Portal: https://help.volcora.com
- Download Support Center: https://volcora.com/support
- Контакт за корисничку подршку: суппорт@волцора.цом

Слика 11.1: Volcora offers US-based customer support for product assistance.