
Увод
This manual provides detailed instructions for the installation, operation, and maintenance of your AXAGON ADSA-ST USB 3.0 Docking Station. This device is designed to connect 2.5" and 3.5" SATA SSDs and HDDs to your computer via a USB 3.0 interface, offering fast data transfer speeds.
Молимо вас да пажљиво прочитате ово упутство пре употребе производа како бисте осигурали исправно функционисање и спречили оштећења.
Садржај пакета
Проверите да ли су све компоненте присутне у пакету:
- AXAGON ADSA-ST Docking Station
- USB 3.0 Type-A to Micro-B cable
- Повер Адаптер
- Кориснички приручник (овај документ)

Image: The AXAGON ADSA-ST Docking Station shown alongside its retail packaging, illustrating the product and its box.
Кључне карактеристике
- Supports 2.5" and 3.5" SATA I/II/III SSDs and HDDs.
- USB 3.0 (USB 3.2 Gen 1) interface with up to 5 Gbps transfer speed.
- SATA 6G (SATA III) support.
- UASP (USB Attached SCSI Protocol) support for enhanced performance.
- TRIM support for SSDs.
- HDD Auto Spindown function.
- LED indication for power and activity.
- Compact design with aluminum body.

Слика: А view of the AXAGON ADSA-ST Docking Station highlighting its 5 Gbps USB 3.2 Gen 1 speed and compact size.
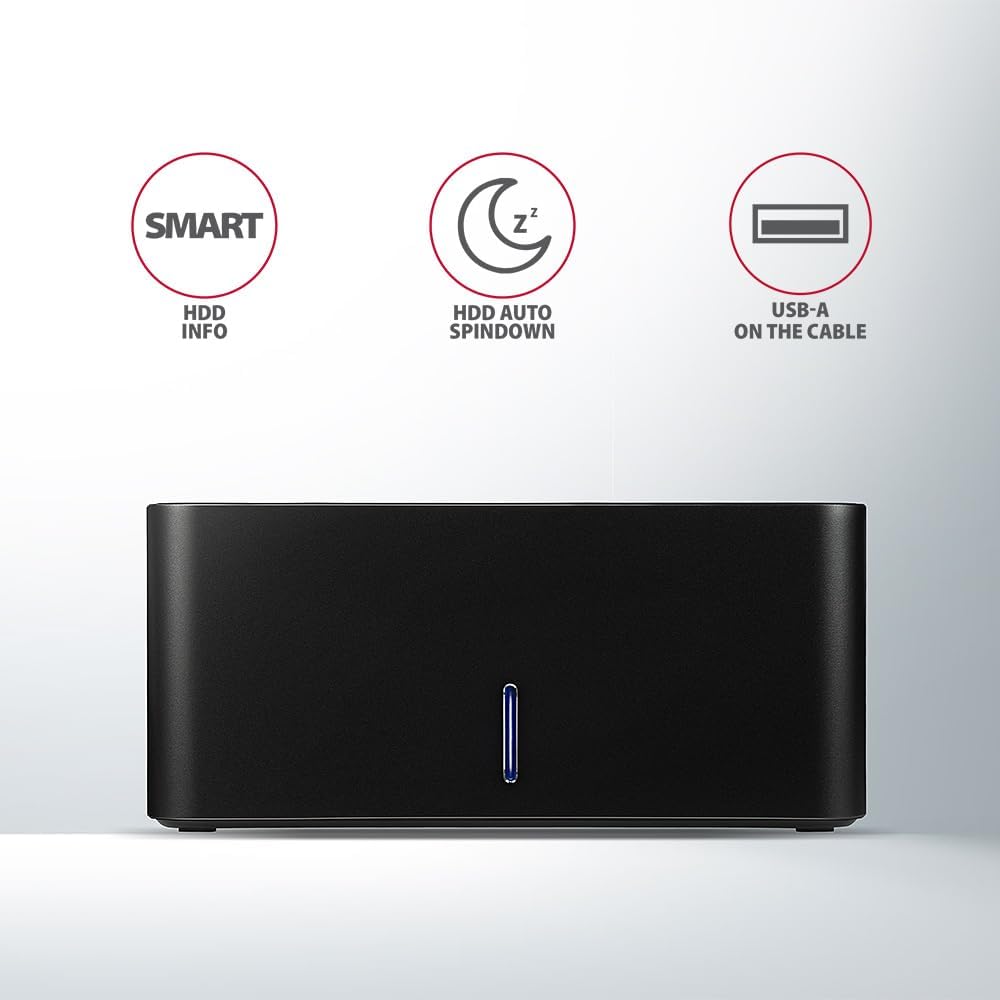
Image: The docking station from the front, indicating features like SMART HDD info, automatic HDD spindown, and USB-A connectivity.
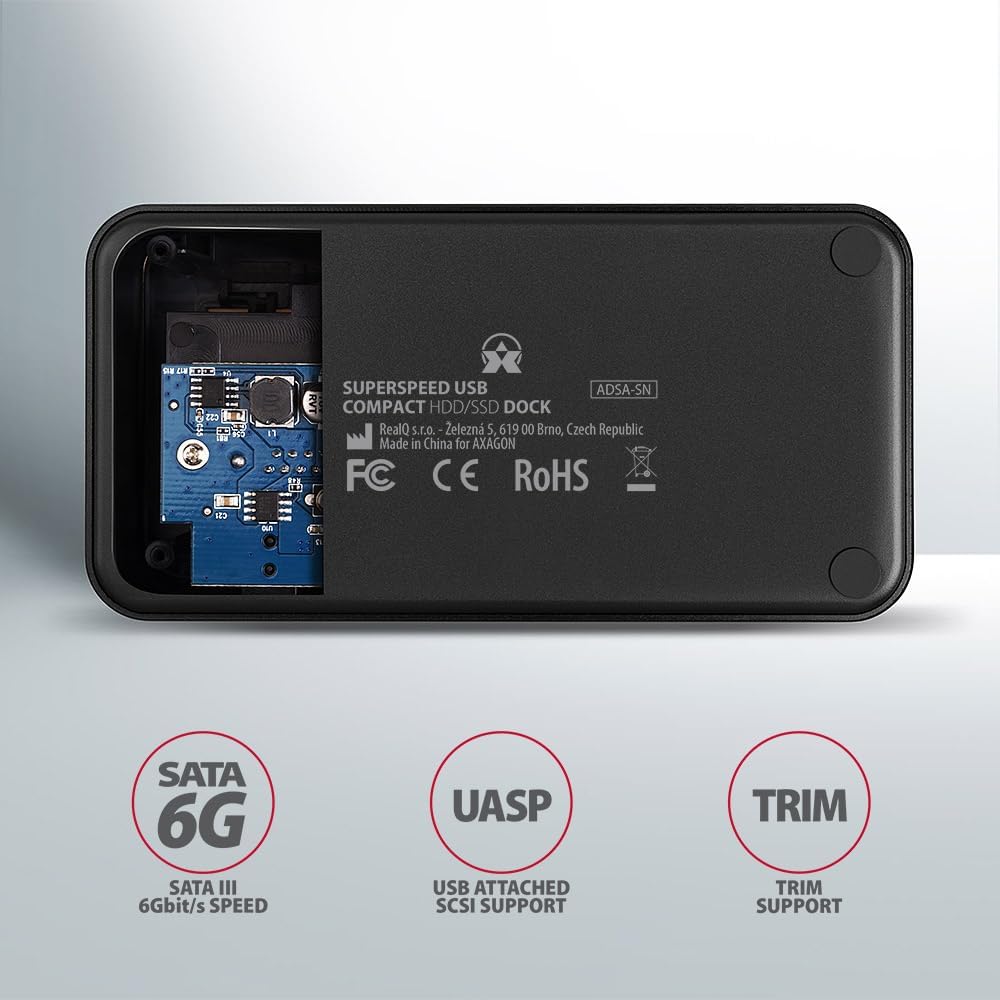
Image: The underside of the docking station, showing internal components and highlighting SATA 6G, UASP, and TRIM support.
Упутства за подешавање
- Повежите адаптер за напајање: Plug the included power adapter into the DC IN port on the back of the docking station and then into a power outlet.
- Повежите се са рачунаром: Connect the USB 3.0 cable from the docking station's Micro-B port to an available USB 3.0 (or higher) port on your computer.
- Уметните HDD/SSD:
- For 2.5" SSD/HDD: Gently slide the 2.5" drive into the slot until it connects firmly with the SATA connector.
- For 3.5" HDD: Gently slide the 3.5" drive into the slot until it connects firmly with the SATA connector.
Ensure the drive is inserted correctly with the SATA connector facing the correct direction. Do not force the drive.

Image: A 2.5-inch SSD being inserted into the docking station, demonstrating compatibility with smaller drives.
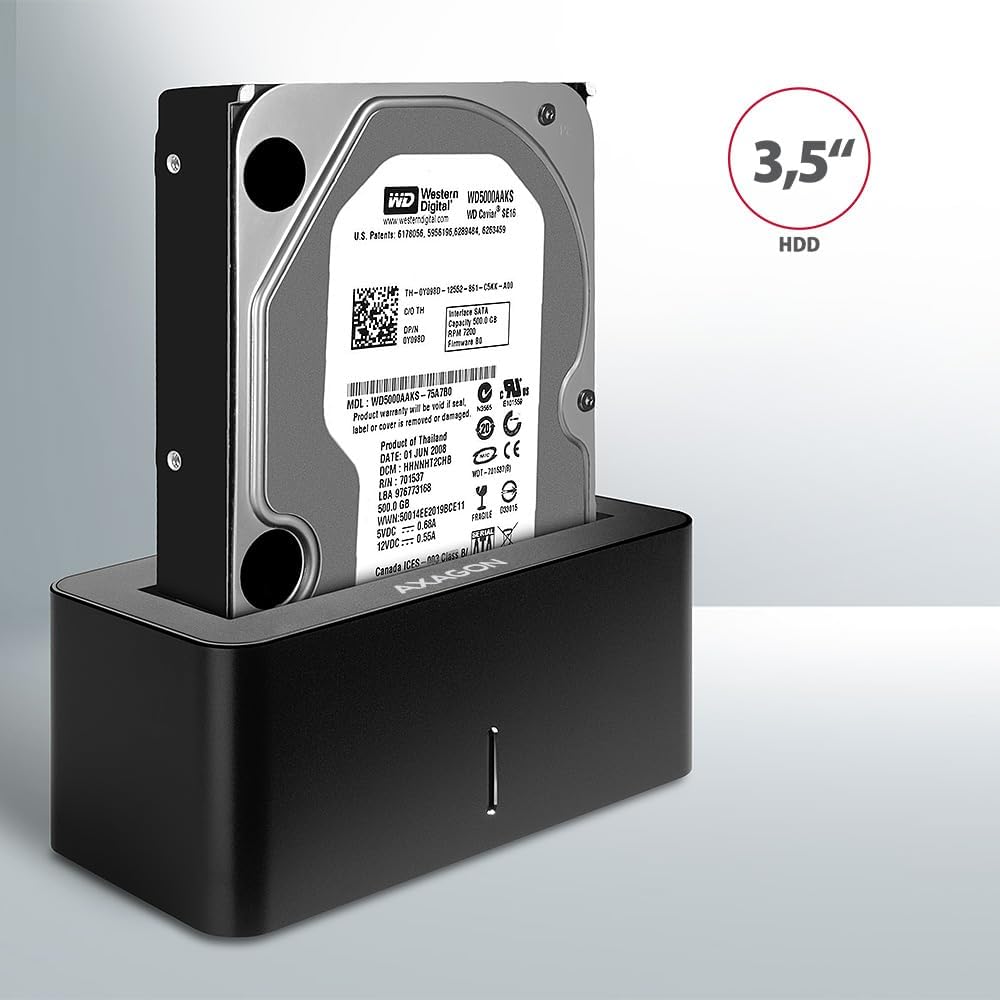
Image: A 3.5-inch HDD being inserted into the docking station, demonstrating compatibility with larger drives.
- Укључено: Press the power button located on the back of the docking station. The LED indicator on the front will illuminate.
Image: The rear panel of the docking station, showing the power button, USB Micro-B port, and power input for connection.
Упутство за употребу
Drive Recognition
Once powered on and connected, your operating system should automatically detect the inserted drive. If it's a new drive, you may need to initialize and format it through Disk Management (Windows) or Disk Utility (macOS) before it appears in File Истраживач/Проналазач.
ЛЕД индикатор
The LED indicator on the front of the docking station provides status information:
- Пуна плава: Power on, drive idle.
- Трепери плаво: Drive activity (reading or writing data).
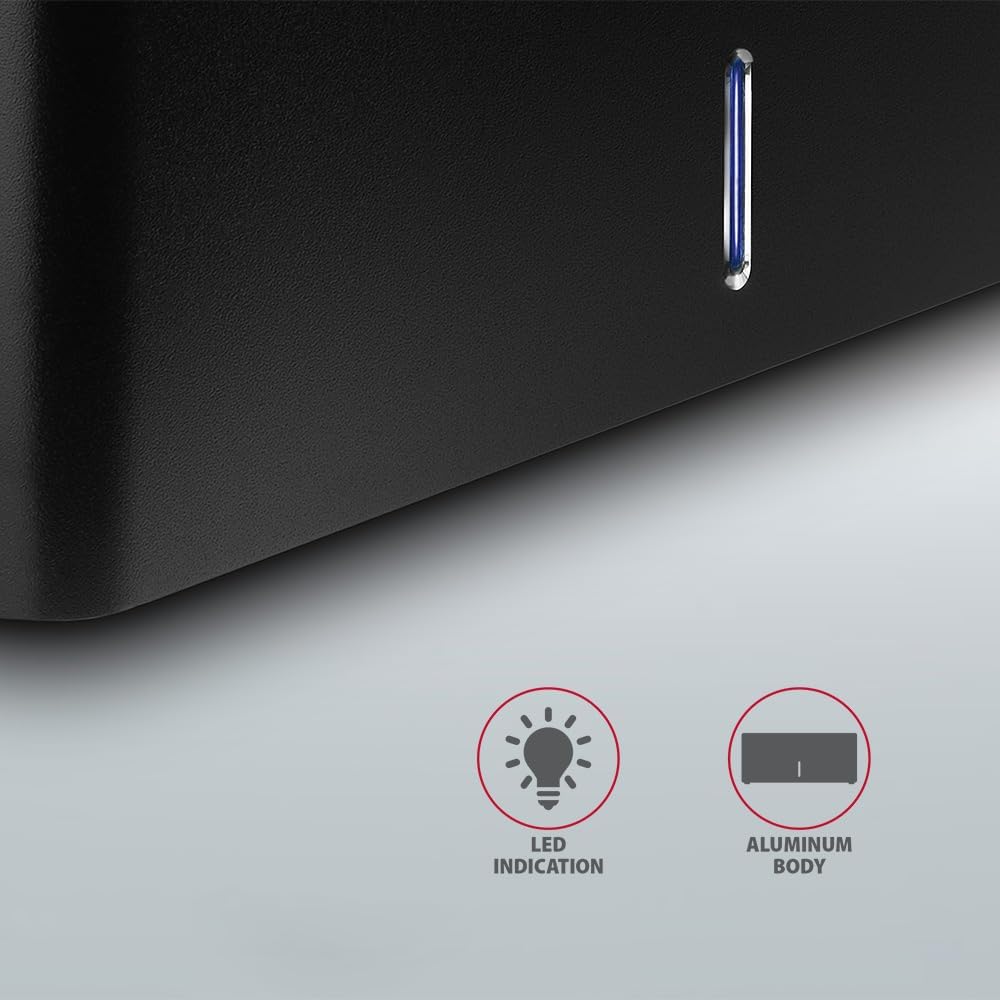
Слика: Крупни план view of the docking station's front panel, highlighting the LED indicator light.
Removing a Drive
Before removing a drive, always safely eject it from your operating system to prevent data corruption. After ejection, gently pull the drive straight out of the docking station slot.
HDD Auto Spindown
The docking station supports automatic spindown of the HDD when it is idle for a certain period, conserving power and extending drive lifespan. This feature is managed by the operating system or the drive itself.
Одржавање
- Keep the docking station clean and free from dust. Use a soft, dry cloth for cleaning.
- Избегавајте излагање уређаја екстремним температурама, влажности или директној сунчевој светлости.
- Не покушавајте сами да растављате или поправљате уређај. Обратите се квалификованом сервисеру.
- Ensure proper ventilation around the docking station during operation.
Решавање проблема
- Drive not detected:
- Уверите се да је адаптер за напајање безбедно повезан и да је базна станица укључена.
- Verify the USB cable is properly connected to both the docking station and the computer.
- Покушајте са другим УСБ портом на рачунару.
- Ensure the HDD/SSD is fully seated in the docking station's slot.
- Check Disk Management (Windows) or Disk Utility (macOS) to see if the drive is recognized but uninitialized/unformatted.
- Test with a different HDD/SSD to rule out a drive issue.
- Споре брзине преноса:
- Ensure the docking station is connected to a USB 3.0 (or higher) port on your computer. USB 2.0 ports will limit speeds.
- Verify your operating system and drivers are up to date.
- The actual speed depends on the drive's performance and your computer's USB controller.
- Drive disconnects randomly:
- Проверите све кабловске везе.
- Уверите се да адаптер за напајање обезбеђује стабилно напајање.
- Disable USB power saving features in your computer's operating system settings.
Техничке спецификације
| Феатуре | Детаљ |
|---|---|
| Бранд | АКСАГОН |
| Број модела | ADSA-SN |
| Хардверска платформа | PC |
| Компатибилни уређаји | Лаптоп, десктоп рачунар |
| Компатибилност погона | 2.5" / 3.5" SATA I/II/III SSD/HDD |
| Интерфејс | УСБ 3.0 (УСБ 3.2 Ген 1) |
| Брзина преноса података | Up to 5 Gbps (USB 3.0), 6 Gbps (SATA III) |
| Укупно УСБ портова | 1 (Micro-B) |
| Број одељења за погон | 1 |
| Боја | Црно |
| Тежина артикла | 2.2 фунти (приближно 1 кг) |
| Димензије пакета | 3.94 x 0.79 x 0.39 инча (приближно 10 x 2 x 1 цм) |
| Датум првог доступног | 30. марта 2021. године |
Гаранција и подршка
For warranty information and technical support, please refer to the official AXAGON webсајт или контактирајте локалног дистрибутера. Сачувајте доказ о куповини за потребе гаранције.