
1. Производ је готовview
The iTOMA CKS209 is a versatile alarm clock radio designed to enhance your bedside experience. It features dual wireless charging capabilities for your smartphone and earbuds, along with two additional USB ports for other devices. Enjoy your favorite music via Bluetooth 5.1 technology or tune into digital FM radio. The clock includes dual alarms with customizable wake-up modes, a large 1.4-inch orange LED display with auto and manual dimmer control, and a 2-level orange night light.
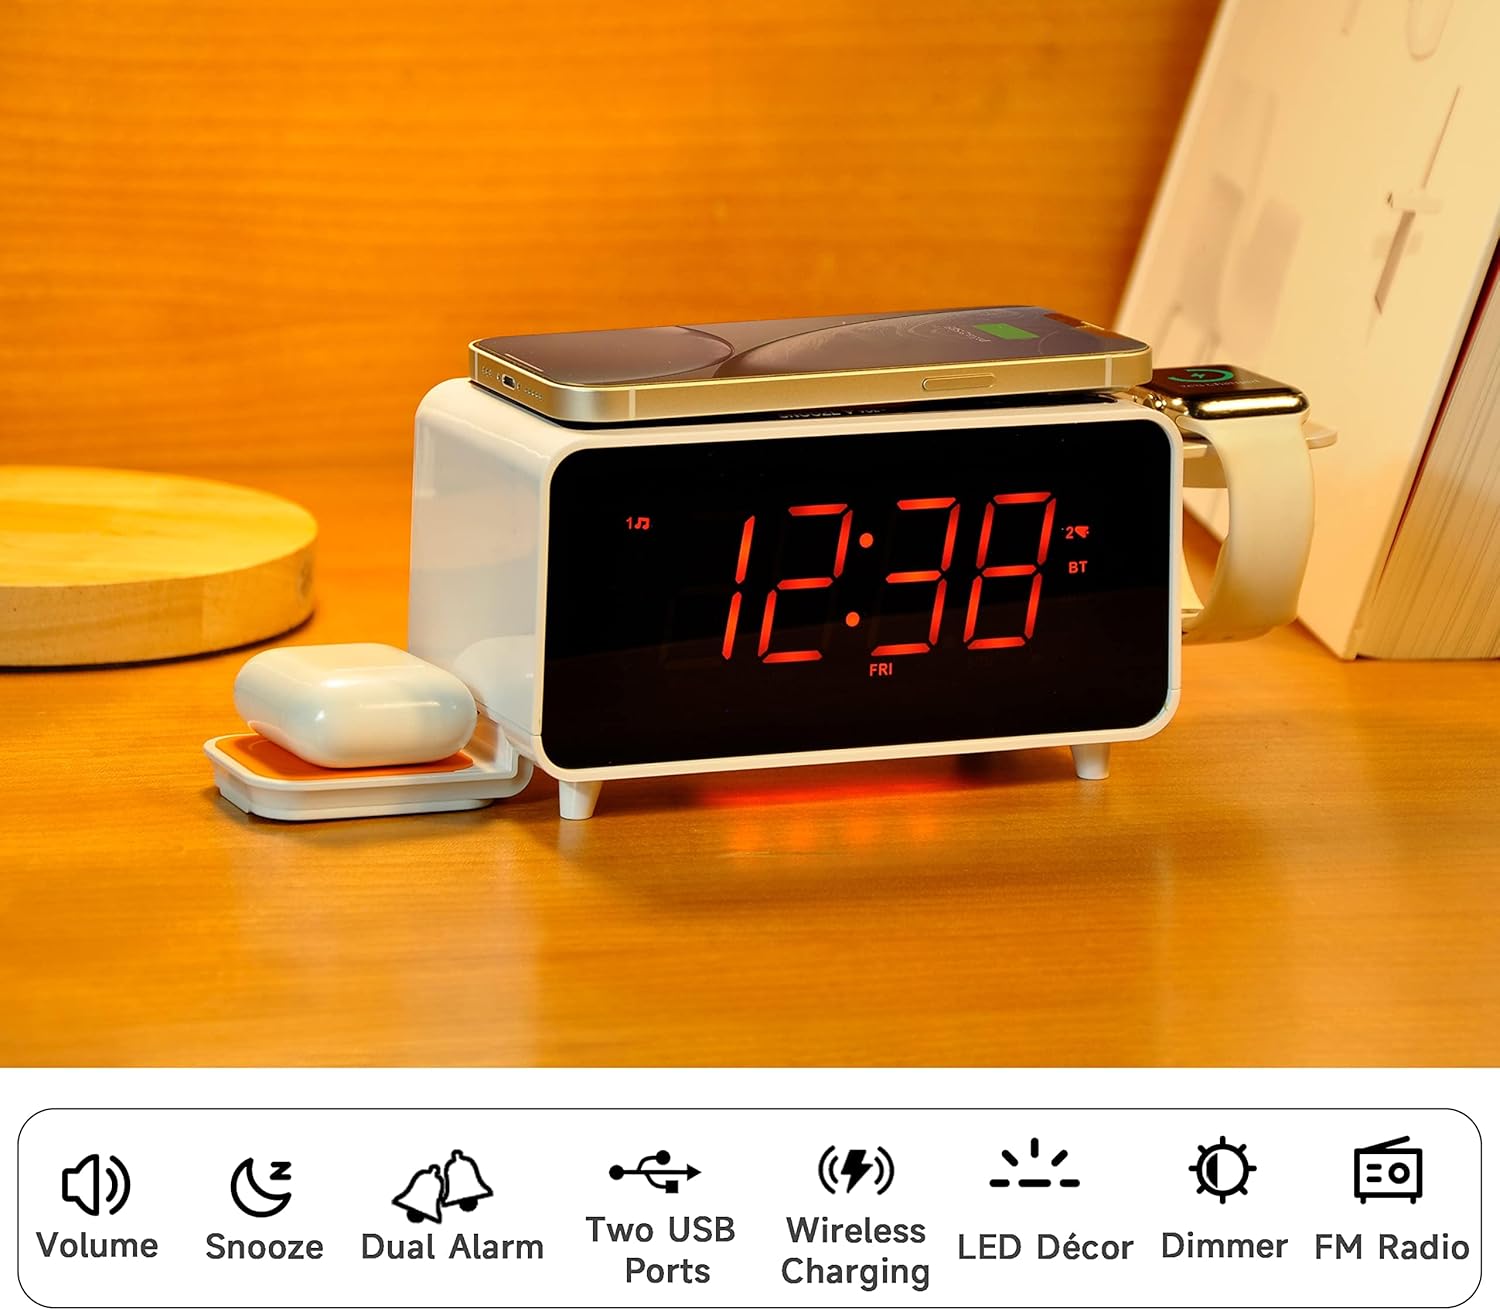
Image: The iTOMA CKS209 alarm clock radio displaying the time, with a smartphone wirelessly charging on top, earbuds on a side wireless charging pad, and a smartwatch on its holder.
Кључне карактеристике:
- Бежично пуњење: 15W ultra-fast wireless charger for smartphones and 3W foldable earphone wireless charger. Includes a watch wireless charging support holder (charging cable not included).
- Блуетоотх КСНУМКС: Seamless audio streaming from your Bluetooth-enabled devices.
- Двојни УСБ портови: One USB-A and one USB-C port (5V 2.1A) for additional device charging.
- Smart Dual Alarm: Set two independent alarms with options to wake to radio or buzzer. Features snooze, crescendo wake-up, 15-level volume control, and 4 alarm week modes (Every day, single day, weekdays, weekends).
- 1.4" Orange LED Display: Clear 12/24-hour format display with 3-level dimmer brightness and auto-dimmer function.
- Ноћно светло: 2-level orange night light for ambient illumination.
- Digital FM Radio: 20 programmable preset stations with external wire antenna for enhanced reception.
- Резервна батерија: Maintains time and alarm settings during power interruptions.
2. Подешавање
2.1 Прикључак за напајање
- Unpack the iTOMA CKS209 unit and all accessories.
- Connect the provided AC adapter to the DC IN jack on the back of the unit.
- Plug the AC adapter into a standard wall outlet. The display will light up, and the clock will automatically set the time.
2.2 Initial Time Setting (Manual)
While the clock features auto-time setting, you can manually adjust the time, date, and year if needed.
- Притисните и држите СЕТ САТА button located on the top panel until the year flashes on the display.
- Користите ТУНЕ +/- buttons (or rotate the SNOOZE/VOL dial) to adjust the year.
- Притисните СЕТ САТА again to confirm and move to the month setting. Repeat the process for month, day, hour, and minute.
- Притисните СЕТ САТА one last time to save your settings.
2.3 Time Zone and Daylight Saving Time (DST)
- Притисните и држите СПАВАЊЕ/ВРЕМЕНСКА ЗОНА button to enter time zone setting.
- Користите ТУНЕ +/- buttons (or rotate the SNOOZE/VOL dial) to select your desired time zone.
- Притисните СПАВАЊЕ/ВРЕМЕНСКА ЗОНА again to toggle DST ON or OFF.
- Притисните СПАВАЊЕ/ВРЕМЕНСКА ЗОНА one last time to confirm and exit.
Video: This video demonstrates the time setting and Bluetooth operation for a similar iTOMA CKS207 model, which shares similar functionalities with the CKS209.
3. Упутство за употребу
3.1 Бежично пуњење
The iTOMA CKS209 features multiple wireless charging options:
- Smartphone Wireless Charging: Place your Qi-compatible smartphone on the top charging pad. The charging indicator on the display will illuminate to confirm charging.
- Earbud Wireless Charging: Place your Qi-compatible earbuds on the foldable 3W wireless charging pad located on the side.
- Smartwatch Holder: Utilize the integrated holder for your smartwatch. Note: A separate smartwatch charging cable (not included) is required and connects to one of the USB ports.
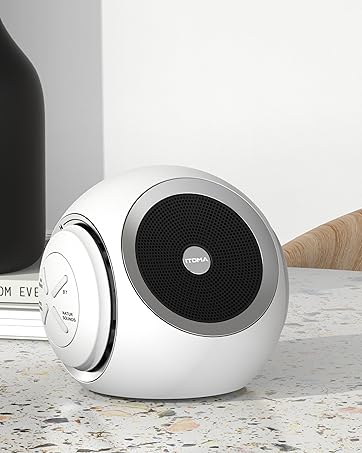
Image: A smartphone is placed on the top surface of the iTOMA CKS209, indicating wireless charging in progress.
Image: A close-up of the side of the iTOMA CKS209 showing the integrated holder designed for a smartwatch.
3.2 УСБ порта за пуњење
In addition to wireless charging, the unit provides two USB ports (one Type-A and one Type-C) on the back for wired charging of other devices.
- Connect your device's USB charging cable to either the USB-A or USB-C port on the back of the alarm clock.
- Ensure your device is properly connected and charging.
Image: A smartphone is connected via a USB cable to one of the charging ports on the back of the iTOMA CKS209.
3.3 Блуетоотх звучник
Бежично преносите аудио са уређаја који подржавају Bluetooth.
- Притисните тастер ОН/ОФФ дугме за укључивање јединице.
- Притисните тастер МОДЕ button repeatedly until 'BT' appears on the display and starts flashing, indicating pairing mode.
- On your mobile device, enable Bluetooth and search for 'iTOMA CKS209' (or similar model name).
- Select the device to pair. Once connected, 'BT' will stop flashing and remain solid.
- You can now play audio from your device through the alarm clock speaker. Adjust volume using the ВОЛ +/- buttons or your mobile device.

Image: A smartphone displaying music playback is positioned near the iTOMA CKS209, indicating a Bluetooth connection.
3.4 ФМ Радио
Слушајте своје омиљене ФМ радио станице.
- Притисните тастер ОН/ОФФ дугме за укључивање јединице.
- Притисните тастер МОДЕ button repeatedly until the FM frequency appears on the display.
- For automatic station search, press and hold the ТУНЕ +/- buttons. The radio will scan and save available stations.
- For manual tuning, short press the ТУНЕ +/- дугмад за подешавање фреквенције корак по корак.
- Подесите јачину звука помоћу ВОЛ +/- дугмад.
3.5 Двоструки будилник
Set up to two independent alarms.
- Притисните тастер АЛ1 or АЛ2 button to select the desired alarm. The alarm time will flash on the display.
- Користите ТУНЕ +/- buttons (or rotate the SNOOZE/VOL dial) to set the desired alarm hour and minute.
- Притисните АЛ1 or АЛ2 again to select the wake-up source (Buzzer or FM Radio).
- Притисните АЛ1 or АЛ2 again to select the alarm week mode (Every day, single day, weekdays, or weekends).
- Притисните АЛ1 or АЛ2 one last time to confirm and activate the alarm. The alarm indicator will appear on the display.
- Да бисте деактивирали аларм, притисните одговарајуће АЛ1 or АЛ2 button until the alarm indicator disappears from the display.
- Одгода функција: Када се огласи аларм, притисните СНООЗЕ button to temporarily silence the alarm for 9 minutes.

Image: The iTOMA CKS209 alarm clock radio displaying the time on a bedside table, ready for use.
3.6 Display & Dimmer Control
Adjust the brightness of the 1.4-inch orange LED display.
- Кратко притисните на ДИММЕР button to cycle through 3 brightness levels (High, Medium, Low).
- The unit also features an auto-dimmer function that adjusts display brightness based on ambient light conditions.
Image: A visual representation of the iTOMA CKS209 display at different brightness levels, from bright to invisible, and the auto-dimmer setting.
3.7 Ноћно светло
Activate the ambient orange night light.
- Притисните тастер ЛЕД button to turn the night light ON.
- Притисните тастер ЛЕД button again to cycle through 2 brightness levels.
- Притисните тастер ЛЕД button a third time to turn the night light OFF.
4. Одржавање
To ensure the longevity and optimal performance of your iTOMA CKS209, follow these maintenance guidelines:
- Чишћење: Користите меку, суву крпу за чишћење спољашњости уређаја. Не користите течна средства за чишћење или абразивне материјале, јер могу оштетити завршну обраду.
- вентилација: Уверите се да је уређај постављен у добро проветреном простору како бисте спречили прегревање. Не блокирајте вентилационе отворе.
- Кабл за напајање: Редовно проверавајте кабл за напајање да ли је оштећен. Уколико је оштећен, прекините употребу и контактирајте корисничку подршку.
- Складиштење: Ако складиштите уређај дуже време, искључите га из утичнице и чувајте га на хладном и сувом месту.
КСНУМКС. Решавање проблема
If you encounter any issues with your iTOMA CKS209, please refer to the following common troubleshooting steps:
- Без напајања/искључивање екрана:
- Ensure the AC adapter is securely plugged into both the unit and a working wall outlet.
- Проверите да ли је утичница функционална тако што ћете укључити други уређај.
- Бежично пуњење не ради:
- Verify that your device is Qi-compatible.
- Ensure your device is centered correctly on the charging pad.
- Уклоните све дебеле футроле са телефона или металне предмете који могу ометати пуњење.
- Confirm the unit is powered on.
- Проблеми са Блуетоотх упаривањем:
- Ensure the alarm clock is in Bluetooth pairing mode ('BT' flashing).
- Уверите се да је Блуетоотх омогућен на вашем мобилном уређају.
- Move your mobile device closer to the alarm clock.
- Ако је уређај претходно упарен, покушајте да га распарите и поново упарите.
- FM Radio Static/Poor Reception:
- Extend the external wire antenna fully for better reception.
- Reposition the antenna or the unit to find a location with better signal strength.
- Аларм се не оглашава:
- Ensure the alarm (AL1 or AL2) is activated and its indicator is visible on the display.
- Проверите подешавање јачине звука аларма.
- Verify the alarm time and day settings are correct.
6. Спецификације
| Феатуре | Детаљ |
|---|---|
| Бранд | иТОМА |
| Број модела | CKS209-CA |
| Боја | Orange Led Display |
| Димензије производа | 16.8 к 3.81 к 9.1 цм |
| Тежина артикла | 820 г |
| Материјал | Пластика |
| Дисплаи Типе | ЛЕД |
| Посебне карактеристике | Auto Dimmable, Charging Port, Charging Station, Foldable, Multiple Time Zone |
| Бежично пуњење | 15W (Phone), 3W (Earbuds) |
| УСБ пуњење | USB-A, USB-C (5V 2.1A) |
| Блуетоотх верзија | 5.1 |
| ФМ фреквенција | 87.5-108 МХз |
7. Гаранција и подршка
For warranty information, technical support, or any inquiries regarding your iTOMA CKS209, please refer to the documentation included in your product packaging or visit the official iTOMA webсајт. Такође можете директно контактирати продавца за помоћ.