1. Увод
Thank you for choosing the InFocus P120 INL412 Multimedia Projector. This manual provides essential information for the safe and efficient operation of your projector. Please read it thoroughly before using the device and retain it for future reference. The InFocus P120 INL412 is designed for versatile multimedia presentations, offering clear and vibrant images for various applications.
2. Безбедносне информације
To ensure safe operation and prevent damage to the projector, please observe the following safety precautions:
- Не блокирајте вентилационе отворе. Обезбедите довољно простора око пројектора за правилан проток ваздуха како бисте спречили прегревање.
- Избегавајте да гледате директно у сочиво пројектора када је лamp је укључено, јер јако светло може изазвати оштећење ока.
- Do not place the projector on an unstable cart, stand, or table. The projector may fall, causing serious injury to a child or adult, and serious damage to the unit.
- Disconnect the power cord from the wall outlet if the projector will not be used for an extended period.
- Сва сервисирања препустите квалификованом сервисном особљу. Не покушавајте сами да отворите или поправите пројектор.
- Keep the projector away from water or moisture. Do not expose it to rain or immerse it in liquid.
- Use only the power cord supplied with the projector or an authorized replacement.
3. Садржај пакета
Проверите да ли су све ставке наведене у наставку укључене у пакет вашег пројектора:
- InFocus P120 INL412 Multimedia Projector
- Повер Цорд
- Даљински управљач са батеријама
- ВГА кабел
- Кориснички приручник (овај документ)
- Водич за брзи почетак
4. Производ је готовview
Familiarize yourself with the main components of your InFocus P120 INL412 projector.
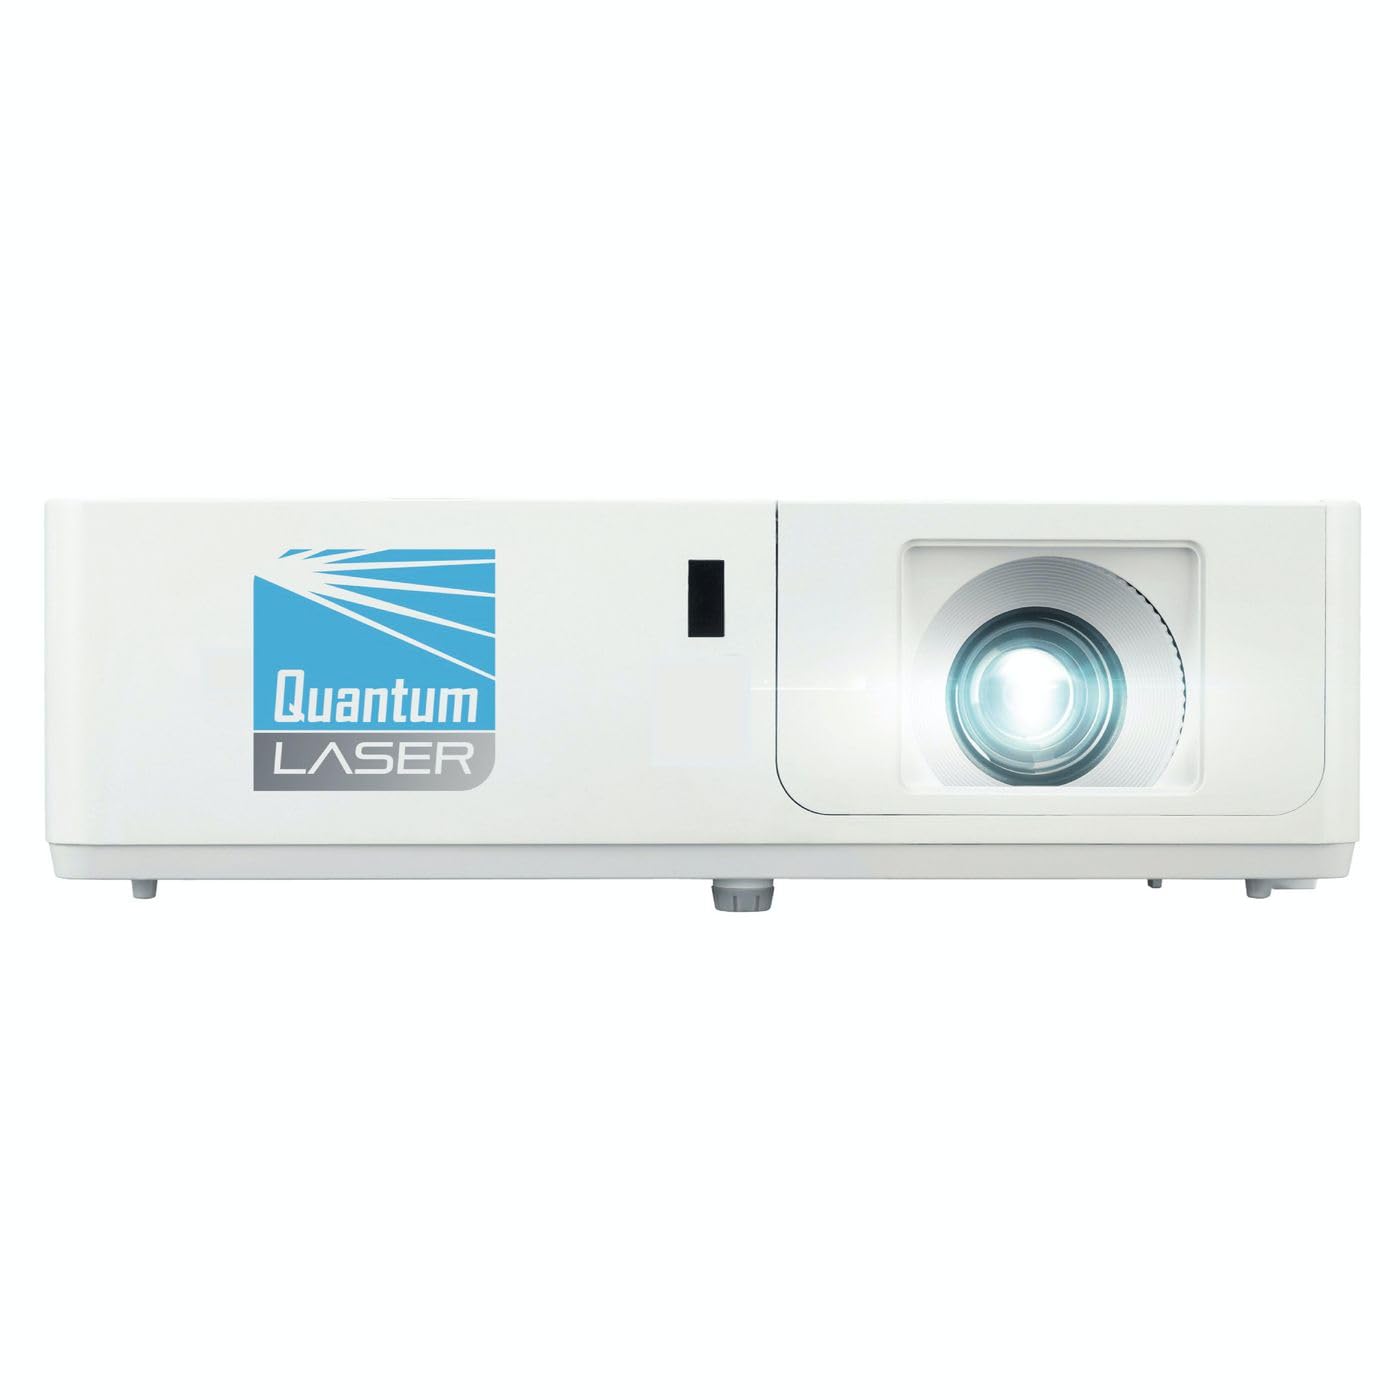
Слика 1: Предња страна view of the InFocus P120 INL412 Multimedia Projector, showing the lens and ventilation grilles.
4.1 Предња плоча
- Пројекционо сочиво: Емитује слику на екран.
- Прстен за фокусирање: Подешава јасноћу пројектоване слике.
- Прстен за зумирање: Adjusts the size of the projected image.
- ИЦ пријемник: Прима сигнале са даљинског управљача.
4.2 Горња плоча
- Контролна табла: Buttons for power, menu navigation, source selection, and keystone correction.
- Индикаторска светла: Display the projector's status (e.g., power, lamp, temperature).
4.3 Задња плоча (повезивање)
- ХДМИ улаз: Connects to HDMI-enabled devices (laptops, Blu-ray players).
- ВГА улаз: Connects to computers with VGA output.
- УСБ порт: For service or connecting USB devices (if supported by model).
- Аудио улаз/излаз: For connecting external audio sources or speakers.
- Улаз за напајање: Повезује кабл за напајање.
5. Подешавање
Пратите ове кораке за почетно подешавање вашег пројектора:
- Пласман: Place the projector on a stable, flat surface or mount it securely. Ensure the projector is positioned at an appropriate distance from the screen to achieve the desired image size.
- Прикључак за напајање: Прикључите кабл за напајање на утичницу за напајање пројектора, а затим на уземљену електричну утичницу.
- Повежите изворни уређај: Connect your source device (e.g., laptop, DVD player) to the projector using an appropriate cable (HDMI, VGA, etc.). Ensure the cable is securely connected to both the source and the projector.
- Укључено: Press the power button on the projector's control panel or the remote control to turn on the projector. The power indicator light will illuminate.
- Adjust Focus and Zoom: Once an image is projected, rotate the focus ring on the lens until the image is sharp and clear. Use the zoom ring to adjust the image size to fit your screen.
- Кеистоне Цоррецтион: If the image appears trapezoidal, use the keystone correction function (either via buttons on the projector/remote or through the on-screen menu) to square the image.
6. Упутство за употребу
6.1 Укључивање/искључивање
- За укључивање: Press the power button once. The projector will go through a warm-up sequence.
- За искључивање: Press the power button twice. The first press will prompt a shutdown confirmation; the second press will initiate shutdown. Allow the projector to cool down completely before unplugging.
6.2 Избор извора
Press the 'Source' button on the projector or remote control to cycle through available input sources (HDMI, VGA, etc.) until your desired source is displayed.
6.3 Навигација кроз мени
Press the 'Menu' button to access the on-screen display (OSD) menu. Use the arrow buttons to navigate through options and 'Enter' or 'OK' to select. Use the 'Exit' or 'Menu' button to close the OSD.
- Подешавања слике: Adjust brightness, contrast, color, aspect ratio, and picture mode.
- Подешавања екрана: Configure keystone, projection mode (front/rear, desktop/ceiling), and resolution.
- Аудио подешавања: Control volume and audio output options.
- Системска подешавања: Manage language, timer, power-saving modes, and factory reset.
7. Одржавање
Редовно одржавање обезбеђује оптималне перформансе и продужава век трајања вашег пројектора.
- Чишћење сочива: Нежно обришите сочиво пројектора меком крпом која не оставља влакна, посебно дизајнираном за оптичке површине. Не користите абразивна средства за чишћење или прекомерну силу.
- Чишћење кабинета: Use a soft, dry cloth to clean the projector's exterior. For stubborn marks, dampen the cloth slightly with water. Avoid using harsh chemicals.
- Чишћење/замена ваздушног филтера: Check the air filter periodically. If your model has a removable filter, clean it with a soft brush or vacuum cleaner. Replace the filter as recommended in the on-screen menu or when visibly dirty to maintain proper ventilation.
- Lamp Замена: Пројектор лamp има ограничен век трајања. Када лamp life indicator appears, or the image brightness significantly decreases, replace the lamp according to the instructions provided in the full service manual or by a qualified technician. Always allow the projector to cool down completely before attempting lamp замена.
КСНУМКС. Решавање проблема
Погледајте табелу испод за уобичајене проблеме и њихова решења:
| Проблем | Могући узрок | Решење |
|---|---|---|
| Нема приказане слике | Power cord disconnected, incorrect input source, source device off. | Check power connections. Select correct input source. Ensure source device is powered on. |
| Слика је мутна | Lens out of focus, incorrect projection distance. | Adjust the focus ring on the lens. Reposition the projector closer or further from the screen. |
| Слика је трапезоидног облика | Пројектор није нормалан у односу на платно. | Use keystone correction (manual or automatic) to square the image. |
| Пројектор се прегрева и гаси | Блокирана вентилација, прљав ваздушни филтер. | Обезбедите слободан простор око вентилационих отвора. Очистите или замените ваздушни филтер. |
| Даљински управљач не ради | Dead batteries, obstruction between remote and projector, incorrect angle. | Replace batteries. Ensure clear line of sight to IR receiver. Point remote directly at the projector. |
9. Спецификације
Key technical specifications for the InFocus P120 INL412 Multimedia Projector:
| Феатуре | Спецификација |
|---|---|
| Број модела | P120 INL412 (Item model number: 7296144) |
| Дисплаи Типе | ДЛП |
| Нативе Ресолутион | 1280 к 800 |
| Максимална резолуција екрана | 1280 к 800 |
| Технологија повезивања | USB (and other standard inputs like HDMI, VGA) |
| Димензије производа | 5.25 к 0.31 к 1.66 инча |
| Тежина артикла | 6.6 фунти |
| Произвођач | У фокусу |
10. Гаранција и подршка
The InFocus P120 INL412 Multimedia Projector comes with a standard manufacturer's warranty. Please refer to the warranty card included in your package for specific terms and conditions, including warranty duration and coverage details. For technical support, service, or further inquiries, please visit the official InFocus support webсајту или се обратите њиховом одељењу за корисничку подршку.
За најновије информације о подршци, посетите: ввв.инфоцус.цом/суппорт