1. Увод
This manual provides detailed instructions for the safe and efficient operation of your InFocus P120 INL412 Multimedia Projector (Model INL4128). Please read this manual thoroughly before using the projector and keep it for future reference. This projector is designed for high-quality image projection, suitable for various applications including presentations, home entertainment, and gaming.
2. Безбедносне информације
Придржавајте се следећих мера предострожности како бисте спречили оштећење пројектора и осигурали безбедност корисника:
- вентилација: Ensure adequate ventilation around the projector. Do not block ventilation openings. Maintain a minimum distance of 30 cm (12 inches) from walls or other objects.
- Извор напајања: Користите само наведено напајање и јачину звукаtage. Connect the power cord securely.
- топлота: The projector generates heat during operation. Do not touch the projector's vents or exhaust areas directly after use.
- Излаз светлости: Не гледајте директно у сочиво пројектора када је укљученоamp је укључено, јер интензивно светло може изазвати оштећење ока.
- Пласман: Place the projector on a stable, level surface. Avoid placing it in direct sunlight, near heat sources, or in areas with high humidity or dust.
- Чишћење: Искључите кабл за напајање пре чишћења. Користите меку, суву крпу. Не користите течна или аеросолна средства за чишћење.
- Сервисирање: Не покушавајте сами да сервисирате пројектор. Сва сервисирања препустите квалификованом сервисеру.
3. Производ је готовview
3.1 Top Panel and Lens Area
The top panel features the control buttons for basic operation and the lens area with focus and zoom adjustments.

Слика 3.1: Врх view of the InFocus P120 INL412 projector, highlighting the control panel on the right and the lens adjustment area on the left. The InFocus logo is visible on the top surface.
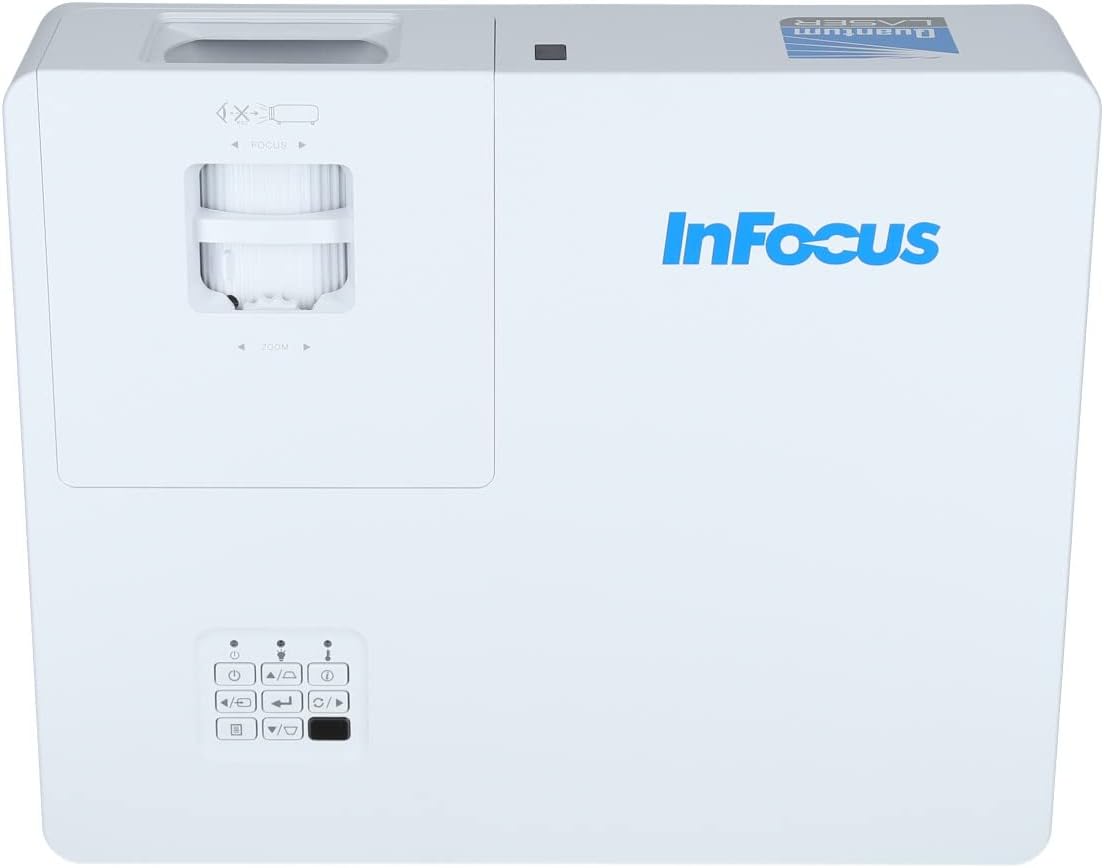
Слика 3.2: Затварач view of the projector's top panel, showing the focus and zoom rings near the lens opening and the array of control buttons for power, menu, source selection, and navigation.
3.2 Прикључци задње плоче
The rear panel provides various input and output ports for connecting external devices.

Figure 3.3: Rear panel of the InFocus P120 INL412 projector, displaying a comprehensive array of connectivity options including HDMI (x2), USB, S-Video, Ethernet (LAN), VGA In (x2), VGA Out, RS232, and Audio In/Out ports. The power input is located on the bottom left.
Кључни портови укључују:
- ХДМИ 1 и 2: For connecting high-definition digital video and audio sources.
- УСБ: For connecting USB devices, potentially for media playback or firmware updates.
- С-Видео: For connecting older video sources.
- VGA IN 1 & 2: For connecting computers or other devices with VGA output.
- VGA излаз: For connecting to an external monitor.
- Етхернет (ЛАН): За мрежну повезаност и контролу.
- Audio IN 1 & 2 / Audio OUT: For analog audio connections.
- РС232: За серијску контролу.
- Улазна снага: За повезивање кабла за напајање наизменичном струјом.
3.3 Front and Side Panels
The front panel houses the projection lens and front ventilation, while the side panels feature additional ventilation grilles.

Слика 3.4: Предња страна view of the InFocus P120 INL412 projector, displaying the main projection lens on the right and the extensive front ventilation grille on the left, crucial for heat dissipation.

Слика 3.5: Страна view of the InFocus P120 INL412 projector, illustrating the side ventilation grilles that contribute to maintaining optimal operating temperature.
4. Подешавање
4.1 Постављање пројектора
Position the projector on a stable, flat surface or mount it securely. Ensure the projector is within the optimal projection distance for your screen size. Maintain clear space around the projector for proper ventilation.
4.2 Повезивање уређаја
Before connecting any cables, ensure the projector and all source devices are powered off.
- ХДМИ веза: Connect an HDMI cable from your source device (e.g., laptop, Blu-ray player, gaming console) to either the HDMI 1 or HDMI 2 port on the projector.
- ВГА конекција: Connect a VGA cable from your computer to either VGA IN 1 or VGA IN 2. For audio, connect a separate audio cable from your computer's audio output to the corresponding Audio IN port on the projector.
- УСБ веза: Insert a USB drive into the USB port for media playback (if supported by firmware) or service functions.
- Етернет (LAN) веза: Connect an Ethernet cable to the LAN port for network control or updates.
- Аудио излаз: If using external speakers, connect an audio cable from the Audio OUT port on the projector to your audio system.
4.3 Прикључак за напајање
Connect the power cord to the projector's power input and then plug the other end into a grounded electrical outlet.
5. Упутство за употребу
5.1 Укључивање/искључивање
- Укључено: Притисните тастер Повер button on the projector's control panel or the remote control. The power indicator light will change.
- Искључивање: Притисните тастер Повер button again. A confirmation message may appear. Press the button a second time to confirm shutdown. Allow the projector to cool down before unplugging it.
5.2 Adjusting Focus and Zoom
Окрећите прстен за фокусирање око објектива док слика не постане оштра и јасна. Користите прстен за зумирање да бисте подесили величину слике тако да одговара вашем екрану.
5.3 Избор улазног извора
Притисните тастер Извор button on the control panel or remote control to cycle through available input sources (HDMI 1, HDMI 2, VGA 1, VGA 2, S-Video, USB). Select the input corresponding to your connected device.
5.4 Навигација кроз мени
Користите Мени button to access the on-screen display (OSD) menu. Use the arrow buttons to navigate through menu options and the Ентер button to select. Press Мени поново за излаз.
6. Одржавање
6.1 Чишћење сочива
Gently wipe the lens with a soft, lint-free cloth specifically designed for optical surfaces. Do not use abrasive cleaners or excessive force, as this can scratch the lens.
6.2 Cleaning the Projector Exterior
Use a soft, dry cloth to clean the projector's casing. For stubborn dirt, dampen the cloth slightly with water, then wipe dry immediately. Avoid getting liquids into the projector's openings.
6.3 Ventilation Care
Regularly check the projector's ventilation grilles for dust accumulation. Use a soft brush or a vacuum cleaner with a brush attachment to gently remove dust from the vents to ensure proper airflow and prevent overheating.
КСНУМКС. Решавање проблема
7.1 No Image Displayed
- Уверите се да је пројектор укључен и да индикатор напајања стално светли.
- Verify that the video cable (HDMI, VGA, etc.) is securely connected to both the projector and the source device.
- Проверите да ли је на пројектору изабран исправан улазни извор.
- Confirm that the source device (laptop, player) is powered on and outputting a signal.
7.2 Image is Blurry or Out of Focus
- Подесите прстен за фокусирање на објективу пројектора док слика не буде оштра.
- Ensure the projector is at the correct distance from the screen.
- Clean the projector lens if it appears dirty.
7.3 Нема звука
- If using HDMI, ensure the source device's audio output is set to HDMI.
- If using VGA, ensure a separate audio cable is connected from the source to the projector's Audio IN port.
- Проверите подешавања јачине звука и на пројектору и на изворном уређају.
- If using external speakers, ensure they are properly connected to the Audio OUT port and powered on.
8. Спецификације
| Феатуре | Детаљ |
|---|---|
| Бранд | ИнФоцус |
| Произвођач | У фокусу |
| Назив модела | P120 INL412 |
| Број модела | ИНЛ4128 |
| Година | 2023 |
| Хардверски интерфејс | Ethernet, HDMI, S-Video, USB |
| Број ставки | 1 |
| Аспецт Ратио | 16:9 |
| Ватtage | 341 вати |
| Батерије укључене | бр |
| Батерије су потребне | бр |
| Форм Фацтор | Десктоп |
| Тип монтаже | Табле моунт |
| Даљински управљач укључен | Да |
| Димензије производа | 56.13 к 46.48 к 25.15 цм |
| Тежина артикла | 5.5 кг |
| Максимална величина слике | 308.28 инча |
| Минимална величина слике | 910.63 милиметара |
| Први доступан датум | 5. јануара 2022. године |
9. Гаранција и подршка
For warranty information and technical support, please refer to the documentation included with your purchase or visit the official InFocus webсајт. Сачувајте доказ о куповини за потребе гаранције.