1. Увод
This manual provides detailed instructions for the installation, operation, and maintenance of your ZEVNI Black Vanity Light. Please read this manual thoroughly before installation and retain it for future reference. This 4-light vanity light is designed for modern spaces, featuring a metal construction with a rectangle backplate and a horizontal arm, complemented by clear cylinder glass shades.
2. Безбедносне информације
УПОЗОРЕЊЕ: Опасност од струјног удара. Искључите напајање на кутији са осигурачима или прекидачу пре инсталације или сервисирања.
- All electrical connections must be in accordance with local codes and ordinances, and the National Electric Code (NEC).
- Консултујте квалификованог електричара ако нисте сигурни у процес инсталације.
- Пажљиво рукујте стакленим компонентама како бисте спречили ломљење.
- Уверите се да површина за монтажу може да издржи тежину уређаја.
- Немојте прекорачити максималну снагуtagе наведено за сијалице.
3. Садржај пакета
Пре почетка инсталације проверите да ли су све компоненте присутне:
- Vanity Light Fixture (1)
- Clear Glass Shades (4)
- Комплет хардвера за монтажу (1)
- Упутство за употребу (1)
Note: Bulbs are not included and must be purchased separately.
4. Спецификације
| Бранд | ЗЕВНИ |
| Назив модела | Блацк Ванити Лигхт |
| Димензије производа | 27 cm D x 6 cm Š x 8 cm V |
| Димензије надстрешнице | 6 cm x 4.7 cm x 1 cm |
| Shade Dimensions (each) | 4 cm x 4 cm x 6 cm |
| Материјал | Метал, стакло |
| Заврши | Црно |
| Број светла | 4 |
| Булб Басе | E26 (средња база) |
| Мак Ватtagе по сијалици | 40В |
| Волtage | 120 Волтс |
| Диммабле | Yes (with compatible dimmer switch and dimming bulbs, not included) |
| Тип монтаже | Валл Моунт |

Figure 1: Product Dimensions. This diagram illustrates the overall length (27 inches), width (6 inches), and height (8 inches) of the vanity light, along with individual shade dimensions and canopy measurements.
5. Подешавање и инсталација
Пре него што почнете:
- Искључите струју на прекидачу или кутији са осигурачима.
- Ensure you have all necessary tools (screwdriver, wire strippers, electrical tape, etc.) and safety equipment (safety glasses).
Кораци инсталације:
- Причврстите монтажну плочу: Secure the mounting plate to the junction box in the wall using the provided screws. Ensure it is firmly attached.
- Жичне везе: Connect the fixture's wires to the corresponding house wires. Connect the black wire (live) to the black wire, the white wire (neutral) to the white wire, and the ground wire to the ground wire. Use wire nuts to secure connections and wrap with electrical tape for added safety.
- Монтажа: Carefully align the fixture with the mounting plate and secure it using the provided screws. Ensure the fixture is flush against the wall. The fixture can be mounted with shades facing up or down.
- Инсталирајте стаклене завесе: Gently attach each clear glass shade to the fixture. Ensure they are securely fastened but do not overtighten.
- Убаците сијалице: Screw in four E26 base bulbs (max 40W each, not included) into the sockets. Type T bulbs are recommended.
- Врати снагу: Поново укључите напајање на прекидачу.
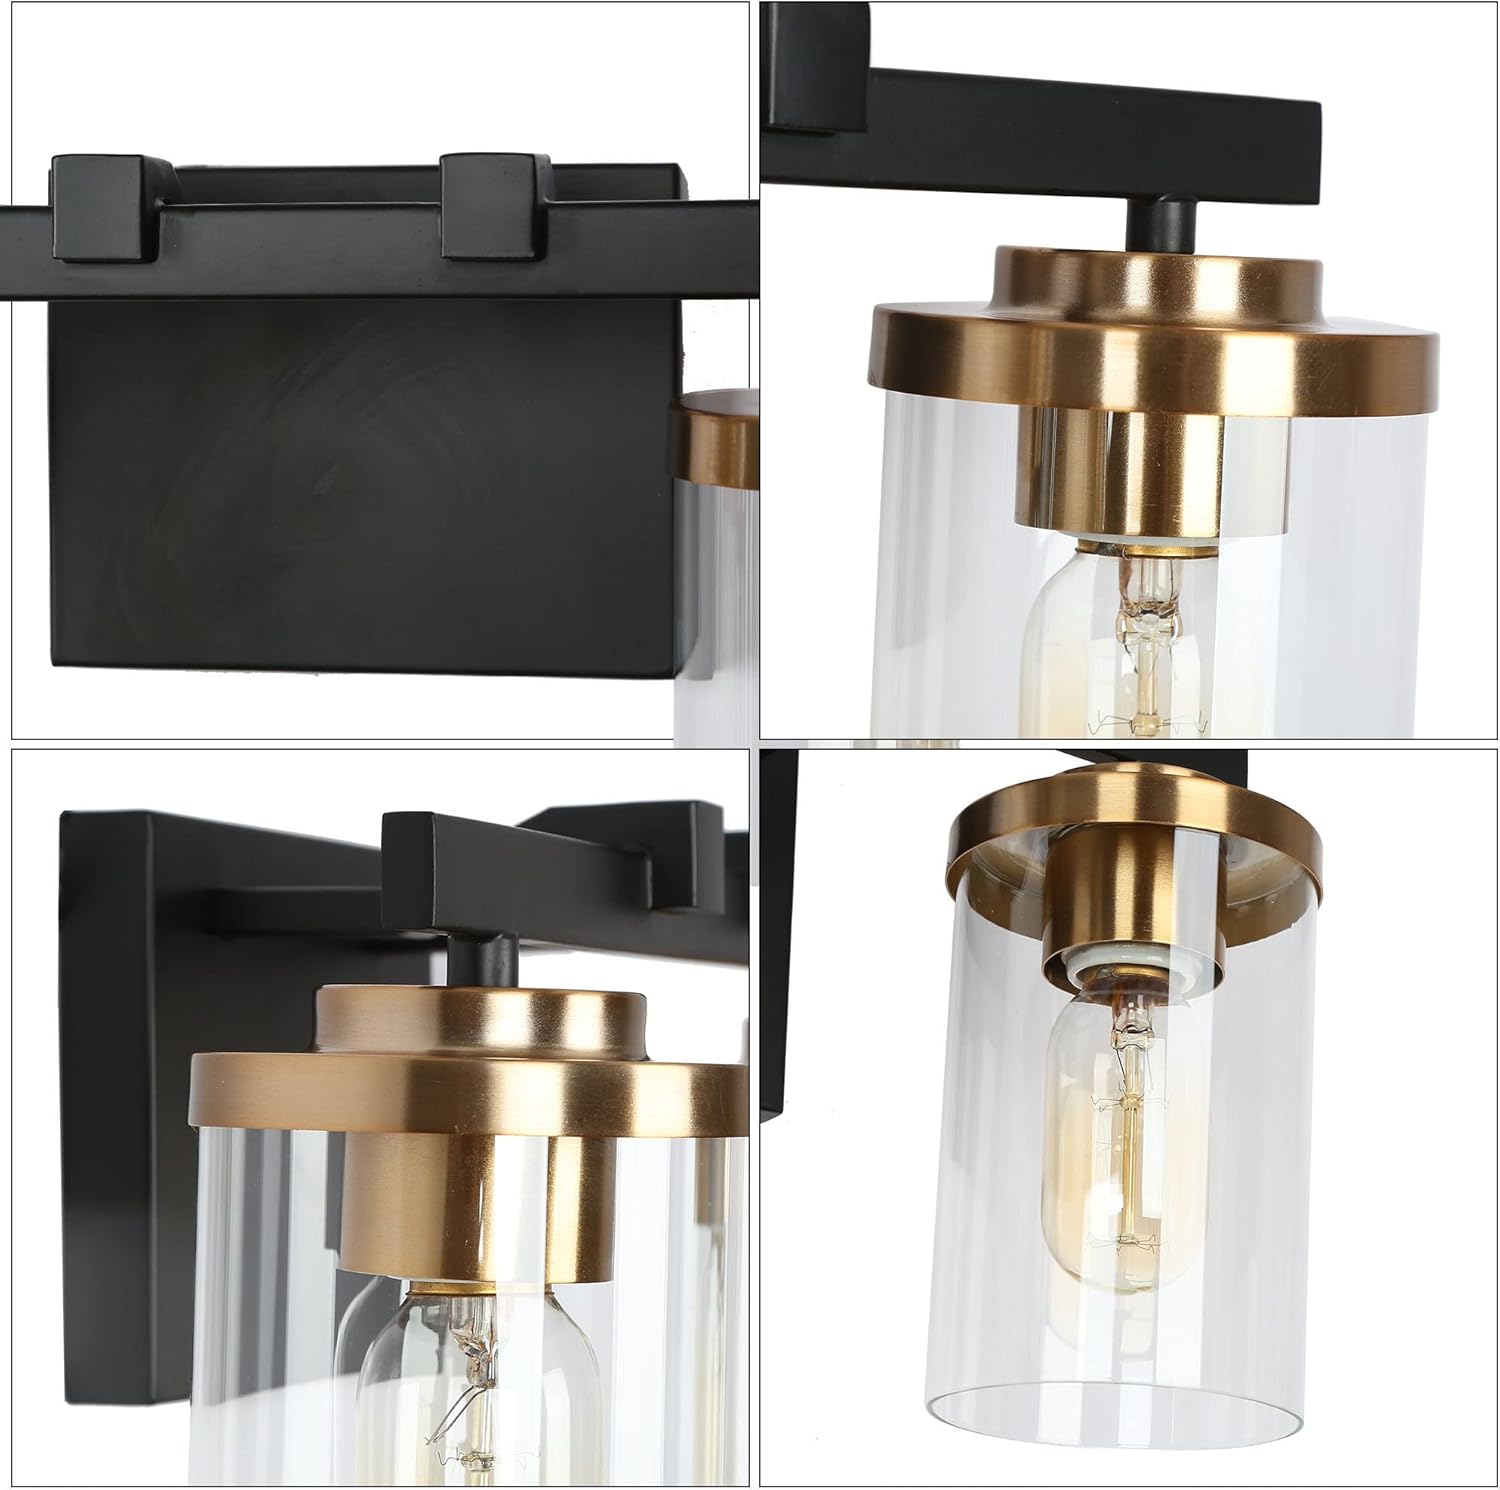
Figure 2: Component Detail. This image shows a detailed view of the fixture's construction, highlighting the black metal backplate, gold accents, and clear glass shade attachment points.
6. Упутство за употребу
Once installed, the ZEVNI Black Vanity Light operates like any standard wall-mounted light fixture.
- Укључивање/искључивање: Користите зидни прекидач повезан са расветним телом да бисте укључили или искључили светло.
- Функционалност затамњивања: If you have installed compatible dimmable E26 bulbs and a dimmer switch (both not included), you can adjust the brightness level of the light by operating the dimmer switch.

Figure 3: Light On/Off Comparison. This image illustrates the appearance of the vanity light when it is off (top) and when it is illuminated (bottom), showcasing the warm glow.
7. Одржавање
- Чишћење: Disconnect power before cleaning. Wipe the fixture with a soft, dry cloth. Do not use abrasive cleaners or solvents, as they may damage the finish. The glass shades can be removed and washed with mild soap and water, then dried thoroughly before reinstallation.
- Замена сијалице: Ensure power is off before replacing bulbs. Allow bulbs to cool completely before touching. Unscrew old bulbs and screw in new E26 base bulbs (max 40W).
- инспекција: Периодично проверавајте све спојеве и монтажне елементе како бисте били сигурни да су безбедно причвршћени.
КСНУМКС. Решавање проблема
| Проблем | Могући узрок | Решење |
|---|---|---|
| Светлост се не пали. | Нема струје за уређај. Слаба жичана веза. Неисправна сијалица. | Проверите прекидач/осигурач. Проверите да ли су сви прикључци жица безбедни (прво искључите напајање). Замените сијалицу. |
| Светло трепери. | Лоосе булб. Некомпатибилни прекидач/сијалица за пригушивање. Слаба жичана веза. | Затегните сијалицу. Уверите се да су димер и сијалице компатибилни. Проверите жице (прво искључите напајање). |
| Стаклена абажура је лабава. | Shade not tightened properly. | Gently tighten the retaining ring for the shade. |
9. Гаранција и подршка
This ZEVNI product comes with a manufacturer's warranty. For specific warranty details or technical support, please refer to the warranty card included with your purchase or contact ZEVNI customer service directly.
Manufacturer: KSANA LLC
10. Визуелни прикази производа

Figure 4: ZEVNI Black Vanity Light in a modern bathroom setting. This image displays the 4-light fixture mounted above a mirror, showcasing its design and illumination.
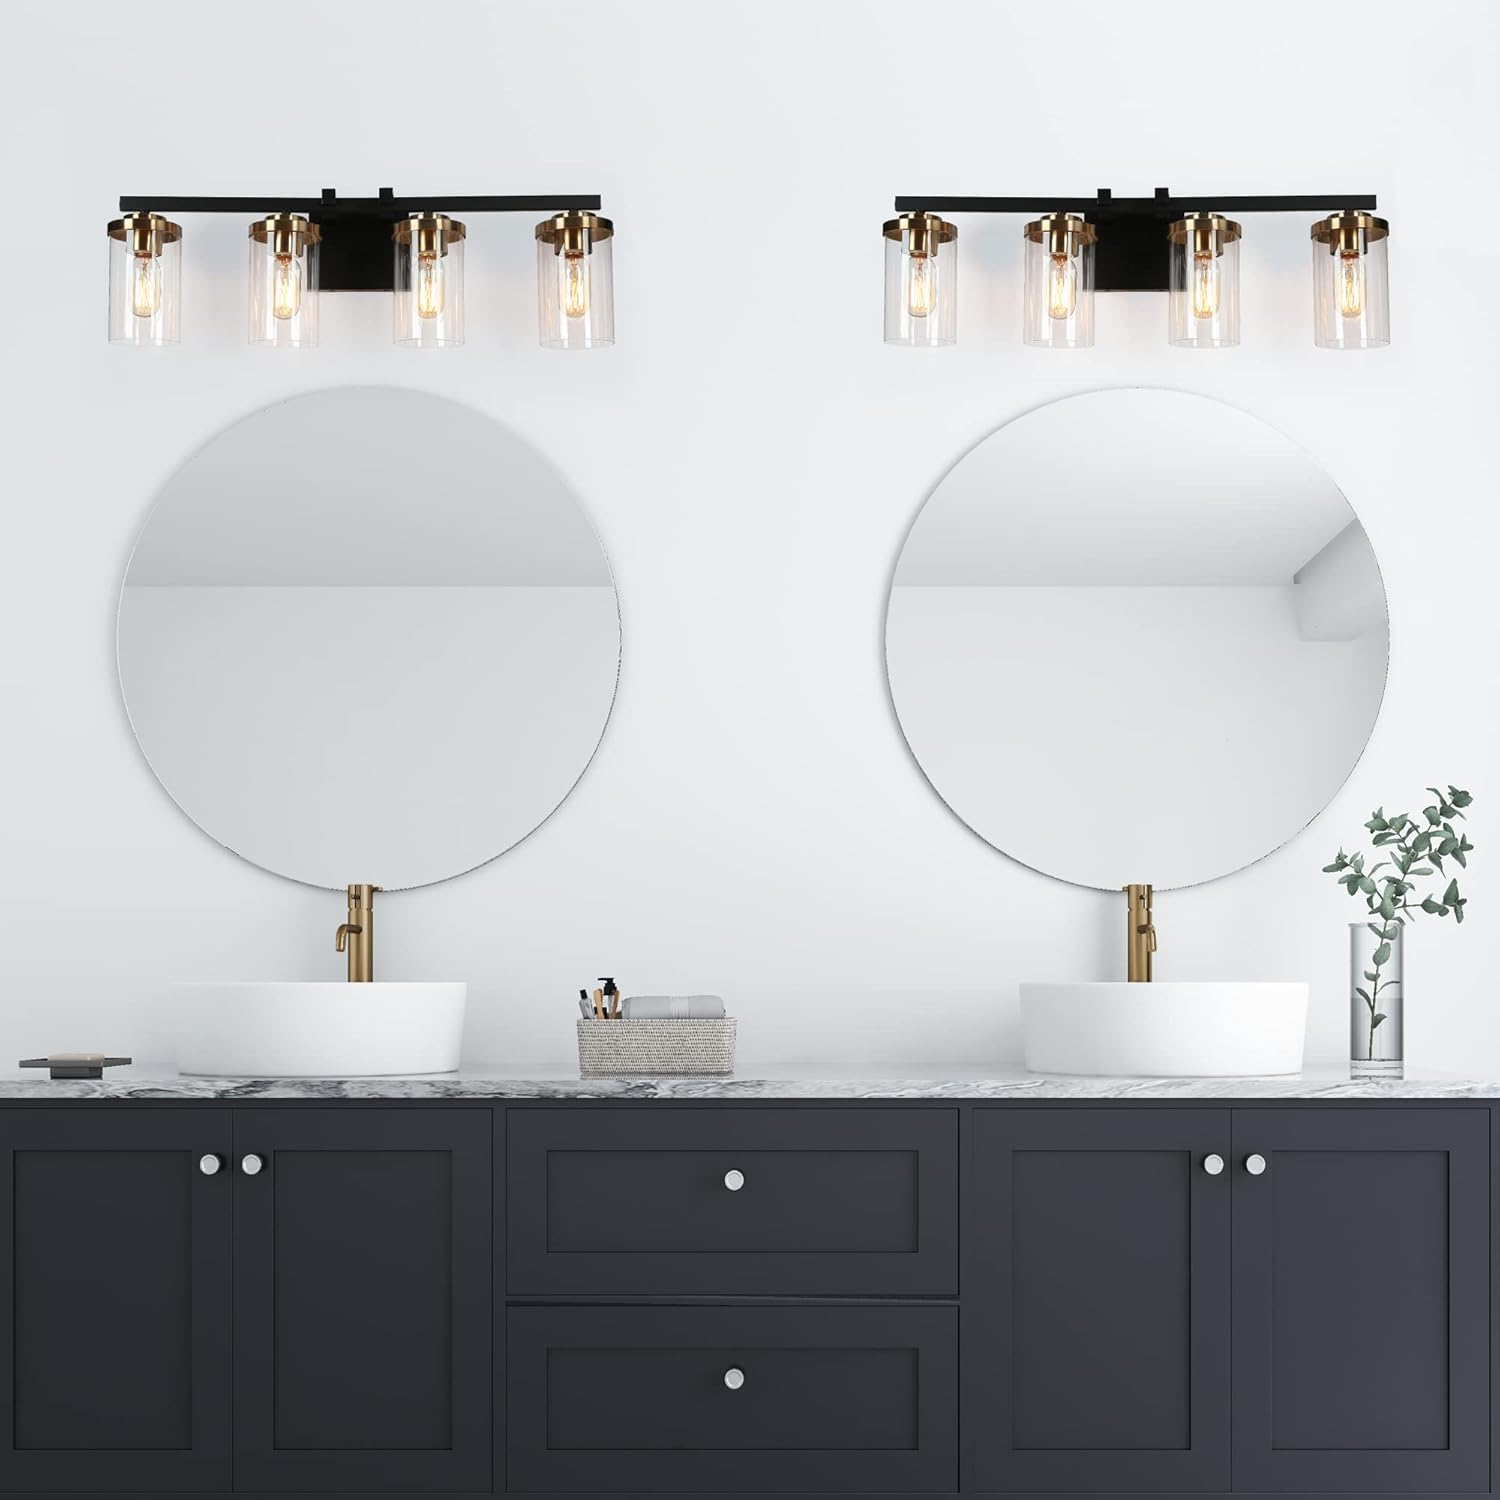
Figure 5: Dual installation of ZEVNI Black Vanity Lights. This image shows two fixtures complementing a double vanity setup with round mirrors.
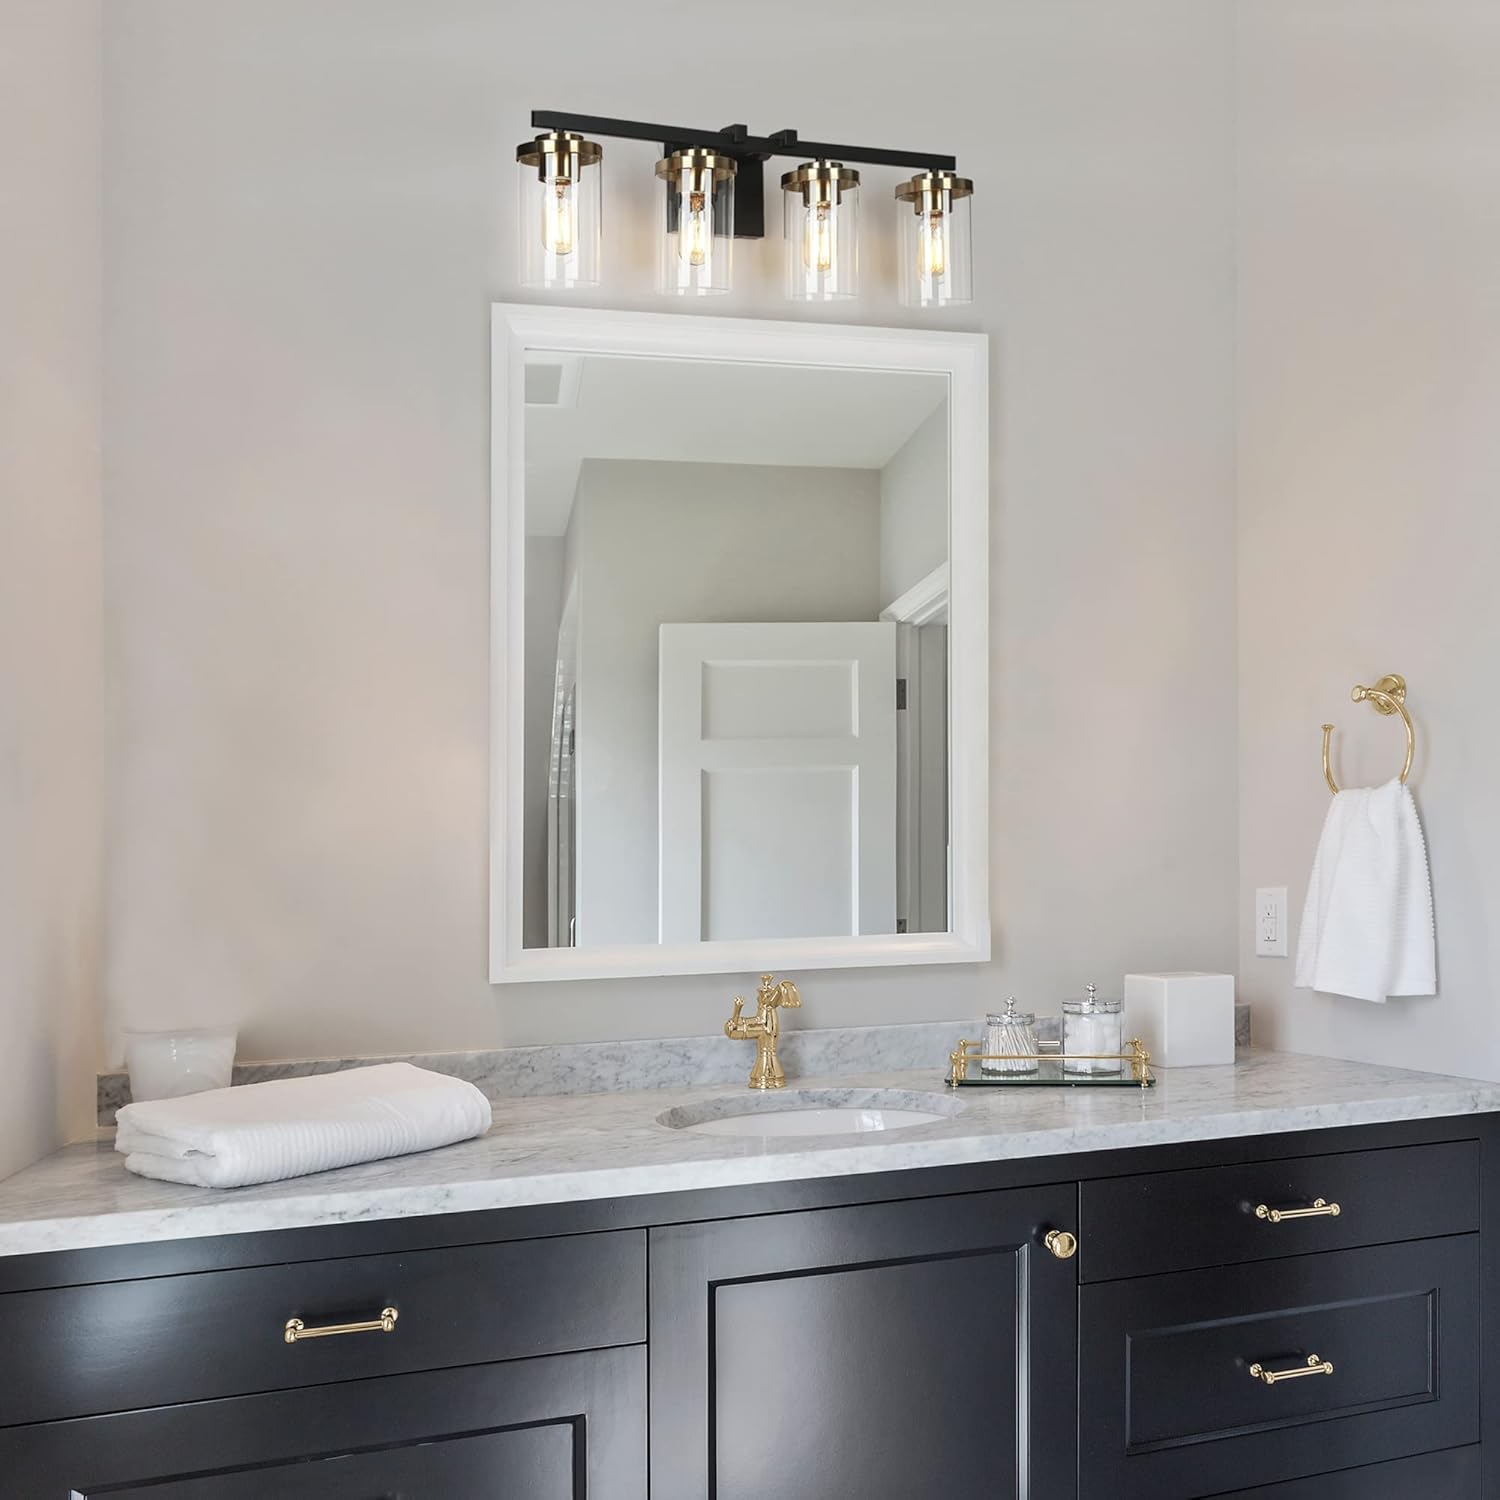
Figure 6: ZEVNI Black Vanity Light above a rectangular mirror. This image provides another perspective of the fixture in a bathroom, highlighting its versatility with different mirror styles.

Figure 7: ZEVNI Black Vanity Light with a round mirror. This image demonstrates the fixture's aesthetic appeal when paired with a circular mirror and a grey vanity.

Figure 8: Finish Compatibility. This image illustrates the compatible finishes (black and gold) for the fixture, indicating that other finishes are not applicable.