
Увод
This manual provides comprehensive instructions for the installation, operation, and maintenance of the Haloview CA613 Camera, designed specifically for integration with the Haloview RD7 System. Please read this manual thoroughly before using the product to ensure proper functionality and safety.
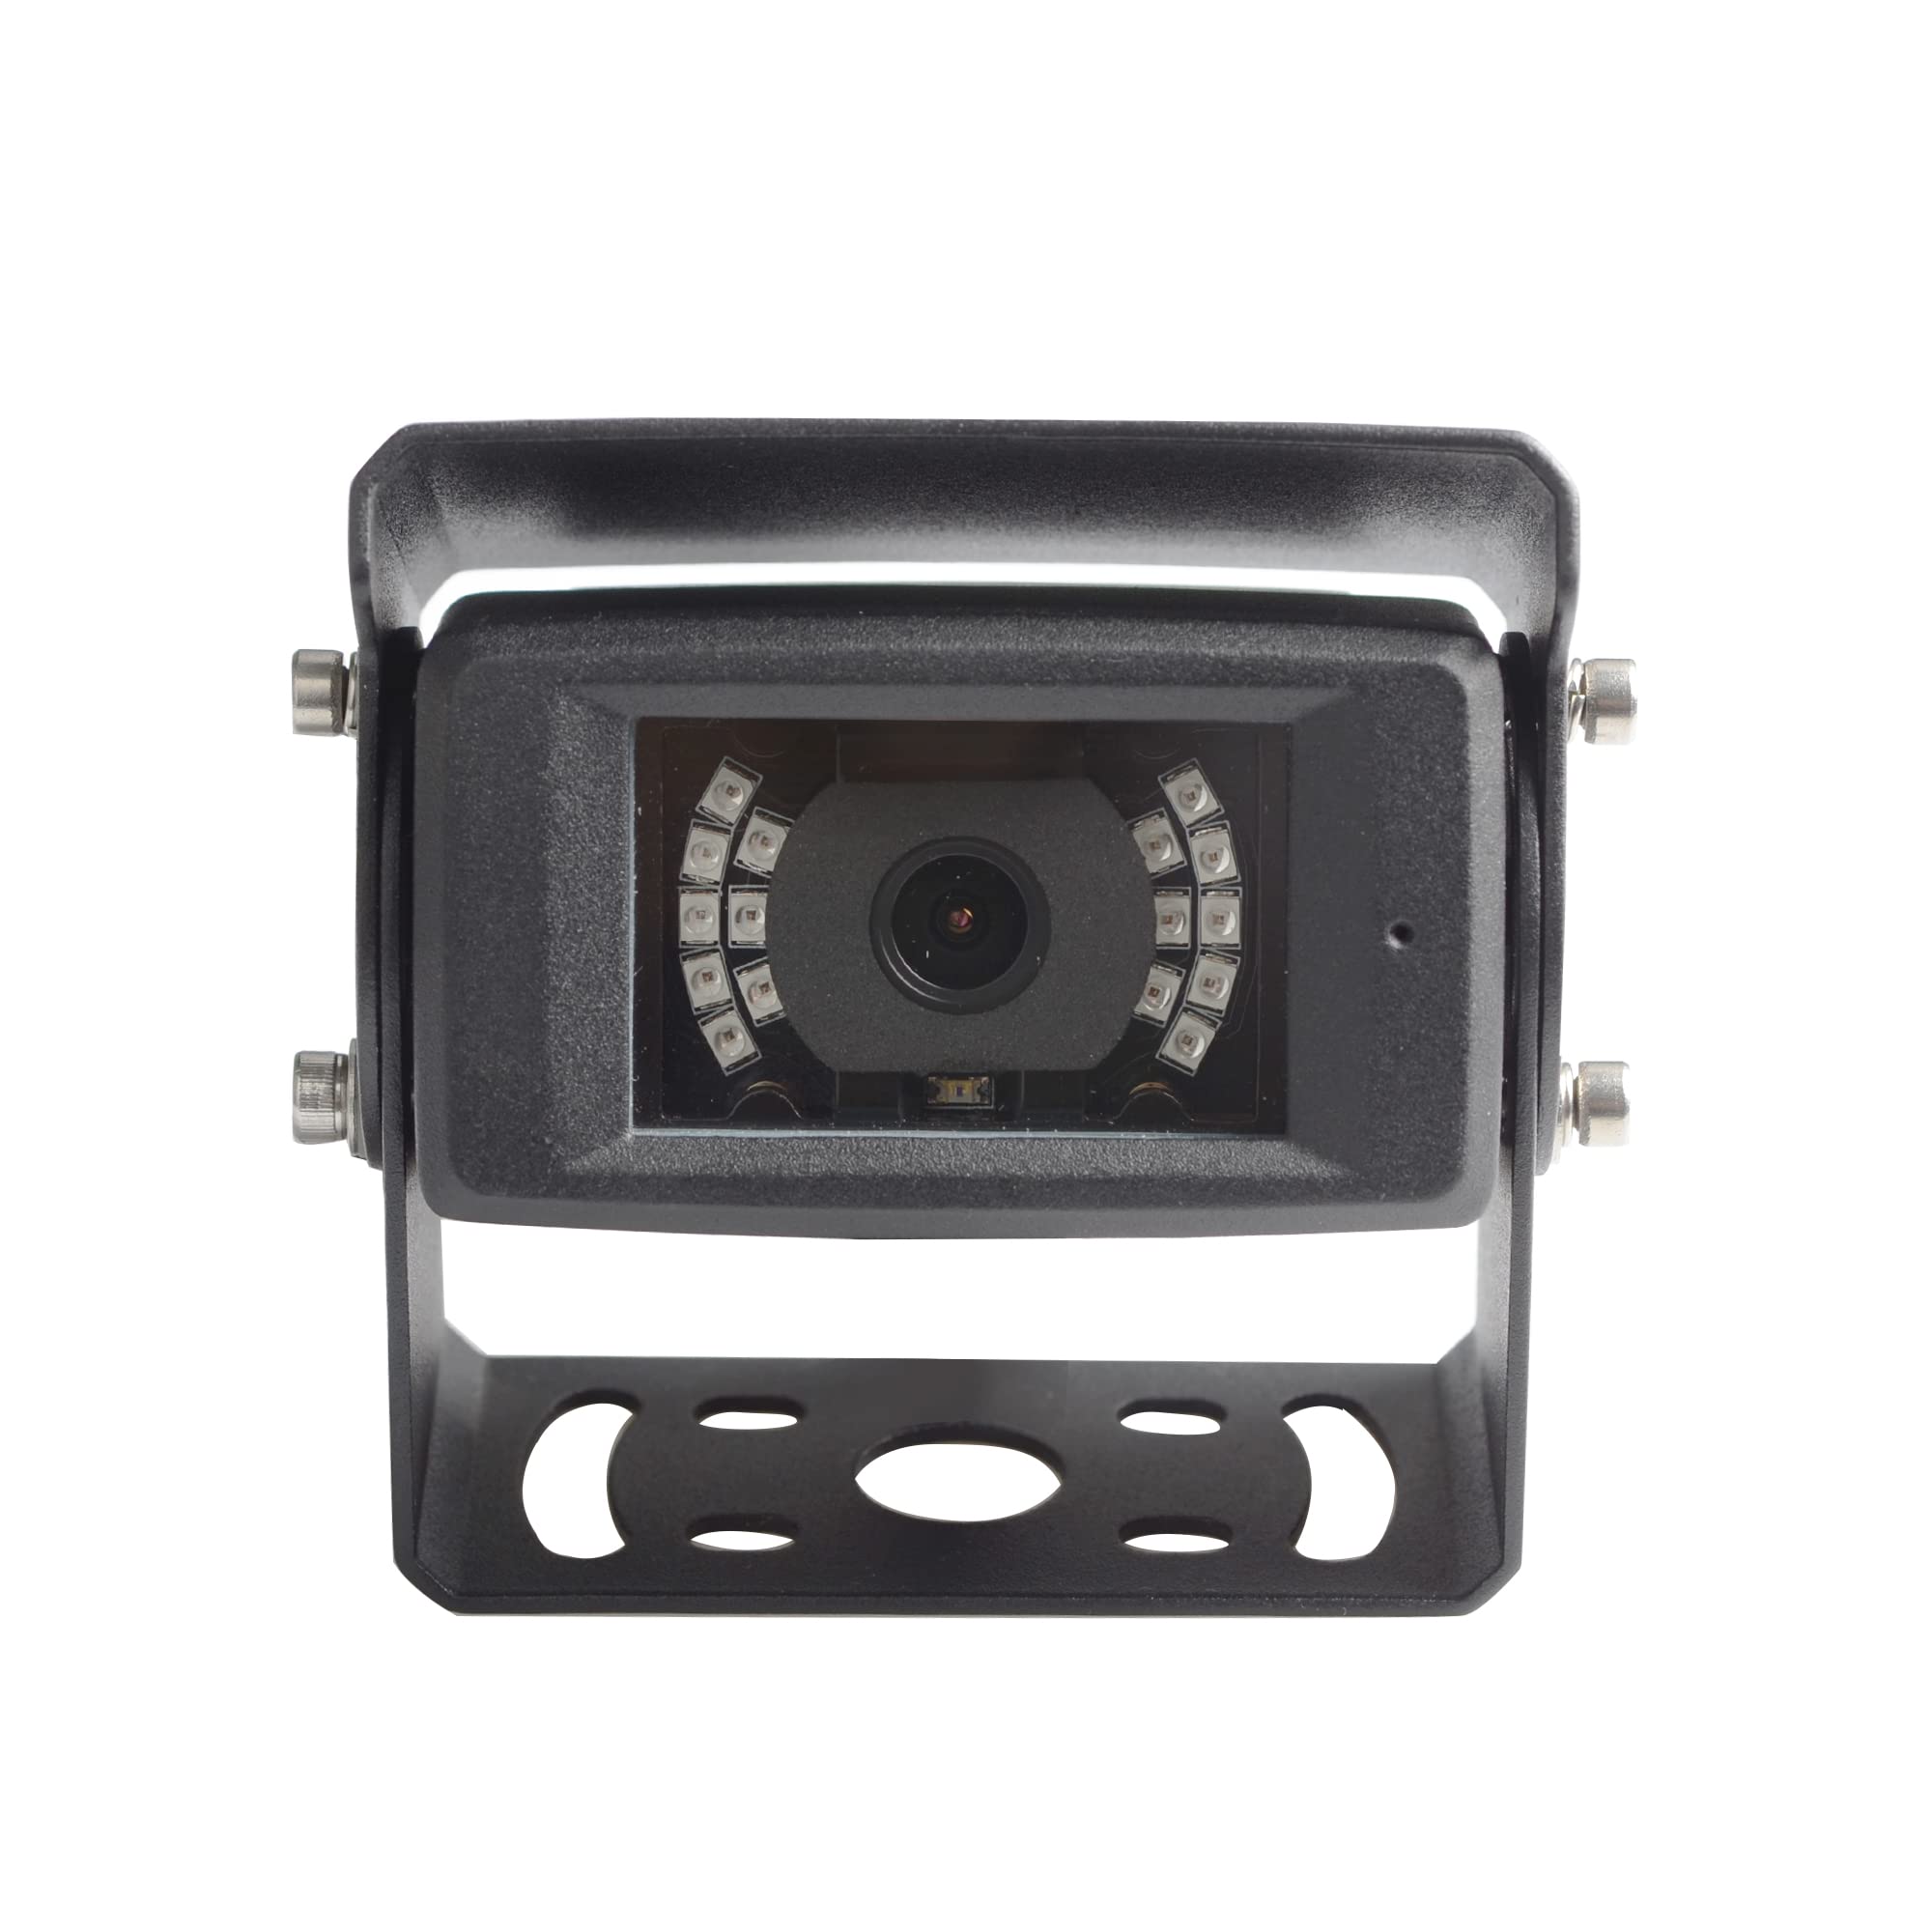
Фронт view of the Haloview CA613 camera, showing the lens surrounded by infrared LEDs and the adjustable mounting bracket.
Шта је у кутији
- Халоview CA613 Camera (1 unit)
Спецификације
| Феатуре | Детаљ |
|---|---|
| Број ставки | 1 |
| Укључене компоненте | Камера |
| Број канала | 1 |
| Бежична комуникациона технологија | Ви-Фи |
| Врста инсталације | Сурфаце Моунт |
| Волtage | 12 Волтс |
| Ватtage | 3 вати |
| Формат видео снимања | МПЕГ-4 |
| Тежина артикла | 1.17 фунти |
| Димензије пакета | 5.75 к 4.8 к 3.5 инча |
| Произвођач | Халоview |
| Компатибилни уређаји | Монитор |
| Цоннецтивити Протоцол | Ви-Фи |
Сетуп
Тхе Халоview CA613 camera is designed for easy integration with your existing Haloview RD7 system. Ensure all components are present and undamaged before beginning installation.
- Распакујте компоненте: Carefully remove the CA613 camera from its packaging. Verify that all listed components are included.
- Изаберите локацију за монтажу: Select a suitable location for the camera, typically at the rear of the vehicle, ensuring a clear line of sight and protection from direct impact. The surface mount design allows for flexible positioning.
- Обезбедите камеру: Use appropriate screws and mounting hardware (not included unless specified by Haloview) to securely attach the camera bracket to the chosen surface. Ensure the camera is oriented correctly for the desired viewугао уласка.
- Прикључите напајање: Connect the camera's power cable to a 12-volt DC power source. This is typically the vehicle's reverse light circuit for backup cameras, or a constant power source for continuous monitoring. Ensure proper polarity.
- Pair with RD7 System: Refer to your Haloview RD7 System manual for specific instructions on pairing new cameras. Generally, this involves putting the monitor into pairing mode and then activating the camera. The camera uses Wi-Fi for wireless communication.
- Тест функционалност: After installation and pairing, test the camera's video feed on your RD7 monitor to confirm proper operation and adjust the viewing angle if necessary.
Упутство за употребу
Once the CA613 camera is successfully installed and paired with your Haloview RD7 monitor, its operation is largely managed through the monitor unit.
- Укључивање/искључивање: The camera powers on automatically when it receives 12V power.
- Viewing Feed: The video feed from the CA613 camera will appear on your RD7 monitor when the system is active and the camera is selected or triggered (e.g., by engaging reverse gear if wired to reverse lights).
- Подешавања: Any image adjustments (brightness, contrast, etc.) are typically performed via the RD7 monitor's menu system. Consult the RD7 monitor's user manual for detailed instructions on these settings.
Одржавање
- Чишћење: Редовно чистите сочиво камере меком крпомamp cloth to ensure a clear image. Avoid abrasive cleaners.
- Инспекција каблова: Periodically check all cable connections for wear, corrosion, or damage. Ensure they are securely fastened.
- Сигурност монтаже: Verify that the camera remains securely mounted to its surface. Tighten any loose screws if necessary.
- Ажурирања софтвера: While the camera itself may not have user-updatable firmware, ensure your RD7 monitor system is kept up-to-date as per Haloview's recommendations.
Решавање проблема
| Проблем | Могући узрок | Решење |
|---|---|---|
| Нема слике на монитору | Камера није напајана Camera not paired Слаба веза кабла | Check power connection to the camera. Ensure 12V supply. Re-pair the camera with the RD7 monitor according to the monitor's manual. Inspect all cable connections for security. |
| Слика је мутна или нејасна | Прљаво сочиво Incorrect focus (unlikely for fixed lens) | Очистите сочиво камере меком крпом. Ensure the camera is securely mounted and not vibrating. |
| Интермитент сигнал | Интерференција Distance/Obstruction | Ensure no strong Wi-Fi or radio interference sources are near the camera or monitor. Reduce distance between camera and monitor, or clear obstructions. |
| Image is dark at night | IR illuminators not active | Ensure the camera is receiving sufficient power. The IR LEDs should activate automatically in low light. |
Информације о гаранцији и подршци
For warranty information and technical support, please refer to the official Haloview website or contact Haloview customer service directly. Keep your purchase receipt as proof of purchase for warranty claims.