
1. Увод
Thank you for choosing the HOMVILLA Alarm Clock Model 8813. This manual provides detailed instructions for setting up, operating, and maintaining your new alarm clock. Please read this manual thoroughly before use to ensure proper functionality and to maximize your user experience. Keep this manual for future reference.
2. Садржај пакета
Молимо вас да проверите пакет за следеће ставке:
- HOMVILLA Alarm Clock (Model 8813)
- УСБ кабл за пуњење
- Повер Адаптер
- Кориснички приручник (овај документ)

Image 2.1: Alarm clock, USB cable, and power adapter included in the package.
3. Производ је готовview
Упознајте се са различитим деловима и контролама вашег будилника.

Слика 3.1: Предњи и задњи део view of the alarm clock with labeled components.
Предњи дисплеј:
- Велики ЛЕД екран: Shows time, AM/PM indicator, Alarm 1 (①), Alarm 2 (②), and DST indicator.
Rear Buttons and Ports:
- Точак јачине звука: Adjusts alarm volume (90-120dB).
- DST Button: Activates/deactivates Daylight Saving Time.
- Дугме за подешавање времена: Улази у режим подешавања времена.
- Дугме ГОРЕ: Повећава вредности током подешавања.
- Дугме ДОЛЕ: Смањује вредности током подешавања.
- Дугме за подешавање аларма: Улази у режим подешавања аларма.
- Дугме за укључивање/искључивање: Turns alarm on/off.
- Дугме за ресетовање: Ресетује сат на фабричка подешавања.
- Dimmer Wheel: Adjusts display brightness (0-100%).
- УСБ порт: За пуњење екстерних уређаја.
- ДЦ Порт: За улазну снагу.
Горње дугме:
- Дугме за одлагање: Activates snooze function when an alarm sounds.
4. Подешавање
4.1 Прикључак за напајање
The HOMVILLA Alarm Clock is mains powered. Connect the provided USB charging cable to the DC port on the back of the clock and plug the power adapter into a standard wall outlet.
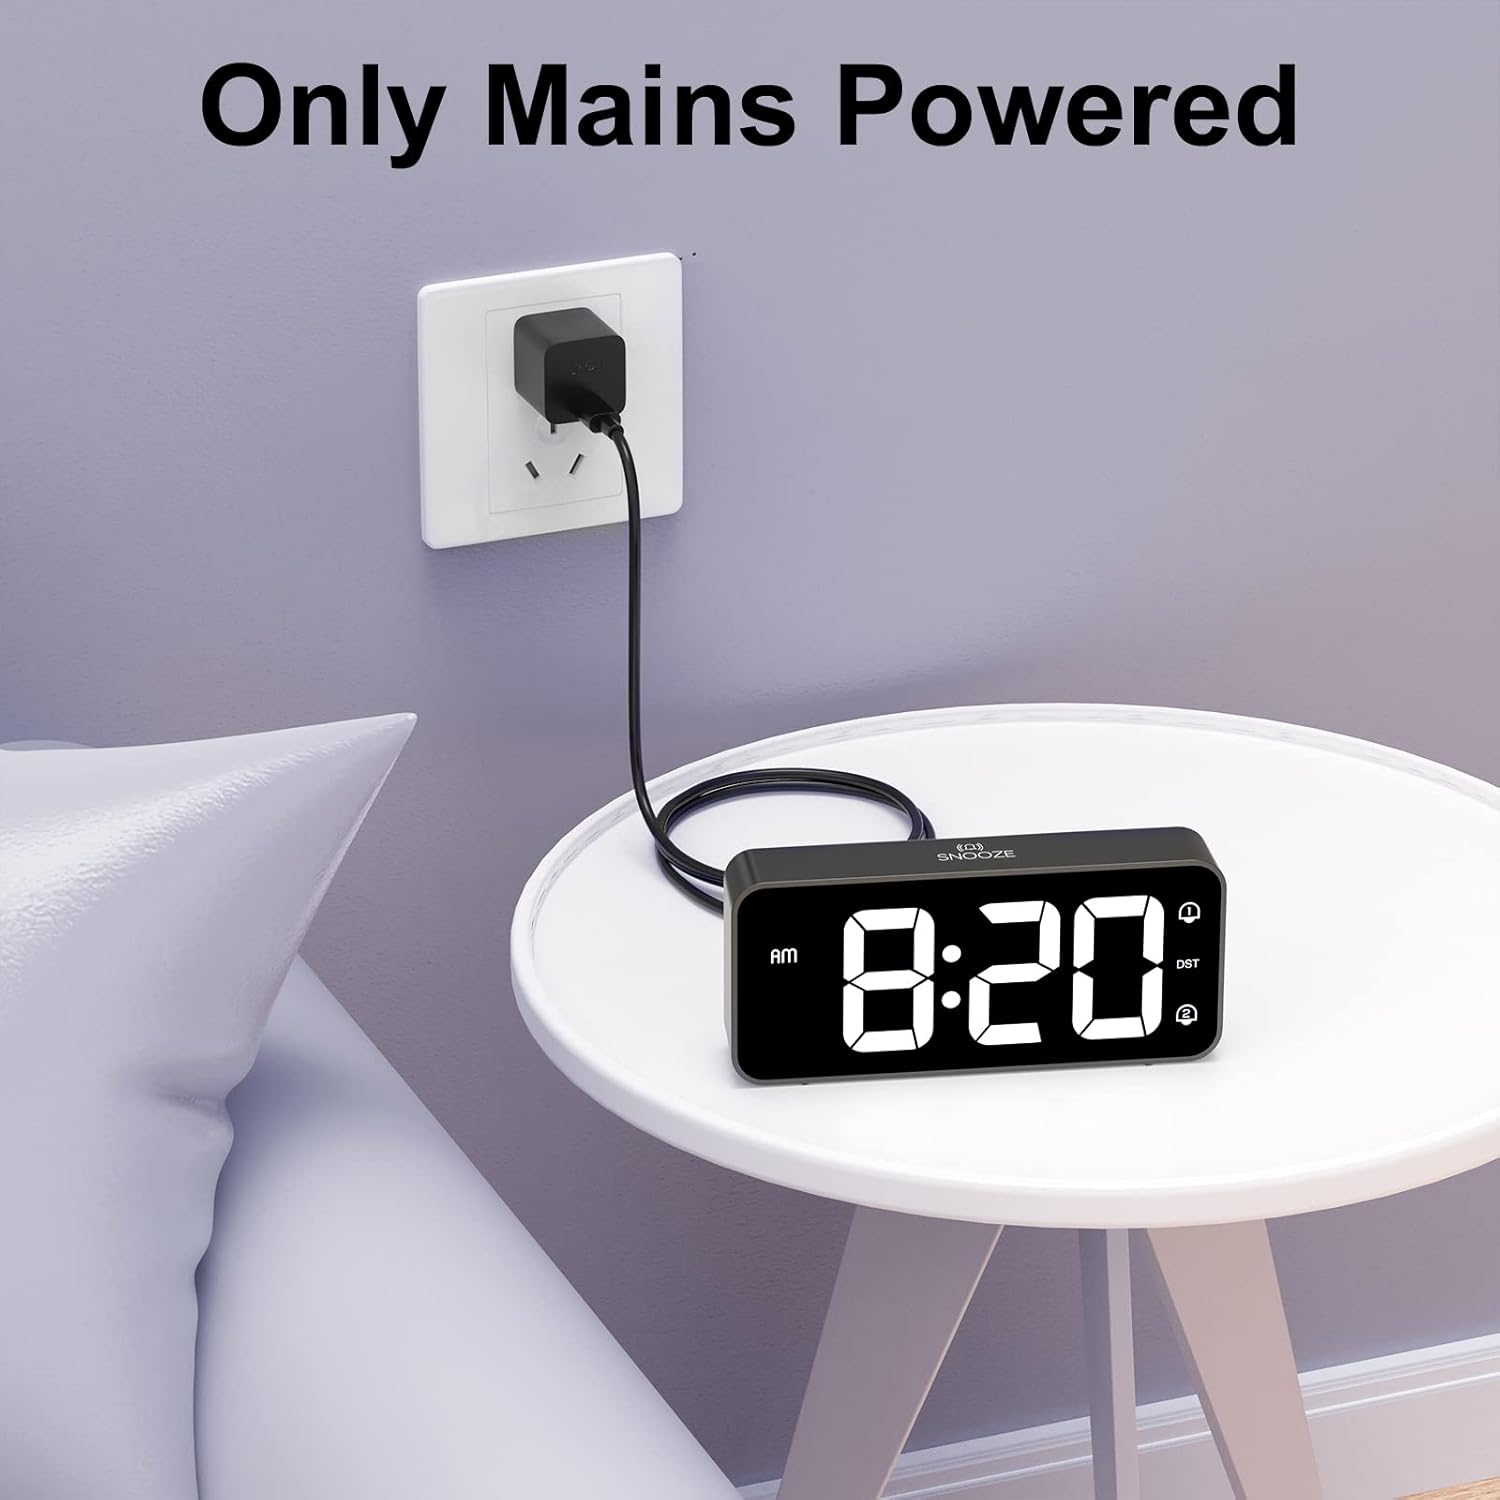
Image 4.1: Connecting the alarm clock to a power outlet.
4.2 Battery Backup Installation (Optional)
Да бисте сачували подешавања времена током нестанка струјеtage, install two AAA batteries (not included) into the battery compartment on the bottom of the clock. The batteries only support the memory function and do not power the display or alarm functions.
- Open the battery compartment cover on the bottom of the clock.
- Уметните две ААА батерије, водећи рачуна о исправном поларитету (+/-).
- Затворите поклопац одељка за батерије.

Image 4.2: Installing AAA batteries for memory function.
5. Упутство за употребу
5.1 Подешавање времена
- Притисните и држите Тиме Сет button on the back of the clock. The hour digits will start flashing.
- Користите UP or ДОВН дугмад за подешавање сата.
- Притисните тастер Тиме Сет поново притисните дугме да бисте потврдили сат и прешли на подешавање минута. Цифре за минуте ће трептати.
- Користите UP or ДОВН дугмад за подешавање минута.
- Притисните тастер Тиме Сет button a third time to confirm the minutes and switch between 12-hour and 24-hour format. Use UP or ДОВН да изаберете.
- Притисните тастер Тиме Сет button once more to exit time setting mode.
5.2 Подешавање аларма (дуални аларми)
The clock supports two independent alarms (Alarm 1 and Alarm 2).
- Притисните и држите Аларм Сет button. The Alarm 1 icon (①) and hour digits will flash.
- Користите UP or ДОВН дугмад за подешавање сата аларма.
- Притисните тастер Аларм Сет поново притисните дугме да бисте потврдили сат и прешли на подешавање минута. Цифре за минуте ће трептати.
- Користите UP or ДОВН дугмад за подешавање минута аларма.
- Притисните тастер Аларм Сет button a third time to select the alarm sound (see section 5.5).
- Притисните тастер Аларм Сет button a fourth time to exit Alarm 1 setting.
- To set Alarm 2, repeat steps 1-6. The Alarm 2 icon (②) will flash during its setting.
5.3 Activating/Deactivating Alarms
After setting an alarm, press the Он/Офф button on the back of the clock to toggle Alarm 1 or Alarm 2 on/off. The corresponding alarm icon (① or ②) will appear on the display when active.
5.4 Функција одлагања
When an alarm sounds:
- Притисните велики Одложи дугме на врху сата. Аларм ће се паузирати на 5 минута, а затим поново огласити.
- To turn off the alarm for the day, briefly press any of the five buttons on the back of the clock. The alarm will sound again the next day at the set time.

Image 5.1: Snooze function and dual alarm capability.
5.5 Подешавање осветљености екрана
The display brightness can be adjusted from 0% to 100%.
- Лоцирајте Диммер Вхеел on the back right side of the clock.
- Slide the wheel up or down to increase or decrease the display brightness to your preference.

Image 5.2: Adjustable display brightness for day and night.
5.6 Подешавање јачине звука аларма
The alarm volume can be adjusted between 90dB and 120dB.
- Лоцирајте Волуме Вхеел on the back left side of the clock.
- Slide the wheel up or down to increase or decrease the alarm volume.

Image 5.3: Volume and brightness adjustment wheels.
5.7 Selecting Alarm Sounds
The clock offers eight different alarm melodies.
- During alarm setting (refer to section 5.2, step 5), use the UP or ДОВН buttons to cycle through the available alarm sounds.
- The available sounds include: Classic ringtone, Bird call, Running water, Crickets, Cock call, White noise, Stringed music, and 'Di di di'.

Image 5.4: Eight available alarm sounds.
5.8 Летње рачунање времена (DST)
- Притисните тастер ДСТ button on the back of the clock to activate or deactivate Daylight Saving Time.
- When DST is active, the time will adjust by one hour, and a DST indicator will appear on the display.
5.9 УСБ прикључак за пуњење
- The USB port on the back of the clock can be used to charge mobile phones or other small electronic devices.
- Connect your device's charging cable to the USB port.
6. Одржавање
- To clean the clock, gently wipe the surface with a soft, dry cloth.
- Не користите абразивна средства за чишћење, раствараче или хемијске спрејеве, јер могу оштетити завршну обраду.
- Држите сат даље од директне сунчеве светлости, екстремних температура и високе влажности.
КСНУМКС. Решавање проблема
| Проблем | Могући узрок | Решење |
|---|---|---|
| Приказ сата је искључен. | Нема прикључка за напајање. | Уверите се да је адаптер за напајање безбедно прикључен на сат и исправну зидну утичницу. |
| Аларм се не оглашава. | Аларм није активиран или је јачина звука прениска. | Check if the alarm icon (① or ②) is displayed. Adjust the volume wheel to increase alarm volume. |
| Време је нетачно након нестанка струјеtage. | No battery backup installed or batteries are depleted. | Install fresh AAA batteries for memory function. Reset the time manually if necessary. |
| Екран је превише светао/таман. | Потребно је подесити подешавање осветљености. | Use the Dimmer Wheel on the back of the clock to adjust brightness. |
| УСБ порт за пуњење не ради. | Device incompatibility or power issue. | Ensure the clock is powered. Try a different USB cable or device. The port is for charging, not data transfer. |
8. Спецификације
| Феатуре | Детаљ |
|---|---|
| Број модела | 8813 |
| Дисплаи Типе | Дигитал ЛЕД |
| Извор напајања | Mains Powered (USB cable + adapter) |
| Баттери Бацкуп | 2 x AAA batteries (not included, for memory function only) |
| Димензије производа | КСНУМКС к КСНУМКС к КСНУМКС цм (КСНУМКС к КСНУМКС к КСНУМКС инча) |
| Тежина артикла | 157 г |
| Посебне карактеристике | Dual Alarm, Snooze Function, Dimmable Display, USB Charging Port, DST Mode |
| Опсег јачине звука аларма | 90-120дБ |
| Дисплаи Бригхтнесс | 0-100% подесиво |
9. Гаранција и подршка
HOMVILLA offers a lifetime warranty for this product. For any questions, technical support, or warranty claims, please contact our customer service team.
Е-пошта услуге: суппорт@хомвиллалифе.цом

Image 9.1: Service email for customer support.