Увод
This manual provides detailed instructions for the setup, operation, maintenance, and troubleshooting of your Pokitter Go Pro Mini Portable Projector. Please read this manual thoroughly before using the product to ensure proper functionality and to extend the lifespan of your device.
The Pokitter Go Pro is a compact and powerful portable projector featuring integrated Android TV 10.0, Google Assistant, 200 ANSI lumens brightness, 1080p Full HD resolution with 4K support, dual-band 2.4G/5G WiFi, and a maximum projection size of 120 inches. It is designed for versatile entertainment, offering a cinematic experience on the go.
Садржај пакета
Молимо вас да проверите да ли су све ставке присутне у пакету:
- Pokitter Go Pro Mini Portable Projector
- Ремоте Цонтрол
- Повер Адаптер
- Кориснички приручник (овај документ)
- Ремен за ношење

Image: The Pokitter Go Pro Mini Portable Projector, highlighting its compact design and integrated handle for easy portability.
Производ је завршенview
Фронт View
The front of the projector features the projection lens and ventilation grilles.
Позади View
The rear panel typically includes various ports for connectivity.
- ХДМИ порт: For connecting external devices like laptops, gaming consoles, or Blu-ray players.
- УСБ порт: For connecting USB drives for media playback or external peripherals.
- Аудио излаз (3.5 мм прикључак): За повезивање екстерних звучника или слушалица.
- ДЦ улаз: Улазни порт за напајање.
Врх View
The top surface may include control buttons or indicators.
Сиде View
The sides often feature additional ventilation and a carrying handle.
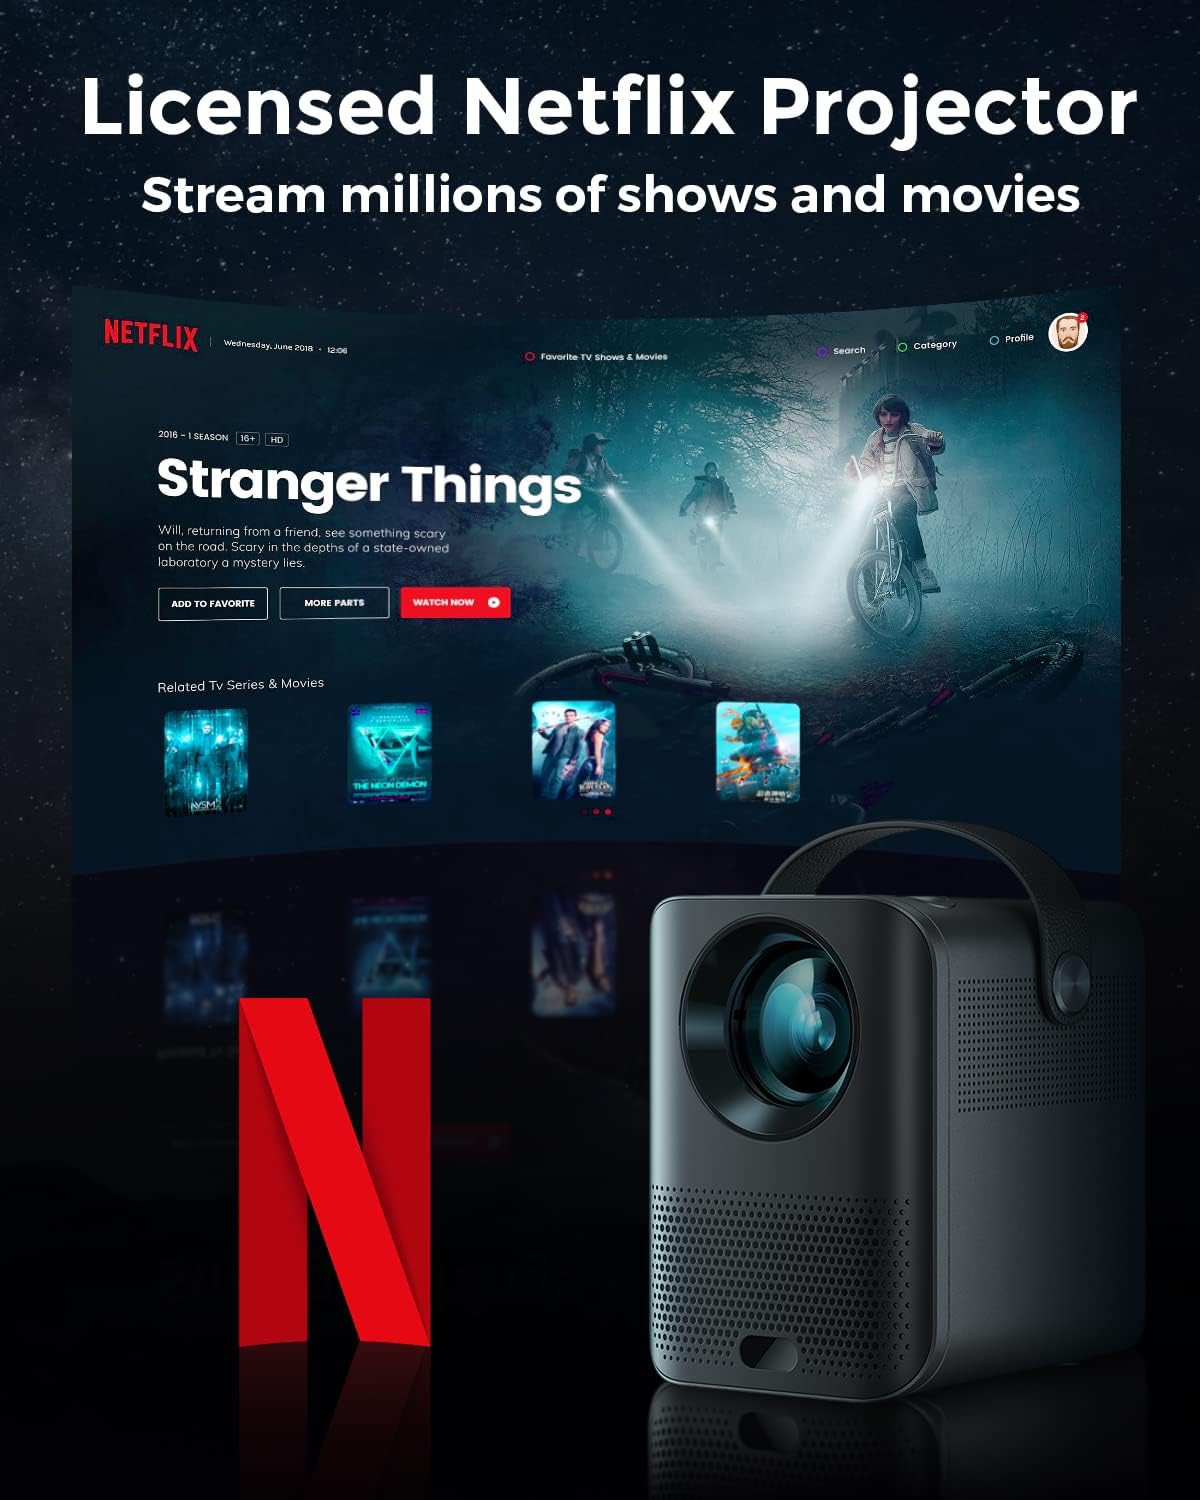
Image: The Pokitter Go Pro projector showcasing its integrated Netflix license and streaming capabilities.

Image: A size comparison of the Pokitter Go Pro projector with a smartphone, illustrating its mini and portable form factor.
Сетуп
1. Прикључак за напајање
- Connect the power adapter to the DC In port on the projector.
- Укључите адаптер за напајање у зидну утичницу.
- Лампица индикатора напајања ће засветлети.
2. Прво укључивање
- Притисните дугме за напајање на пројектору или даљинском управљачу да бисте укључили уређај.
- Allow a few moments for the Android TV system to boot up.
3. Подешавање фокуса
Use the focus ring (if mechanical) or the remote control's focus buttons to achieve a clear image. The Pokitter Go Pro features automatic vertical keystone correction up to 40 degrees.

Image: Illustration of the automatic keystone correction feature, which adjusts the image for optimal viewing even when the projector is not perfectly aligned.
4. Screen Size Adjustment
Adjust the distance between the projector and the projection surface to achieve the desired screen size. The projector supports a screen size up to 120 inches.

Image: Guide for optimal projection distances to achieve screen sizes of 40, 80, and 120 inches.
5. Мрежна веза (Wi-Fi)
- Navigate to the Wi-Fi settings in the Android TV interface.
- Изаберите жељену Wi-Fi мрежу са листе.
- Унесите лозинку ако се то од вас затражи.
- The projector supports dual-band 2.4G and 5G Wi-Fi for stable and fast transmission.

Image: The Pokitter Go Pro projector demonstrating its 2.4/5GHz WiFi capabilities for seamless wireless screen casting from various devices.
Упутство за употребу
Коришћење даљинског управљача
The included remote control allows full navigation and control of the Android TV interface. Key functions include:
- Дугме за напајање: Укључује/искључује пројектор.
- Навигациона табла: For moving through menus.
- Дугме ОК: Потврђује изборе.
- Дугме за назад: Враћа се на претходни екран.
- Хоме дугме: Враћа се на почетни екран Андроид ТВ-а.
- Дугмад за јачину звука: Подешава јачину звука.
- Дугме за Google асистент: Активира гласовне команде.
Андроид ТВ интерфејс
The Pokitter Go Pro runs on Android TV 10.0, providing access to a wide range of streaming applications such as Netflix, YouTube, Amazon Prime Video, and Disney+.
- Навигација апликације: Use the remote's navigation pad to select and open applications.
- Стримовање садржаја: Log in to your streaming accounts to access content.
- Гоогле помоћник: Press the Google Assistant button on the remote and speak your commands to search for content, control playback, or get information.

Слика: Оверview of the Pokitter Go Pro's key features, including its Android TV operating system, Google Assistant integration, and display capabilities.
Screen Mirroring (Chromecast Built-in)
The projector features built-in Chromecast for easy screen mirroring from compatible devices (smartphones, tablets, laptops).
- Ensure your device and the projector are connected to the same Wi-Fi network.
- Open a Chromecast-enabled app on your device (e.g., YouTube, Netflix).
- Додирните икону Cast (обично правоугаоник са симболом Wi-Fi мреже) у оквиру апликације.
- Select your Pokitter Go Pro projector from the list of available devices.
- The content from your device will be mirrored or cast to the projector.

Image: Demonstrating the Chromecast built-in feature, allowing users to stream content from their smartphone to the projector's large display.
Connecting External Devices (HDMI/USB)
- ДВИ: Connect an HDMI cable from your external device (e.g., laptop, game console) to the HDMI port on the projector. The projector will automatically switch to the HDMI input or you may need to select it from the input source menu.
- УСБ: Insert a USB flash drive into the USB port. The Android TV system will typically prompt you to open a file browser to access media fileс на диску.
Одржавање
Чишћење сочива
Користите меку крпу без влакана, посебно дизајнирану за оптичка сочива, да бисте нежно обрисали сочиво пројектора. Не користите абразивна средства за чишћење или прекомерну силу, јер то може огребати сочиво.
Cleaning the Projector Body
Wipe the exterior of the projector with a soft, dry cloth. For stubborn stains, a slightly damp cloth can be used, followed by a dry cloth. Avoid getting liquids inside the projector.
Вентилација
Ensure that the ventilation grilles are not blocked during operation to prevent overheating. The Pokitter Go Pro features a dust-proof design to maintain picture quality.

Image: An internal diagram of the Pokitter Go Pro, illustrating its dust-proof design for long-lasting, flawless picture quality.
Складиштење
Када се пројектор не користи дуже време, чувајте га на хладном и сувом месту, даље од директне сунчеве светлости и екстремних температура. Препоручује се употреба оригиналног паковања или заштитне футроле.
Решавање проблема
| Проблем | Могући узрок | Решење |
|---|---|---|
| Но Повер | Кабл за напајање није повезан; утичница је неисправна. | Уверите се да је кабл за напајање безбедно повезан. Покушајте са другом утичницом. |
| Нема слике / Замагљена слика | Lens out of focus; Incorrect input source; Obstruction in projection path. | Adjust focus using the remote or focus ring. Select correct input source. Remove any obstructions. |
| Нема звука | Volume too low; Muted; External speakers not connected properly. | Increase volume. Unmute the projector. Check external speaker connections. |
| Проблеми са Ви-Фи везом | Нетачна лозинка; Рутер предалеко; Мрежне сметње. | Verify Wi-Fi password. Move projector closer to router. Restart router and projector. |
| Даљински управљач не ради | Празне батерије; Препрека између даљинског управљача и пројектора. | Замените батерије. Обезбедите јасну линију вида са ИР пријемником пројектора. |
Спецификације
- Модел: Ф1А
- Бренд: Покитер
- Технологија приказа: ЛЕД
- Изворна резолуција: 1920 к 1080 (Фулл ХД)
- Максимална подржана резолуција: 3840 к 2160 (4К)
- Осветљеност: До 200 АНСИ лумена
- Величина пројекције: До 120 инча
- Оперативни систем: Андроид ТВ 10.0
- Гласовни асистент: Уграђени Гоогле помоћник
- Бежична повезаност: 2.4G/5G Dual-band Wi-Fi, Bluetooth 5.1
- Портови за повезивање: HDMI, USB, 3.5mm Audio Out, DC In
- говорници: Integrated (2x5W as per infographic)
- Average Lifespan (Light Source): 50,000 сата
- Фактор форме: Портабле
- Тип монтаже: Табле Моунт

Image: An illustration of the projector's internal speaker system, designed to provide true-to-life sound for a cinematic viewинг искуство.
Гаранција и подршка
The Pokitter Go Pro Mini Portable Projector comes with a 2 година гаранције. For any questions or professional assistance regarding this product, please contact Pokitter customer support. We are committed to supporting our customers.
For the latest support information, FAQs, and contact details, please visit the official Pokitter webсајт или погледајте контакт информације које сте добили уз куповину.