
1. Увод
Welcome to the Nokia T10 Wi-Fi Tablet user manual. This guide provides essential information to help you set up, operate, maintain, and troubleshoot your new device. The Nokia T10 is an 8-inch HD Android 12 tablet designed for everyday use, offering a balance of performance and portability.
Please read this manual carefully to ensure proper use and to maximize the lifespan of your tablet.
2. Шта је у кутији
Upon unboxing your Nokia T10 tablet, please verify that all the following items are included:
- Nokia T10 Tablet Device
- Тип-Ц УСБ кабл
- пуњач
- Водич за брзи почетак (КСГ)
- Сигурносна књижица
- User Guide Band
- Plastic Bag (packaging material)
If any items are missing or damaged, please contact your retailer or Nokia customer support immediately.
3. Подешавање
3.1 Пуњење таблета
Before first use, fully charge your Nokia T10 tablet. Connect the provided Type-C USB cable to the tablet's charging port and the other end to the charger. Plug the charger into a power outlet. The battery indicator on the screen will show the charging status.
3.2 Укључивање/искључивање
- За укључивање: Press and hold the Power button until the Nokia logo appears.
- За искључивање: Press and hold the Power button until the power options appear on the screen. Select "Power off" and confirm.
- Рестартовати: Press and hold the Power button until the power options appear. Select "Restart" and confirm.
3.3 Почетно подешавање
When you power on your tablet for the first time, you will be guided through an initial setup process:
- Избор језика: Одаберите жељени језик.
- Ви-Фи веза: Connect to a Wi-Fi network to access the internet. This is crucial for downloading updates and setting up your Google account.
- Гоогле налог: Sign in with your existing Google account or create a new one. This is necessary for accessing the Google Play Store, Gmail, and other Google services.
- Датум и време: Подесите тачан датум и време или дозволите мрежи да их аутоматски подеси.
- безбедност: Set up a screen lock (PIN, pattern, password) and consider enabling AI Face Unlock for convenient access.
3.4 Уметање MicroSD картице
The Nokia T10 supports expandable storage via a MicroSD card. Locate the SIM/SD card tray on the side of the tablet. Use the provided SIM ejector tool to open the tray. Carefully place the MicroSD card into the designated slot with the gold contacts facing down, then reinsert the tray firmly.
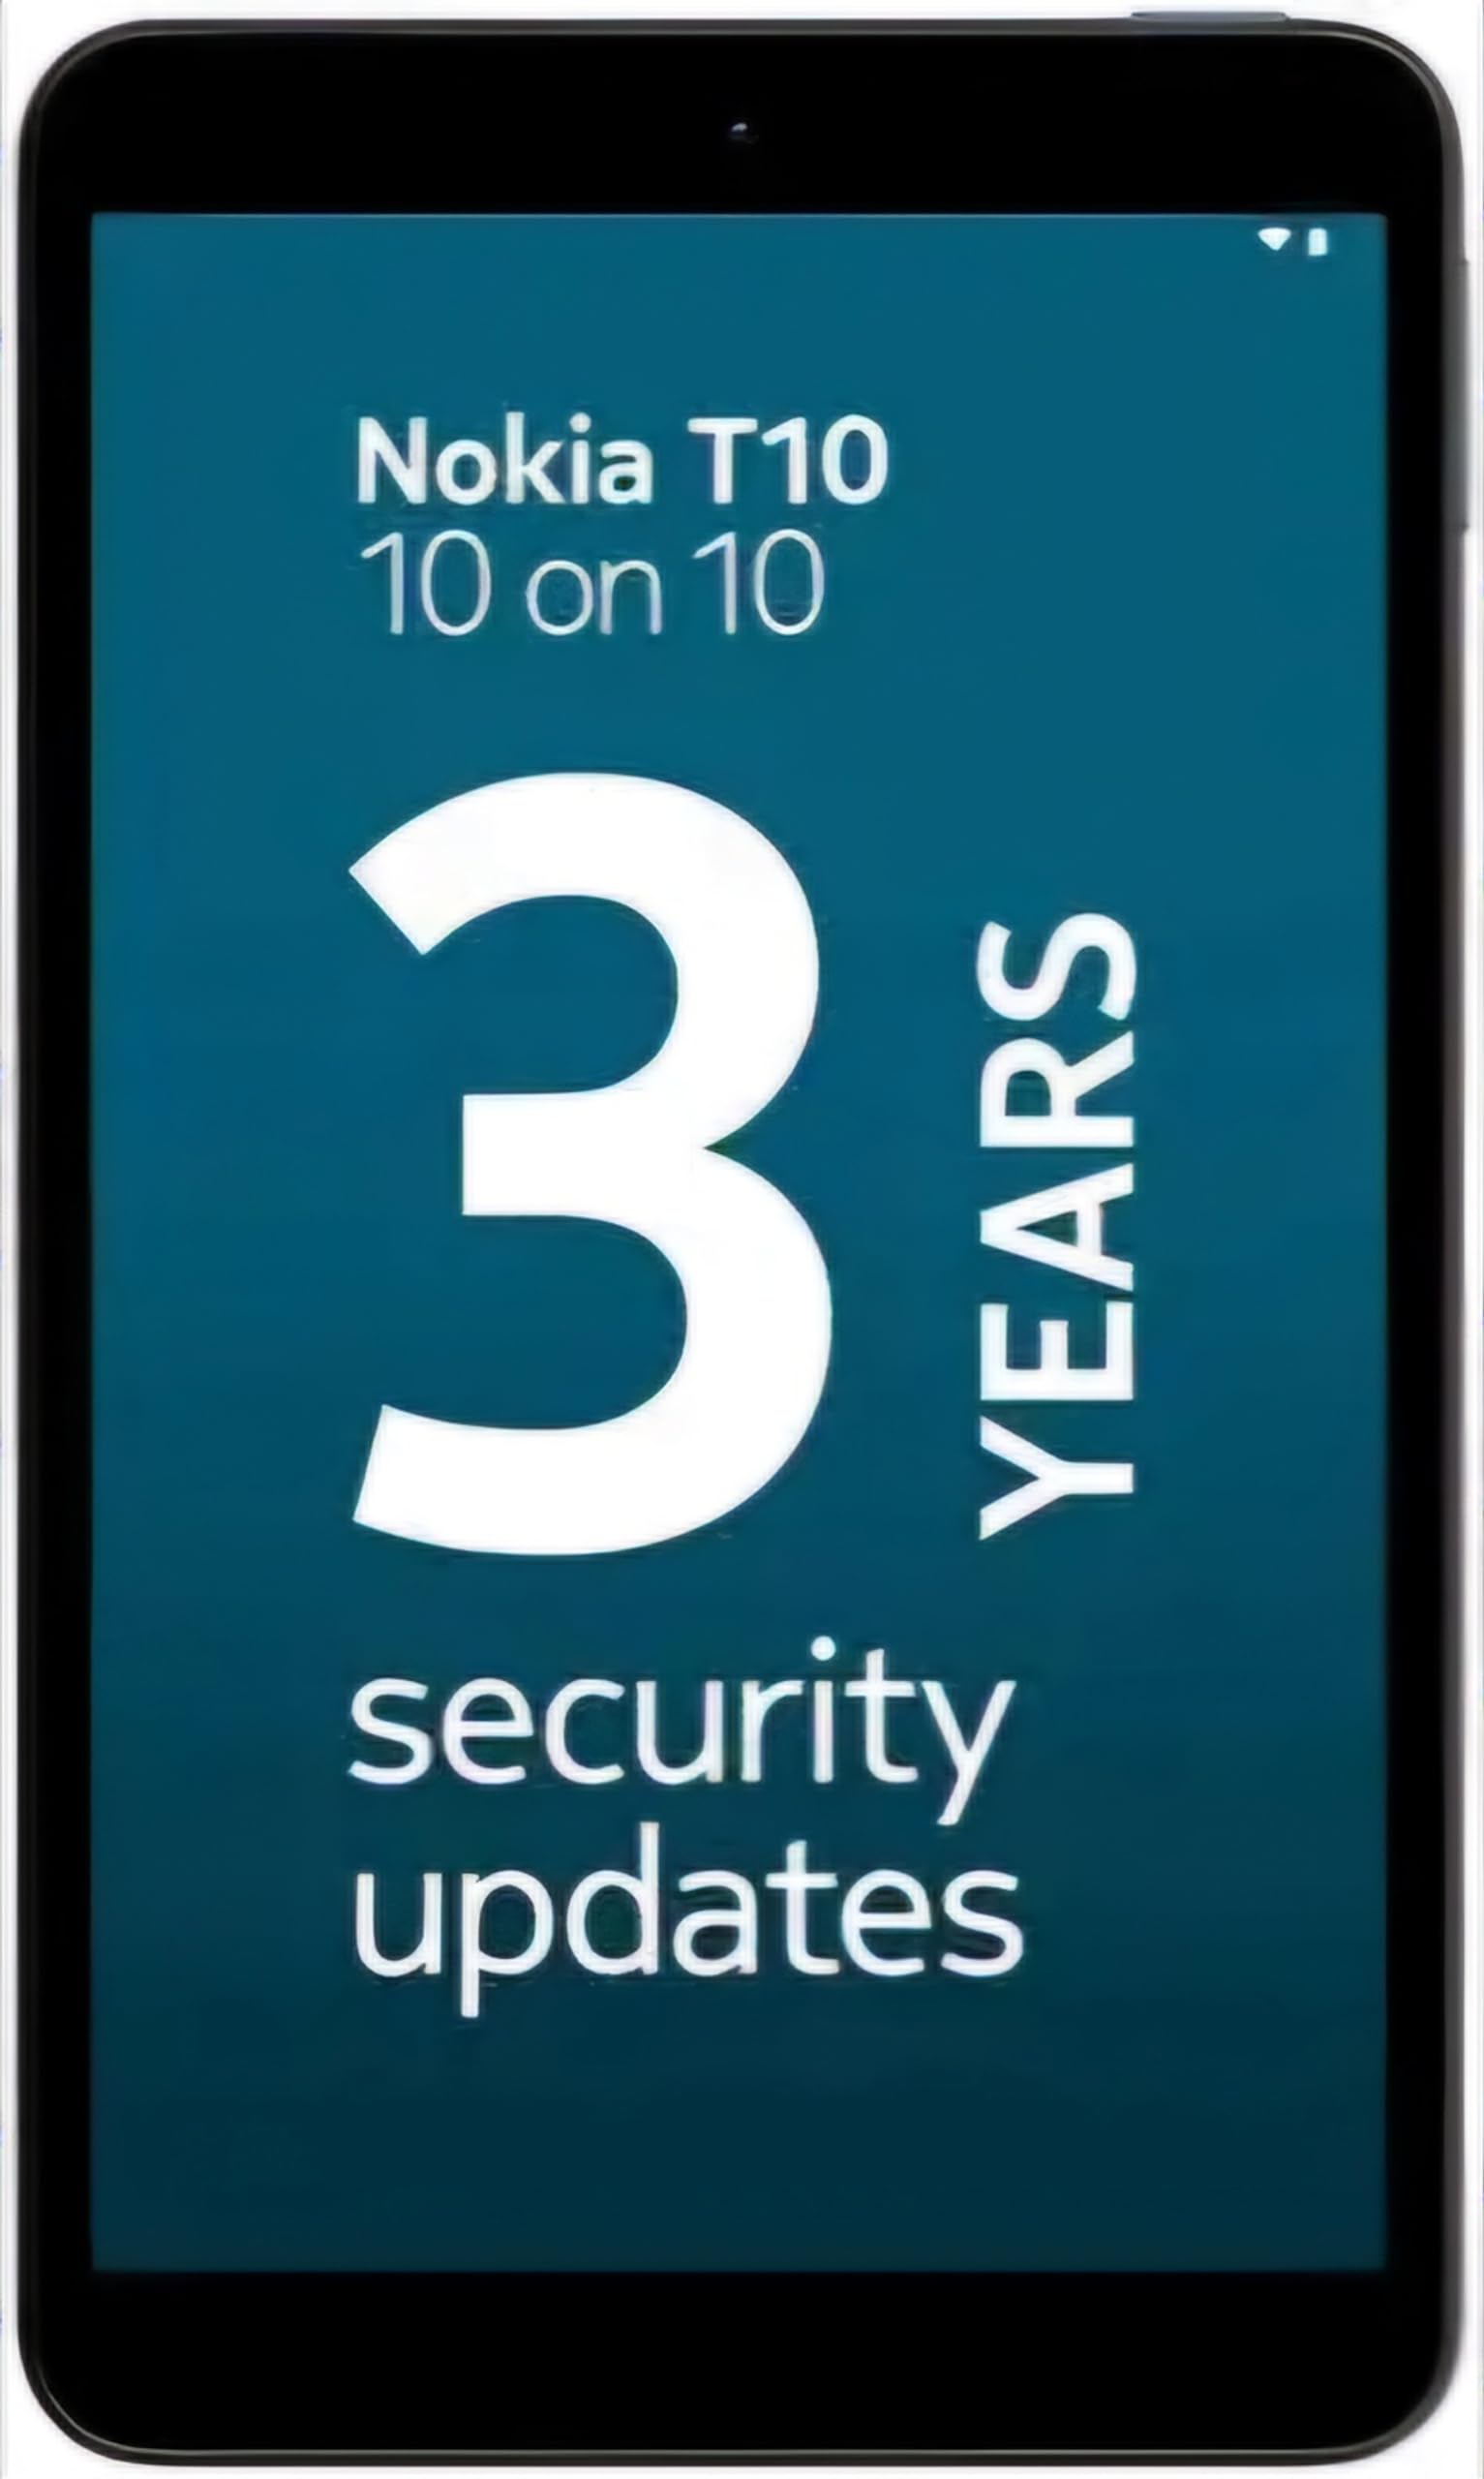
Image: Nokia T10 tablet, showcasing its sleek design and the rear camera module.
4. Упутство за употребу
4.1 Приказ и навигација
The Nokia T10 features an 8-inch HD display (1280x800 pixels). Navigate the interface using touch gestures:
- Додирните: Изаберите ставку или отворите апликацију.
- Превуците: Скролујте кроз екране, листе или садржај.
- Зумирање штипкањем прстију: Увећајте или умањите фотографије и web странице.
- Дуго притисните: Приступите контекстуалним менијима или преместите иконе апликација.
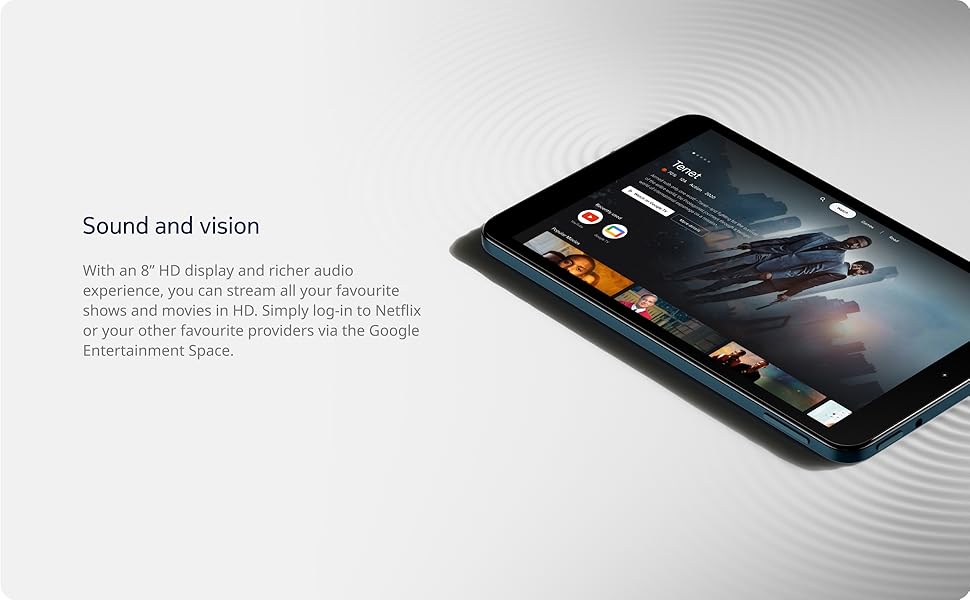
Image: The Nokia T10 tablet showcasing its 8-inch HD display with streaming video content.
4.2 Функције камере
Your tablet is equipped with an 8MP rear camera with autofocus and flash, and a 2MP front camera.
- Фотографисање: Отворите апликацију Камера, кадрирајте снимак и додирните дугме затварача.
- Снимање видео записа: Switch to video mode in the Camera app and tap the record button to start/stop. The tablet supports FHD 1080p video capture.
- Предња камера: Tap the camera switch icon to use the front camera for selfies or video calls.

Image: A Nokia T10 tablet displaying a video call, highlighting its front camera functionality.
4.3 Управљање батеријом
The Nokia T10 has a 5250 mAh battery designed for all-day use. To optimize battery life:
- Смањите осветљеност екрана.
- Искључите Wi-Fi и Bluetooth када их не користите.
- Затворите апликације у позадини.
- Enable battery saver mode in Settings.
4.4 Повезивање
- Ви-Фи: Connect to wireless networks via Settings > Network & internet > Wi-Fi. The tablet supports 802.11a/b/g/n/ac standards.
- Блуетоотх: Pair with Bluetooth devices (headphones, speakers) via Settings > Connected devices > Bluetooth. The tablet features Bluetooth 5.0.
- УСБ типа Ц: Use the USB-C port for charging and data transfer.
4.5 AI Face Unlock
For quick and secure access, set up AI Face Unlock:
- Go to Settings > Security > Face unlock.
- Пратите упутства на екрану да бисте регистровали своје лице.
- Ensure you are in a well-lit environment during setup and use.
4.6 Софтвер и ажурирања
The Nokia T10 runs on Android 12. Nokia provides 2 years of OS updates and 3 years of monthly security updates to keep your device secure and up-to-date. You will receive notifications when updates are available. It is recommended to install updates over a Wi-Fi connection.
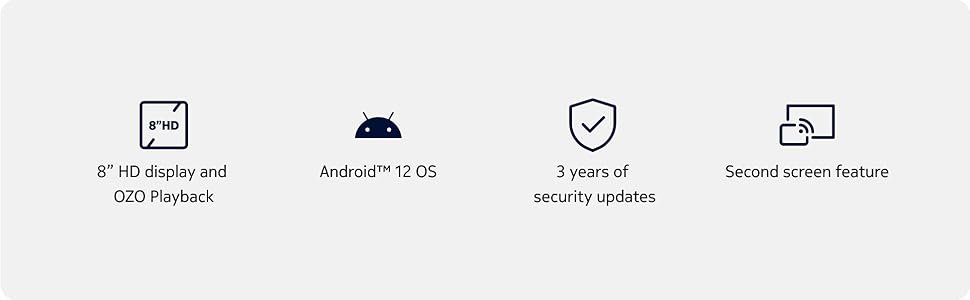
Image: Visual representation of Nokia T10 features including Android 12 OS and 3 years of security updates.
5. Одржавање
5.1 Чишћење таблета
- Користите меку крпу која не оставља влакна за чишћење екрана и кућишта.
- Избегавајте употребу јаких хемикалија, абразивних средстава за чишћење или аеросолних спрејева.
- Do not expose the tablet to excessive moisture.
5.2 Ажурирања софтвера
Regularly check for and install software updates to ensure optimal performance and security. Go to Settings > System > System update.
5.3 Управљање складиштем
To maintain performance, periodically manage your tablet's storage:
- Обришите непотребне апликације и files.
- Помери велико files (photos, videos) to a MicroSD card or cloud storage.
- Clear app cache regularly via Settings > Apps > [App Name] > Storage & cache.
КСНУМКС. Решавање проблема
If you encounter issues with your Nokia T10 tablet, try the following solutions:
| Проблем | Решење |
|---|---|
| Таблет се не укључује | Уверите се да је батерија напуњена. Прикључите пуњач и сачекајте неколико минута пре него што поново покушате да је укључите. |
| Проблеми са Ви-Фи везом | Restart your Wi-Fi router. Go to Settings > Network & internet > Wi-Fi, turn Wi-Fi off and then on again. Forget the network and reconnect. |
| Споро перформансе | Close unused apps. Clear app caches. Restart the tablet. Check for available software updates. |
| Апликације се руше или замрзавају | Force stop the app (Settings > Apps > [App Name] > Force stop). Clear the app's cache and data. Reinstall the app. |
| Батерија се брзо празни | Reduce screen brightness. Disable unnecessary features like GPS, Bluetooth, and Wi-Fi when not in use. Check battery usage in Settings to identify power-hungry apps. |
If the problem persists after trying these steps, please contact Nokia customer support.
7. Спецификације
Below are the key technical specifications for the Nokia T10 Wi-Fi Tablet:
- Назив модела: Nokia T10 TA-1472 WIFI 3/32
- Оперативни систем: Андроид 12
- процесор: Unisoc T606 (Octa-core, 1.6 GHz)
- Графички копроцесор: Мали-Г57
- РАМ: 3 ГБ
- Интерна меморија: 32 ГБ
- Прошириво складиште: Yes, via MicroSD card (up to 512GB, sold separately)
- Приказ: 8-inch HD (1280 x 800 pixels) TFT, 16:10 aspect ratio
- Задња камера: 8 MP with AF and Flash
- Предња камера: 2 МП
- Резолуција снимања видео записа: FHD 1080p at 30 fps
- батерија: 5250 мАх литијум полимер
- Повезивање: Wi-Fi (802.11a/b/g/n/ac), Bluetooth 5.0, USB Type-C, 3.5mm Audio Jack
- Сигурносне карактеристике: АИ откључавање лица
- аудио: Stereo Speakers, OZO Playback
- Димензије (Д x Ш x Дебљина): 20.8L x 12.3W x 0.9Th Centimeters
- Тежина: 375 грама
- Боја: Плава
8. Информације о гаранцији
The Nokia T10 tablet comes with a 1-годишња гаранција произвођача for the device and battery from the date of purchase. In-box accessories are covered by a 6-месечна гаранција произвођача from the date of purchase. Please retain your proof of purchase for warranty claims. For detailed terms and conditions, refer to the warranty card included in your product packaging or visit the official Nokia support webсајту.
9. Подршка
За додатну помоћ, техничку подршку или да бисте пронашли сервисне центре, посетите званичну Нокијину страницу за подршку. website or contact their customer service. You can typically find support contact information on the Nokia website or in the safety booklet provided with your tablet.
Подршка на мрежи: Нокија подршка Webсајту