
1. Увод
This manual provides essential information for the safe and effective use of your Genmitsu 4th Axis Rotary Module. This module is designed as an upgrade for Genmitsu 4040-PRO, 4040 Reno, and 3030-PROVer MAX CNC machines, enabling advanced carving capabilities. Please read these instructions thoroughly before installation and operation.

Слика 1: Завршеноview of the Genmitsu 4th Axis Rotary Module.
2. Кључне карактеристике
- Enhanced Carving Capabilities: Enables carving from multiple angles and positions, supporting full rotary carving with appropriate software. This expands the range of complex parts with curved or angled features that can be produced.
- NEMA17 Planetary Geared Stepper Motor: Features a high-torque NEMA17 motor, providing increased force and precision for rotating workpieces compared to belt-driven rotary modules.
- Разноврсне димензије:
- Center Height: 50mm
- Укупна висина: 86 мм
- Material Lengths: 10-100mm (with tailstock), 10-200mm (without tailstock)
- Applicable Material Diameter: 2-50mm

Figure 2: Key dimensions of the rotary module.
- Прецизна контрола: Achieves precise control with a 10:1 reduction ratio, offering a minimum angle of 0.1° and a maximum angular speed of 300° per second for high speed and accuracy.
- 4-Jaw Chuck: Securely holds various material shapes and sizes.

Слика 3: Цлamped material diameter range (2-50mm).
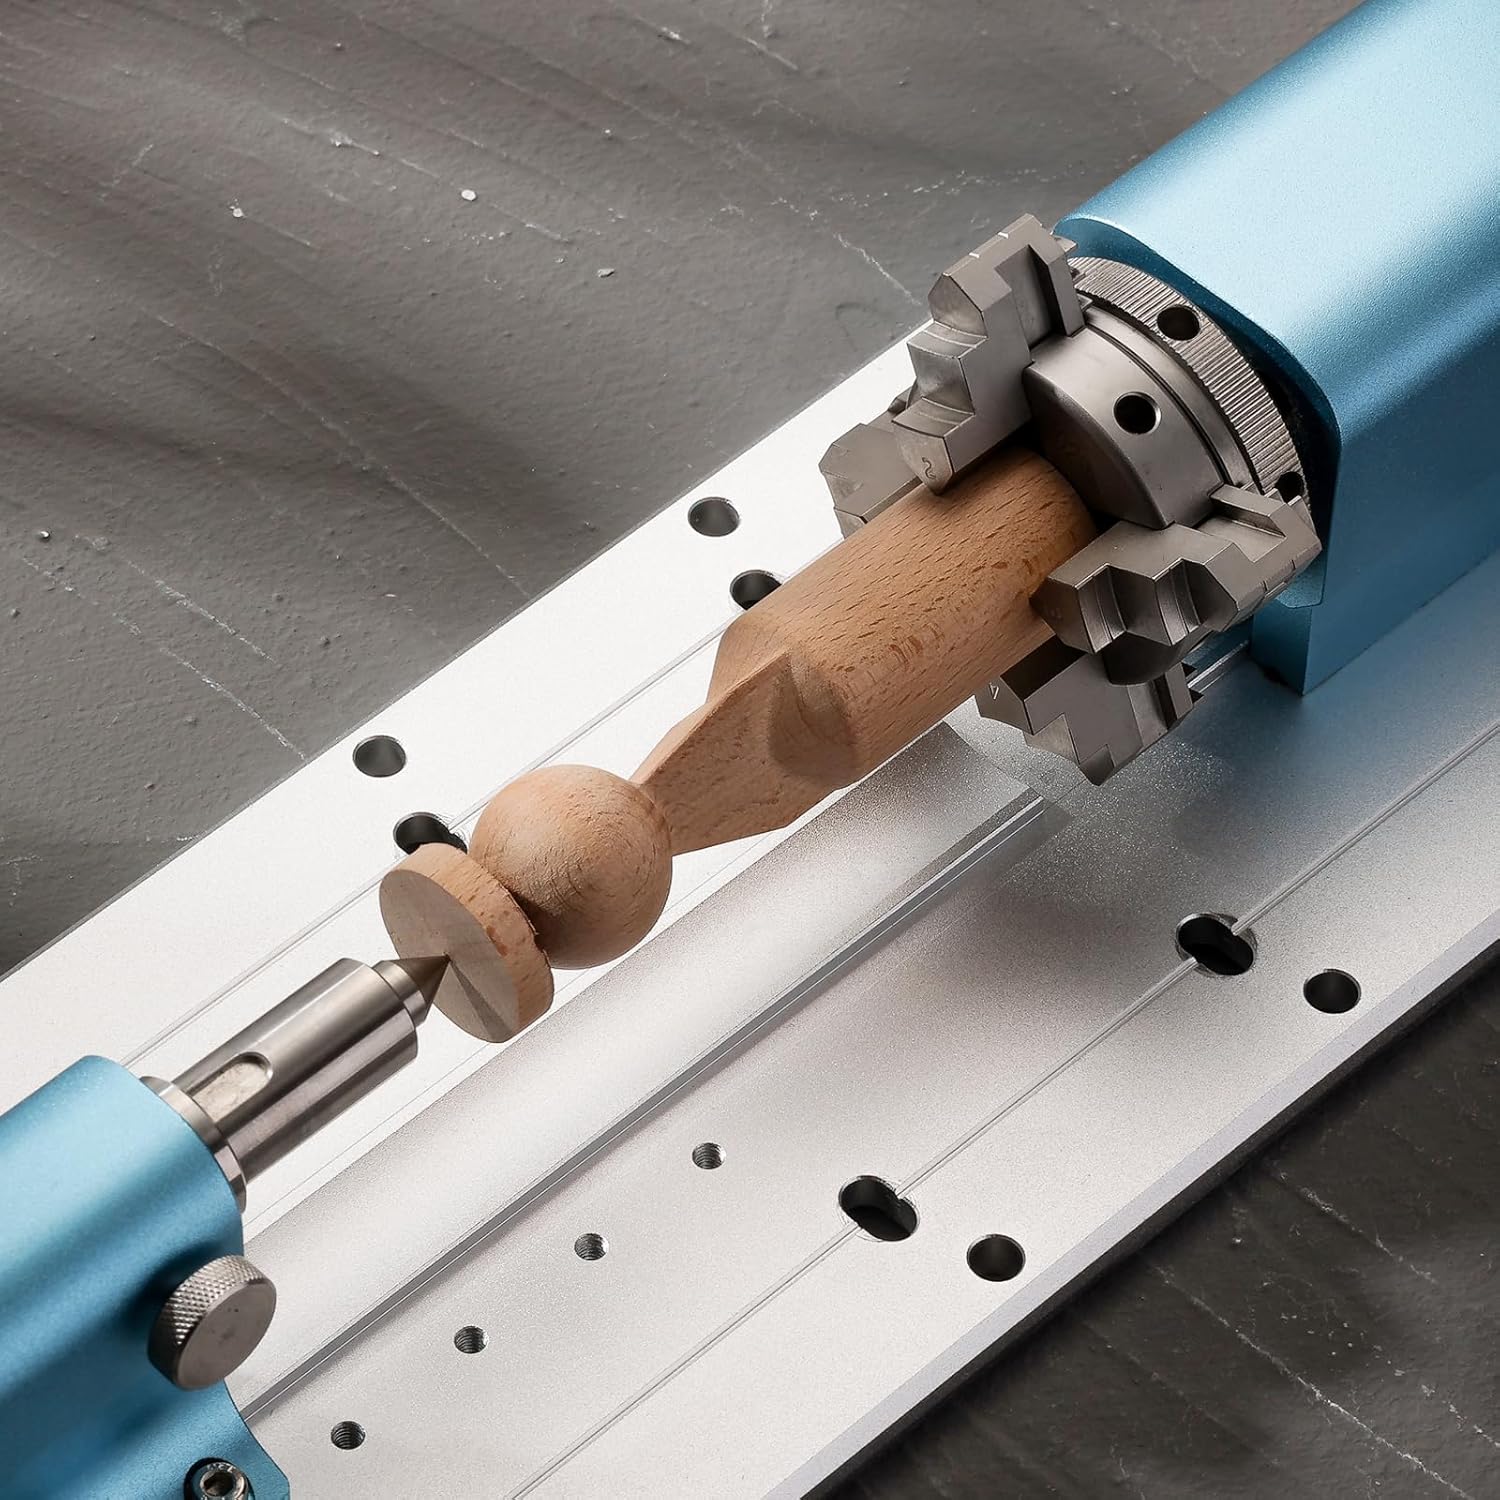
Figure 4: Chuck jaw configurations for forward (2-22mm) and reverse (18-50mm) mounting.
3. Подешавање и инсталација
The Genmitsu 4th Axis Rotary Module comes pre-assembled for ease of installation. Follow these steps to integrate it with your compatible CNC machine:
- Распакивање: Carefully remove all components from the packaging. Verify that all parts listed in the kit contents are present.

Figure 5: Kit contents including the rotary module, tailstock, and mounting hardware.
- Монтажа: Position the rotary module on the baseplate of your Genmitsu 4040-PRO, 4040 Reno, or 3030-PROVer MAX CNC machine. Align the module with the pre-cut holes on the baseplate and secure it using the provided screws. Ensure the module is parallel to the CNC's X-axis for accurate operation.
- Повезивање: Connect the stepper motor cable from the rotary module to the designated 4th axis port on your CNC machine's controller.
- Offline Controller Requirement: For the 4040-PRO and 4040 Reno models, an offline controller (ASIN: B0C582HQ6Z) is required to send G-code for 4th axis operations. The 3030-PROVer Max typically includes an integrated offline controller. Ensure you have the necessary controller for proper functionality.
- Конфигурација софтвера: You will need CAD/CAM software capable of generating toolpaths for rotary motion. Recommended options include Fusion 360 and Vectric. Configure your software to recognize and utilize the 4th axis.

Figure 6: The 4th Axis Rotary Module installed on a compatible CNC machine.
4. Операција
Operating the 4th Axis Rotary Module involves preparing your workpiece, generating appropriate G-code, and executing the carving process.
- Workpiece Mounting:
- Open the 4-jaw chuck by rotating the adjustment ring.
- Insert your material (diameter 2-50mm) into the chuck. Ensure it is centered and securely clampед.
- If using the tailstock for longer materials (up to 100mm), adjust its position to support the free end of the workpiece. The tailstock can be adjusted along the baseplate in 20mm increments, with a fine adjustment range of 0-30mm.

Figure 7: Tailstock adjustment for supporting longer workpieces.
- G-code Generation: Use your chosen CAD/CAM software (e.g., Fusion 360, Vectric) to design your rotary carving project and generate the corresponding G-code. This G-code will include commands for the 4th axis rotation.
- Извршење:
- Load the generated G-code onto your offline controller.
- Ensure the CNC machine and rotary module are powered on and properly connected.
- Initiate the carving process from the offline controller. Monitor the operation closely.
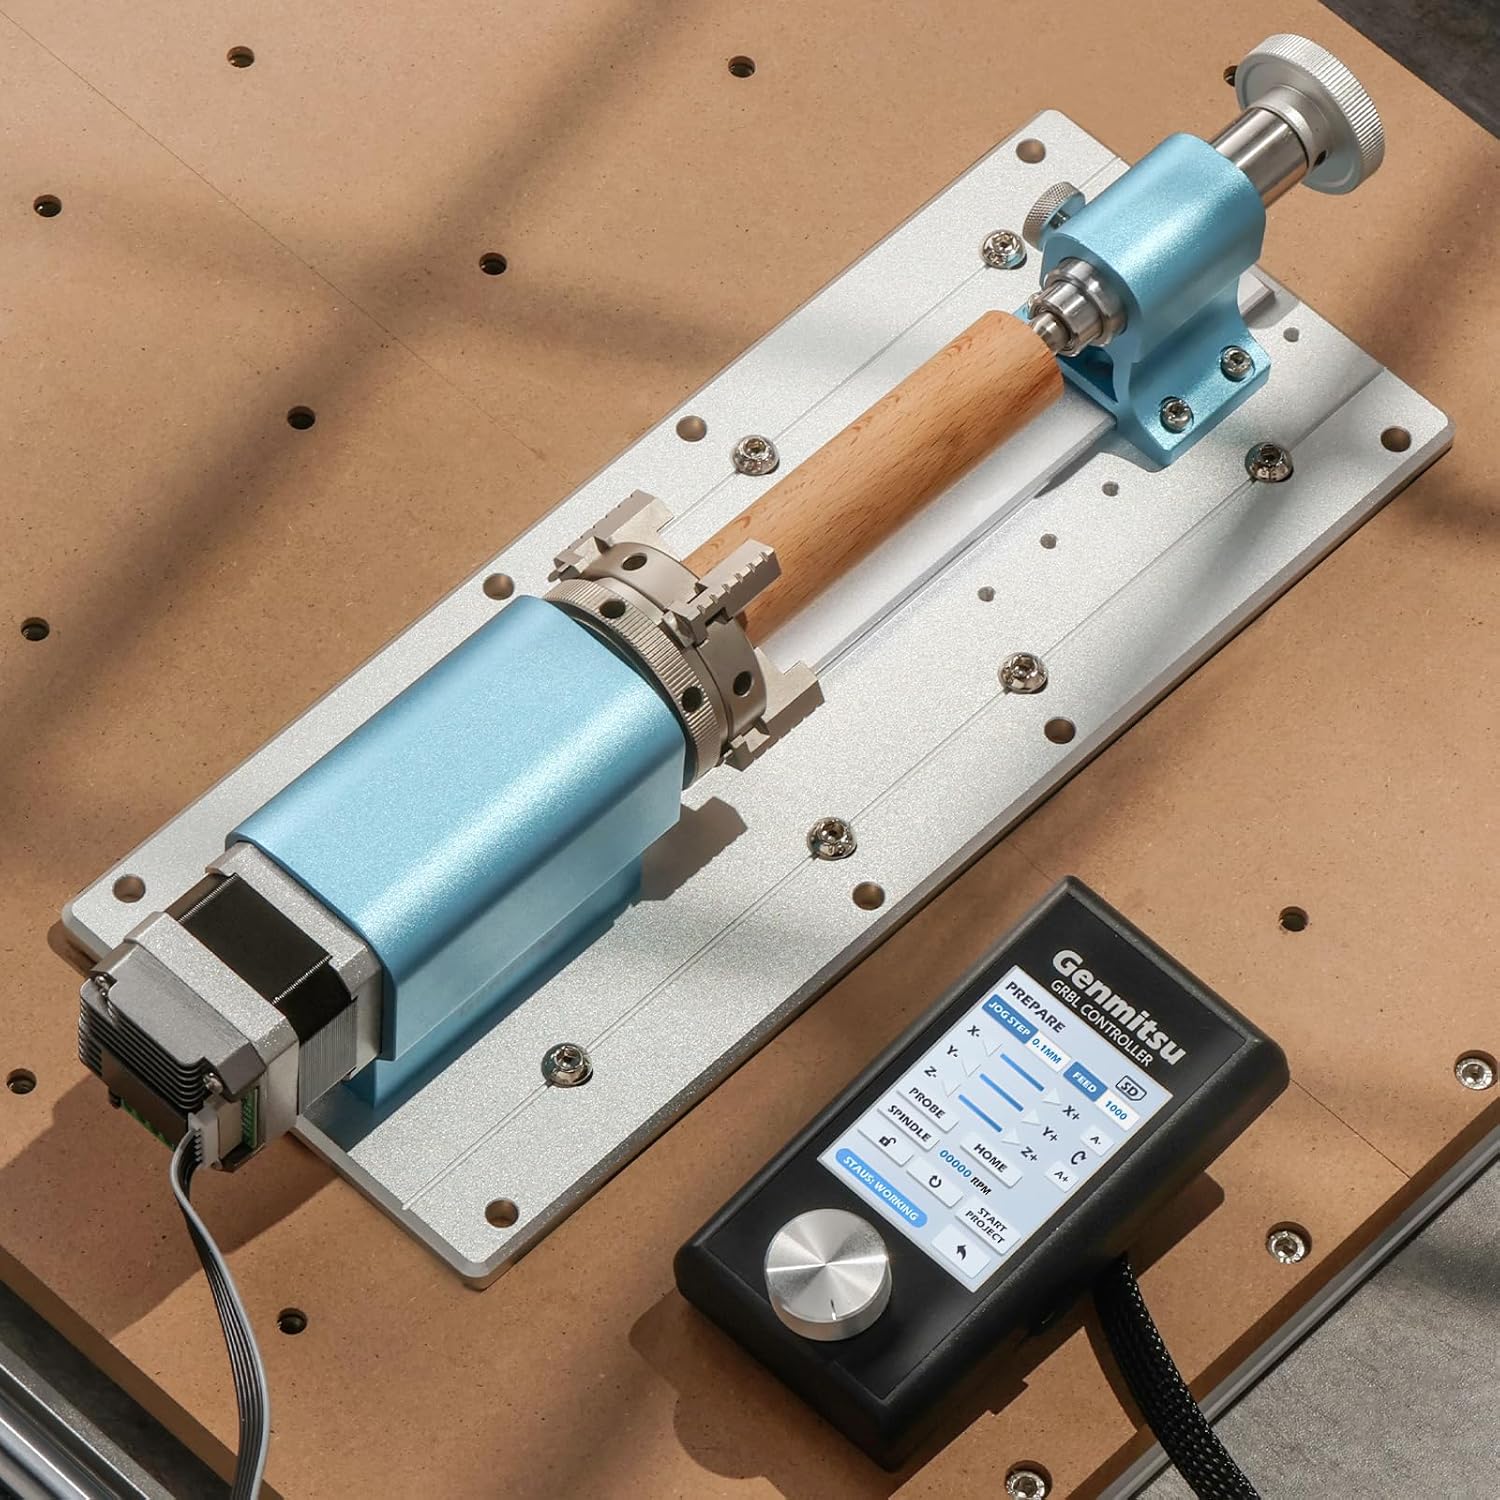
Figure 8: Rotary carving of a wooden piece using the module and an offline controller.
4.1. Operational Video
Video 1: Demonstration of carving with the Genmitsu 4th Axis Rotary Module on a Genmitsu 4040 Reno CNC machine. The video shows the module in action, carving a design into a cylindrical wooden workpiece.
5. Одржавање
Regular maintenance ensures the longevity and optimal performance of your 4th Axis Rotary Module.
- Чишћење: After each use, clean the module, especially the chuck jaws and tailstock, to remove dust, debris, and wood chips. Use a soft brush or compressed air. Avoid using harsh chemicals that could damage the aluminum finish.
- подмазивање: Periodically apply a small amount of light machine oil to the moving parts of the chuck and tailstock screw mechanism to ensure smooth operation.
- инспекција: Regularly inspect all screws and connections to ensure they are tight. Check for any signs of wear or damage to the motor, cables, or mechanical components. Replace worn parts as necessary.
- Складиштење: When not in use, store the rotary module in a clean, dry environment to prevent corrosion and dust accumulation.
КСНУМКС. Решавање проблема
This section addresses common issues you might encounter with the 4th Axis Rotary Module.
| Проблем | Могући узрок | Решење |
|---|---|---|
| Module not rotating or rotating incorrectly. |
|
|
| Workpiece slipping in chuck. |
|
|
| Inaccurate carving results. |
|
|
7. Спецификације
| Атрибут | Детаљ |
|---|---|
| Бранд | Генмитсу |
| Назив модела | 4th Axis |
| Материјал | Алуминијум |
| Тежина артикла | 2.93 килограма (6.45 фунте) |
| Центер Хеигхт | 50мм |
| Укупна висина | 86мм |
| Material Length (with tailstock) | 10-100мм |
| Material Length (without tailstock) | 10-200мм |
| Applicable Material Diameter | 2-50мм |
| Однос смањења | 10:1 |
| Minimum Rotation Angle | 0.1° |
| Maximum Angular Speed | 300° у секунди |
| Compatible CNC Machines | Genmitsu 4040-PRO, 4040 Reno, 3030-PROVer MAX |
| Required Controller | Offline controller (for 4040-PRO, 4040 Reno) |
8. Гаранција и подршка
За информације о гаранцији, техничку подршку или упите у вези са сервисирањем, обратите се званичном Genmitsu webсајт или директно контактирајте њихову корисничку службу. Сачувајте рачун за куповину за потребе гаранције.