
1. Производ је готовview
This manual provides detailed instructions for the assembly, operation, maintenance, and troubleshooting of your SILKYDRY 72.5" Buffet with Hutch. This versatile freestanding pantry storage cabinet features drawers, adjustable shelves, wine grids, and a microwave countertop, designed for use in dining rooms, living rooms, kitchens, and utility rooms.
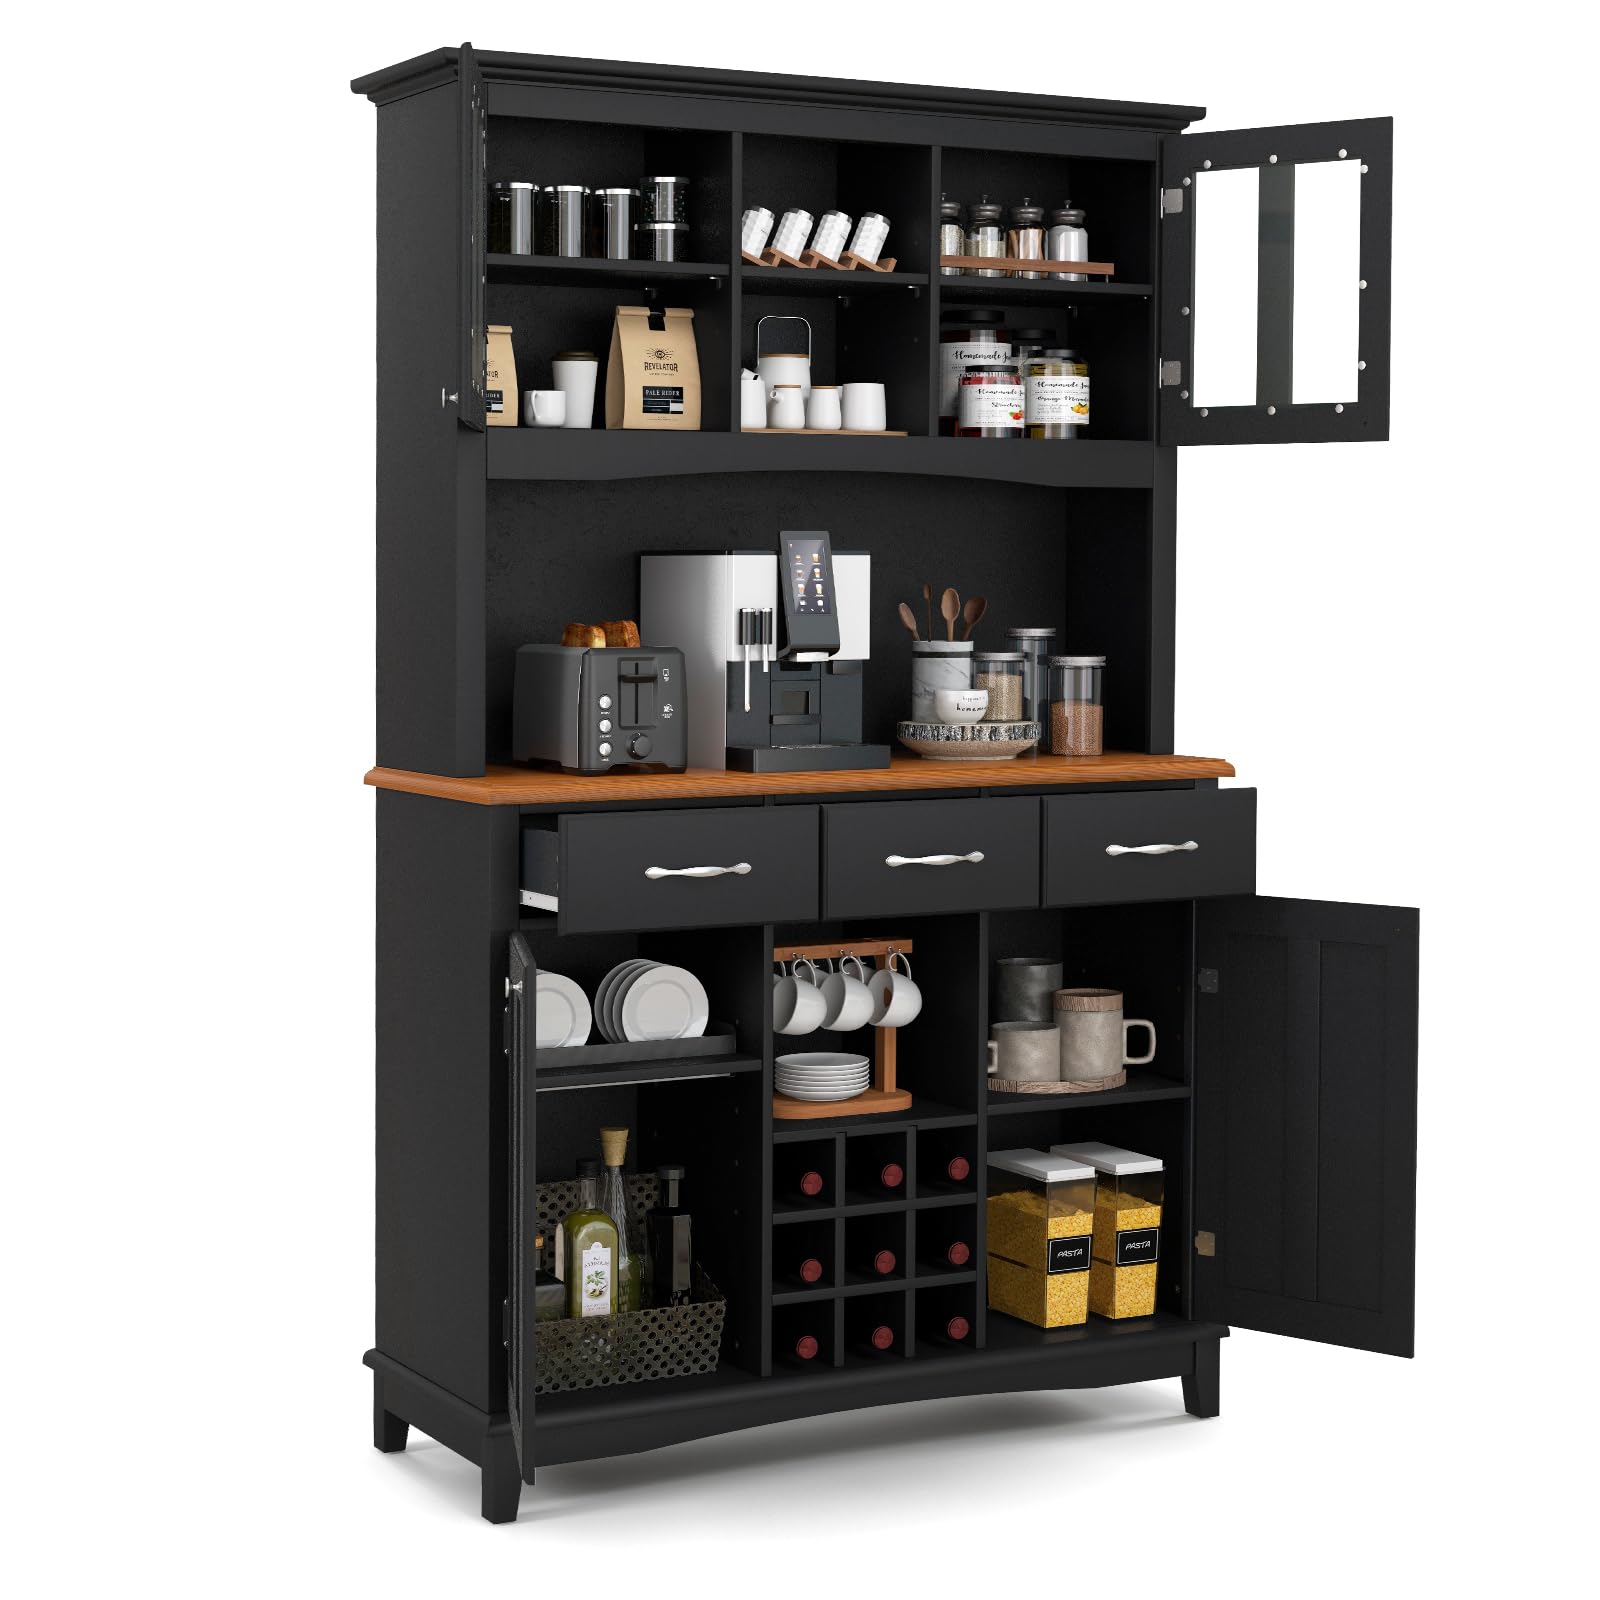
Figure 1: SILKYDRY 72.5" Buffet with Hutch (Black)
2. Безбедносне информације
Молимо вас да прочитате и разумете сва безбедносна упозорења и упутства пре склапања и употребе. Непоштовање ових упутстава може довести до повреда или оштећења производа.
- Уређаји против превртања: This product includes anti-tip devices to prevent accidental tipping. Always install these devices securely to a wall according to the instructions to ensure optimal safety, especially in households with children or pets.
- Капацитет тежине: The cabinet is designed to support a maximum weight of 445 lbs. Do not exceed this limit. Distribute weight evenly across shelves and surfaces.
- Скупштина: Ensure all parts are present and in good condition before beginning assembly. Follow the assembly instructions carefully.
- Пласман: Поставите ормарић на равну, стабилну површину.

Figure 2: Safety Anti-toppling Devices Installation
3. Садржај пакета
Your SILKYDRY Buffet with Hutch is shipped in two packages. Please ensure you have received both packages and all components are accounted for before starting assembly. Refer to the included parts list for detailed identification.
- 1 x Kitchen Hutch Cabinet (various panels and hardware)
- Упутство за употребу

Figure 3: Product Dimensions and Packaging Information
4. Упутство за монтажу
Assembly is required for this product. It is recommended to have two people for assembly. Follow the steps below and refer to the assembly video for visual guidance.
Видео водич за монтажу
Video 1: High Kitchen Pantry Buffet Cabinet Assembly Video. This video provides a complete visual guide for assembling the cabinet.
Монтажа корак по корак
- Step 1: Prepare Base Panels. Attach cam locks and dowels to panels 1, 2, 3, 14, 15, and 16 using screws (A).
- Step 2: Install Drawer Slides (Cabinet Sides). Attach drawer slides (M2) to panels 14, 15, 16, and 17 using screws (D). Ensure correct orientation for left and right sides.
- Step 3: Attach Hinges to Doors. Secure hinges (K) to glass doors (11, 12) and solid doors (23, 24) using screws (E).
- Step 4: Install Door Knobs. Attach knobs (I) to the glass doors (11, 12) and solid doors (23, 24) using screws (H).
- Step 5: Assemble Drawer Boxes. Connect the sides of the drawer boxes (28, 29, 30) using screws (F).
- Step 6: Attach Drawer Handles. Secure handles (J) to the front panels of the drawers using screws (H) and cam locks (B).
- Step 7: Install Drawer Slides (Drawer Boxes). Attach drawer slides (M1) to the sides of the assembled drawer boxes using screws (D). Ensure correct left/right orientation.
- Step 8: Attach Base Legs. Secure the base legs (36, 37) to the bottom panel (26) using bolts (Q), washers (P), and nuts (O). Tighten with the provided wrench (R).
- Step 9: Assemble Lower Back Panel. Connect the curved back support (10) to the lower back panel using dowels (C) and cam locks (B).
- Step 10: Assemble Upper Back Panel. Attach side panels (4, 5) to the upper back panel (9) using dowels (C) and screws (G).
- Step 11: Assemble Lower Shelf Section. Connect the middle shelf (3) and back support (6) to the lower side panels using dowels (C) and cam locks (B).
- Step 12: Attach Side Panels to Lower Section. Connect the remaining side panel (2) to the assembled lower shelf section using dowels (C) and cam locks (B).
- Step 13: Attach Countertop. Secure the countertop (13) to the lower cabinet structure using dowels (C) and screws (G).
- Step 14: Assemble Base of Upper Cabinet. Connect the base panel (1) to the side panels of the upper cabinet using dowels (C) and cam locks (B).
- Step 15: Assemble Upper Side Panels. Attach the remaining upper side panels (14, 15) to the upper cabinet structure using dowels (C) and cam locks (B).
- Step 16: Assemble Upper Side Panels (Continued). Attach panels (17, 22, 19) to the upper cabinet structure using dowels (C) and cam locks (B).
- Step 17: Assemble Upper Side Panels (Continued). Attach panel (16) to the upper cabinet structure using dowels (C) and cam locks (B).
- Step 18: Connect Upper Cabinet Sections. Join the two main upper cabinet sections using cam locks (B).
- Step 19: Connect Upper Cabinet Sections (Continued). Join the remaining upper cabinet sections using cam locks (B).
- Step 20: Attach Upper Cabinet to Lower Cabinet. Carefully lift and place the assembled upper cabinet onto the lower cabinet. Secure using dowels (C) and cam locks (B).
- Step 21: Install Upper Back Panels. Slide the upper back panels (32, 33, 34, 35) into the grooves and secure with screws (L).
- Step 22: Install Lower Back Panels. Slide the lower back panels (32, 33, 34, 35) into the grooves and secure with screws (L).
- Step 23: Insert Adjustable Shelves. Place the adjustable shelves (7, 8, 21) into the desired positions using shelf pins (N).
- Step 24: Assemble Wine Grids. Interlock the wine grid pieces (25) and insert them into the designated compartment.
- Step 25: Attach Doors. Mount the glass doors (11, 12) and solid doors (23, 24) to the cabinet using the pre-attached hinges and screws (E).
- Корак 26: Уметните фиоке. Slide the assembled drawers into their respective tracks.
- Step 27: Install Anti-Tip Kit. Attach the anti-tip brackets (T) to the top rear of the cabinet using screws (U). Secure the other end to a wall stud using wall anchors (V) and screws (W).
5. Упутство за употребу
Подесиве полице
The cabinet features adjustable shelves in both the upper and lower sections. These shelves can be moved to 3 different positions to accommodate items of various heights. To adjust, remove the shelf pins (N), reposition the shelf to the desired height, and reinsert the pins securely.
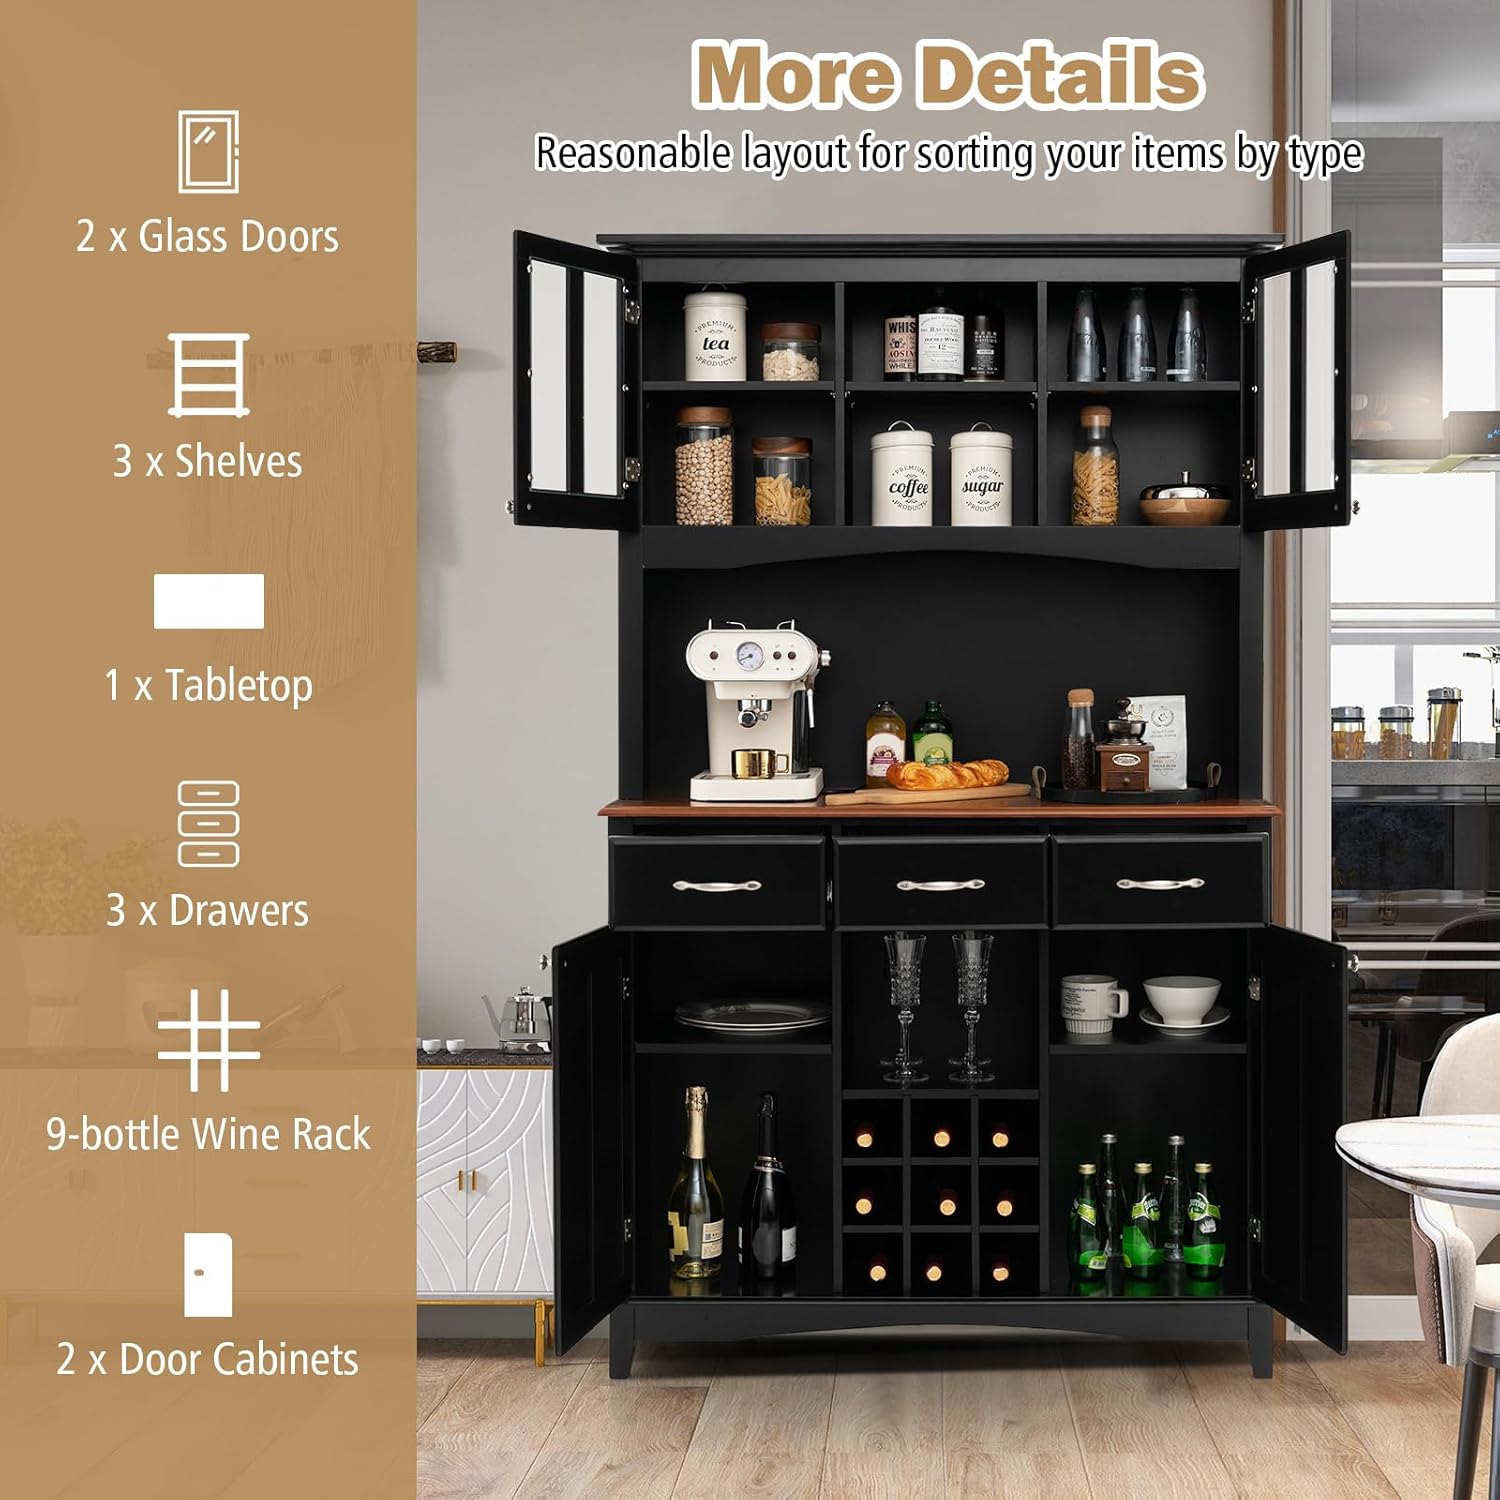
Figure 4: Adjustable Shelves Feature
фиоке
The three drawers are equipped with smooth metal glides for easy access. Use them to store tableware, utensils, or other small kitchen items.
Microwave Countertop
The spacious countertop provides a dedicated area for small appliances such as a microwave, coffee maker, or toaster. A cable hole is included for simplified wire management.
Wine Grids
The bottom cabinet includes 9 compartments designed to horizontally store wine, whisky, or other bottled beverages. An open shelf above the wine grids can hold highballs, wine glasses, or frequently used items.

Figure 5: Detailed Storage Features
6. Одржавање и њега
To maintain the appearance and longevity of your buffet with hutch, follow these simple care instructions:
- Чишћење: Обришите површине огласомamp крпом. Избегавајте употребу јаких хемикалија или абразивних средстава за чишћење, која могу оштетити завршну обраду.
- Просипање: Одмах очистите просуту течност како бисте спречили мрље или оштећење дрвета.
- хардвер: Периодично проверавајте све завртње и спојнице да бисте били сигурни да су чврсто затегнути. По потреби их поново затегните.
- Сунчева светлост: Избегавајте дуже излагање директној сунчевој светлости како бисте спречили блеђење.
КСНУМКС. Решавање проблема
If you encounter any issues with your SILKYDRY Buffet with Hutch, please refer to the following common solutions:
- Климави ормар: Ensure the cabinet is placed on a level surface. Check all assembly screws and cam locks for tightness. Re-tighten if loose. Verify that the anti-tip devices are properly installed.
- Фиоке се не померају глатко: Check that the drawer slides are correctly aligned and free of obstructions. Ensure all screws securing the slides are tight.
- Врата се не затварају правилно: Inspect hinges for proper alignment and tightness. Adjust if necessary. Ensure no items inside the cabinet are obstructing the door's path.
- Делови који недостају: Ако неки делови недостају или су оштећени по доласку, одмах контактирајте корисничку подршку.
8. Спецификације
| Феатуре | Детаљ |
|---|---|
| Бранд | SILKYDRY |
| Број модела | SK-HW64504 |
| Боја | Црно |
| Материјал | Инжењерско дрво, каљено стакло |
| Димензије производа (Д x Ш x В) | 17"Д к 44"Ш к 72.5"В |
| Weight Capacity (Maximum) | 445 фунти |
| Број фиока | 3 |
| Број полица | 3 (подесиво) |
| Број врата | 4 (2 glass, 2 solid) |
| Wine Grid Compartments | 9 |
| Врста инсталације | Самостални |
| Рекуиред Ассембли | Да |
| Упутства за одржавање производа | Обришите са Дamp Цлотх |
9. Информације о гаранцији
For information regarding the product warranty, please refer to the documentation provided at the time of purchase or contact SILKYDRY customer support. Warranty terms and conditions may vary.
10. Корисничка подршка
If you have any questions, require assistance with assembly, or need further support, please contact SILKYDRY customer service. Contact details can typically be found on the product packaging or the official SILKYDRY webсајту.
We are committed to addressing your needs and ensuring your satisfaction with our products.