1. Увод
This user manual provides detailed instructions for the safe and efficient installation, operation, and maintenance of your PUTORSEN Premium Height Adjustable Monitor Wall Mount. Please read this manual thoroughly before installation and keep it for future reference. This mount is designed to securely hold monitors from 13 to 35 inches, weighing up to 22 lbs, with VESA 75x75mm or 100x100mm patterns.
2. Садржај пакета
Verify that all components are present and undamaged before proceeding with installation. If any parts are missing or damaged, please contact customer support.
- 1 x PUTORSEN Monitor Wall Mount
- 1 x Hardware Kit (screws, anchors, washers)
- 1 x Упутство за употребу (овај документ)
- 4 x Cable Ties for cable management
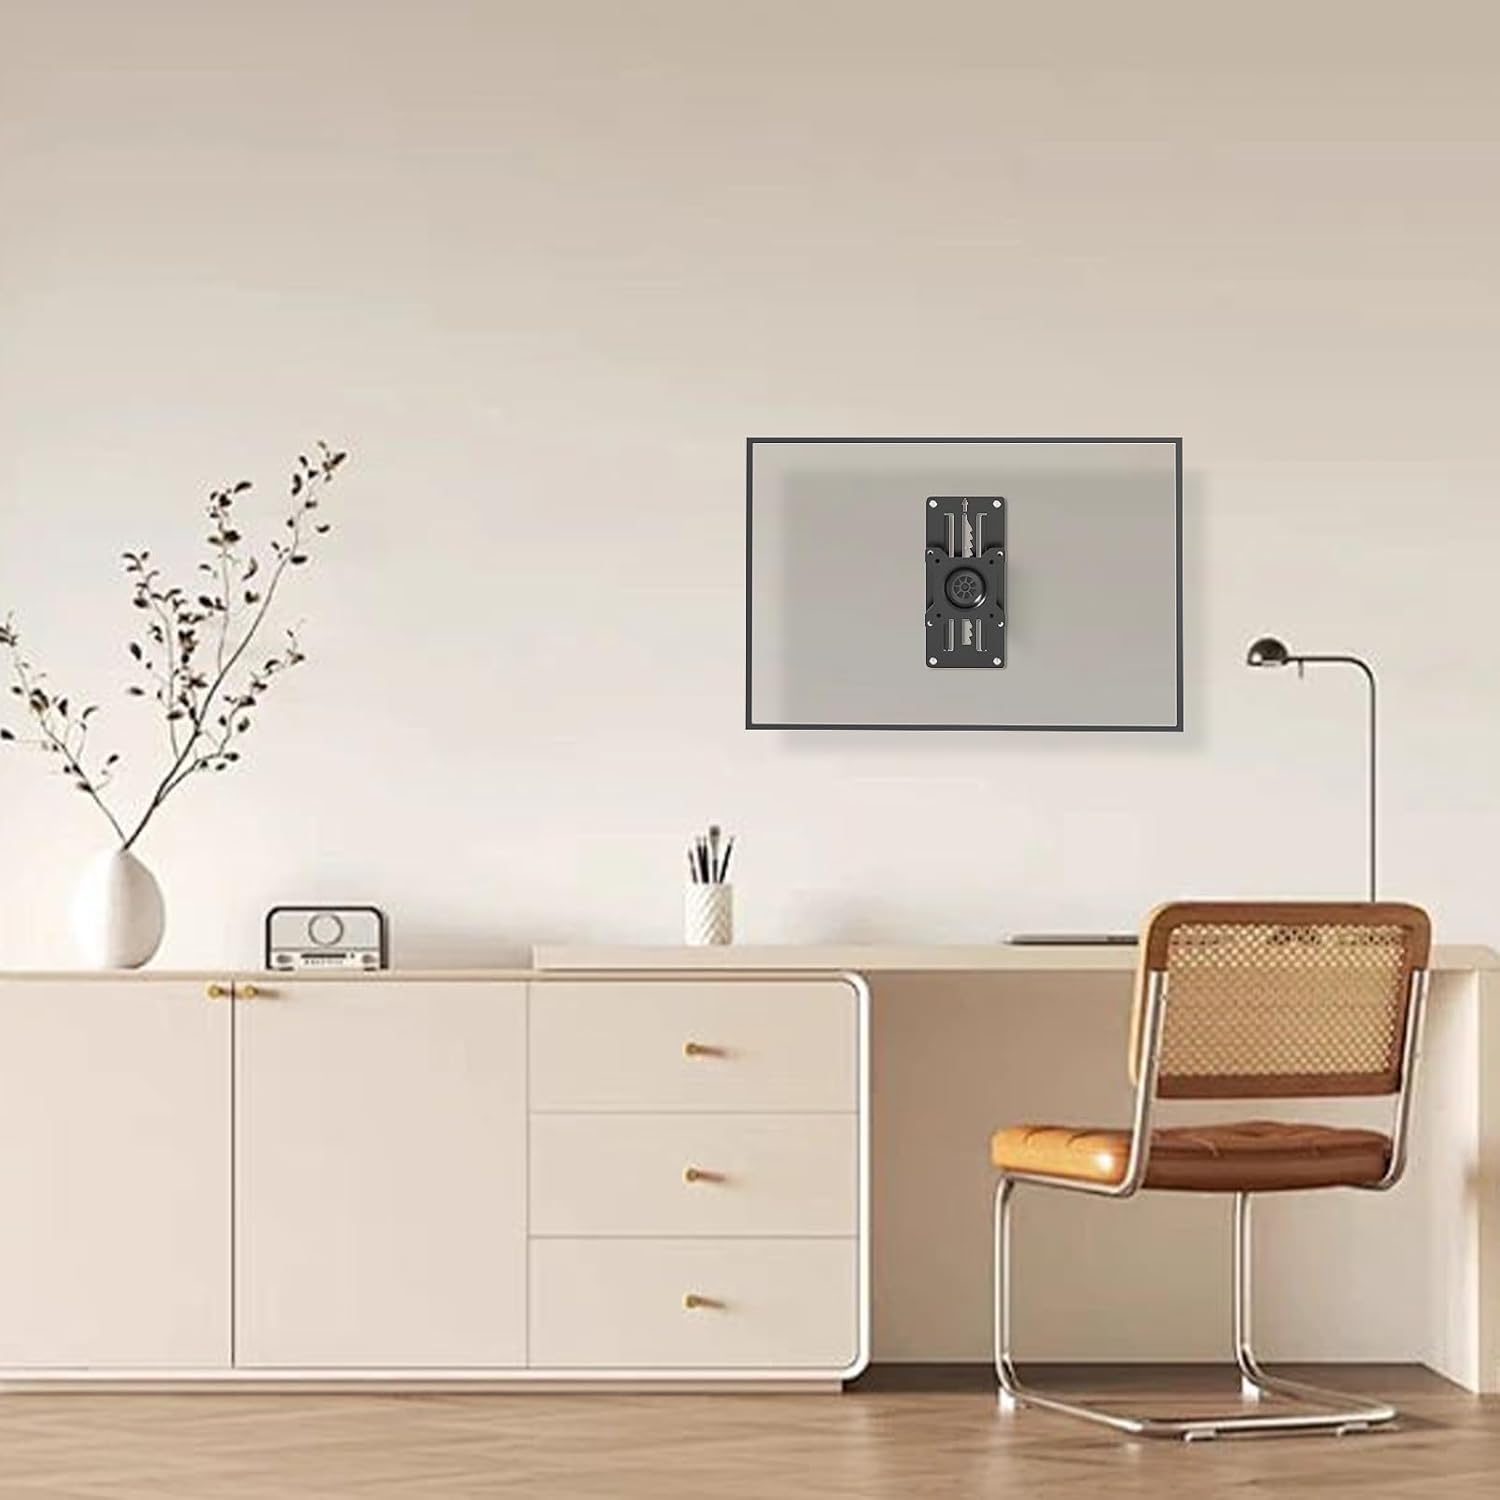
Image: Main components of the PUTORSEN Monitor Wall Mount, including the mount itself and cable ties for organization.
3. Спецификације
| Бранд | ПУТОРС |
| Модел | B0CPXHP66Q |
| Компатибилност величине екрана | 13" to 35" (standard and ultrawide screens) |
| Тежина Капацитет | До 22 фунти (10 кг) |
| ВЕСА компатибилност | 75к75мм, 100к100мм |
| Тип монтаже | Wall Mount (Wood studs, solid wall, brick wall) |
| Мовемент Типе | Articulating (Tilt, Swivel, Rotation, Height Adjustment) |
| Материјал | Acrylonitrile Butadiene Styrene (ABS), Alloy Steel, Aluminum |
| Боја | Црно |
| Валл Дистанце | Лов проfile, approximately 2 inches from the wall |
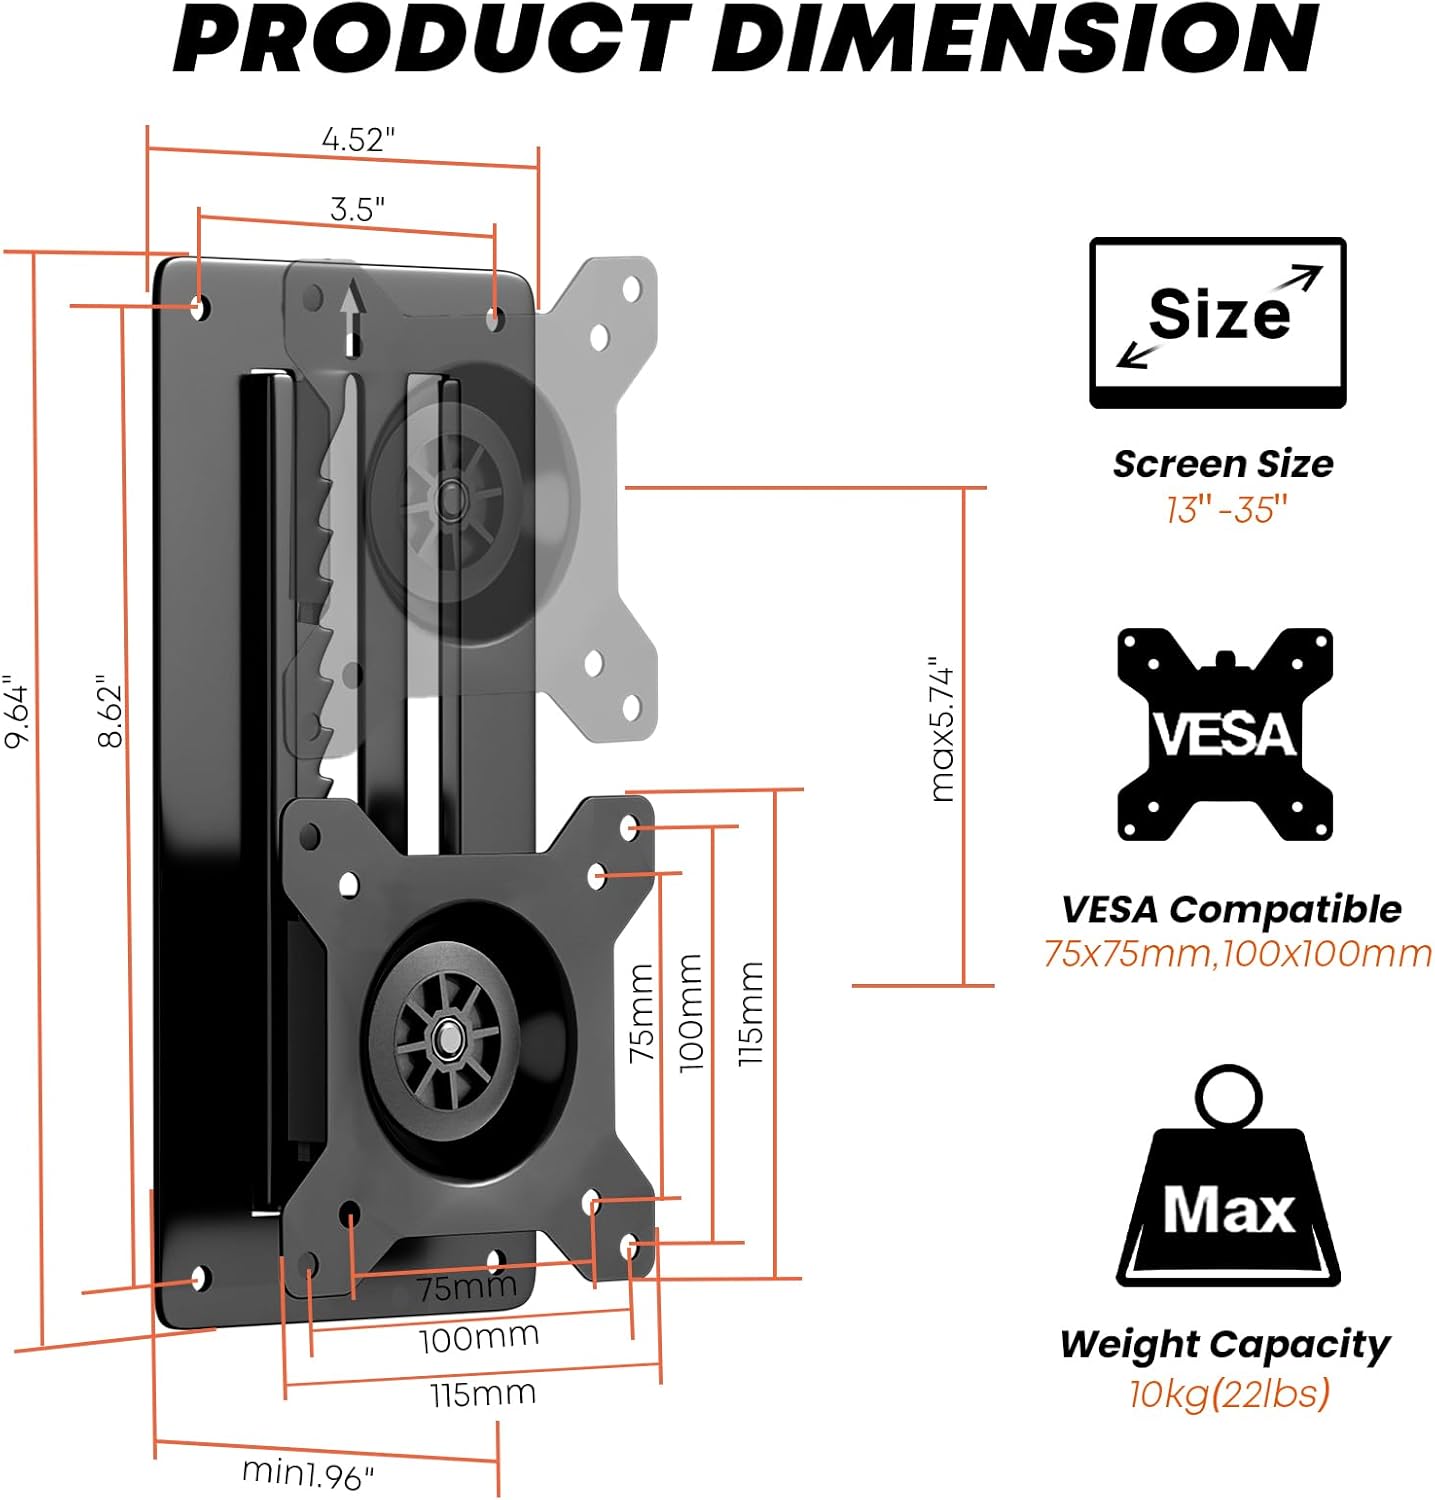
Image: Detailed product dimensions, screen size compatibility (13"-35"), VESA compatibility (75x75mm, 100x100mm), and maximum weight capacity (10kg/22lbs).
4. Подешавање и инсталација
Careful installation is crucial for the safety and stability of your monitor. Follow these steps precisely.
4.1 Tools Needed (Not Included)
- Пхиллипс одвијач
- Бушилица
- Буббле Левел
- Оловка
4.2 Видео водич за инсталацију
Video: A detailed installation guide for the PUTORSEN Height Adjustable Monitor Wall Mount, demonstrating the steps for secure mounting and adjustment.
4.3 Кораци за монтажу на зид
- Изаберите локацију: Choose a suitable wall location. Ensure it can support the weight of the mount and your monitor. This mount is compatible with wood studs, solid walls, or brick walls.
- Означите избушене рупе: Position the wall plate at the desired height. Use a bubble level to ensure it is perfectly horizontal. Mark the four drill hole locations with a pencil.
- Избушене рупе:
- For wood studs: Drill pilot holes.
- For solid concrete/brick walls: Drill holes of 8mm (5/16") diameter and 55mm (2.2") depth. Insert wall anchors (W-D) into the drilled holes.
- Причврстите зидну плочу: Align the wall plate with the drilled holes. Secure it to the wall using the appropriate screws (W-A for wood studs, W-C with W-D anchors for concrete/brick) and a Phillips screwdriver. Ensure it is firmly attached.

Слика: прamples of the monitor wall mount installed in different environments such as a study, meeting room, reception, kitchen, dining room, and hospital room, showcasinг његову свестраност.
4.4 Attaching Monitor to Mount
- Причврстите ВЕСА плочу на монитор: Secure the VESA plate (the part that attaches to the monitor) to the back of your monitor using the appropriate M-A or M-B screws and M-C washers from the hardware kit. Ensure the screws are tightened securely but do not overtighten.
- Закачени монитор: Carefully lift the monitor with the attached VESA plate and align it with the wall-mounted bracket. Slide the VESA plate onto the bracket until it clicks into place.
- Secure Monitor: Tighten the security screw on the VESA plate to prevent accidental dislodging.

Image: The monitor mount demonstrating its full adjustability, including tilt (+/-10°), swivel (+/-10°), and rotation (+/-180°), along with vertical height adjustment up to 5.74 inches.
5. Упутство за употребу
Your PUTORSEN monitor wall mount offers various adjustments for optimal viewин удобност.
- Подешавање висине: This mount features an innovative toothed track system for height adjustment.
- То подићи the monitor: Gently lift the monitor until the latch clicks into place at your desired level.
- То ниже the monitor: Lift the monitor all the way up to disengage the latch, then bring it down to the bottom and slowly slide it to the desired position. Ensure there is enough space above the mount for this operation.
- Подешавање нагиба: The monitor can be tilted +/-10 degrees to reduce glare and achieve a comfortable viewугао уласка.
- Подешавање окретања: Swivel the monitor +/-10 degrees horizontally to share your screen or adjust your viewинг положај.
- Подешавање ротације: Rotate the monitor +/-180 degrees to switch between landscape and portrait orientation.
- Управљање кабловима: Use the provided zip ties to neatly route and secure cables along the mount arm and wall, maintaining a clean workspace.

Слика: прamples of customized screen setups, including two monitors mounted side-by-side and two monitors stacked vertically, demonstrating flexible configuration options.
6. Одржавање
Редовно одржавање осигурава дуготрајност и безбедан рад вашег носача монитора.
- Чишћење: Обришите носач меком, сувом крпом. Избегавајте абразивна средства за чишћење или раствараче који би могли оштетити завршну обраду.
- Проверите везе: Периодично проверавајте све завртње и спојеве како бисте били сигурни да су чврсто затегнути. По потреби поново затегните.
- Прегледајте истрошеност: Inspect the mount for any signs of wear, damage, or loose parts. If any issues are found, discontinue use and contact customer support.
КСНУМКС. Решавање проблема
If you encounter issues with your monitor mount, refer to the following common problems and solutions:
- Monitor is not holding height:
- Ensure the monitor was lifted all the way up to disengage the latch before attempting to lower it.
- Verify that the monitor weight is within the specified capacity (up to 22 lbs).
- Check if the height adjustment mechanism is free from obstructions.
- Ако се проблем настави, контактирајте корисничку подршку за помоћ.
- Носач делује нестабилно:
- Recheck all wall mounting screws and monitor attachment screws to ensure they are fully tightened.
- Confirm that the wall material is appropriate for the chosen anchors and screws.
- Ensure the monitor's VESA pattern is correctly aligned and secured to the mount.
- Difficulty with tilt/swivel/rotation:
- Check for any overtightened screws that might be restricting movement.
- Ensure no cables are snagged or preventing free movement.
8. Гаранција и подршка
PUTORSEN stands behind the quality of its products. If you require assistance, have questions, or need to report a defect, please contact our customer support team.
Контакт информације: Please refer to the contact details provided with your product packaging or visit the official PUTORSEN webсајт за подршку.
гаранција: Information regarding the product warranty period and terms can be found in the documentation included with your purchase or on the PUTORSEN webсајту.