
Увод
This manual provides comprehensive instructions for the installation, operation, and maintenance of your Kidde Hardwired Smoke & Carbon Monoxide Detector, model 30CUA10. This device is designed to enhance home safety by providing early warning of both smoke and carbon monoxide hazards. It features advanced sensing technology to minimize false alarms and includes a 10-year sealed battery backup for continuous protection.

Image: The Kidde 30CUA10 detector, shown with its packaging, highlighting its dual smoke and carbon monoxide detection capabilities and 10-year battery backup.
Кључне карактеристике
- 2-IN-1 DETECTION: Alerts you to both smoke and carbon monoxide (CO) using a single detector.
- HARDWIRED and 10-YEAR BATTERY BACKUP: Operates on 120V AC wiring (installed in the ceiling). No battery changes for 10 years and saves up to $40 over the life of the detector.
- ENHANCED SENSING TECHNOLOGY: Reduces false smoke alarms often caused by cooking. Comprehensively tested to meet the latest UL standards, meets UL 217 9th Edition, UL 2034 4th Edition, and FCC standards.
- INTERCONNECT CAPABILITY: When one alarm sounds, they all sound, so you can get out faster. (Different models offer different interconnection options and requirements. See User Guide for more info.)
- SELF-TESTING ALARM: Internal components ensure alarm is always operating as expected. Not a substitute for a manual push test, perform a button test once per week to verify alarm operation.
- 3 LED NOTIFICATIONS: LED lights indicate alarm status, green - normal operation, amber - operating error, red - smoke or carbon monoxide detected and a loud 85-decibel alarm will sound.
- TEST and HUSH BUTTON: Makes it easy to test the 5-inch combination detector and silence false alarms, should they occur.
- 10-ГОДИШЊА ГАРАНЦИЈА: Begins when alarm is powered on. If that date is unknown, it should be assumed that alarms should be replaced. (10-yr limited warranty on alarm, not a battery performance claim.)
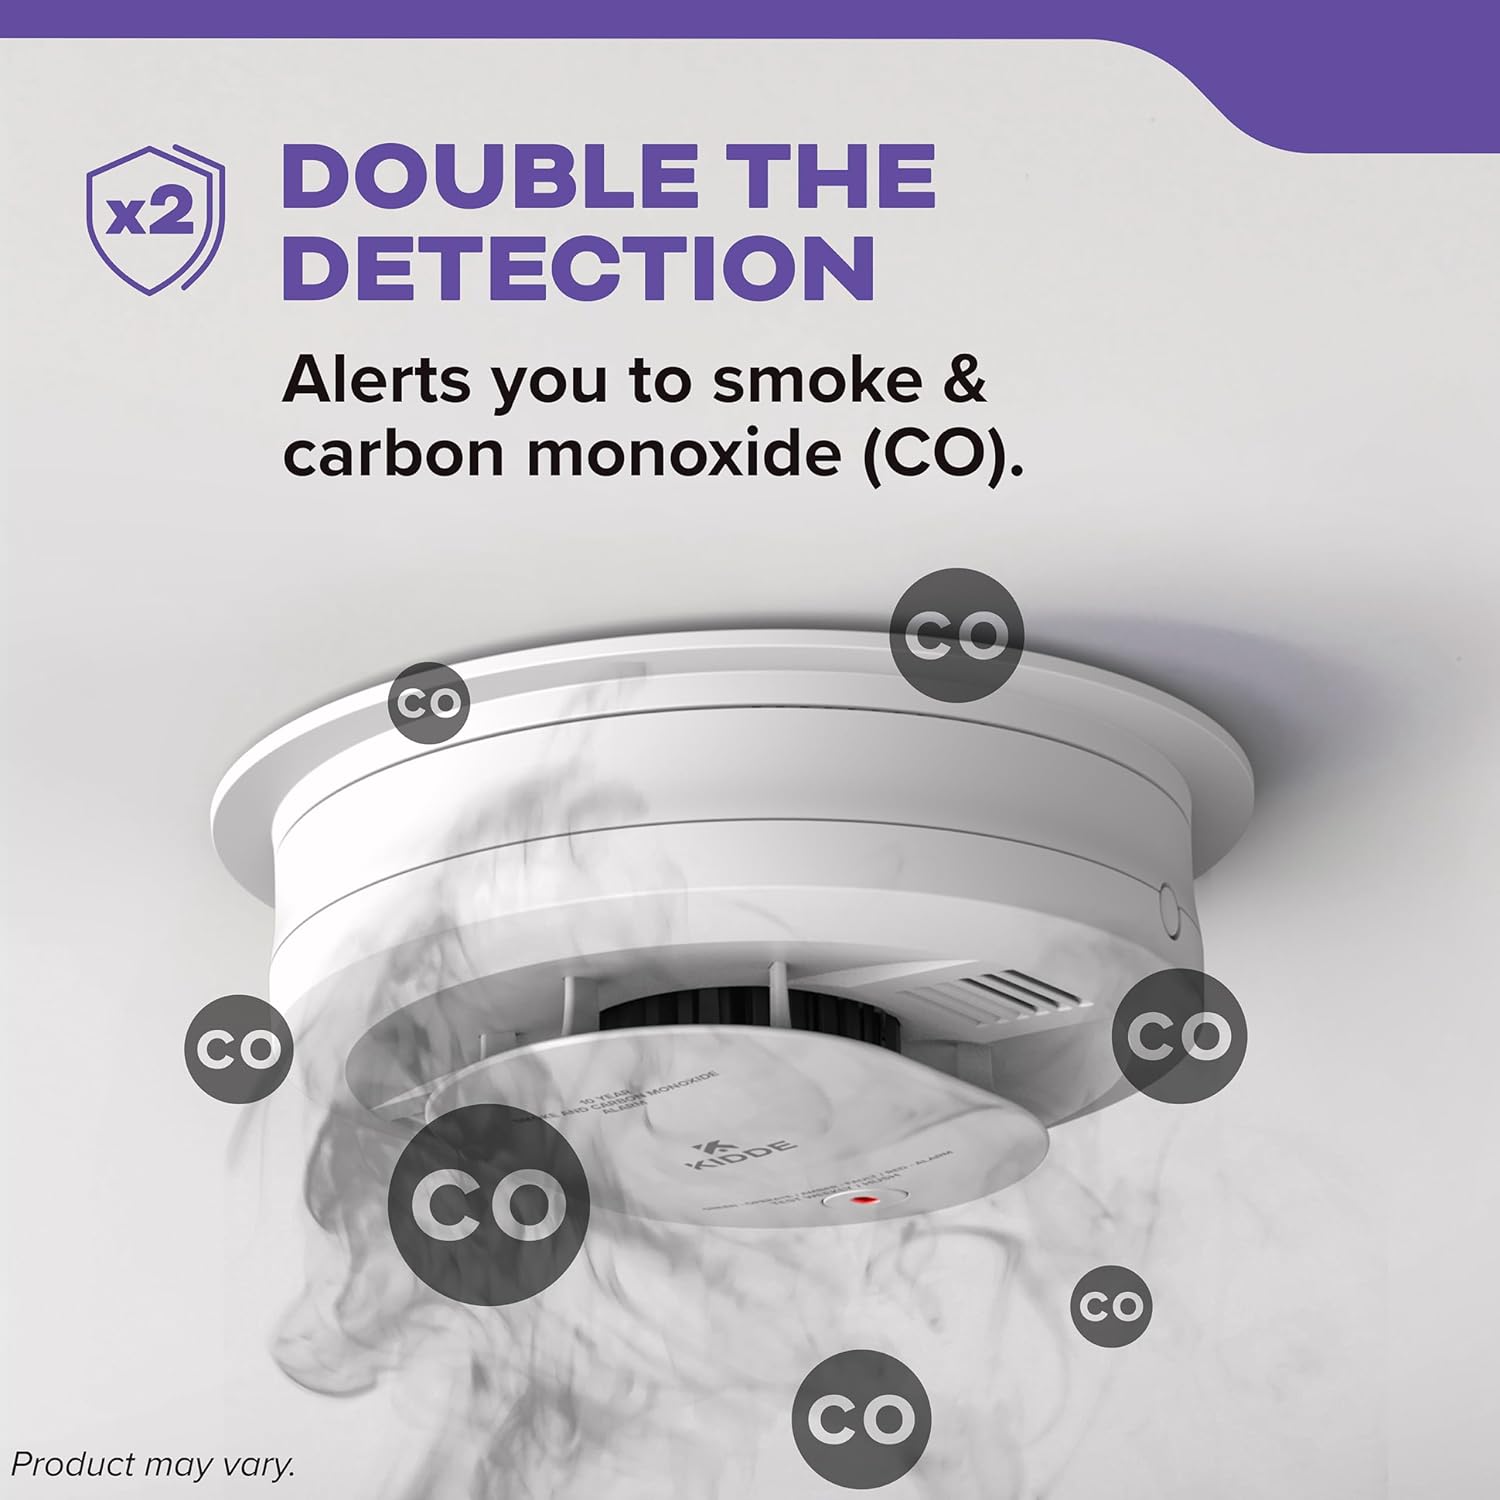
Image: A visual representation of the detector's dual smoke and carbon monoxide detection capability, with CO bubbles indicating its function.
Инсталација
1. Припрема
Before beginning the installation process, carefully unbox your Kidde detector and its mounting bracket. Review the included user guide for detailed instructions specific to your model. It is recommended to mark the current date on your alarm to keep track of its 10-year lifespan, ensuring timely replacement.
Image: A close-up of the Kidde detector's hardwired connections, illustrating its 10-year battery backup feature.
2. Turning Off Main Power
For hardwired installations, always turn off the main power to the circuit you are working on at the circuit breaker before beginning any wiring. This is a critical safety step to prevent electrical shock.
3. Инсталирање носача за монтирање
All Kidde alarms come with a mounting bracket. Ensure the A-line on the mounting bracket is parallel with the hallway or wall for proper aesthetic alignment. Pull the wire harness through the center hole of the mounting bracket. Secure the mounting bracket to the electrical box using the provided screws. Ensure the screws are positioned in the small ends of the keyholes before tightening, but do not overtighten.
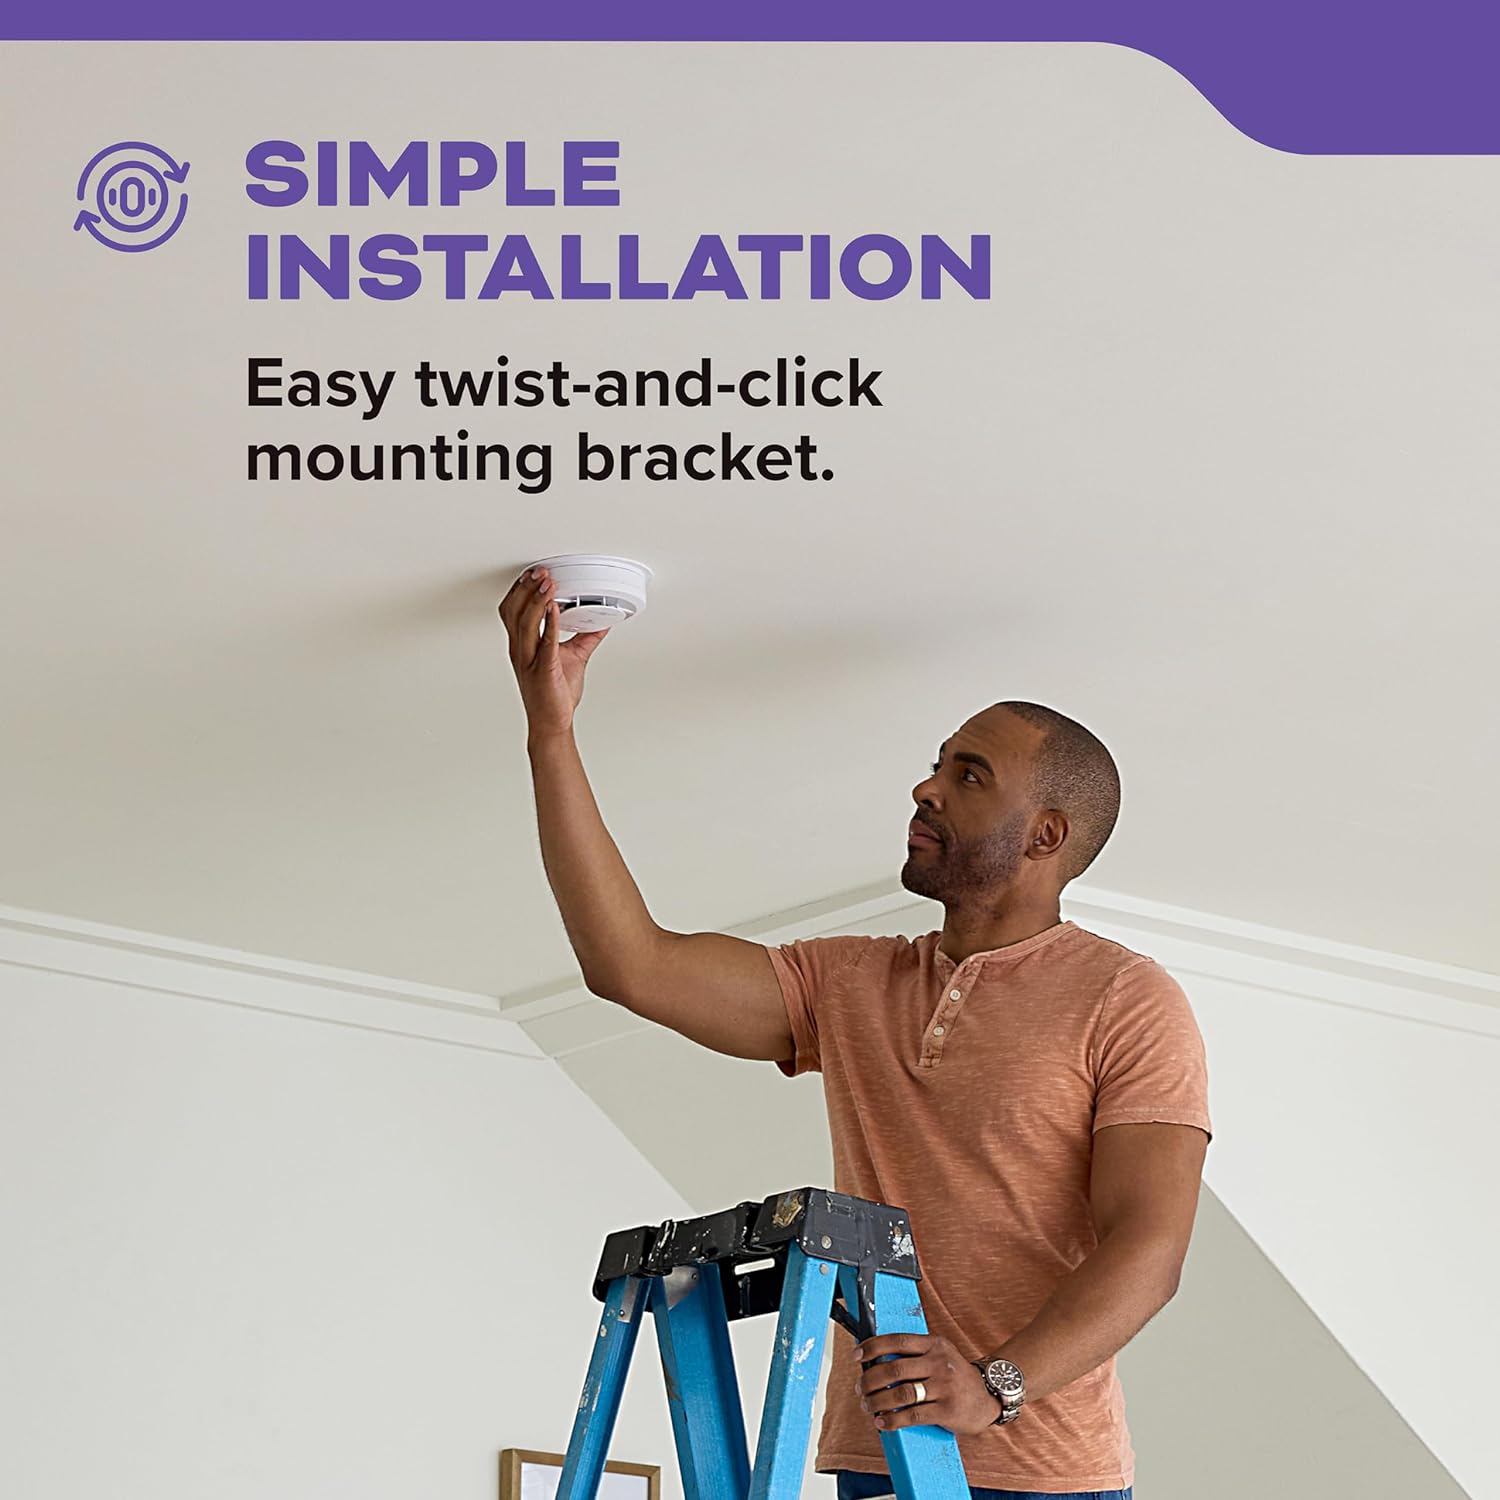
Image: A person on a ladder performing the simple twist-and-click installation of the Kidde detector onto a ceiling-mounted bracket.
4. Activating Batteries (if applicable)
If your alarm features AA batteries, ensure the battery door is closed and pull the activation tab before installation. You should hear a beep to confirm activation. If no beep is heard, remove and reinstall the batteries. Note that 10-year battery models do not have a pull tab as the internal battery self-activates upon secure mounting.
5. Connecting the Wires (Hardwired Alarms Only)
For hardwired alarms, connect the wires according to the instructions in your user guide. Then, connect the wire harness to the alarm, ensuring the connector snaps securely into place. Push any excess wire back into the electrical box through the hole in the center of the mounting bracket.
6. Attaching the Alarm
Twist and click the alarm into place on the mounting bracket by rotating it clockwise until it is securely fastened. For 10-year battery models, the internal battery will self-activate with a confirmation beep once the alarm is securely mounted.
Видео водич за инсталацију
For a visual guide on the installation process, please watch the official Kidde Detector Installation Video below:
Video: Official Kidde Detector Installation Video, providing step-by-step instructions for setting up your alarm.
Упутство за употребу
ЛЕД обавештења
The detector features three LED light indicators to communicate its status:
- Зелена ЛЕД: Indicates normal operation. For hardwired alarms, this will be a steady green light. For battery-operated alarms, it will flash green every 60 seconds.
- Амбер ЛЕД: Signals an operating error or fault.
- Црвена ЛЕД: Indicates that smoke or carbon monoxide has been detected, accompanied by a loud 85-decibel alarm.

Image: Visual guide to the LED notifications on the Kidde detector, showing red for alarm, amber for fault, and green for normal operation.
Test and Hush Button
The large central button on the detector serves two functions:
- Тест: Press and release the button to test the alarm's functionality. It is recommended to test the alarm weekly. Due to the loud 85-decibel alarm, stand approximately 2.5 feet away or use ear protection during testing.
- Hush: In case of a nuisance alarm (e.g., from cooking), press the button to temporarily silence the alarm.
Могућност међусобног повезивања
This detector features interconnect capability, meaning that if one alarm sounds, all interconnected alarms will sound. This provides earlier warning throughout your home. Refer to your user guide for specific interconnection options and requirements, as different models may have varying compatibility.
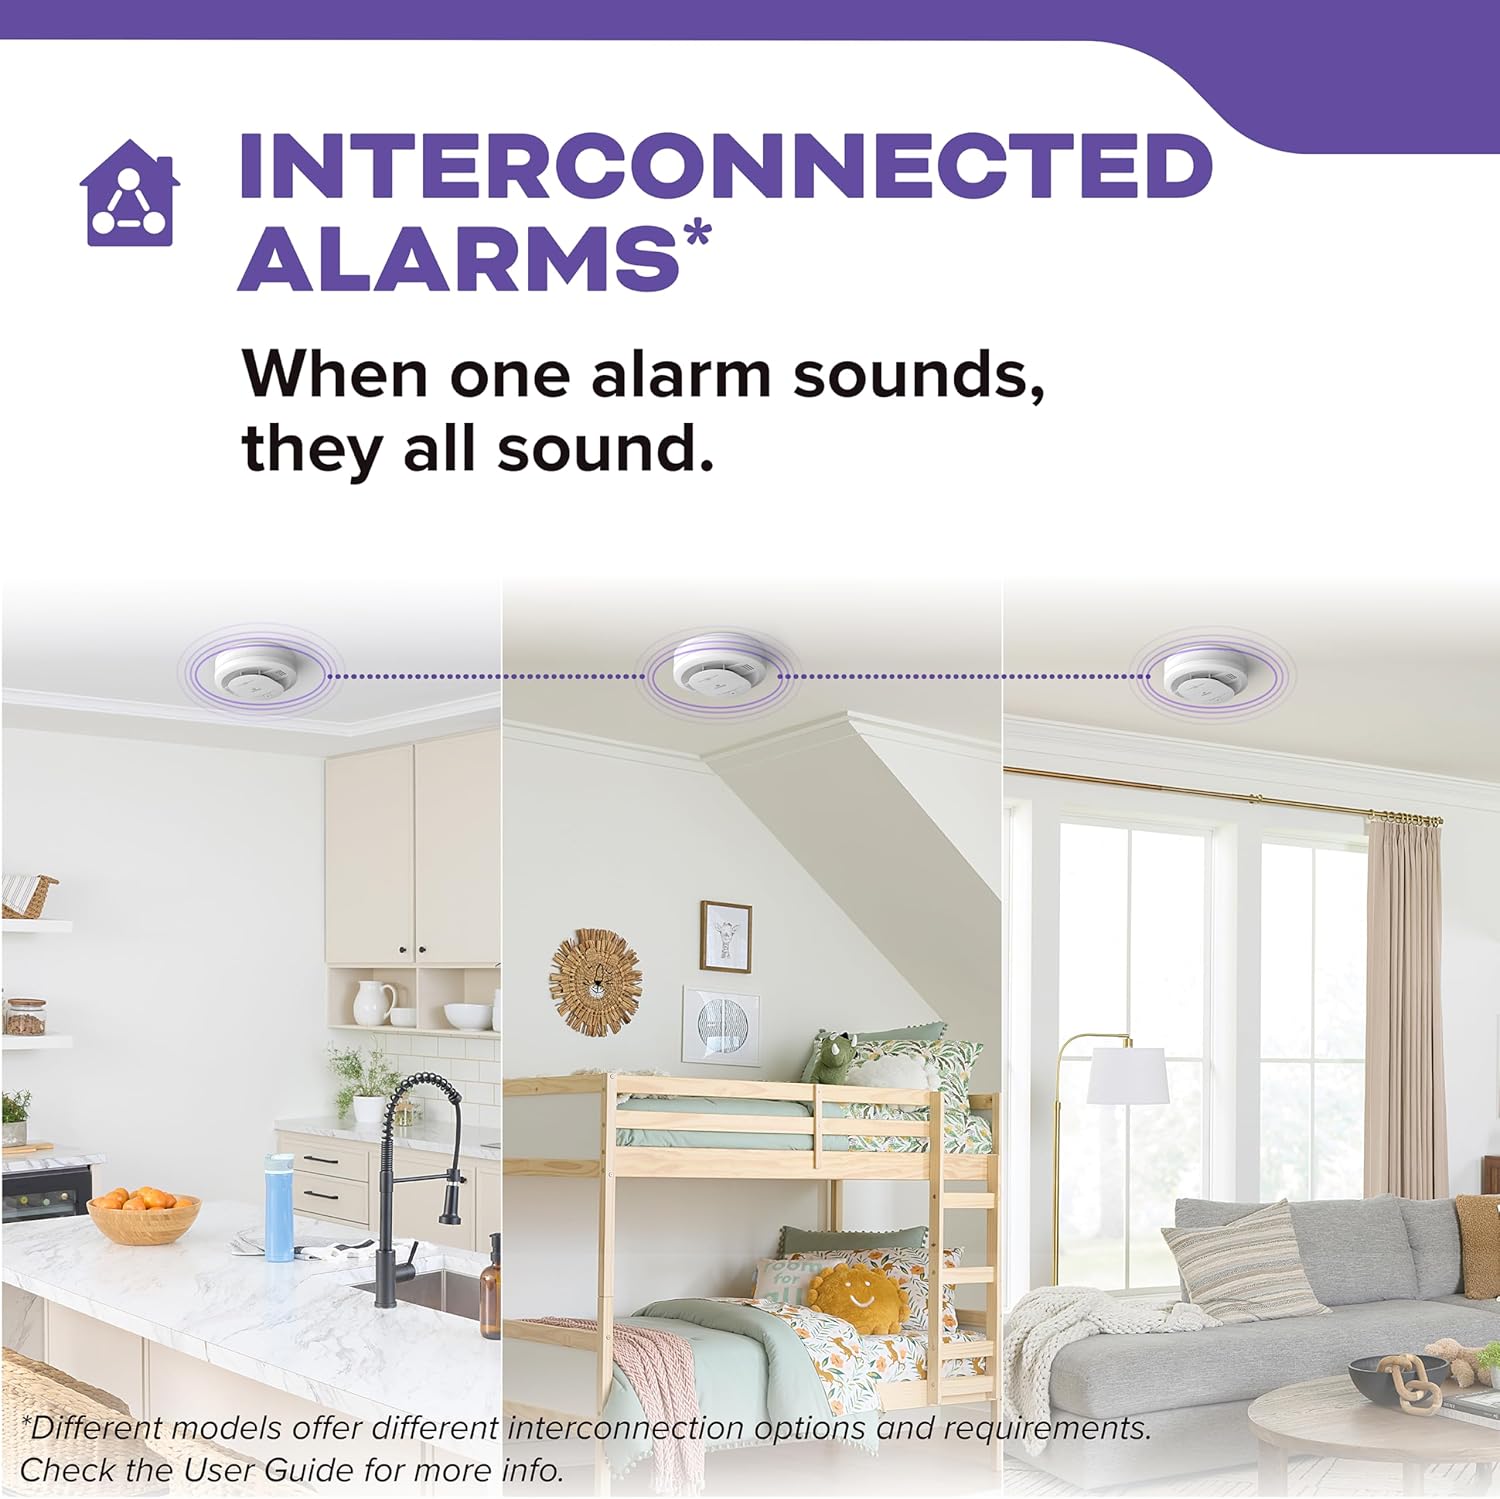
Image: Illustration demonstrating the interconnected alarm feature, where multiple detectors across different rooms activate simultaneously when one detects a hazard.
Одржавање
Недељно тестирање
Regular testing is crucial to ensure your alarm is functioning correctly. Perform a manual push test once per week by pressing the Test/Hush button. This verifies the alarm's operation and sound output.
Dust Cover for Renovations
To prevent nuisance alarms during construction or renovations, ensure the proprietary dust cover (if included with your model) is securely in place. The alarm will not operate until the dust cover has been removed. Remove the dust cover at least 24 hours after construction is completed to allow the alarm to function properly.
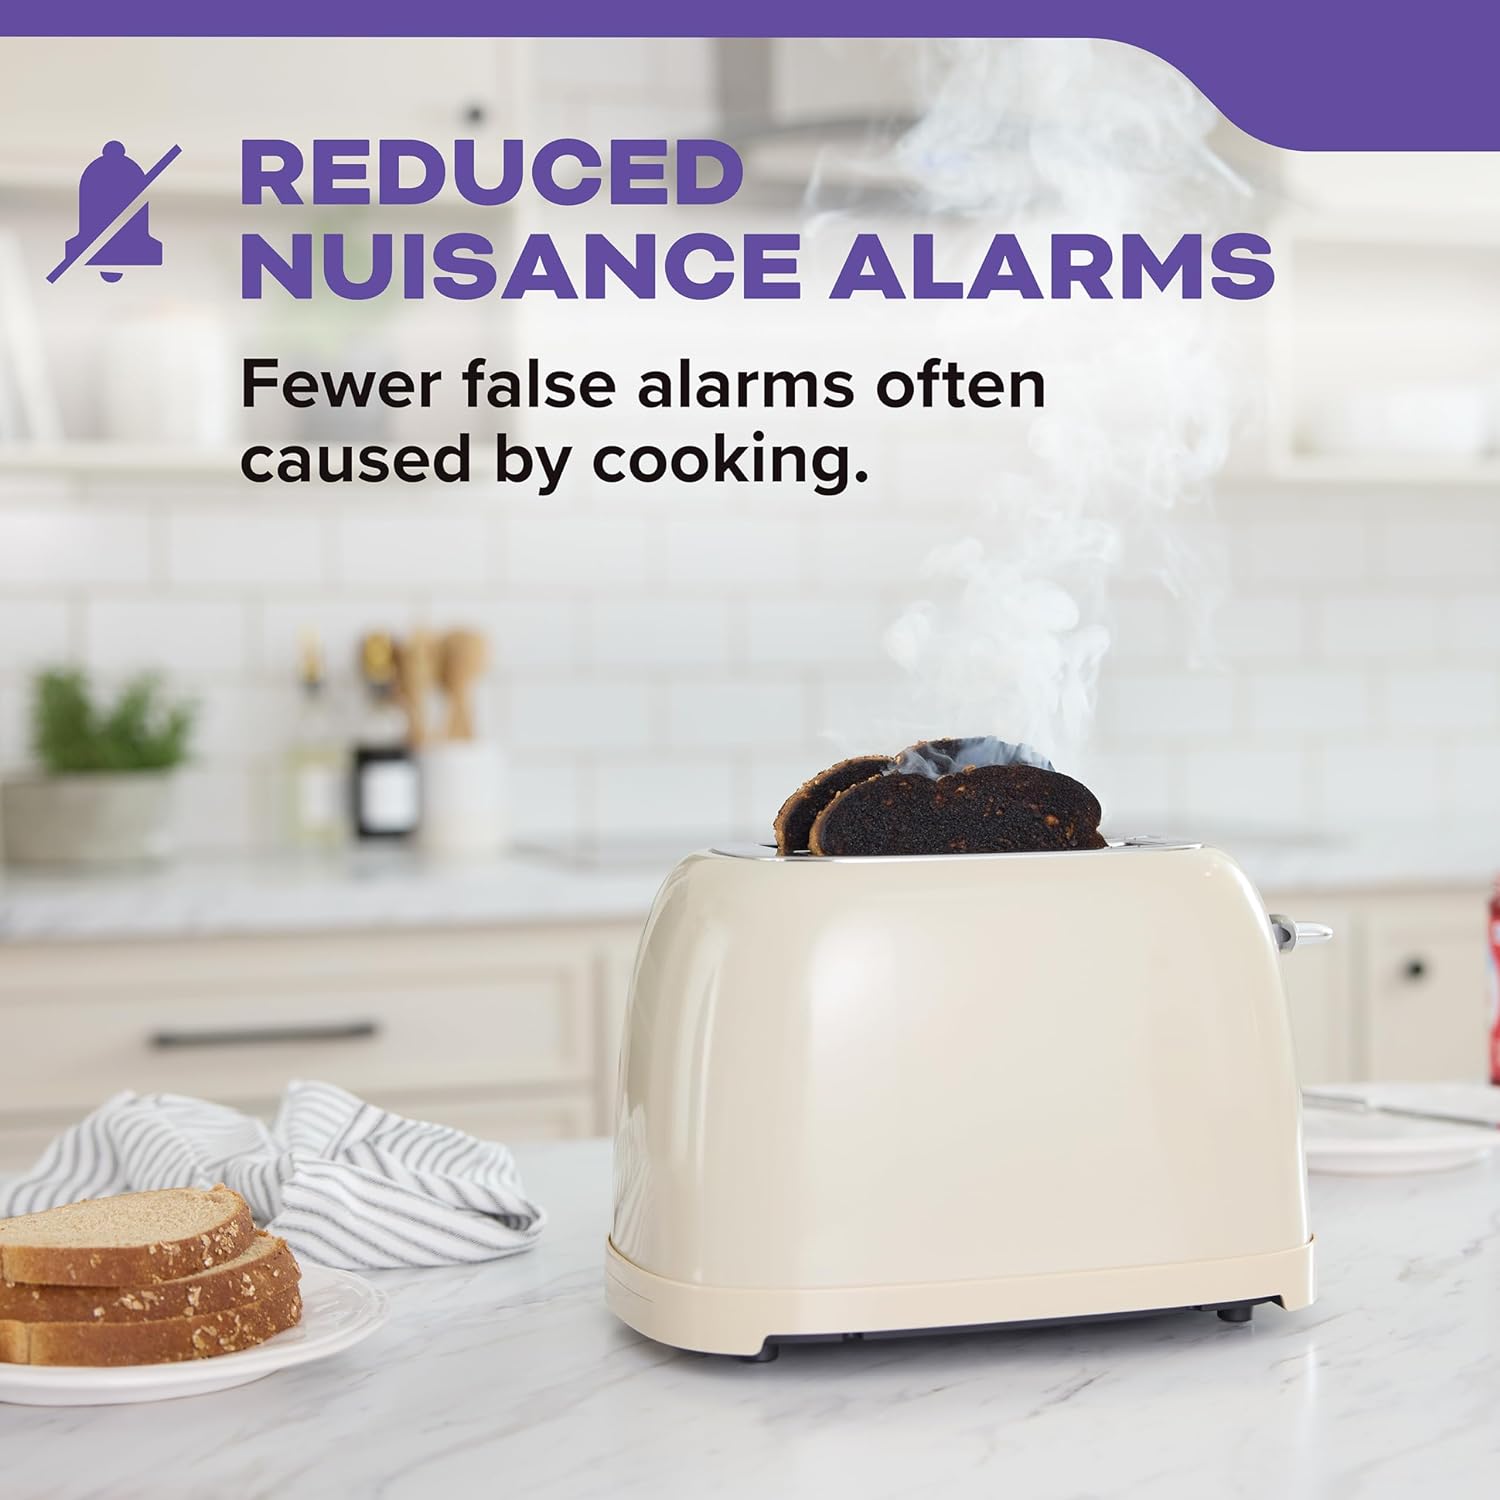
Image: A toaster with burnt toast, illustrating the detector's enhanced sensing technology designed to reduce false alarms often caused by cooking.
End-of-Life Notification
This Kidde combination alarm is equipped with end-of-life notifications. The alarm will beep to remind you it's time to replace it at the end of its 10-year lifespan. It is essential to replace the unit promptly when this notification occurs to maintain optimal safety.
Решавање проблема
If your alarm is not functioning as expected, consider the following common issues:
- Alarm Sounds Without Apparent Hazard: This could be a nuisance alarm. Use the Hush button to silence it. If it persists, check for sources of smoke (e.g., cooking fumes, steam) or ensure the dust cover is removed if recently installed or renovated.
- Жута ЛЕД индикатор: An amber light indicates a fault or error. Refer to the detailed troubleshooting section in your full user guide for specific error codes or patterns.
- No Power/No Green LED: For hardwired units, ensure the circuit breaker is on. For battery-operated units, check that batteries are correctly installed and activated.
- End-of-Life Beep: If the alarm is beeping periodically and you've confirmed it's not a low battery or fault, it likely indicates the end of its 10-year lifespan. The unit must be replaced.
For more detailed troubleshooting steps, please consult the complete user guide provided with your product or visit the official Kidde support webсајту.
Спецификације
| Атрибут | Валуе |
|---|---|
| Бранд | Кидде |
| Стиле | Детектор |
| Извор напајања | Хардвиред |
| Боја | Бела |
| Димензије производа | 1.88"Д к 5"Ш к 5"В |
| Тежина артикла | 0.65 фунте (10.4 унци) |
| Тип аларма | Детектор дима и угљен-моноксида |
| Радна влажност | 10 до 95% релативне влажности (РХ), без кондензације |
| Горња оцена температуре | 100 степени Фаренхајта |
| Тип сензора | Фотоелектрични, електрохемијски |
| Материјал | Пластика |
| Број ставки | 1 |
| Произвођач | Кидде |
| УПЦ | 047871328536 |
| Парт Нумбер | 21032853 |
| Број модела артикла | 30ЦУА10 |
| Величина | 5 инча |
| Облик | Цирцулар |
| Ставка Количина паковања | 1 |
| Укључене компоненте | Alarm, Mounting Hardware, User Guide |
| Батерије укључене? | Да |
| Батерије су потребне? | Да |
| Тип батерије | Литхиум Ион |
| Датум првог доступног | 29. априла 2024. године |

Image: Diagram illustrating the modern 5-inch design and key dimensions (5" width, 2" height, 3.3" wiring opening) of the Kidde detector.
Гаранција и подршка
Your Kidde Hardwired Smoke & Carbon Monoxide Detector comes with a 10-годишња ограничена гаранција, which begins when the alarm is powered on. This warranty covers defects in materials and workmanship under normal use. Please note that this is a warranty on the alarm itself and not a battery performance claim.
For technical support, warranty claims, or further assistance, please refer to the contact information provided in your full user guide or visit the official Kidde website. Always ensure you have your model number (30CUA10) and date of installation ready when contacting support.

Image: A family in a kitchen setting, with a "Limited 10 Year Warranty" badge overlaid, emphasizing the product's long-term reliability.