
1. Увод
This manual provides detailed instructions for the safe installation, operation, and maintenance of your TWIG Farmhouse Chandelier 6-Light fixture. Designed for dining rooms and kitchen islands, this fixture combines vintage solid wood, matte black metal, and clear cylinder glass shades to create a warm and elegant lighting atmosphere. Please read this manual thoroughly before beginning installation or use.
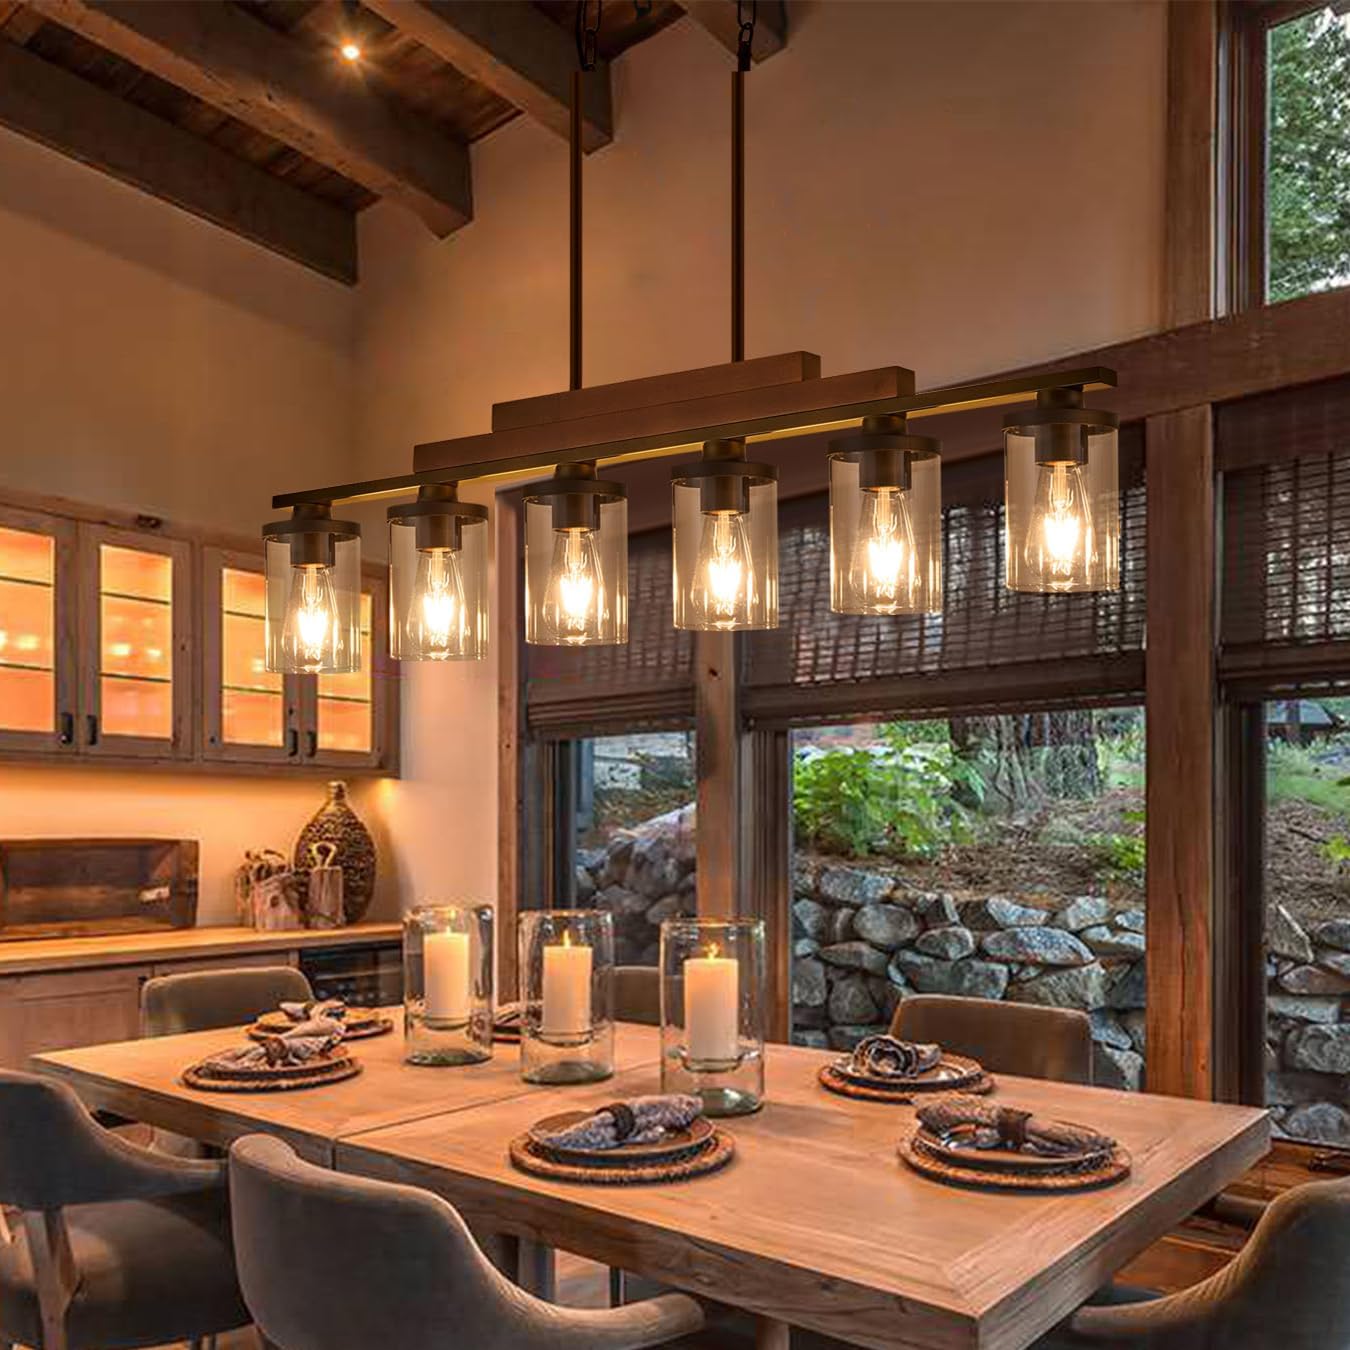
Image 1.1: The TWIG Farmhouse Chandelier 6-Light fixture installed above a dining table, showcasing its rustic design with wood accents and clear glass shades.
2. Безбедносне информације
- УПОЗОРЕЊЕ: Опасност од струјног удара. Искључите напајање на прекидачу или кутији са осигурачима пре инсталације или сервисирања.
- Сви електрични прикључци морају бити у складу са локалним прописима, уредбама или Националним електричним кодексом (NEC). Консултујте квалификованог електричара ако нисте упознати са правилним инсталацијама електричних инсталација.
- Немојте прекорачити препоручену количинуtage for bulbs (E26 base, maximum 60W, 40W recommended).
- Пажљиво рукујте стакленим компонентама како бисте спречили ломљење.
- Уверите се да је уређај безбедно монтиран на структурни елемент плафона.
- Keep flammable materials away from light bulbs.
- The product is handmade and may have a slight odor upon unboxing due to environmental protective coatings. It is recommended to ventilate the product in an open area for a period before installation.
3. Садржај пакета
Carefully unpack all components and inspect for any damage. Retain all packaging materials until you are satisfied with the product. The fixture is 95% pre-assembled for ease of installation.
- Chandelier main body (pre-assembled with wood beam, metal frame, and glass shades)
- Adjustable suspension rods (various lengths)
- Ceiling canopy with mounting hardware
- Прикључци за жице
- Упутство за употребу
- Напомена: Сијалице нису укључене.
4. Спецификације
| Бранд | ТВИГ |
| Број модела | 2024072304 |
| Dimensions (L x W x Max H) | 42 cm D x 5 cm Š x 46 cm V |
| Опсег подешавања висине | Minimum 23", Maximum 45.7" (as per diagram) |
| Материјал | Стакло, метал, дрво |
| Боја | Matte Black (Metal), Clear (Glass), Wood (Antique Painted) |
| Број светла | 6 |
| Булб Басе | Е26 |
| Мак Ватtagе по сијалици | 60W (40W recommended) |
| Волtage | 120 Волтс |
| Врста инсталације | Полу уградни носач |
| Унутрашња/спољна употреба | Индоор |

Image 4.1: Detailed dimensions of the chandelier and its adjustable suspension rods, indicating a maximum height of 45.7 inches and a minimum of 23 inches.
5. Подешавање и инсталација
The fixture is 95% assembled. Only a simple assembly and electrical installation are required.
- Корак 1: Припремите се за инсталацију
- Искључите струју на прекидачу или кутији са осигурачима.
- Уверите се да је површина за монтажу структурно чврста да би издржала тежину уређаја.
- Корак 2: Причврстите носач за монтажу
- Secure the mounting bracket to the junction box in the ceiling using the provided screws.
- Step 3: Adjust Suspension Rods
- Determine the desired hanging height. The fixture's height can be adjusted from 23 inches to 45.7 inches using the provided rods.
- Attach the appropriate length of suspension rods to the chandelier body and the ceiling canopy.
- Корак 4: Електрично повезивање
- Connect the fixture's wires to the house wiring:
- Connect the black wire (live) from the fixture to the black wire from the junction box.
- Connect the white wire (neutral) from the fixture to the white wire from the junction box.
- Connect the ground wire from the fixture to the ground wire from the junction box (or to the green ground screw on the mounting bracket).
- Secure connections with wire connectors.
- Connect the fixture's wires to the house wiring:
- Корак 5: Монтирајте уређај
- Carefully lift the chandelier and attach the ceiling canopy to the mounting bracket, securing it with the decorative nuts.
- Корак 6: Инсталирајте сијалице
- Screw E26 base bulbs (not included) into each socket. Do not exceed 60W per bulb; 40W is recommended.

Image 5.1: Installation diagram for the TWIG Farmhouse Chandelier, detailing steps from preparing the electrical box to mounting the fixture.
6. Упутство за употребу
Once installed and bulbs are in place, restore power at the circuit breaker. The chandelier operates via a standard wall switch (toggle switch type). If connected to a dimmer switch, ensure the bulbs are compatible with dimming functionality.
- Тип сијалице: Supports any E26 screw bulbs. Filament, LED, incandescent, and halogen bulbs are compatible.
- Рецоммендед Ватtage: 40W per bulb for optimal performance and longevity. Maximum 60W.
7. Одржавање
- Чишћење: Disconnect power before cleaning. Use a soft, dry cloth to wipe the metal and wood components. For glass shades, a slightly damp cloth can be used, followed by a dry cloth to prevent water spots. Do not use abrasive cleaners or solvents.
- Замена сијалице: Ensure power is off before replacing bulbs. Allow bulbs to cool completely before handling. Screw in new E26 base bulbs, ensuring they do not exceed 60W.
- Замена стакла: In case of damage, replacement glass shades (3.94" diameter, 5.51" height) can be purchased separately.
КСНУМКС. Решавање проблема
| Проблем | Могући узрок | Решење |
|---|---|---|
| Светлост се не пали. |
|
|
| Треперећа светла. |
|
|
| Fixture smells after installation. |
|
|
9. Корисничка подршка
For any questions, concerns, or assistance with your TWIG Farmhouse Chandelier, please contact our customer support team. We are committed to providing timely responses and solutions.
- Контакт: Please refer to the contact information provided with your purchase or visit the official TWIG webсајту.
- Време одговора: We aim to respond to all inquiries within 24 hours.