1. Увод
This manual provides detailed instructions for the installation, operation, and maintenance of your DIGIQUEST Ti9 DVB-S2 tivùsat Decoder. Please read this manual carefully before using the device to ensure proper functionality and to avoid any damage.
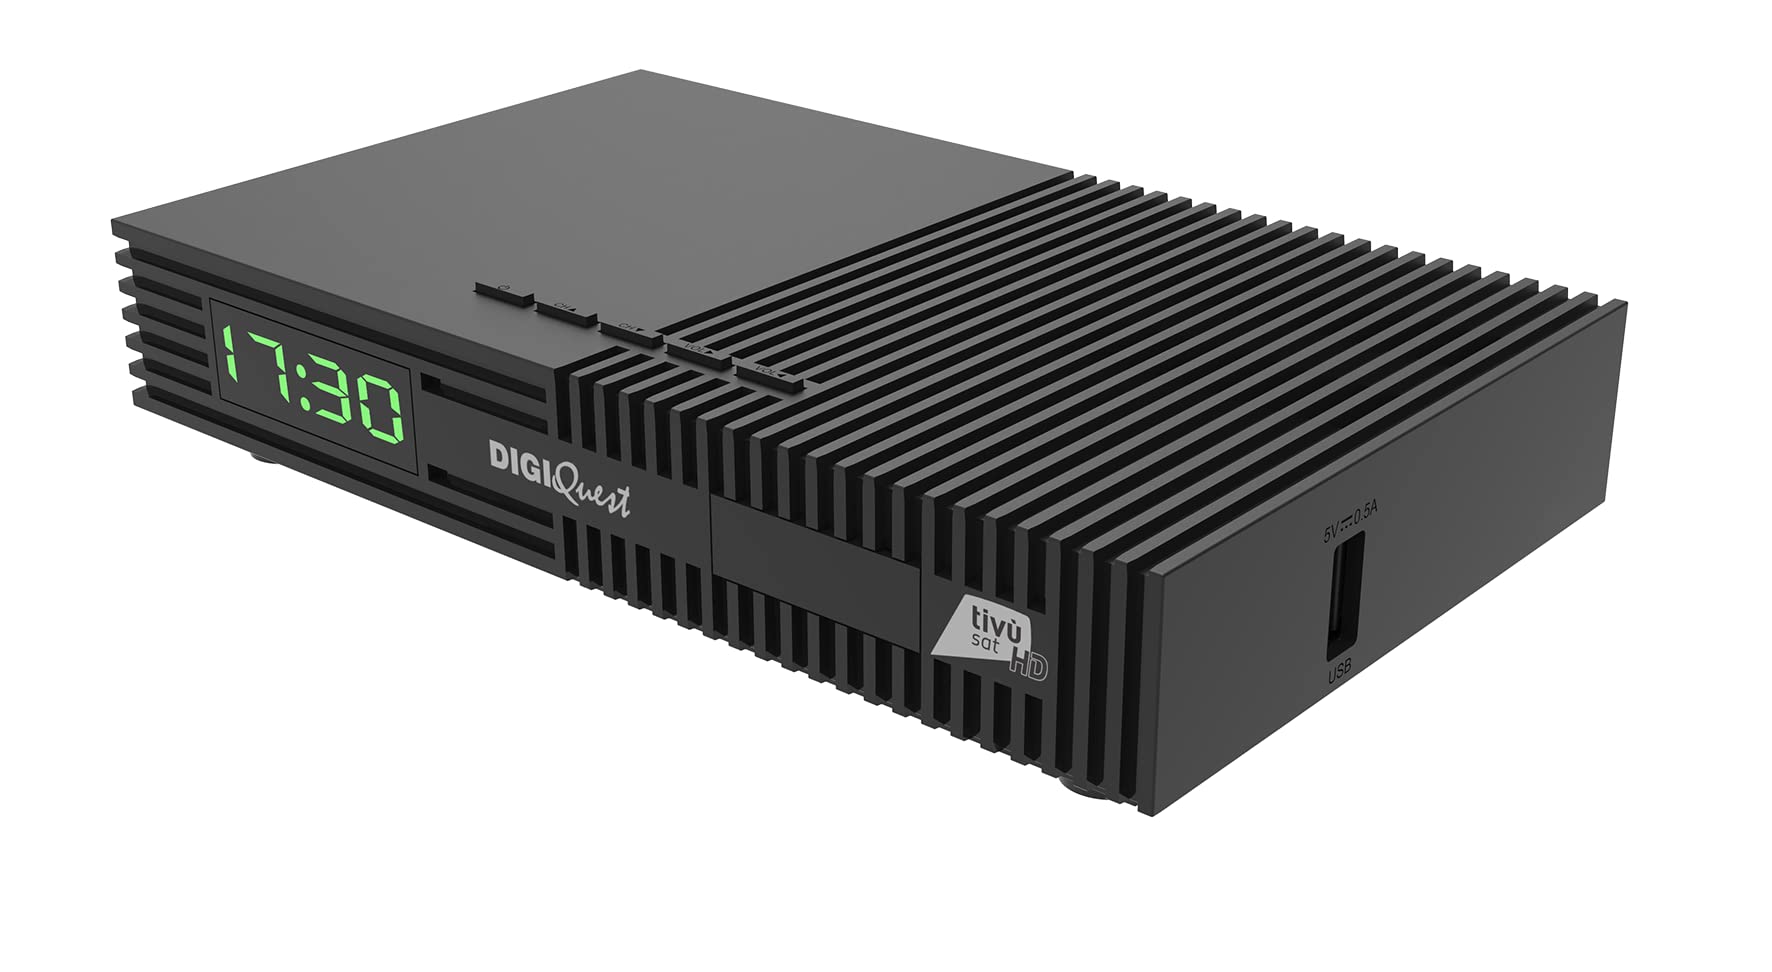
Слика 1: Предња страна view of the DIGIQUEST Ti9 DVB-S2 tivùsat Decoder with smartcard inserted.
2. Производ је готовview и кључне карактеристике
The DIGIQUEST Ti9 is a DVB-S2 tivùsat decoder designed for receiving satellite television broadcasts. It offers a range of features to enhance your viewискуство:
- DVB-S2 HEVC Main 10 (10 bits) Support: Ensures compatibility with modern broadcast standards for high-quality video.
- Tivùsat Smartcard Included: Provides access to tivùsat channels.
- Recordable Function (PVR): Allows recording of favorite programs and live pause (Timeshift) functionality.
- Satellite Installation Auto-detection: Simplifies the initial setup process.
- Функција резервне копије: Saves your settings and customizations for easy restoration.
- СОС дугме: Initiates a new channel search with a single press.
- 2-in-1 Remote Control: Controls both the decoder and primary TV functions.
- УСБ медија плејер: Supports playback of video (MKV, AVI, MP4, DiVX), audio (MP3), and image (JPG, BMP) files.
- Електронски програмски водич (ЕПГ): Provides a detailed schedule of TV programs.
- 12В Напајање: Suitable for use in various environments, including campers and boats.
- Full HD Video Resolution: Delivers clear and sharp images.

Figure 2: Key features of the DIGIQUEST Ti9 decoder.
3. Подешавање
3.1 Распакивање
Пажљиво извадите све компоненте из паковања. Уверите се да су присутне следеће ставке:
- DIGIQUEST Ti9 DVB-S2 Decoder
- 2-in-1 Remote Control
- Адаптер за напајање (12В)
- Tivùsat Smartcard
- Кориснички приручник (овај документ)
3.2 Connecting the Decoder
Refer to the hardware connection diagram for proper setup.
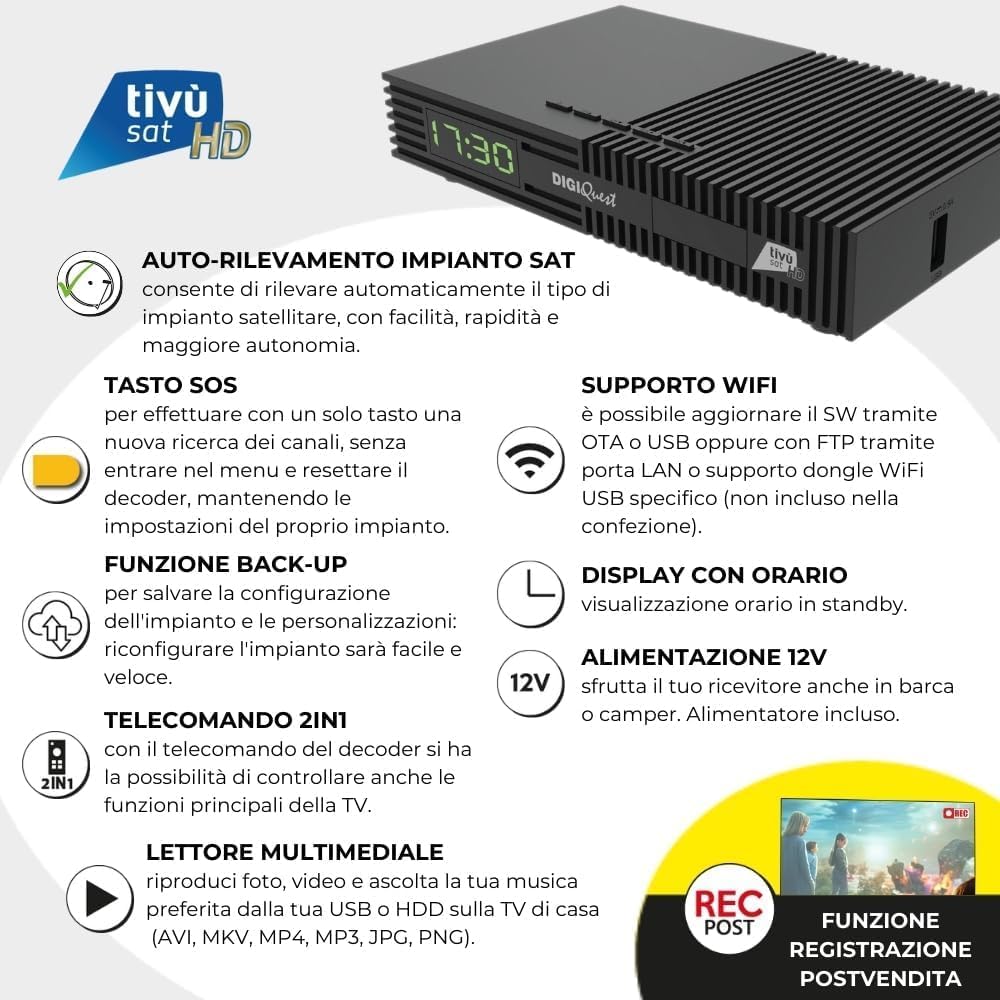
Figure 3: Rear panel connections of the DIGIQUEST Ti9 decoder.
- Сателитска веза: Connect your satellite dish cable to the 'SAT IN' port on the decoder.
- ТВ веза:
- For optimal quality, connect an HDMI cable (not included) from the decoder's HDMI OUT port to an HDMI input on your television.
- Alternatively, for older TVs, connect a SCART cable (not included) from the decoder's SCART port to your TV's SCART input. The decoder will automatically detect the input.
- Прикључак за напајање: Connect the 12V power adapter to the decoder's power input and then to an electrical outlet.
- УСБ уређаји: If desired, connect a USB storage device for media playback or PVR functionality to the USB port.
- ЛАН веза: For network updates or internet features, connect an Ethernet cable to the LAN port.
- Smartcard Insertion: Insert the tivùsat smartcard into the designated slot on the front or side of the decoder, ensuring the chip faces upwards.
3.3 Почетна конфигурација
Upon first power-on, the decoder will guide you through the initial setup. The satellite installation auto-detection feature will help simplify this process.
- Follow the on-screen prompts to select your language, country, and satellite configuration.
- The decoder will automatically search for available channels.
- Once channels are found, you can proceed to activate your tivùsat smartcard if not already done.
4. Упутство за употребу
4.1 Функције даљинског управљача
The 2-in-1 remote control allows you to operate both the decoder and basic functions of your television.

Figure 4: DIGIQUEST Ti9 2-in-1 Remote Control.
- Дугме за напајање: Turns the decoder on/off or into standby mode.
- Дугмад за контролу ТВ-а: (Top section) Control your TV's power, input, and volume.
- Канал горе/доле: Мења ТВ канал.
- Појачавање/утишавање: Подешава јачину звука.
- Дугме ОК: Confirms selections or displays channel information.
- Дугме менија: Приступа главном менију.
- Дугме за излаз: Излази из менија или враћа се на претходни екран.
- ЕПГ дугме: Отвара електронски водич кроз програме.
- СОС дугме: (Yellow button) Initiates a new channel search without entering the menu.
- PVR Button: Accesses recording functions.
4.2 Навигација канала
Use the Channel Up/Down buttons to browse channels. You can also enter channel numbers directly using the numeric keypad.
4.3 Електронски програмски водич (ЕПГ)
Press the EPG button on the remote control to view the program schedule. You can navigate through programs and set reminders or recordings directly from the EPG.
5. Репродукција медија
The DIGIQUEST Ti9 decoder includes a USB Media Player function. Connect a USB storage device (e.g., USB stick, external hard drive) to the USB port on the decoder.
- Navigate to the Media Player section in the main menu.
- Select the type of media you wish to play (Video, Audio, or Images).
- Browse your USB device to select and play your desired files.
Supported formats include: Video (MKV, AVI, MP4, DiVX), Audio (MP3), Images (JPG, BMP).
6. Recording Function (PVR)
The decoder supports recording of programs to an external USB storage device. This feature may require activation.

Figure 5: PVR activation option for the decoder.
6.1 Activating PVR
To enable recording, you may need to activate the PVR function. Follow the on-screen instructions or consult the decoder's menu for activation details.
6.2 Снимање програма
- Connect a compatible USB storage device.
- Press the PVR button on the remote control to access recording options.
- You can record the current program or schedule future recordings via the EPG.
6.3 Timeshift (Live Pause)
While watching a live program, you can pause it and resume later. This requires a connected USB storage device.
7. HDR Technology
The DIGIQUEST Ti9 supports High Dynamic Range (HDR) technology, specifically HDR10 and HLG. HDR provides a wider range of colors, improved contrast, higher brightness, and more vivid colors, making both bright and dark images appear more detailed and impactful.
- ХДР10: A technical feature with a 10-bit color depth, capable of expressing over 1.07 billion shades of color.
- HLG (Hybrid Log-Gamma): A standard used for television broadcasts.

Figure 6: Visual comparison of Standard Dynamic Range (SDR) and High Dynamic Range (HDR) images.
8. Одржавање
8.1 Чишћење
To clean the decoder, use a soft, dry cloth. Do not use liquid or aerosol cleaners, as they may damage the device.
8.2 Ажурирања софтвера
The decoder supports software updates via OTA (Over-The-Air), USB, or FTP through the LAN port. Regularly check for updates to ensure optimal performance and access to new features.


Figure 7: Icons representing LAN update and WiFi support.
КСНУМКС. Решавање проблема
If you encounter issues with your DIGIQUEST Ti9 decoder, try the following steps:
- Нема сигнала: Check all cable connections, especially the satellite input. Ensure your satellite dish is correctly aligned.
- Нема слике/звука: Verify that your TV is set to the correct input source (HDMI or SCART). Check all video and audio cables.
- Даљински управљач не ради: Ensure batteries are correctly inserted and not depleted. Point the remote directly at the decoder.
- Channels Missing: Use the SOS button on the remote control to perform a new channel search. This can resolve issues with missing or outdated channels.
- Decoder Unresponsive: Disconnect the power adapter, wait for 10 seconds, then reconnect it. This performs a soft reset.
- Smartcard Error: Ensure the tivùsat smartcard is correctly inserted with the chip facing upwards.
If problems persist, refer to the backup function to restore previous settings or contact customer support.


Figure 8: Icons for SOS button and Backup function, useful for troubleshooting.
10. Спецификације
| Феатуре | Спецификација |
|---|---|
| Број модела | DQ-Ti9 |
| Бранд | ДИГИКУЕСТ |
| Боја | Црно |
| Технологија повезивања | HDMI, USB, LAN (Ethernet) |
| Укупно УСБ портова | 1 |
| Укупни ХДМИ портови | 1 |
| Компатибилни уређаји | Телевизија |
| Режим аудио излаза | Стерео |
| Подржани аудио формати | МП3, ААЦ, ВАВ |
| Волtage | 12 волти (ДЦ) |
| Видео Ресолутион | Фулл ХД |
| ХДР подршка | ХДР10, ХЛГ |
11. Гаранција и подршка
Information regarding product warranty and specific customer support contacts is not provided within this manual. Please refer to the product packaging or the official DIGIQUEST webсајт за детаље о гаранцији и могућностима подршке.