
Киде 20СА10
Kidde Hardwired Smoke Detector (Model 20SA10) Instruction Manual
10-Year Battery Backup, Interconnectable, LED Warning Light Indicators
Увод
This manual provides essential information for the proper installation, operation, and maintenance of your Kidde Hardwired Smoke Detector, Model 20SA10. Please read this manual thoroughly before installation and keep it for future reference. This device is designed to detect smoke and provide early warning of a fire hazard.
Важне информације о безбедности
- УПОЗОРЕЊЕ: This unit is designed for hardwired installation and requires a 120V AC power source. Installation should be performed by a qualified electrician if you are not comfortable with electrical wiring.
- УПОЗОРЕЊЕ: Turn off power at the main circuit breaker before installing or servicing the alarm.
- ОПРЕЗ: This smoke alarm is not designed to detect carbon monoxide. For carbon monoxide detection, a separate CO alarm is required.
- Regularly test your smoke alarm as described in this manual to ensure proper operation.
- Do not paint the alarm. Paint can interfere with the sensor's ability to detect smoke.
Подешавање и инсталација
1. Unboxing and Date Marking
Carefully remove the smoke detector and mounting bracket from the packaging. It is recommended to mark the current installation date on the alarm. The replacement date should be 10 years from the installation date.
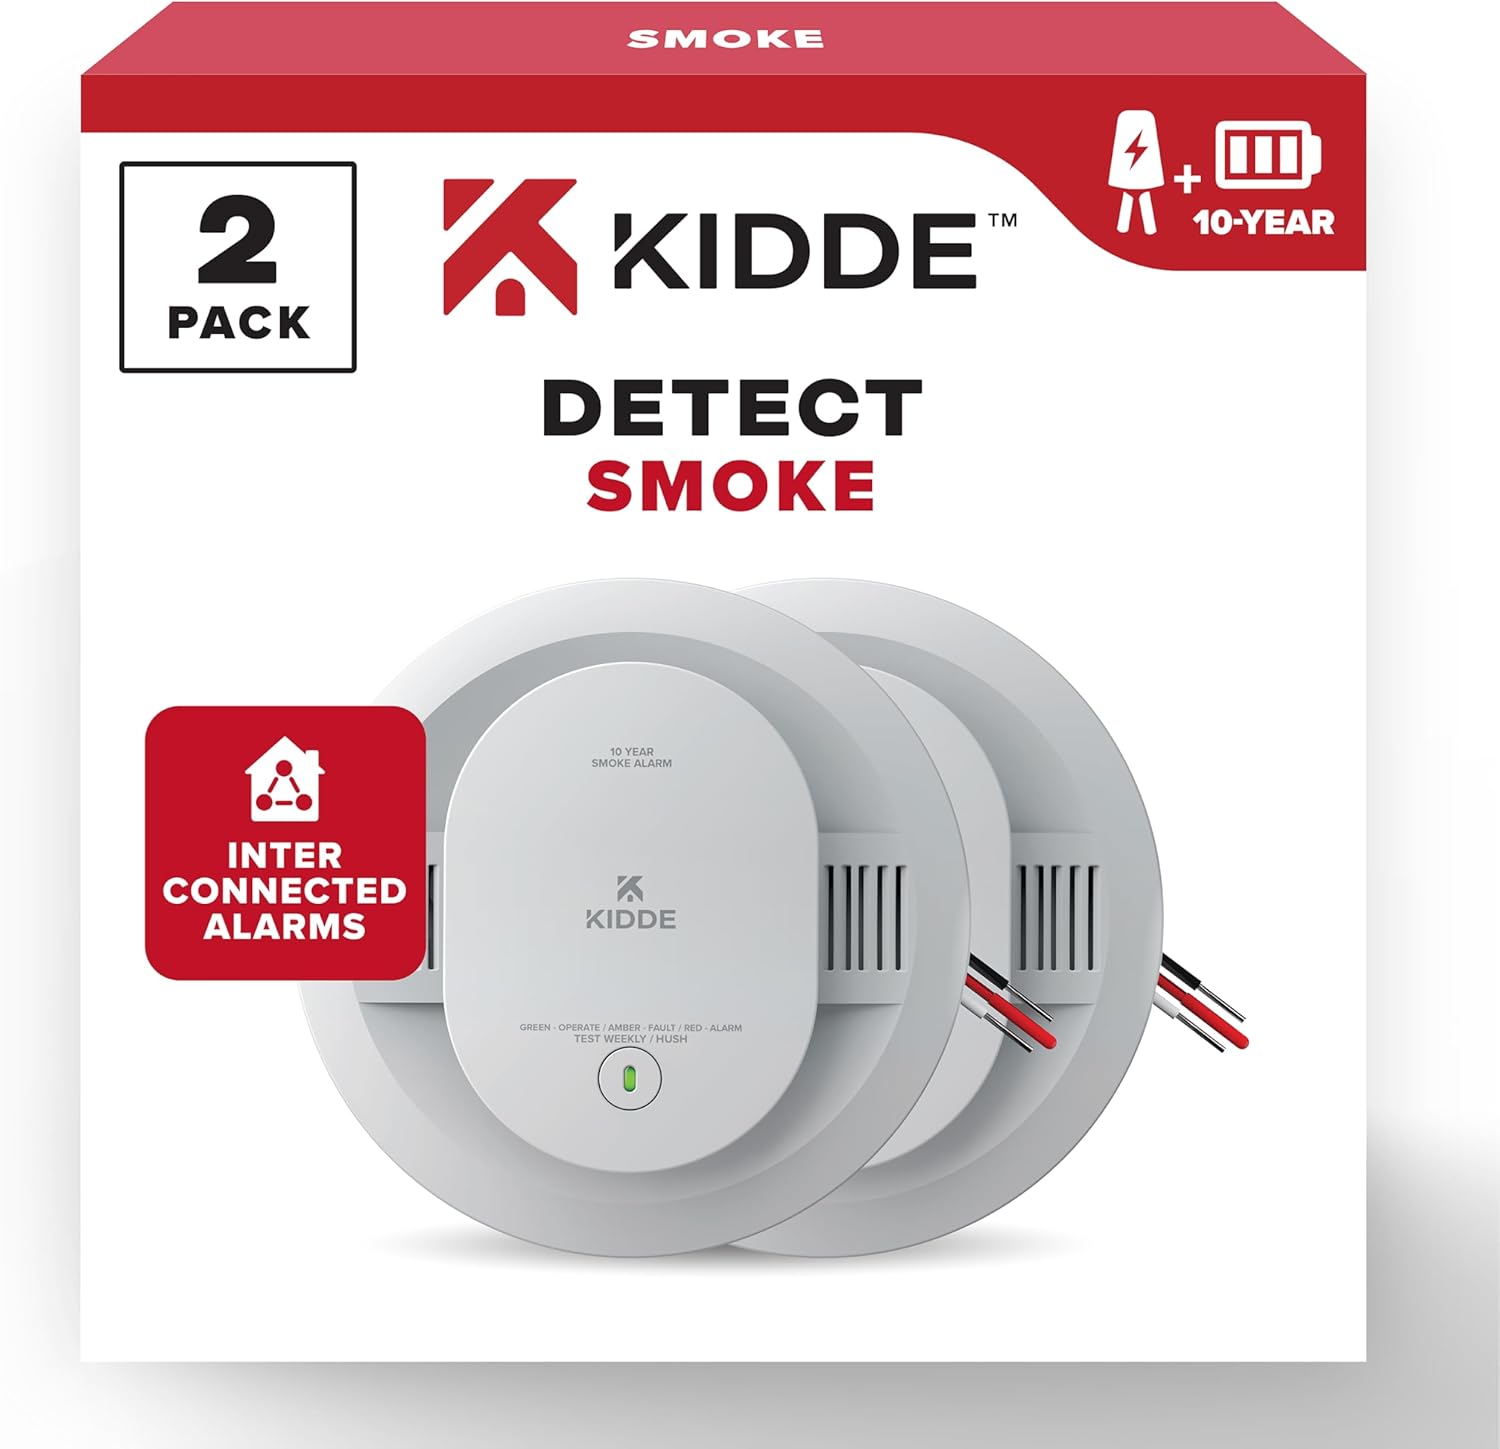
Image: The Kidde Hardwired Smoke Detector, showing its compact design and the area for marking the installation date.
2. Turn Off Main Power
Before beginning any electrical work, ensure the main power to the circuit you are working on is turned off at the circuit breaker. Verify power is off using a voltagе тестер.
Video: Demonstrates the initial steps of installation, including turning off power and preparing the alarm.
3. Инсталирајте носач за монтирање
Pull the wire harness through the center hole of the mounting bracket. Secure the mounting bracket to the electrical box using the provided screws. Ensure the mounting screws are positioned in the small ends of the keyholes before tightening. Do not overtighten.

Image: A person installing the mounting bracket onto a ceiling electrical box.
4. Повежите жице
Connect the wires from the electrical box to the wire harness according to the user guide. Typically, this involves connecting black to black (hot), white to white (neutral), and red to red (interconnect, if applicable). Use wire nuts to secure connections. Then, connect the wire harness to the alarm, ensuring the connector snaps into place.
Video: Shows the process of connecting the smoke detector's wiring harness to the household electrical wiring.
5. Activate 10-Year Battery
This model features a 10-year sealed lithium battery backup. The internal battery will self-activate with a confirmation beep once the alarm is securely attached to the mounting bracket. No pull tab is present for 10-year battery models.

Image: Illustrates the 10-year battery backup feature, emphasizing no battery changes are required.
6. Attach the Alarm
Push any excess wire back into the electrical box through the hole in the center of the mounting bracket. Align the alarm with the mounting bracket and twist clockwise until it clicks securely into place. The green LED light should illuminate, indicating normal operation.
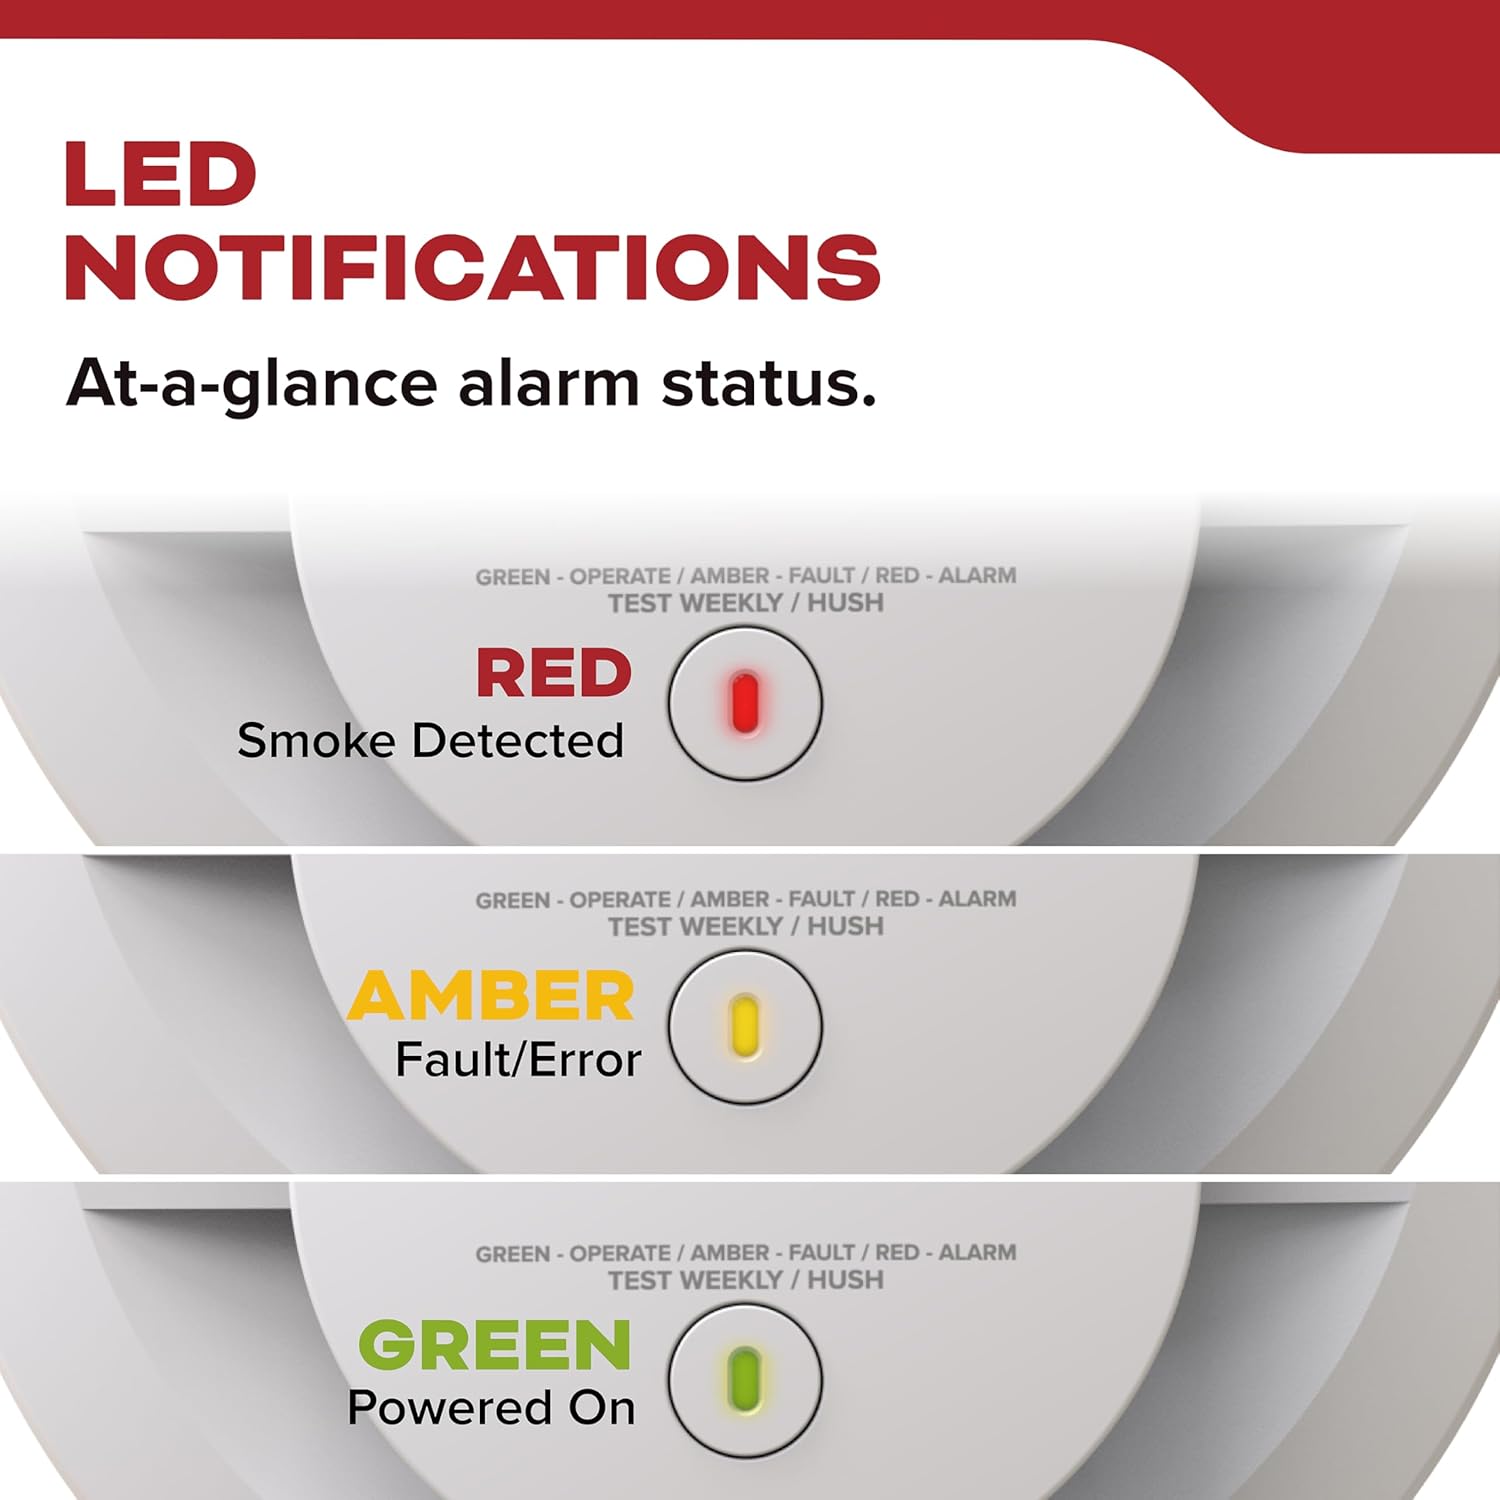
Image: Close-up of the smoke detector showing the LED indicators for different operational statuses.
7. Post-Construction Dust Cover Removal
If the alarm was installed during construction, ensure the proprietary dust cover is removed at least 24 hours after construction is completed. The alarm will not operate correctly with the dust cover in place.
Operating Your Smoke Detector
Нормалан рад
During normal operation, the green LED light will be steadily illuminated for hardwired alarms. For battery-operated models (if applicable), a flashing green LED light every 60 seconds indicates normal operation.
Детекција дима
When smoke is detected, the alarm will sound a loud 85-decibel alarm (3 long beeps) with the red LED light flashing in time, repeating. The enhanced sensing technology helps reduce false alarms from cooking.
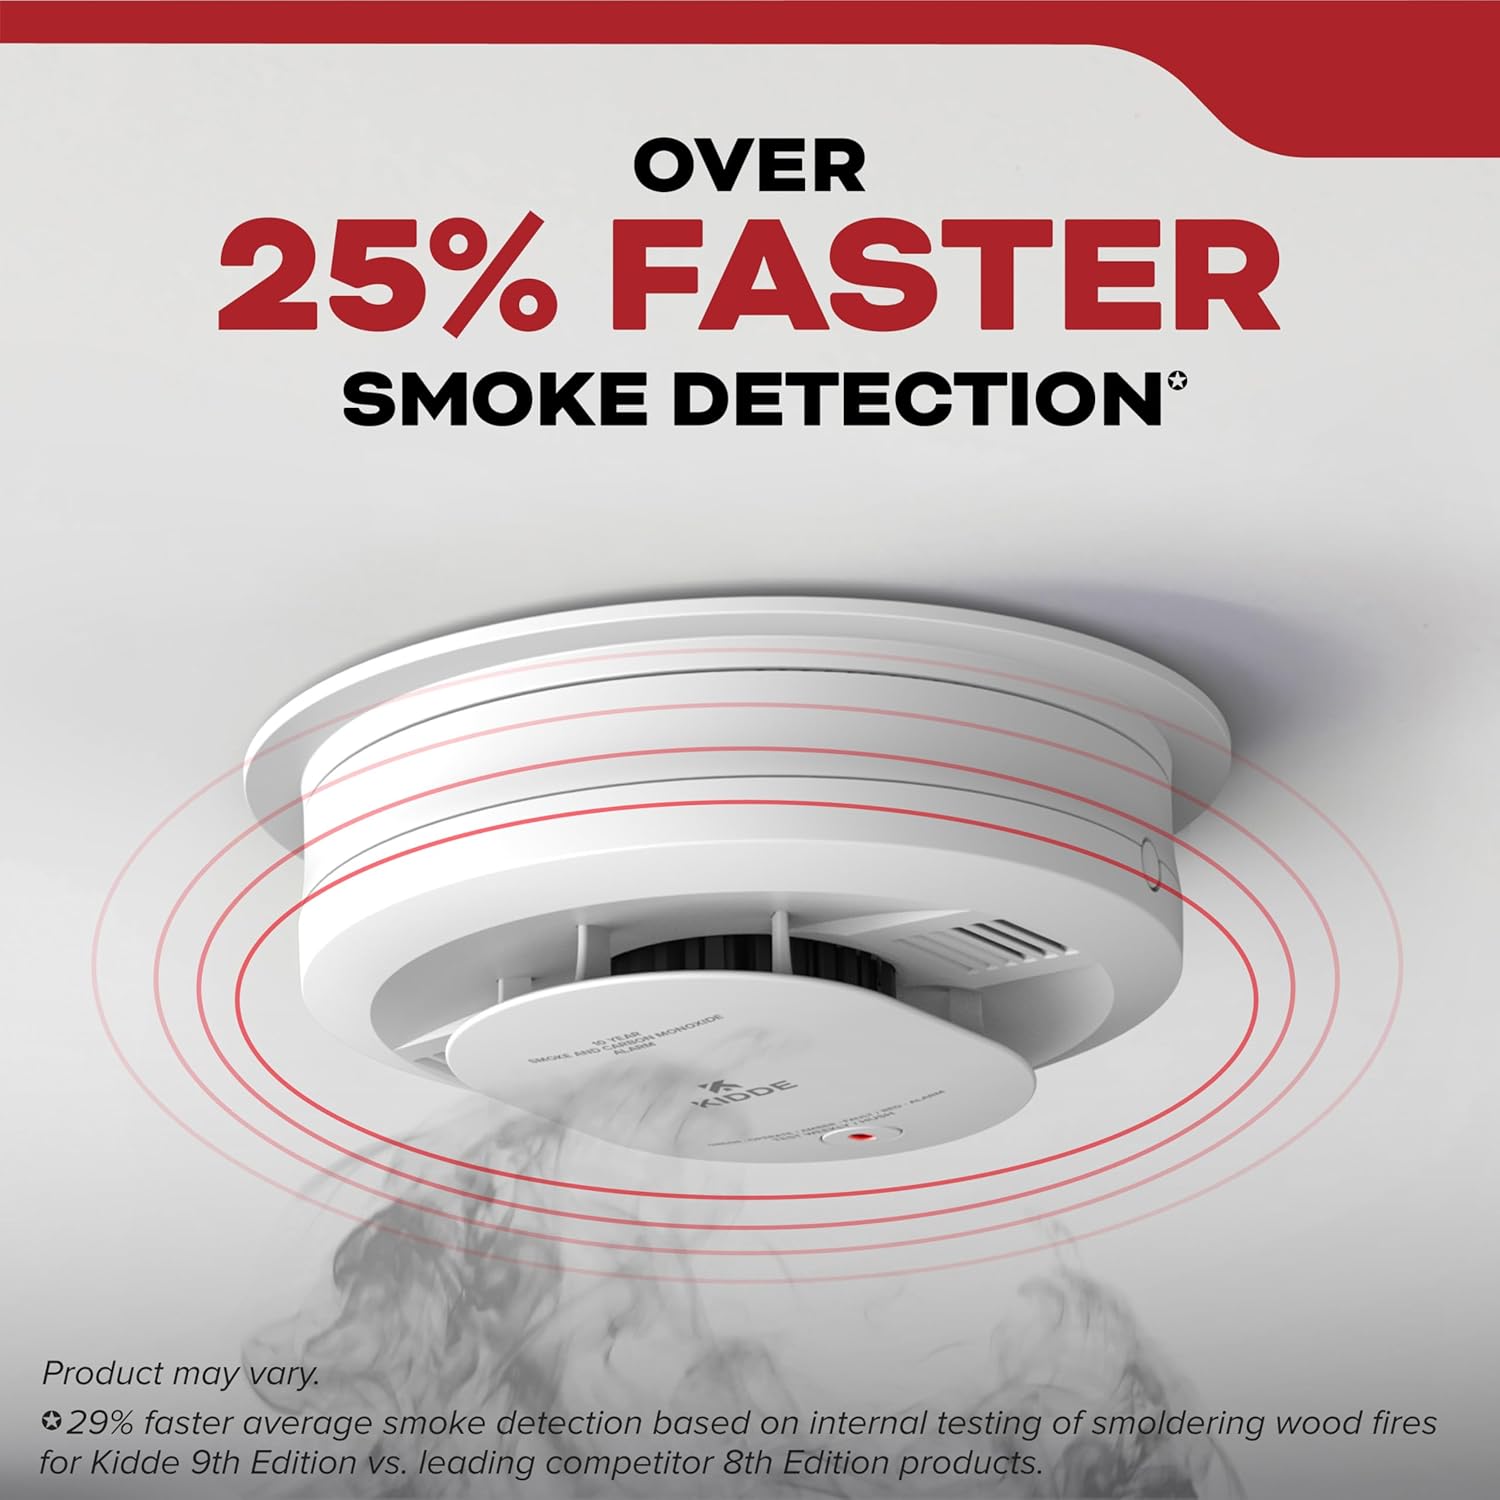
Image: Depicts the smoke detector's advanced sensing capabilities for faster smoke detection.
Међусобна повезаност
This smoke detector features interconnect capability. When one interconnected alarm sounds, all connected alarms will sound, providing earlier warning throughout your home. Refer to the user guide for compatibility with other Kidde models.
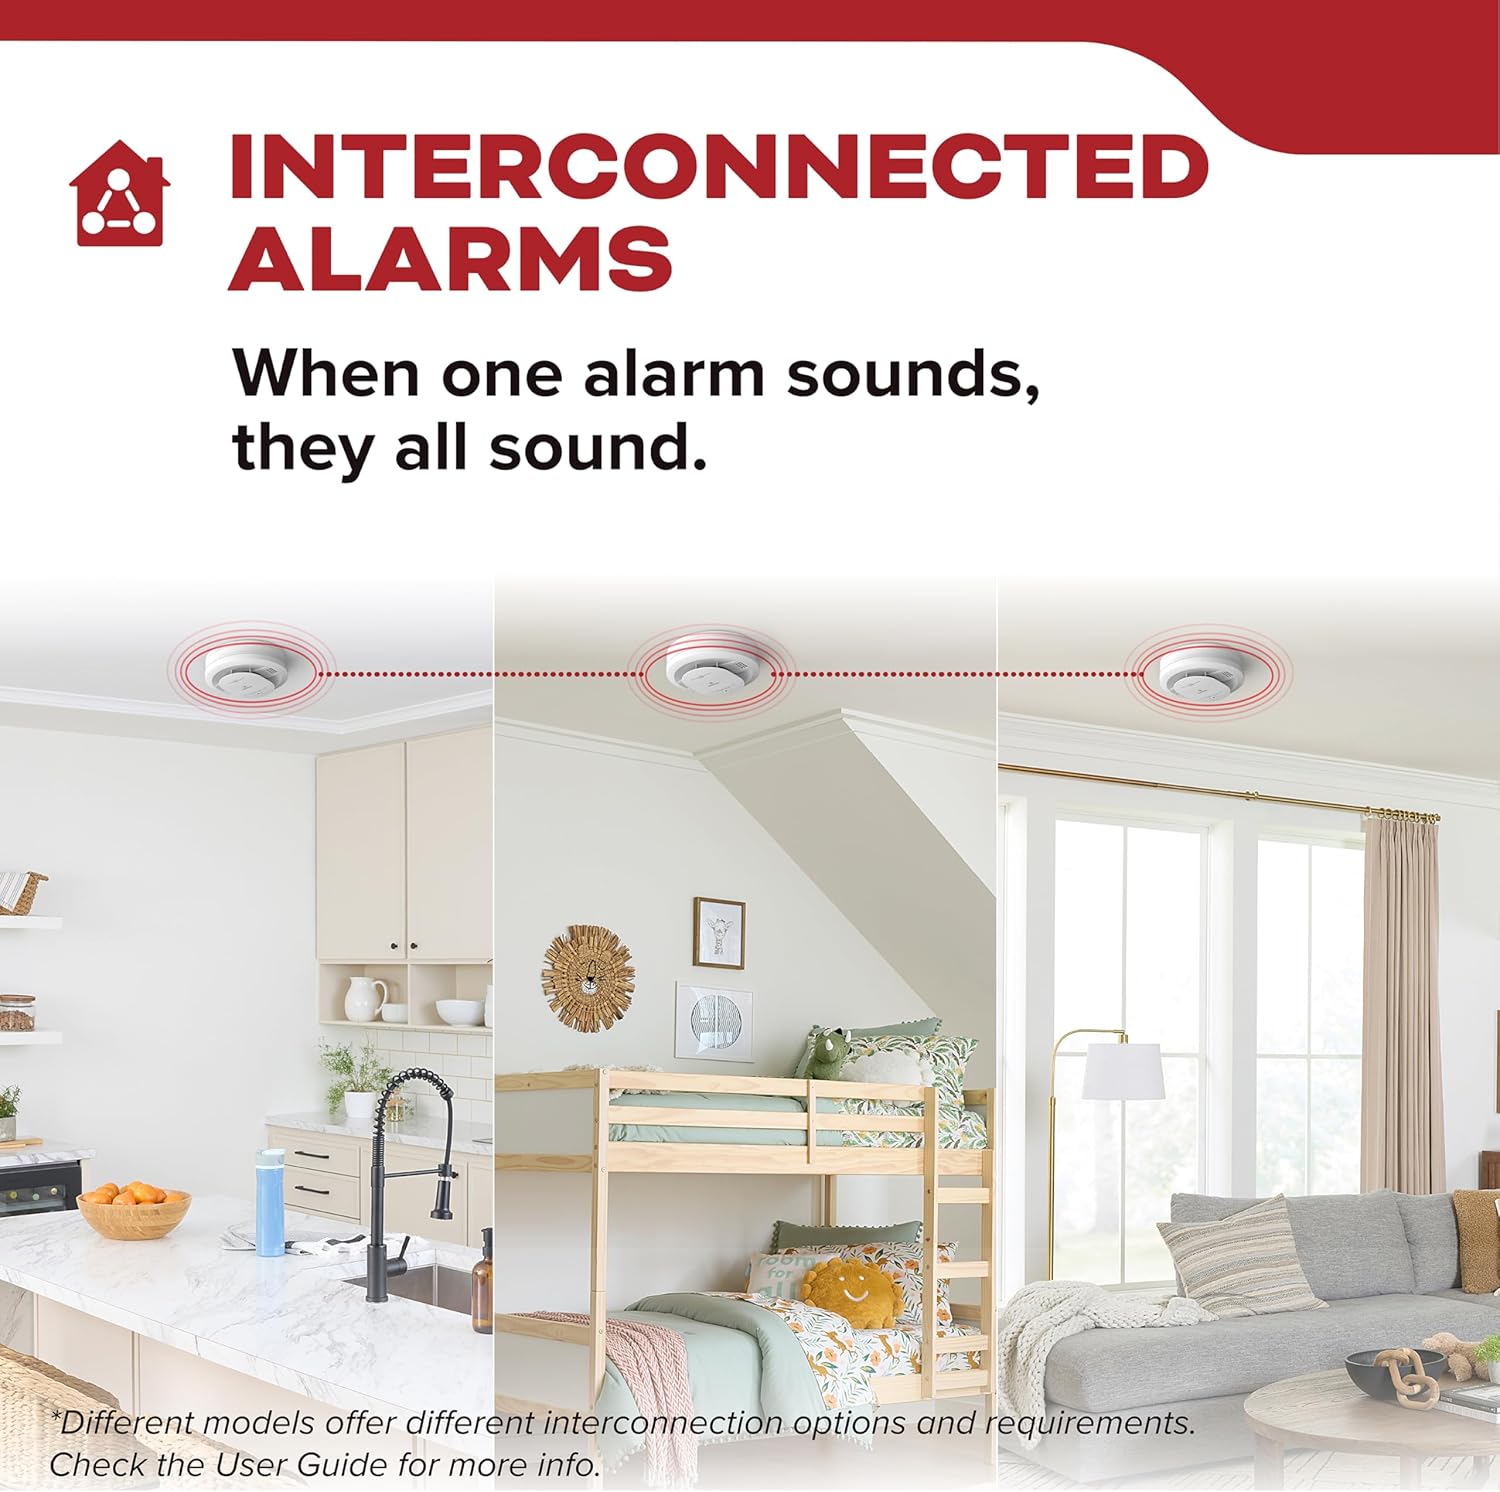
Image: Illustrates how interconnected alarms work, with multiple units sounding simultaneously when one detects smoke.
Одржавање
Недељно тестирање
Test your smoke alarm weekly by pressing and holding the test button on the alarm until the alarm sounds. Release the button to stop the alarm. Stand approximately 2.5 feet away or use ear protection during testing due to the loud alarm.
Video: Demonstrates how to test the smoke detector by pressing the test button.
Чишћење
Clean your smoke alarm at least once a year. Use a soft brush or vacuum cleaner with a soft brush attachment to remove dust and debris from the alarm's vents. Do not use water, cleaners, or solvents.
Крај животног века јединице
The smoke detector has a 10-year lifespan. After 10 years from the installation date, the unit will indicate its end of life with a specific chirping pattern (typically 3 chirps every 60 seconds with an amber LED flash). At this point, the entire unit must be replaced.

Image: Highlights the 10-year limited warranty and expected lifespan of the smoke detector.
Решавање проблема
| Проблем | Могући узрок | Решење |
|---|---|---|
| Аларм се често оглашава без дима. | Dust or debris in the sensing chamber, high humidity, cooking fumes. | Clean the alarm. Relocate the alarm if it's too close to cooking appliances or high humidity areas. |
| Alarm chirps every 60 seconds (3 chirps). | Крај животног века јединице. | Replace the entire smoke alarm unit. |
| Аларм се не оглашава током теста. | Нема струје, неисправан уређај. | Ensure power is on. Check wiring connections. Replace unit if necessary. |
| Amber LED flashes (1-4 times with 1 chirp every 60s). | Fault/Error indication. | Refer to the detailed user guide for specific fault codes and solutions. Clean the alarm. If the fault persists, replace the unit. |
Спецификације
- Модел: 20СА10
- Извор напајања: 120V AC ожичено са 10-годишњом резервном батеријом са затвореном литијумском батеријом
- Тип сензора: Пхотоелецтриц
- Јачина звука аларма: 85 децибела
- Радна влажност: До 95% релативне влажности (РХ), без кондензације
- Радна температура: 40°Ф (4.4°Ц) до 100°Ф (37.8°Ц)
- Димензије: 1.88"Д к 5"Ш к 5"В
- Сертификати: UL 217 9. издање, FCC, CSFM
- Међусобно повезивање: Yes (compatible with other Kidde models, refer to user guide)
Гаранција и подршка
The Kidde Hardwired Smoke Detector, Model 20SA10, comes with a 10-year limited warranty. For detailed warranty information, technical support, or service, please refer to the full user guide included with your product or visit the official Kidde webсајту.
Онлине ресурси: ввв.кидде.цом
Ask a question about this manual
Ask about setup, troubleshooting, compatibility, parts, safety, or missing instructions. Manuals+ will review the question and use this page’s manual context to help answer it.