1. Увод
The Canyon DVR40 is a dash camera designed to record driving footage. It features a Sony Starvis 415 sensor for 4K video recording, a 140° wide field of view, and a 3-inch IPS capacitive touchscreen. The device includes a supercapacitor for reliable operation and supports Wi-Fi connectivity for control via a mobile application.

Слика 1.1: Предња страна view of the Canyon DVR40 Dash Camera, showing the lens and branding.
2. Садржај пакета
Verify that all items listed below are present in the product packaging.

Image 2.1: All items included in the Canyon DVR40 Dash Camera package.
- Canyon DVR40 Dash Camera
- Водич за брзи почетак
- Гарантни лист
- Accessories for Cable Installation
- Читач картица
- Magnetic suction cup holder with a USB Type-C connector
- Car power adapter (2 output connectors USB Type-A)
- Cable USB Type-C (cable length 3.6 m)
- ЦПЛ филтер
- Cloth for screen cleaning
- Текстилна кутија
3. Производ је готовview
Familiarize yourself with the main components of the DVR40 dash camera.

Image 3.1: The Canyon DVR40 Dash Camera, highlighting its compact design.
Кључне карактеристике:
- 4K UltraHD снимање: Captures video at 30 frames per second for clear footage.
- Sony Starvis 415 Sensor: Enhances low-light performance with night vision mode.
- 140° Фиелд оф View: Provides wide coverage of the road.
- 3-инчни IPS капацитивни екран осетљив на додир: For direct control and playback.
- Суперцапацитор: Offers improved durability and temperature resistance compared to traditional batteries.
- Магнетни носач: Facilitates easy installation and removal with integrated power supply.
- Ви-Фи повезивање: Allows control and footage management via the Canyon Eye mobile application.
- Г-сензор: Automatically detects impacts and locks video files to prevent overwriting.
4. Подешавање
4.1 Монтирање камере за аутомобил
The DVR40 uses a magnetic mount for secure attachment to your vehicle's windshield.
- Очистите подручје на ветробранском стаклу где намеравате да монтирате камеру.
- Attach the magnetic suction cup holder to the windshield. Ensure it is positioned to provide an unobstructed view на путу.
- Connect the USB Type-C power cable to the magnetic mount.
- Align the dash camera with the magnetic mount. The camera will snap into place, establishing the power connection.

Image 4.1: The magnetic mount with integrated power supply for easy installation.
4.2 Прикључак за напајање
Use the provided car power adapter and USB Type-C cable to power the dash camera.
- Plug the car power adapter into your vehicle's 12V power outlet (cigarette lighter socket).
- Connect the USB Type-C cable from the car power adapter to the magnetic mount.
- Once the vehicle's ignition is turned on, the dash camera will automatically power on and begin recording.
4.3 Initial Setup and MicroSD Card
Before first use, insert a compatible MicroSD card (not included) and format it.
- Insert a high-speed MicroSD card (Class 10 or higher, up to 128GB recommended) into the designated slot on the dash camera.
- Укључите камеру.
- Access the camera's settings via the touchscreen or the mobile app.
- Locate the "Format SD Card" option and confirm to format the card. This prepares the card for recording and ensures optimal performance.
5. Упутство за употребу
5.1 Основно снимање
The DVR40 automatically begins loop recording when powered on.
- Лооп Рецординг: The camera records video in segments (e.g., 1, 3, or 5 minutes). When the MicroSD card is full, the oldest unprotected fileс се преписују.
- Ручно снимање: Press the record button on the camera (if available) or use the mobile app to manually start/stop recording.
- Квалитет видеа: The camera records in 4K UltraHD at 30 frames per second.

Image 5.1: Visual representation of the DVR40's high-quality video capabilities.
5.2 G-Sensor for Accident Recording
The built-in G-Sensor detects sudden impacts or rapid acceleration/deceleration.
- When an event is detected, the current video segment is automatically locked and saved to a protected folder on the MicroSD card.
- These protected fileс неће бити замењено снимањем у петљи.
- Adjust the G-Sensor sensitivity in the camera settings if needed.

Image 5.2: Illustration of the G-Sensor's function in accident recording.
5.3 Екран на додир
The 3-inch IPS capacitive touchscreen allows for direct interaction with the camera.
- Navigate menus, adjust settings, and review снимљено фооtagе директно на уређају.
- The IPS display offers wide viewing angles and clear visibility.

Image 5.3: The touch screen display in use on the DVR40.
5.4 Wi-Fi and Mobile Application Control
Connect the DVR40 to your smartphone via Wi-Fi using the Canyon Eye mobile application.
- Download the "Canyon Eye" application from your smartphone's app store.
- Enable Wi-Fi on the DVR40 through its settings menu.
- On your smartphone, connect to the DVR40's Wi-Fi network (SSID and password will be displayed on the camera screen).
- Open the Canyon Eye app. You can now view ливе фооtagе, приступ снимљеним видео записима, промена подешавања и преузимање fileдиректно на ваш телефон.
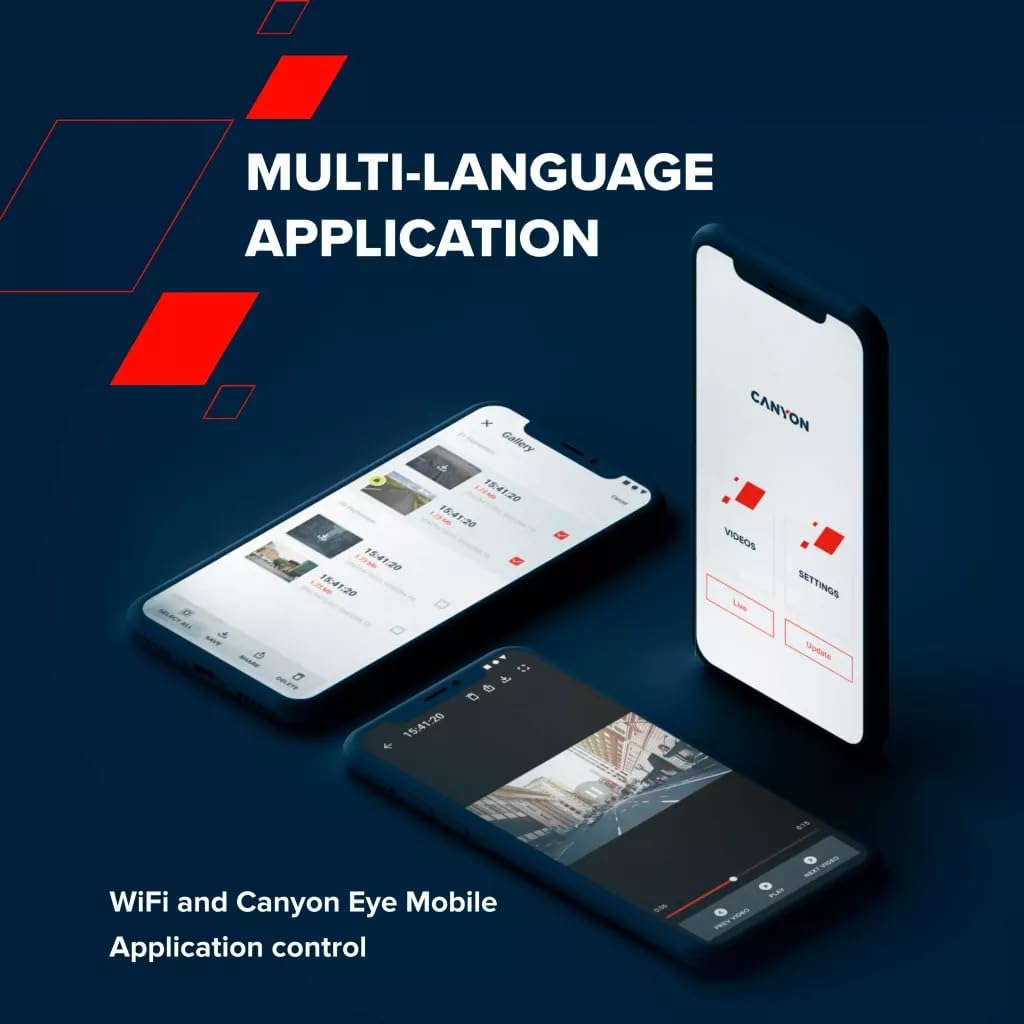
Image 5.4: The Canyon Eye mobile application interface for remote control and file менаџмент.
6. Одржавање
6.1 Суперкондензатор
The DVR40 is equipped with a supercapacitor instead of a traditional lithium-ion battery.
- Supercapacitors offer enhanced durability and a wider operating temperature range (-30°C to 80°C).
- They are less prone to overheating and have a longer lifespan, making them suitable for automotive environments.
- The supercapacitor provides enough power to safely save the last recording when external power is disconnected.

Image 6.1: The DVR40's supercapacitor ensures reliable operation across a wide temperature range.
6.2 Чишћење и складиштење
- Use the provided cleaning cloth to gently wipe the screen and lens. Avoid abrasive materials or chemical cleaners.
- Ensure the camera is clean and dry before storing it.
- When not in use for extended periods, store the camera in a cool, dry place, away from direct sunlight.
КСНУМКС. Решавање проблема
Погледајте табелу испод за уобичајене проблеме и њихова решења.
| Проблем | Могући узрок | Решење |
|---|---|---|
| Камера се не укључује. | No power supply; faulty cable/adapter. | Check car power adapter connection. Ensure vehicle ignition is on. Try a different USB port or adapter if available. |
| Снимање се неочекивано прекида. | MicroSD card full or corrupted; low-speed MicroSD card. | Format the MicroSD card. Replace with a high-speed (Class 10 or U3) MicroSD card. |
| Видео фооtagе је замућено или нејасно. | Protective film on lens; dirty lens; windshield obstruction. | Remove any protective film. Clean the camera lens and windshield. Ensure the camera is securely mounted. |
| Проблеми са Wi-Fi везом. | Нетачна лозинка за Wi-Fi; Wi-Fi камера није омогућен; проблеми са апликацијом. | Ensure Wi-Fi is enabled on the camera. Verify the Wi-Fi password. Restart both the camera and smartphone. Reinstall the Canyon Eye app. |
| Г-сензор је превише осетљив/недовољно осетљив. | Подешавање осетљивости Г-сензора. | Adjust the G-Sensor sensitivity level in the camera settings. |
8. Спецификације
Detailed technical specifications for the Canyon DVR40 Dash Camera.
| Феатуре | Спецификација |
|---|---|
| Бранд | КАЊОН |
| Назив модела | ДВР40 |
| Број модела | CND-DVR40 |
| Боја | Црно |
| Резолуција снимања видео записа | 2160p (4K UltraHD) |
| Фрамес Пер Сецонд | 30 fps (at 4K) |
| Технологија оптичког сензора | CMOS (Sony Starvis 415) |
| Величина фото сензора | 1/2.86'' |
| Поље оф View | 140° |
| Посебне карактеристике | Integrated Supercapacitor, Touch Screen, Night Vision Mode, Wi-Fi, G-Sensor |
| Дисплаи | 3-inch IPS Capacitive Touchscreen |
| Тип монтаже | Магнетиц Моунт |
| Извор напајања | Car power adapter (USB Type-C) |
| Опсег радне температуре | -30°C to 80°C (due to Supercapacitor) |
| Укључене компоненте | Dash Camera, Magnetic Mount, Car Power Adapter, USB-C Cable, Card Reader, CPL Filter, Cleaning Cloth, Textile Case, Quick Start Guide, Warranty Card, Cable Installation Accessories |
| Батерије укључене | No (uses Supercapacitor) |
9. Безбедносне информације
- Do not operate the camera or adjust settings while driving. Always pull over to a safe location.
- Ensure the camera is securely mounted and does not obstruct your view на путу.
- Use only the provided power adapter and cables to prevent damage to the device.
- Do not expose the camera to extreme moisture or liquids.
- Avoid disassembling the device. Refer to qualified service personnel for repairs.
- Држите камеру и додатну опрему ван домашаја деце.
10. Гаранција и подршка
For warranty information and technical support, please refer to the warranty card included in your package or visit the official Canyon webсајту.
Подршка на мрежи: https://canyon.eu/support/