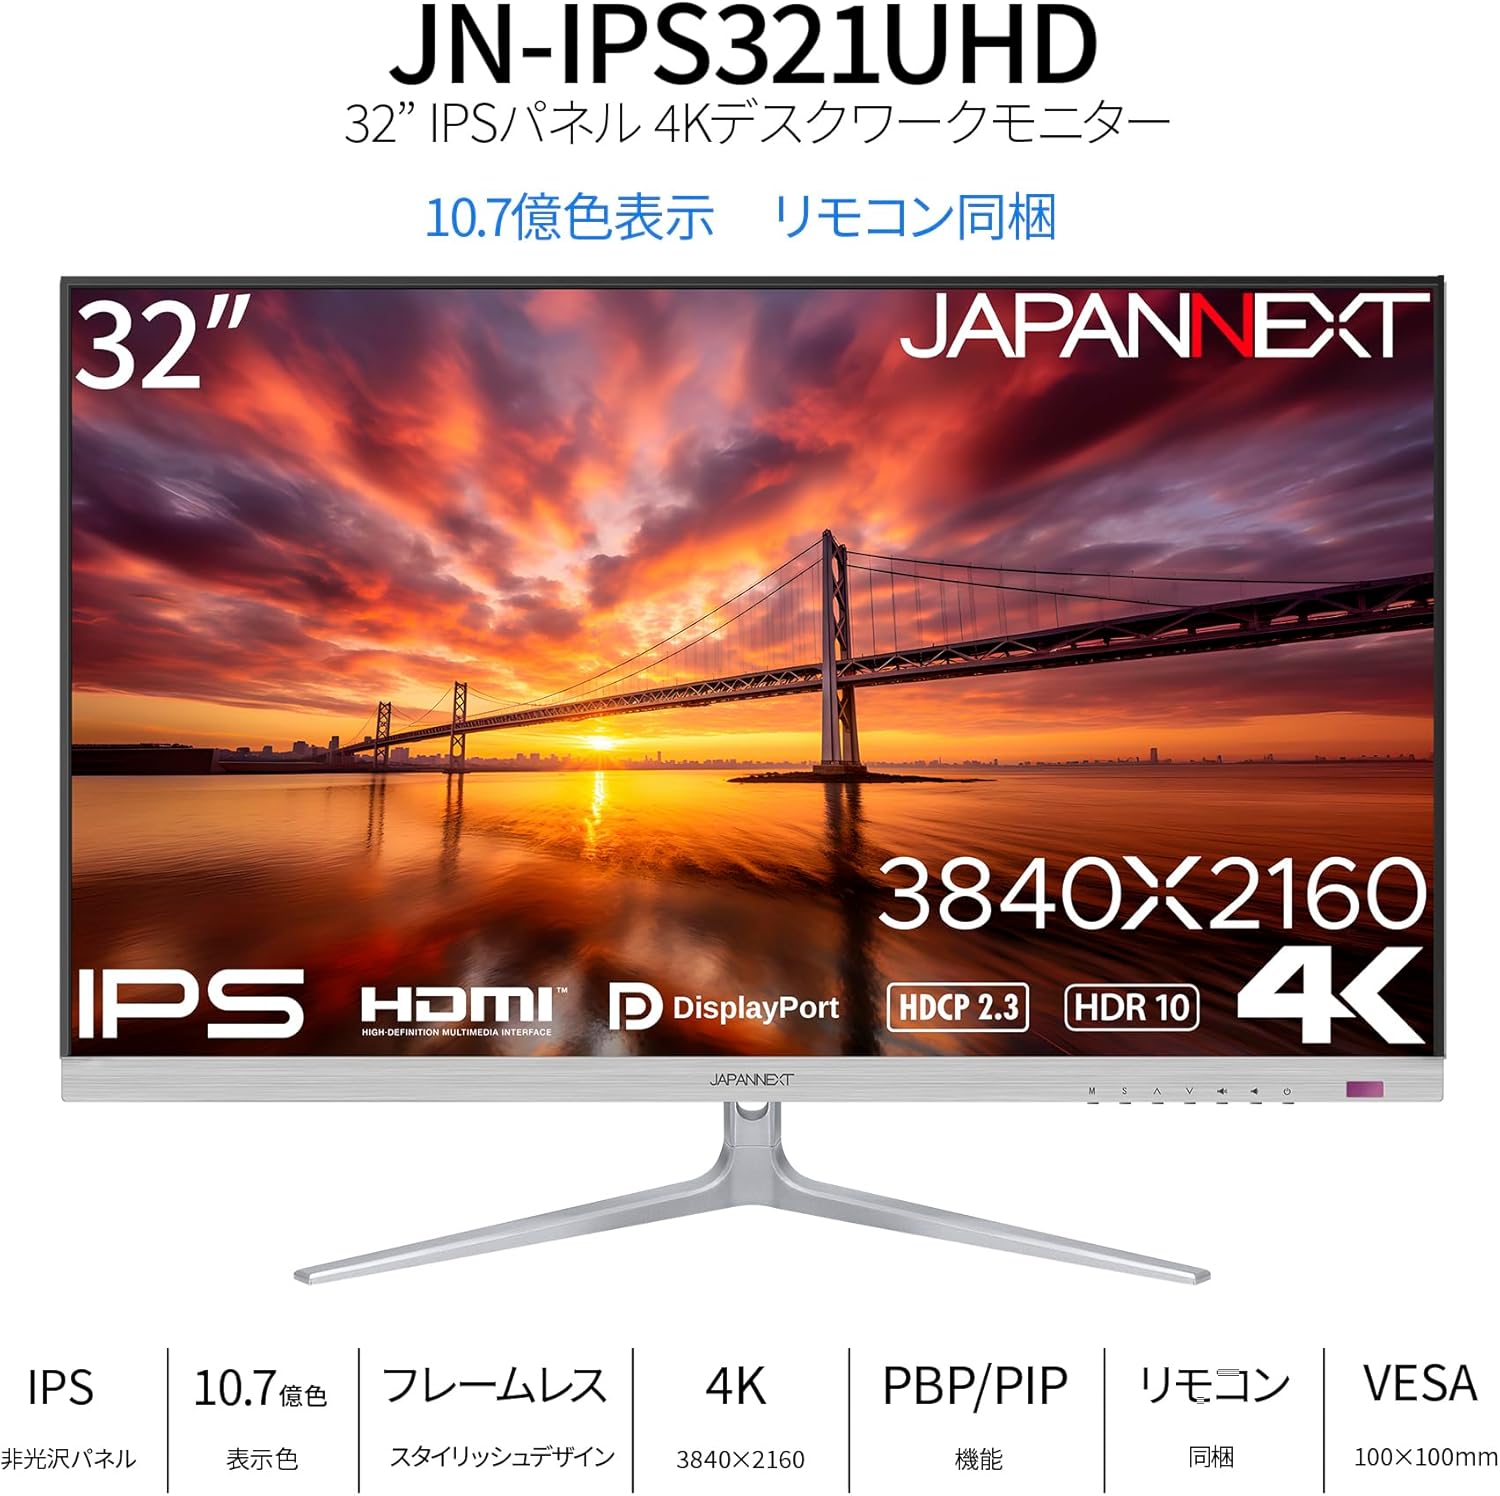
1. Увод
Хвала вам на куповиниasing the JAPANNEXT JN-IPS321UHD 32-inch 4K UHD IPS Monitor. This monitor is designed to provide a high-quality visual experience with its 3840x2160 resolution, wide viewing angles, and HDR support. This manual will guide you through the setup, operation, maintenance, and troubleshooting of your new monitor to ensure optimal performance and longevity.
2. Безбедносне информације
Please read and follow these safety guidelines carefully before using the monitor:
- Не излажите монитор киши, влази или екстремним температурама.
- Обезбедите одговарајућу вентилацију око монитора да бисте спречили прегревање.
- Користите само адаптер за напајање који се испоручује са монитором.
- Избегавајте постављање тешких предмета на кабл за напајање.
- Не покушавајте сами да растављате или поправљате монитор. Све сервисирање препустите квалификованом особљу.
- Очистите екран меком крпом која не оставља влакна. Избегавајте употребу јаких хемикалија.
3. Садржај пакета
Проверите да ли су све ставке присутне у пакету:
- JAPANNEXT JN-IPS321UHD Monitor
- Постоље за монитор
- ХДМИ кабл
- ДисплаиПорт Цабле
- Повер Цабле
- Повер Адаптер
- Упутство за употребу
- Гарантни лист
- Даљински управљач (батерије нису укључене)
4. Подешавање
4.1 Причвршћивање постоља
Carefully place the monitor face down on a soft, clean surface to prevent scratches. Attach the stand base to the stand neck, then secure the assembled stand to the back of the monitor using the provided screws.
Слика: Фронт view of the monitor with its attached stand.
4.2 Инсталација VESA носача (опционо)
The monitor supports a 100x100mm VESA mount. If you prefer to mount the monitor on a wall or an alternative stand, remove the factory stand and attach your VESA-compatible mounting bracket. Ensure the mounting screws are of appropriate length to avoid damaging internal components.

Слика: Позади view of the monitor, highlighting the VESA mount area and input ports.
4.3 Каблови за повезивање
Connect the power adapter to the monitor's power port and then to a power outlet. Connect your video source (PC, game console, etc.) to one of the available input ports (HDMI or DisplayPort) on the monitor. If desired, connect external speakers or headphones to the audio output port.
Image: Close-up of the monitor's input panel, showing Audio Out, DisplayPort 1.4 (x2), HDMI 2.1 (x2), and Power Port.
5. Руковање монитором
5.1 Укључивање/искључивање
Press the power button on the monitor or the remote control to turn the monitor on or off. The power indicator light will show the monitor's status (e.g., blue for on, amber for standby).
5.2 Избор улаза
Use the input selection button on the monitor or the remote control to cycle through the available input sources (HDMI 1, HDMI 2, DisplayPort 1, DisplayPort 2). The monitor will automatically detect an active signal.
5.3 Приказ на екрану (ОСД) мени
Access the OSD menu using the buttons on the monitor or the remote control to adjust various settings such as brightness, contrast, color temperature, and picture modes. Navigate through the menu using the directional buttons and confirm selections with the OK/Enter button.
5.4 Picture-by-Picture (PBP) and Picture-in-Picture (PIP)
The monitor supports PBP and PIP functions, allowing you to display content from multiple input sources simultaneously. Refer to the OSD menu for options to configure these modes, including layout and source selection. PBP mode can display up to two input images side-by-side, while PIP mode displays one input as a smaller window over another main input.
5.5 Режим игре
The monitor features a dedicated Game Mode to optimize visual settings for gaming. This mode can enhance visibility in dark areas and improve response times. Activate and configure Game Mode through the OSD menu.

Image: Monitor screen showing a game with the 'Picture Mode' menu, including FPS and Game options.
5.6 Аудио функције
The monitor includes built-in 2W x 2 stereo speakers for audio output. You can adjust the volume through the OSD menu or the remote control. For higher quality audio, connect external speakers or headphones to the audio output port.

Image: Monitor displaying a music scene, illustrating the integrated speakers.
5.7 HDR подршка
The monitor supports High Dynamic Range (HDR) content, providing a wider range of colors and contrast for a more immersive viewing experience. Ensure your connected device and content also support HDR for this feature to function.
5.8 Blue Light Reduction
To reduce eye strain during prolonged use, the monitor features a blue light reduction mode. This setting can be adjusted or enabled/disabled via the OSD menu.
6. Одржавање
6.1 Чишћење монитора
Before cleaning, ensure the monitor is turned off and unplugged from the power outlet. Use a soft, dry, lint-free cloth to gently wipe the screen and exterior surfaces. For stubborn marks, lightly dampen the cloth with water. Avoid using alcohol, ammonia, or abrasive cleaners, as these can damage the screen or finish.
6.2 Општа нега
Keep the monitor away from direct sunlight, heat sources, and areas with high humidity. Do not block the ventilation openings. When moving the monitor, handle it carefully to avoid impact or damage.
КСНУМКС. Решавање проблема
Ако наиђете на проблеме са монитором, погледајте следеће уобичајене проблеме и решења:
- Нема напајања: Ensure the power cable is securely connected to both the monitor and the power outlet. Check if the power adapter is functioning correctly.
- Нема сигнала: Verify that the video cable (HDMI or DisplayPort) is properly connected to both the monitor and your source device. Ensure the correct input source is selected on the monitor.
- Треперење или искривљена слика: Check the video cable for damage. Try a different cable or input port. Ensure your source device's display resolution and refresh rate are compatible with the monitor's specifications.
- Нема звука из звучника: Check the volume settings on both the monitor and your source device. Ensure the audio cable (if used) is properly connected.
- Даљински управљач не ради: Check the batteries in the remote control. Ensure there are no obstructions between the remote and the monitor's IR receiver.
Ако проблем и даље постоји након што сте испробали ове кораке, обратите се корисничкој подршци.
8. Спецификације
Below are the detailed technical specifications for the JAPANNEXT JN-IPS321UHD monitor:

Image: Detailed specifications table for the monitor.
| Феатуре | Спецификација |
|---|---|
| Број модела | JN-IPS321UHD |
| Величина екрана | 32 инча |
| Панел Типе | IPS (AHVA) |
| Резолуција | 3840 к 2160 (4К УХД) |
| Аспецт Ратио | 16:9 |
| Рефресх Рате | 60Хз |
| Време одговора | 12 мс (макс.) |
| Осветљеност | 300 цд/м² |
| Однос контраста | 1000:1 |
| Viewинг Англе | В:178° В:178° |
| Подршка боја | 1.07 billion colors, sRGB:96% |
| ХДР подршка | ХДР10 |
| Подршка за ХДЦП | ХДЦП 2.3 |
| Инпутс | HDMI 2.1 x2 (60Hz), DisplayPort 1.4 x2 (60Hz) |
| Аудио излаз | Да |
| Звучници | КСНУМКСВ к КСНУМКС |
| ВЕСА Моунт | 100к100мм |
| Димензије (са постољем) | 725 мм к 505 мм к 207 мм |
| Димензије (без постоља) | 725 мм к 432 мм к 51 мм |
| Тежина (производ) | 8.9 кг |
| Потрошња енергије | 47W (typical), 1W (standby) |
9. Гаранција и подршка
Your JAPANNEXT JN-IPS321UHD monitor comes with a warranty. Please refer to the included warranty card for detailed terms and conditions, including the warranty period and coverage. Keep your proof of purchase for warranty claims.
For technical assistance, troubleshooting beyond this manual, or warranty inquiries, please contact JAPANNEXT customer support. Contact information can typically be found on the official JAPANNEXT webсајту или на гарантном листу који сте добили уз производ.