
1. Важне мере заштите
Please read these instructions carefully before using your Salter Retro 4-Slice Toaster. Keep this manual for future reference.
- Не додирујте вруће површине. Увек користите ручке или дугмад.
- Да бисте се заштитили од струјног удара, немојте потапати кабл, утикаче или тостер у воду или другу течност.
- Неопходан је пажљив надзор када било који уређај користе деца или у близини деце.
- Искључите из утичнице када није у употреби и пре чишћења. Оставите да се охладе пре стављања или скидања делова.
- Немојте користити ниједан уређај са оштећеним каблом или утикачем, или након што уређај поквари или је на било који начин оштећен.
- Не користите на отвореном.
- Не дозволите да кабл виси преко ивице стола или пулта, нити да додирује вруће површине.
- Не стављајте на или близу врућег гасног или електричног горионика, или у загрејану рерну.
- Немојте користити уређај за другу употребу осим за предвиђену.
- Oversize foods, metal foil packages, or utensils must not be inserted into a toaster as they may involve a risk of fire or electric shock.
- Може доћи до пожара ако су тостери прекривени или додирују запаљиви материјал, укључујући завесе, драперије, зидове и слично, када су у раду.
- Не покушавајте да избаците храну када је тостер укључен.
- Always unplug the toaster before cleaning the crumb tray.
2. Производ је готовview
The Salter Retro 4-Slice Toaster is designed for efficient and convenient toasting. It features four wide slots, allowing you to toast various bread types, including bagels and crumpets. With 6 browning levels and dedicated functions for defrosting, reheating, and canceling, you can achieve your desired toast consistency every time.
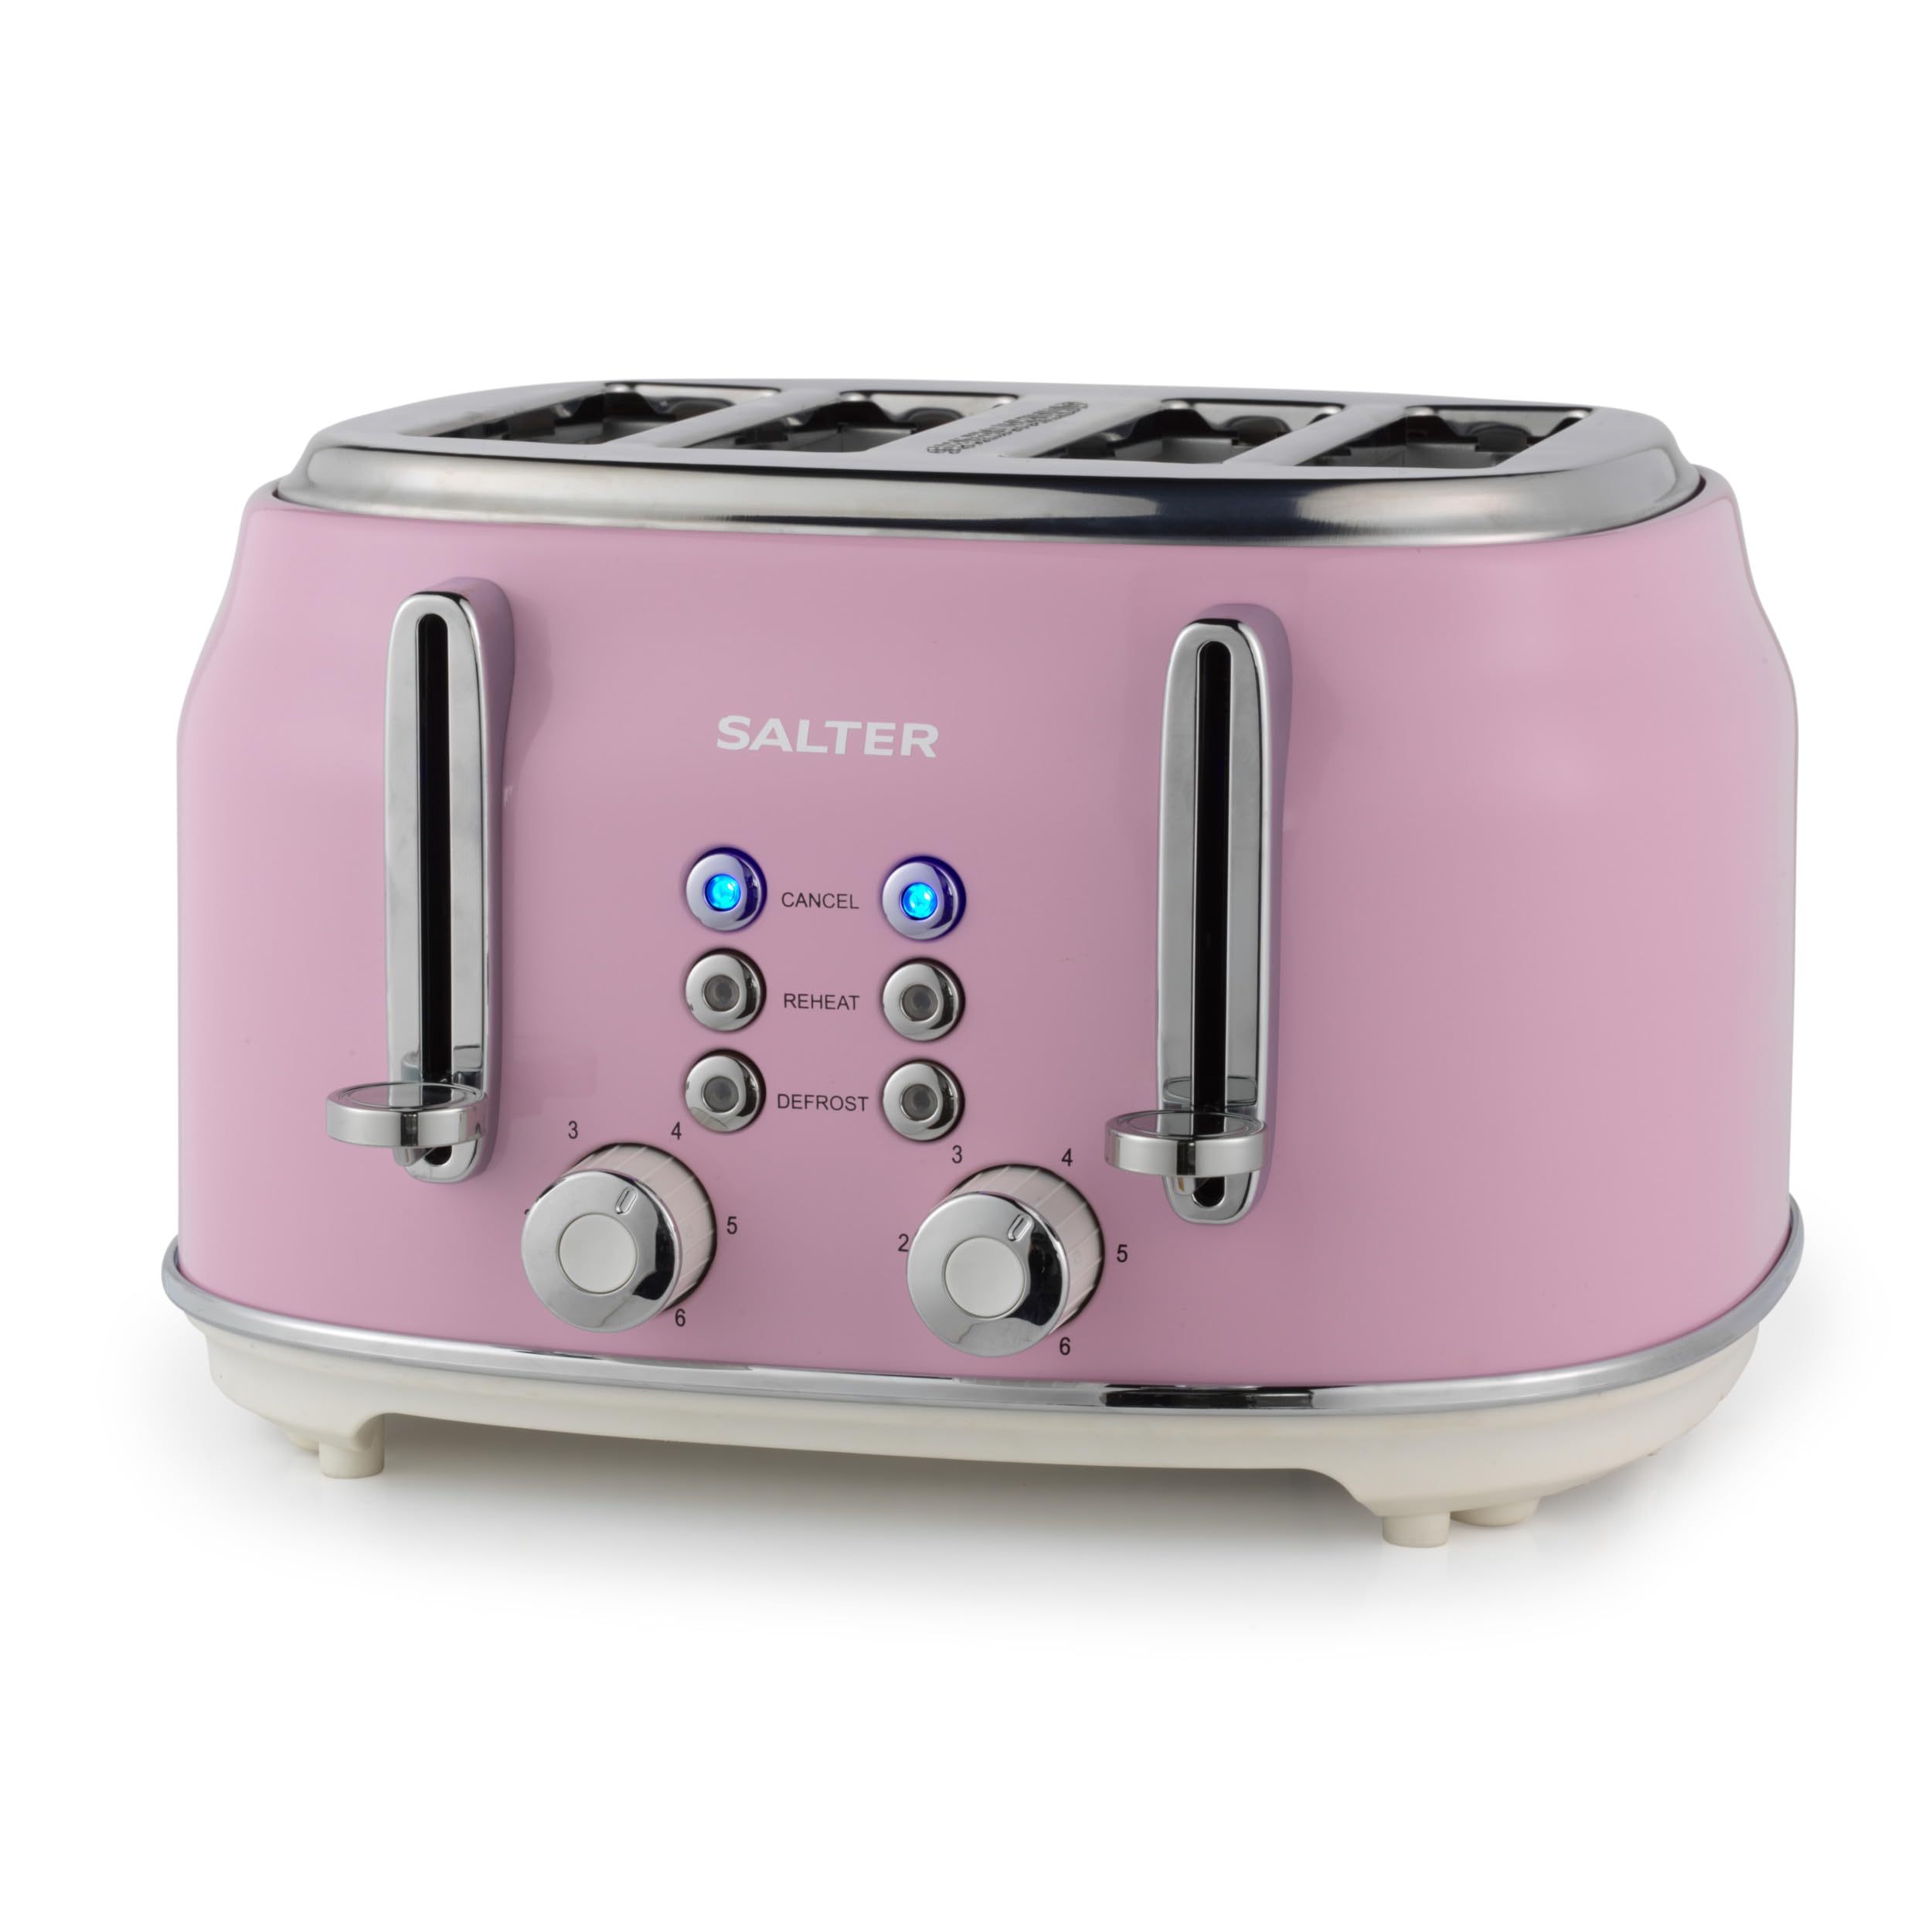
Image: The Salter Retro 4-Slice Toaster in a stylish pink finish, featuring chrome levers and control knobs, positioned on a kitchen counter.
3. Подешавање
- Распакујте тостер и уклоните сав материјал за паковање.
- Place the toaster on a stable, heat-resistant, and dry surface, away from flammable materials.
- Ensure the crumb tray is correctly inserted at the bottom of the toaster.
- Before first use, operate the toaster without bread on the highest browning setting to burn off any manufacturing residues. This may produce a slight odor and smoke, which is normal. Ensure adequate ventilation.
4. Упутство за употребу
4.1. Toasting Bread
- Insert up to four slices of bread into the toaster slots. The wide slots accommodate various bread types.
- Select your desired browning level using the browning control dial (1-6). Level 1 is for light toast, and Level 6 is for dark toast.
- Press down the toast lever until it locks into place. The indicator light will illuminate, and the toasting cycle will begin.
- Once the toasting cycle is complete, the toast will automatically eject, and the lever will return to its original position.

Image: Close-up of the toaster's control panel, showing the browning level dial and the 'Cancel', 'Reheat', and 'Defrost' buttons.
4.2. Посебне функције
The toaster includes three special functions:
- Поништити, отказати: Press the 'CANCEL' button to stop the toasting cycle at any time. The toast will immediately eject.
- Загревање: Use the 'REHEAT' button to warm up previously toasted bread without further browning. Insert the toast, press the lever, then press 'REHEAT'.
- Одмрзавање: The 'DEFROST' function allows you to toast frozen bread. Insert frozen bread, press the lever, then press 'DEFROST'. The toaster will automatically adjust the toasting time.

Image: The toaster with the 'CANCEL' button glowing blue, indicating the function is active or has been pressed.
4.3. High-Lift Ejection
The high-lift ejection feature allows you to easily retrieve smaller items like crumpets or bagels without burning your fingers. Simply lift the toast lever further up after the toasting cycle is complete.

Image: A hand demonstrating the high-lift function by pushing the toast lever upwards to raise the toast higher from the slots.
5. Одржавање и чишћење
Редовно чишћење обезбеђује оптималне перформансе и продужава век трајања вашег тостера.
5.1. Cleaning the Crumb Tray
- Ensure the toaster is unplugged and completely cool.
- Pull out the removable crumb tray located at the bottom of the toaster.
- Одбаците нагомилане мрвице.
- Обришите послужавник огласомamp крпом и добро осушите пре поновног уметања.
- Никада немојте да користите тостер без лежишта за мрвице на месту.

Image: A hand pulling out the removable crumb tray from the bottom of the toaster, showing accumulated crumbs.
5.2. Чишћење екстеријера
- Обришите спољашњост тостера меком,amp тканина. Немојте користити абразивна средства за чишћење или јастучиће за рибање.
- Ensure the toaster is completely dry before plugging it back in.
КСНУМКС. Решавање проблема
| Проблем | Могући узрок | Решење |
|---|---|---|
| Тостер се не укључује. | Not plugged in; power outlet faulty; toast lever not fully depressed. | Check power connection; try a different outlet; ensure toast lever is fully locked down. |
| Хлеб је заглављен у тостеру. | Bread slice too thick or uneven. | Unplug the toaster and carefully remove the bread using non-metallic tongs. Do not use metal objects. |
| Тост је превише свето/таман. | Browning level setting is incorrect. | Adjust the browning control dial to a higher or lower setting for future use. |
| Дим излази из тостера. | Crumbs accumulated; food stuck; first use burn-off. | Unplug immediately. Clean crumb tray. Remove any stuck food. If first use, ensure ventilation. |
7. Спецификације
- Број модела: EK5739PNKVDE
- Бренд: Салтер
- Боја: Росе
- Материјал: Алуминијум
- Снага: 1630В
- Број резова: 4
- Бровнинг подешавања: 6
- Посебне карактеристике: Wide Slots, Defrost, Reheat, Cancel Functions, Removable Crumb Tray, High-Lift Ejection, Auto-Centering
- Тежина: 3 килограма
8. Гаранција и подршка
Your Salter Retro 4-Slice Toaster comes with a standard manufacturer's warranty. For detailed warranty information, product support, or to inquire about replacement parts, please refer to the warranty card included in your product packaging or visit the official Salter website. Do not attempt to repair the appliance yourself, as this may void the warranty and pose a safety risk.