
ARCADE1UP PHO-B-405200
Arcade1Up Touchscreen Photobooth User Manual
Model: PHO-B-405200
Увод
Welcome to the Arcade1Up Touchscreen Photobooth user manual. This guide provides essential information for setting up, operating, and maintaining your photobooth to ensure optimal performance and enjoyment. Please read this manual thoroughly before using the product.
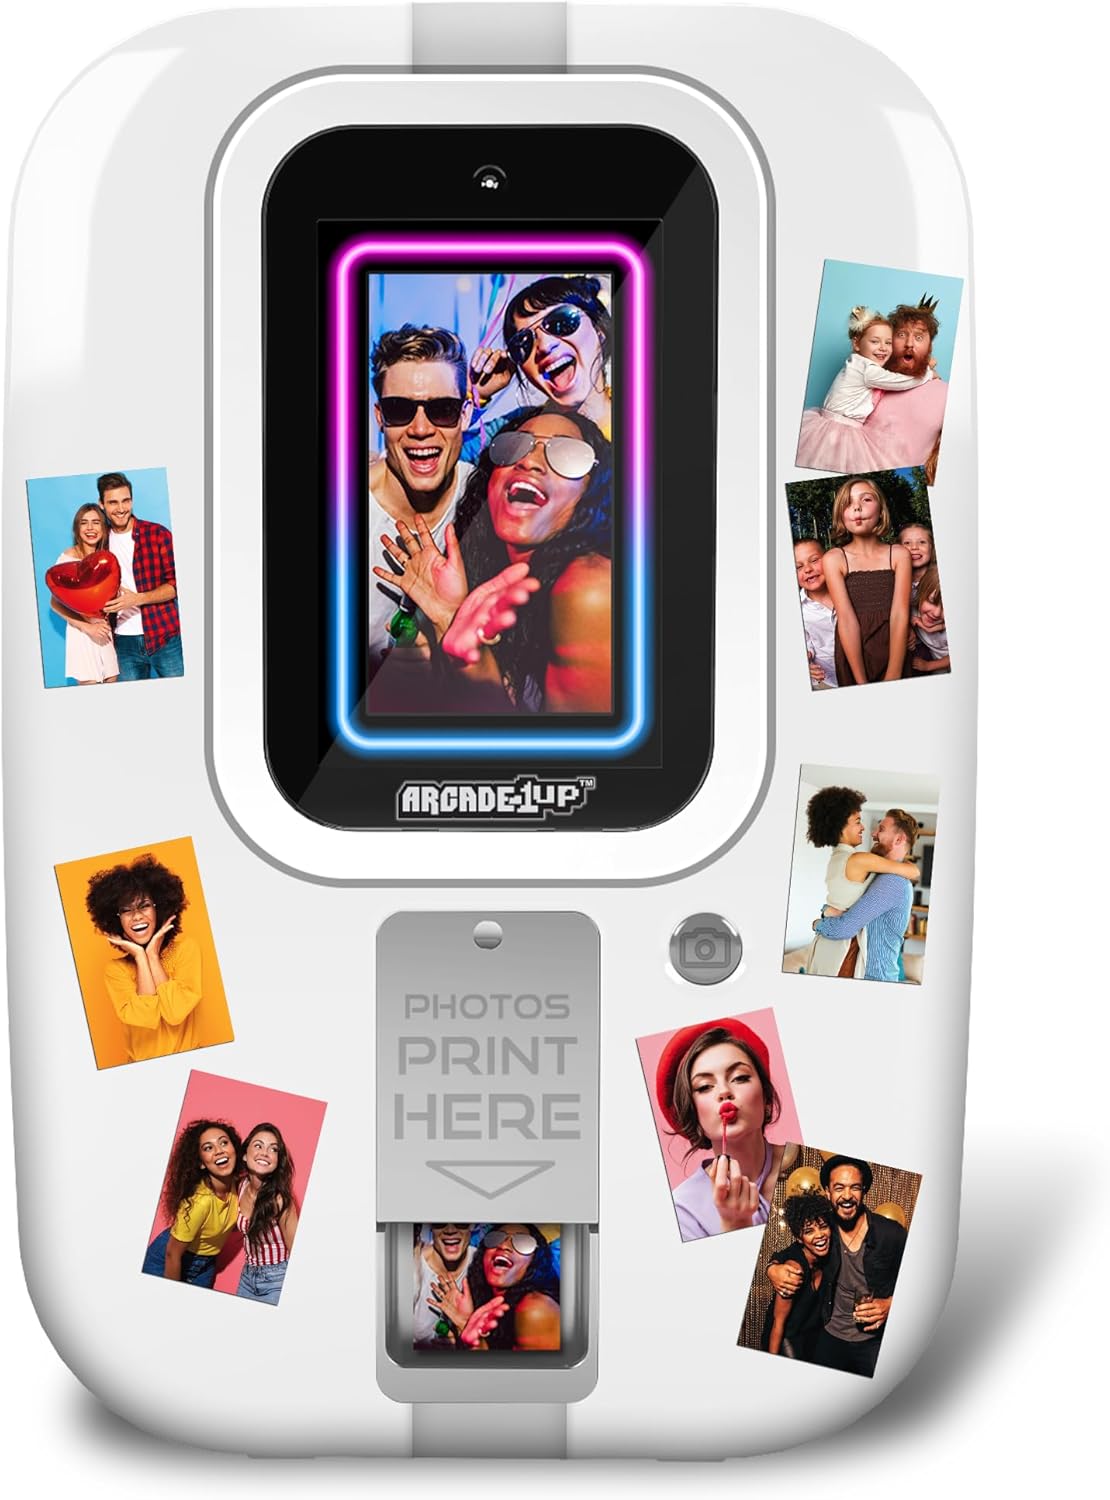
Слика 1: Предња страна view of the Arcade1Up Touchscreen Photobooth, showcasing its compact design and the display screen.
Карактеристике производа
- 7" Touchscreen Monitor: The intuitive touchscreen allows for easy navigation and interaction. The photobooth can be hung on a door or placed on any flat surface for flexible use.
- 16 ГБ интерне меморије: Ample storage capacity to save numerous photos and memories directly on the device.
- Micro SD Memory Slot: Expand storage capabilities using external Micro SD cards (not included) for additional photo saving.
- Quick Share Feature: Instantly generate QR codes directly from the photobooth to easily share captured photos with smartphones.
- Vast Library of Effects: Enhance your photos with a wide range of built-in filters, stickers, frames, borders, text options, and drawing features.
- 2" x 3" ZINK Photo Printing: Print physical 2x3 inch photos directly from the device using ZINK (Zero Ink) technology.
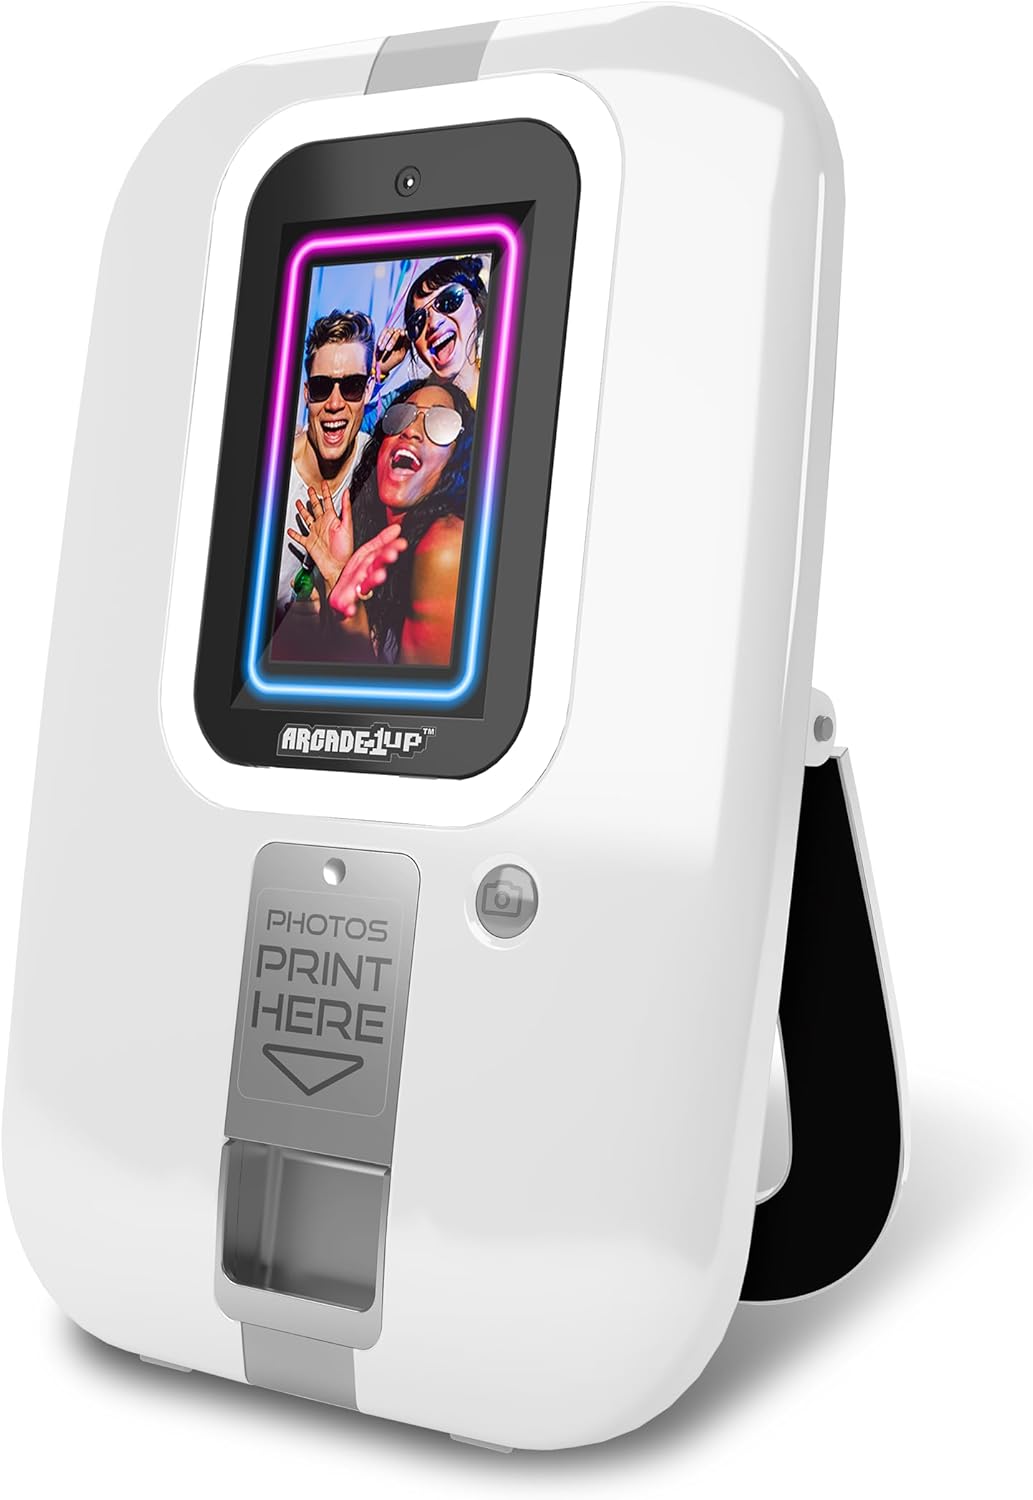
Слика 2: Под углом view of the photobooth, highlighting its sleek design and accessible print slot.
Садржај пакета
Након распакивања, проверите да ли су све компоненте присутне:
- Arcade1Up Touchscreen Photobooth Unit
- 20 ZINK Photo Paper Sheets
- Повер Адаптер
- Кориснички приручник (овај документ)
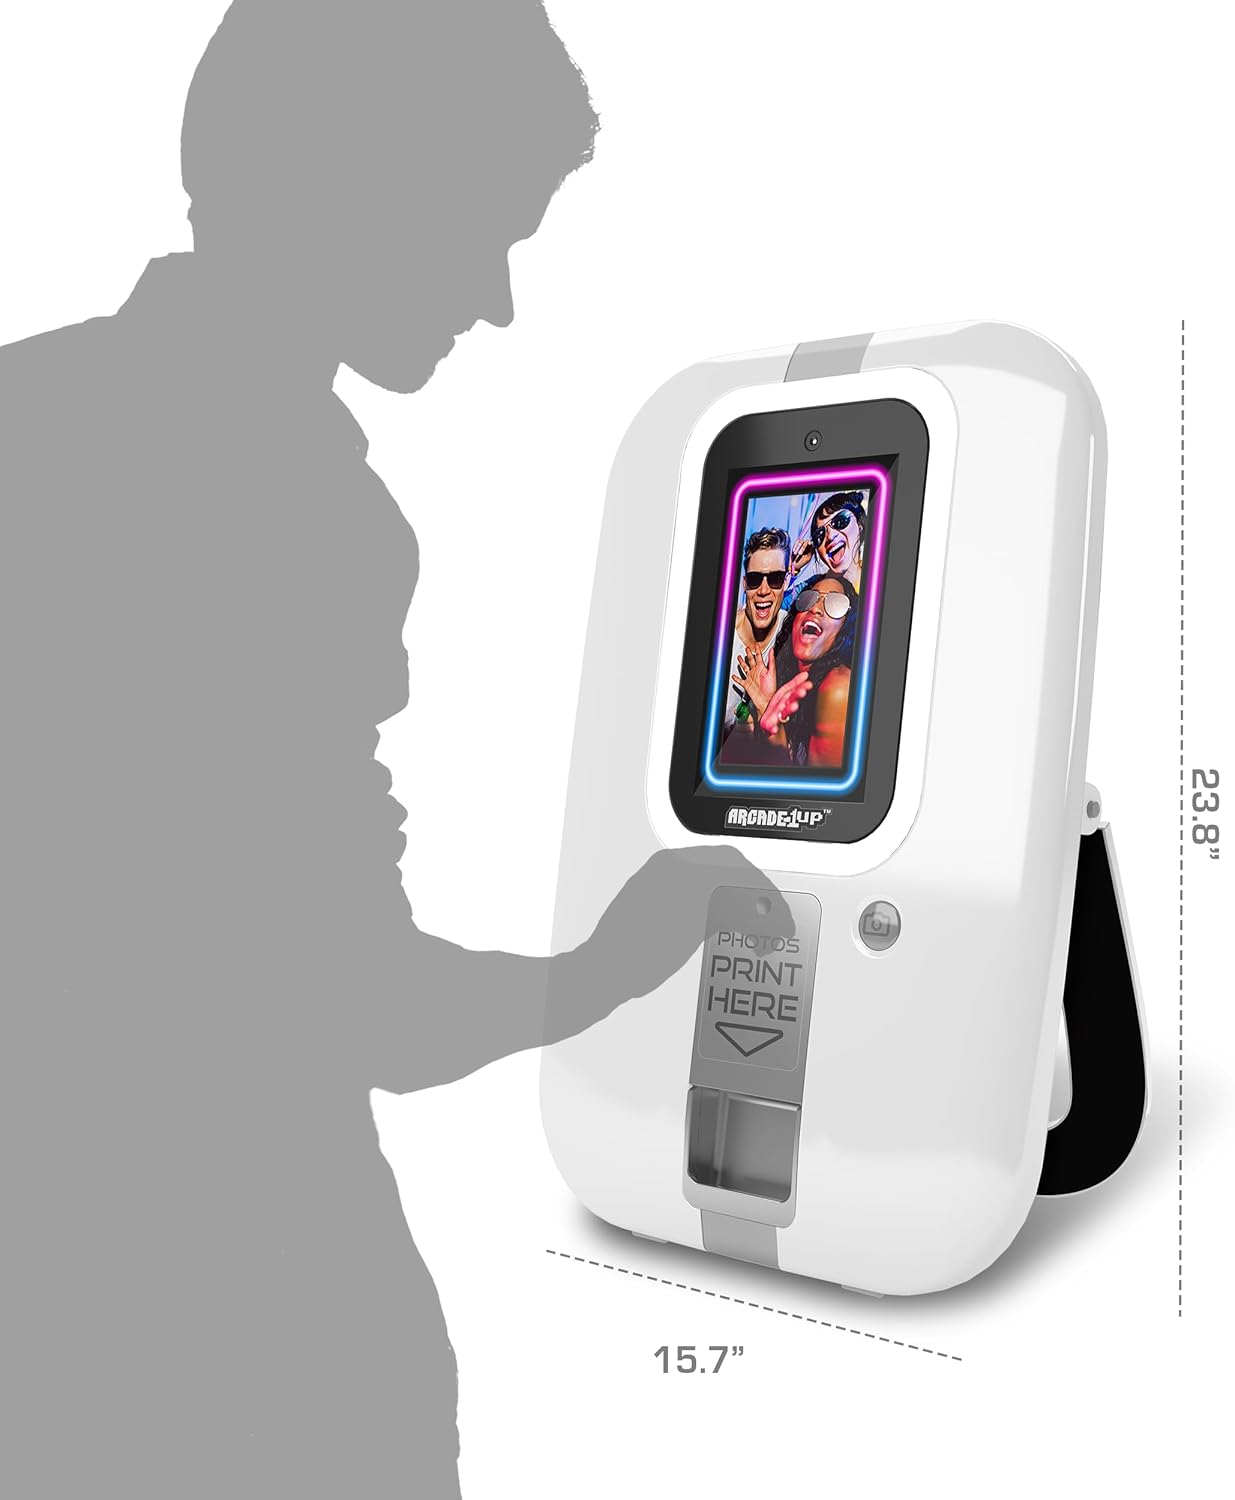
Слика 3: Бочни професионалацfile of the photobooth, illustrating its compact dimensions for easy placement.
Водич за подешавање
- Распакивање: Carefully remove the photobooth from its packaging. Retain packaging for future storage or transport.
- Пласман: Choose a stable, flat surface for the photobooth, or utilize the integrated hanging mechanism to mount it on a door. Ensure adequate space around the unit for operation and photo printing.
- Прикључак за напајање: Connect the provided power adapter to the photobooth's power input port and then to a standard electrical outlet.
- Loading Photo Paper: Open the photo paper compartment located on the front of the unit. Insert the 2" x 3" ZINK photo paper sheets according to the diagram inside the compartment, ensuring the glossy side is facing up. Close the compartment securely.
- Почетно укључивање: Press the power button to turn on the photobooth. The touchscreen will illuminate, and the system will boot up.
Video 1: Official product video demonstrating the setup and key features of the Arcade1Up Touchscreen Photobooth, including loading photo paper and using the touchscreen interface.
Упутство за употребу
Снимање фотографија
- Приступ камери: From the main screen, tap the camera icon to enter photo capture mode.
- Позиционирање: Stand in front of the photobooth, ensuring your face is within the frame displayed on the touchscreen.
- Сними фотографију: Tap the capture button on the screen or press the physical button next to the screen to take a photo. A countdown may appear before capture.

Figure 4: A user engaging with the photobooth, demonstrating the ease of photo capture.
Editing and Enhancing Photos
After capturing a photo, you will be presented with editing options:
- Филтери: Apply various color filters and effects to change the mood of your photo.
- Stickers & Frames: Choose from a library of digital stickers and decorative frames to personalize your image.
- Text & Drawing: Add custom text or draw directly on your photo using the touchscreen.
- Поништи/Понови: Utilize the undo and redo functions to adjust edits as needed.
Штампање фотографија
- Select Print Option: After editing, tap the print icon on the screen.
- Потврда: Confirm your print selection. The photobooth will then process and print the 2" x 3" photo.
- Collect Print: Once printed, the photo will emerge from the print slot at the bottom of the unit. Carefully retrieve your photo.
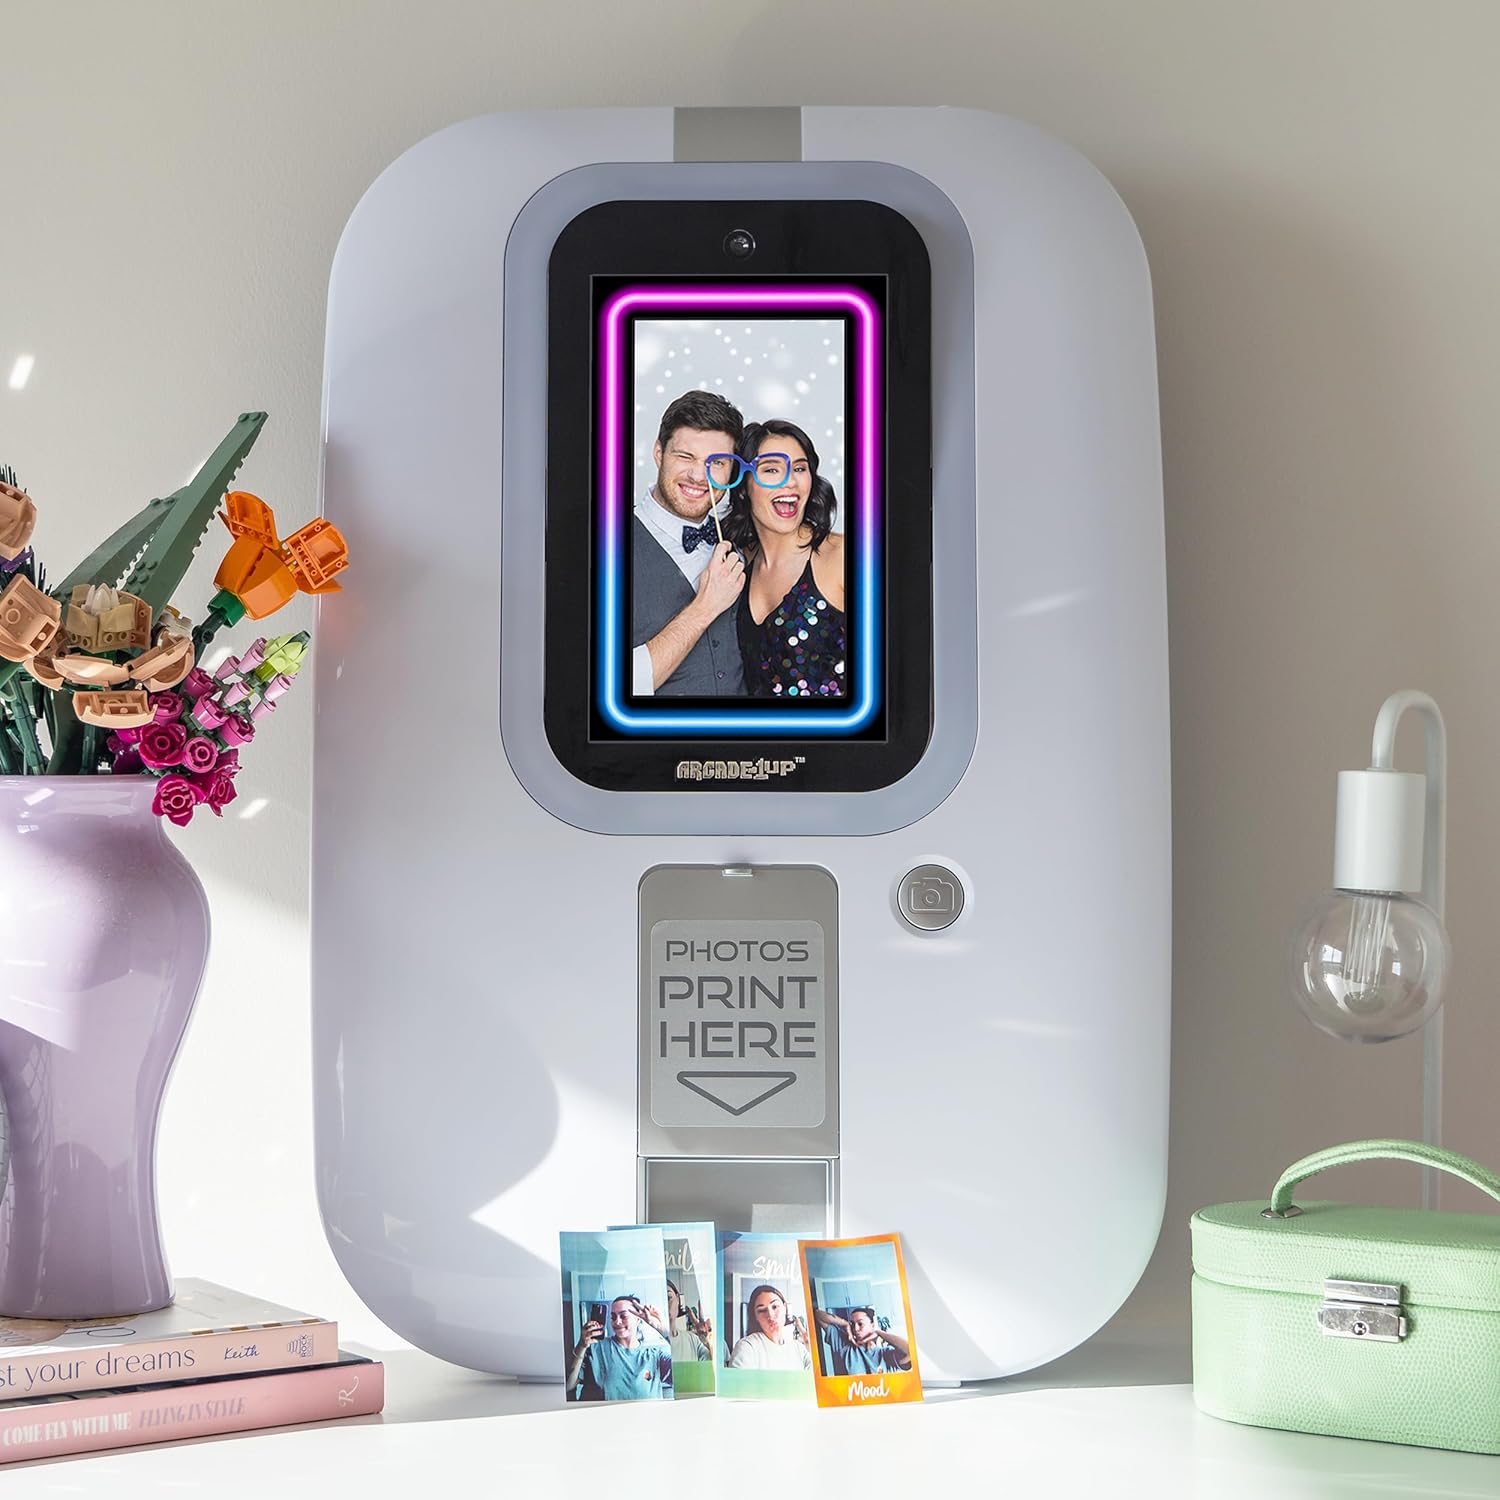
Figure 5: The photobooth displaying a captured image, with physical prints laid out, demonstrating the instant print capability.
Sharing Photos via QR Code
- Generate QR Code: After capturing or editing a photo, select the share icon (often represented by a QR code symbol).
- Скенирање КР код: Use your smartphone's camera or a QR code scanner app to scan the QR code displayed on the photobooth screen.
- Download Photo: Your smartphone will be directed to a link where you can download the digital copy of your photo.
Одржавање
- Чишћење: Use a soft, dry, lint-free cloth to clean the touchscreen and exterior surfaces. Do not use abrasive cleaners or solvents.
- Photo Paper Replacement: When the photo paper supply is low, replace it with new 2" x 3" ZINK photo paper sheets. Refer to the "Loading Photo Paper" section in the Setup Guide.
- Ажурирања софтвера: Периодично проверавајте произвођачеве website or the device's settings for available software updates to ensure optimal performance and access to new features.
- Складиштење: When not in use for extended periods, store the photobooth in a cool, dry place, ideally in its original packaging.
Решавање проблема
| Проблем | Могући узрок | Решење |
|---|---|---|
| Уређај се не укључује. | No power connection; faulty power adapter. | Ensure power adapter is securely connected to both the unit and a working electrical outlet. Try a different outlet. |
| Фотографије се не штампају. | No photo paper; paper loaded incorrectly; print mechanism jam. | Check if photo paper is loaded correctly and sufficient quantity is available. Open and close the paper compartment. If jammed, gently remove any obstructions. |
| Екран осетљив на додир не реагује. | Привремени софтверски квар; екран прљав. | Restart the device by powering it off and on. Clean the screen with a soft, dry cloth. |
| Poor photo quality. | Insufficient lighting; dirty camera lens; low quality photo paper. | Ensure adequate lighting in the environment. Clean the camera lens. Use genuine ZINK photo paper. |
| QR code sharing not working. | No internet connection; QR code not scanned correctly. | Ensure the photobooth is connected to a stable Wi-Fi network (if applicable). Ensure good lighting when scanning the QR code with your smartphone. |
Спецификације
- Назив модела: Пхотобоотх
- Број модела: PHO-B-405200
- Димензије производа (Д к Ш к В): 15.7 к 5.2 к 23.8 инча
- Тежина артикла: 8.18 фунти (приближно 3.71 кг)
- Приказ: 7" Touchscreen Monitor
- Интерна меморија: 16ГБ
- Прошириво складиште: Micro SD Memory Slot (card not included)
- Технологија штампе: ZINK (Zero Ink)
- Величина штампе: 2 cm x 3 cm
- Произвођач: Тејстмејкерс ДОО
- Земља порекла: Кина
- Прво доступно: 10. октобра 2024. године
Гаранција и подршка
For warranty information and technical support, please refer to the official ARCADE1UP webсајт или директно контактирајте њихову корисничку службу. Сачувајте доказ о куповини за потребе гаранције.
ARCADE1UP Official Webсајт: ввв.арцаде1уп.цом
For further assistance, please contact ARCADE1UP customer support.
Ask a question about this manual
Ask about setup, troubleshooting, compatibility, parts, safety, or missing instructions. Manuals+ will review the question and use this page’s manual context to help answer it.