
1. Увод
The BOYA V3 Combo Wireless Microphone system is designed to provide high-quality audio recording for various devices, including iPhones, Android phones, PCs, and laptops. This compact and lightweight system features dual-mode noise cancellation, extended battery life, and a stable wireless transmission range, making it suitable for content creation, interviewс, и пренос уживо.
2. Садржај пакета
Проверите да ли су све ставке наведене у наставку укључене у ваш пакет:
- BY-V3 Combo RXU/RXD Receiver x1
- BY-V3 Combo Transmitter x 2
- Футрола за пуњење к 1
- Пена за ветробран к 2
- УСБ-А на УСБ-Ц кабл за пуњење к 1

3. Производ је готовview
3.1. Предајник (ТКС)
The transmitter is a compact, clip-on microphone unit. It features an omnidirectional microphone, a power indicator, and a noise reduction button. Each transmitter weighs approximately 10.5g.

3.2. Пријемник (РКС)
The receiver connects directly to your recording device (smartphone, PC, laptop). The BY-V3 Combo includes both USB-C (RXU) and Lightning (RXD) receivers for broad compatibility. It features a charging port to power your device during use.

3.3. Кутија за пуњење
The charging case stores and recharges the transmitters, providing up to 36 hours of total battery life. It also protects the components during transport.

4. Подешавање
4.1. Почетно пуњење
Before first use, fully charge the transmitters and the charging case. Place the transmitters into the charging case. Connect the charging case to a power source using the provided USB-A to USB-C charging cable. The charging case indicators will show charging status. Each transmitter provides up to 9 hours of use on a single charge, with the charging case extending total usage to 36 hours.

4.2. Повезивање са вашим уређајем
- Insert the Receiver (RX): Plug the appropriate receiver (USB-C or Lightning) directly into your smartphone, tablet, PC, or laptop's charging port.
- Turn on the Transmitter (TX): Remove the transmitter(s) from the charging case. They will automatically power on.
- Аутоматско упаривање: The receiver and transmitter(s) will automatically pair. The blue indicator lights on both units will remain solid when successfully paired.
- Започни снимање: Open your preferred audio or video recording application on your device and begin recording.
Напомена: Some devices may default to their built-in microphone. If you experience this, navigate to your device's audio settings and select the BY-V external microphone as the input source.

5. Упутство за употребу
5.1. Укључивање/искључивање
- Укључено: Remove the transmitter(s) from the charging case. They will automatically power on.
- Искључивање: Place the transmitter(s) back into the charging case. They will automatically power off and begin charging.
5.2. Поништавање буке
The transmitter features a one-click noise cancellation function. Press the "NR" button on the transmitter to toggle noise reduction on or off. This feature helps to minimize background interference for clearer audio, especially in noisy environments.

5.3. Постављање микрофона
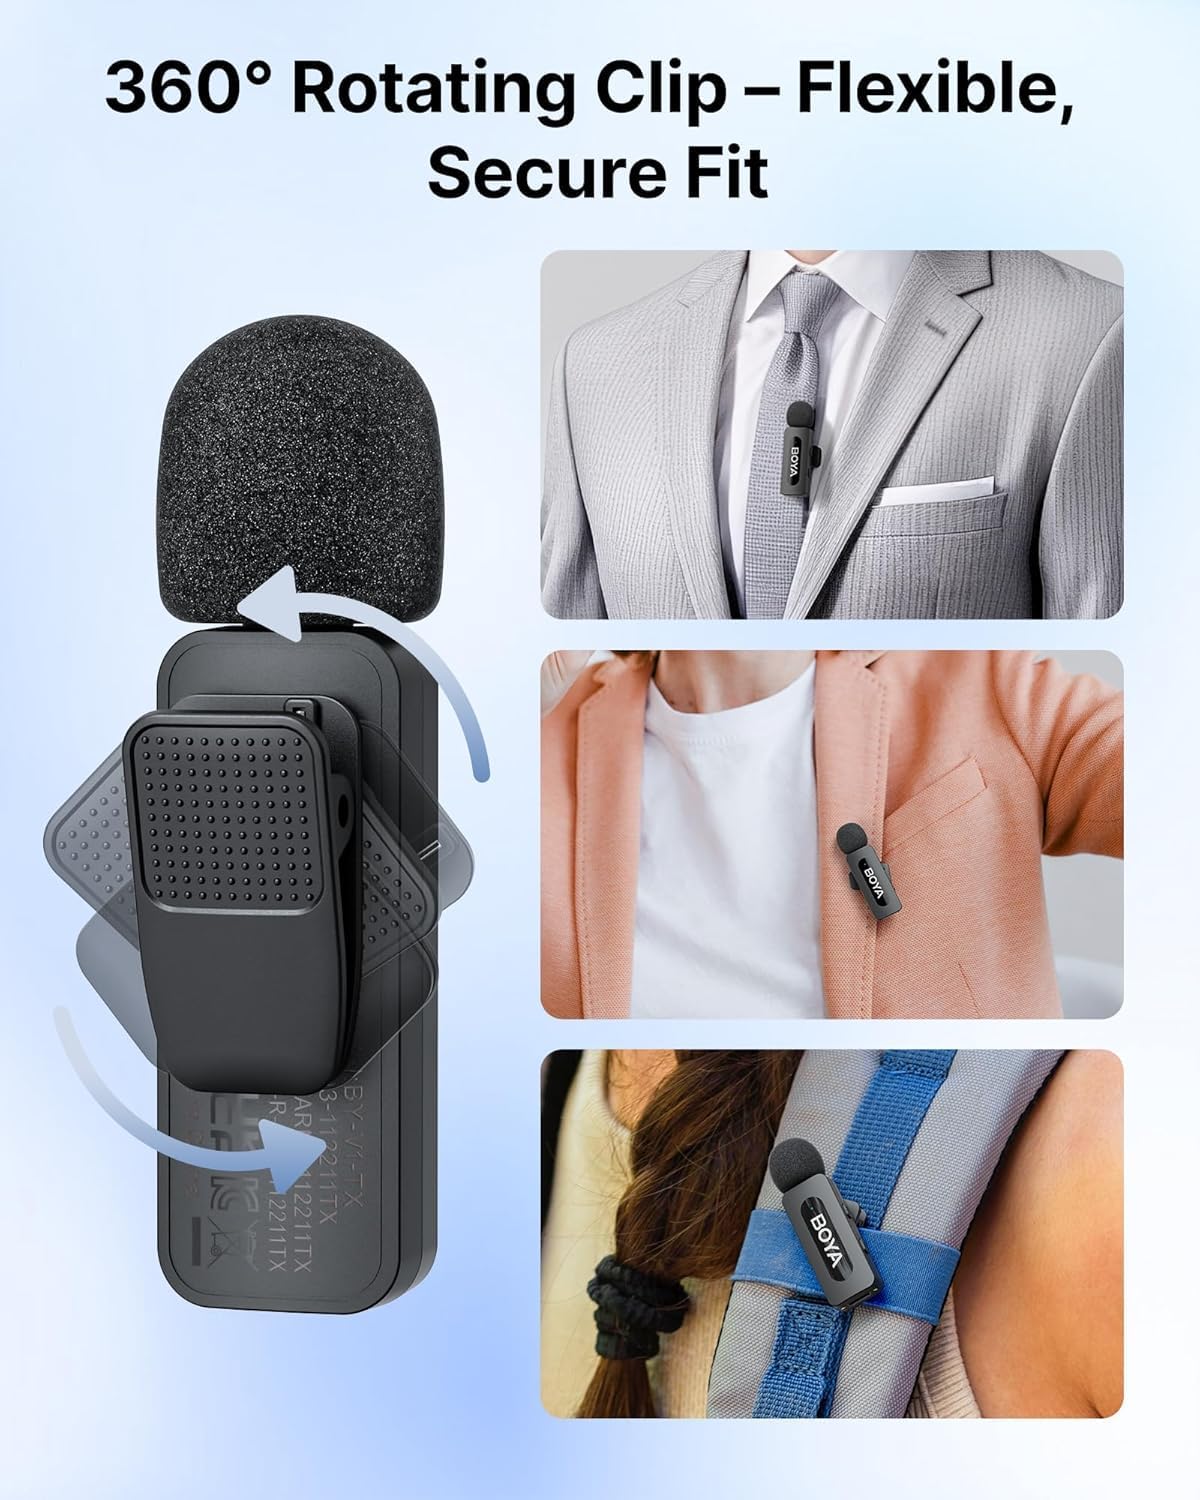
The transmitter features a 360° rotatable clip, allowing for flexible and secure attachment to clothing or other surfaces. Position the microphone approximately 6-8 inches from the sound source for optimal audio capture.
5.4. Charging While Recording
The receiver includes a USB-C charging port, allowing you to charge your recording device (e.g., smartphone) simultaneously while using the microphone system. This ensures uninterrupted recording sessions.

5.5. Playback Without Unplugging
The system allows for direct audio playback through your device's built-in speaker without needing to unplug the receiver. This provides convenience for reviewодмах снимање снимака.

6. Одржавање
- Чишћење: Use a soft, dry cloth to clean the microphone units, receiver, and charging case. Avoid using liquids or abrasive cleaners.
- Складиштење: When not in use, store the transmitters in the charging case to protect them and ensure they remain charged. Keep the system in a cool, dry place away from direct sunlight and extreme temperatures.
- Одржавање батерије: For optimal battery longevity, avoid fully discharging the batteries frequently. Recharge the system regularly, even if not in constant use.
КСНУМКС. Решавање проблема
| Проблем | Могући узрок | Решење |
|---|---|---|
| No sound recorded or low volume. |
|
|
| Intermittent audio or signal dropouts. |
|
|
| Смањивање буке није ефикасно. |
|
|
8. Спецификације
| Фактор форме микрофона | Лавалиер |
| Димензије (Д к Ш к В) | 1.97 к 1.57 к 3.94 инча |
| Тежина артикла | 4.2 унци (120 грама) |
| Извор напајања | Баттери Поверед |
| Тип батерије | Lithium Metal (3 required) |
| Однос сигнал-шум (СНР) | 80 дБ |
| Број канала | 2 |
| Фреквенцијски одзив | 16 КХз |
| Број модела | BY-V3 COMBO |
| Технологија повезивања | Бежични 2.4ГХз |
| Тип конектора | USB Type-C/Lightning |
| Посебне карактеристике | 1-Touch Recording, 328FT Wireless Transmission, 36H Battery Life, Battery Indicator Light, Clip |
| Компатибилни уређаји | Лаптоп, лични рачунар, паметни телефон, таблет |
| Полар Паттерн | Омнидирецтионал |
| Материјал | Акрилонитрил бутадиен стирен |
9. Гаранција и подршка
For information regarding warranty coverage, technical support, or service inquiries, please refer to the official BOYA webсајт или контактирајте њихову службу за кориснике. Сачувајте рачун као доказ о куповини за потребе гаранције.
Official BOYA Store: BOYA Official Store on Amazon