
Увод
Thank you for choosing the Bairth 6-Light Black Chandelier. This modern farmhouse light fixture is designed to provide ample illumination and enhance the aesthetic of various indoor spaces such as dining rooms, kitchens, entryways, hallways, living rooms, and bedrooms. This manual provides essential information for safe installation, operation, and maintenance of your new chandelier. Please read these instructions carefully before assembly and retain them for future reference.
Безбедносне информације
- УПОЗОРЕЊЕ: To avoid the risk of electrical shock, always disconnect power at the main circuit breaker or fuse box before beginning installation or performing any maintenance.
- Сви електрични прикључци морају бити у складу са локалним прописима, уредбама или Националним електричним кодексом (NEC). Консултујте квалификованог електричара ако нисте упознати са електричним ожичењем.
- Користите само сијалице са грлом Е12 са максималном снагомtage of 40W per bulb. Exceeding the recommended wattagможе проузроковати прегревање и оштећење уређаја.
- Ensure the fixture is securely mounted to a structural ceiling component capable of supporting its weight.
- Не повезујте овај уређај на неуземљени електрични систем.
- Handle the fixture with care to prevent damage to the components.
- Држите запаљиве материјале даље од сијалица.
Садржај пакета
Проверите да ли су све компоненте присутне пре почетка инсталације. Ако неки делови недостају или су оштећени, контактирајте корисничку подршку.
- Chandelier Frame (with 6 E12 lamp утичнице)
- Adjustable Rods (various lengths for height customization)
- Монтажна надстрешница
- Прибор за монтажу (шрафови, навртке за жицу, носач за монтажу)
- Упутство за употребу

Figure 1: Chandelier Components Overview
Спецификације
| Бранд | Bairth |
| Број модела | Д3201-06-БК |
| Боја | Црно |
| Материјал | Метал |
| Стиле | Modern Farmhouse, Industrial |
| Форма расветног тела | Лустер |
| Број извора светлости | 6 |
| Булб Басе | Е12 |
| Мак Ватtagе По сијалици | 40 Ваттс |
| Волtage | 120 Волтс |
| Опсег подешавања висине | 20.5 инча до 61.8 инча |
| Димензије (Д к Ш к В) | 21.3"L x 21.3"W x 61.8"H (Max Height) |
| Тип монтаже | Ceiling Mount (Flat, Sloped, Arched compatible) |
| Унутрашња/спољна употреба | Индоор |

Figure 2: Product Dimensions and Adjustable Height
Подешавање и инсталација
Installation typically takes less than 20 minutes. However, if you lack wiring experience, it is recommended to consult a licensed electrician for safety.
Потребни алати (нису укључени):
- Пхиллипс шрафцигер
- Скидачи жице
- Електрична трака
- Заштитне наочаре
- Ладдер
Кораци инсталације:
- Искључите напајање: Before starting, ensure the power to the circuit at the main breaker panel is completely off to prevent electrical shock.
- Припремите носач за монтажу: Attach the mounting bracket to the junction box in your ceiling. Ensure it is securely fastened.
- Assemble Chandelier Frame: The chandelier frame may require minor assembly. Secure the arms to the central hub as instructed in the included accessory guide. Connect the internal wires of the arms to the main wires, ensuring all connections are tight.
- Одредите висину вешања: Select the appropriate number of adjustable rods to achieve your desired hanging height. The chandelier can be adjusted from 20.5 inches to 61.8 inches. Thread the fixture wires through the chosen rods and the canopy.
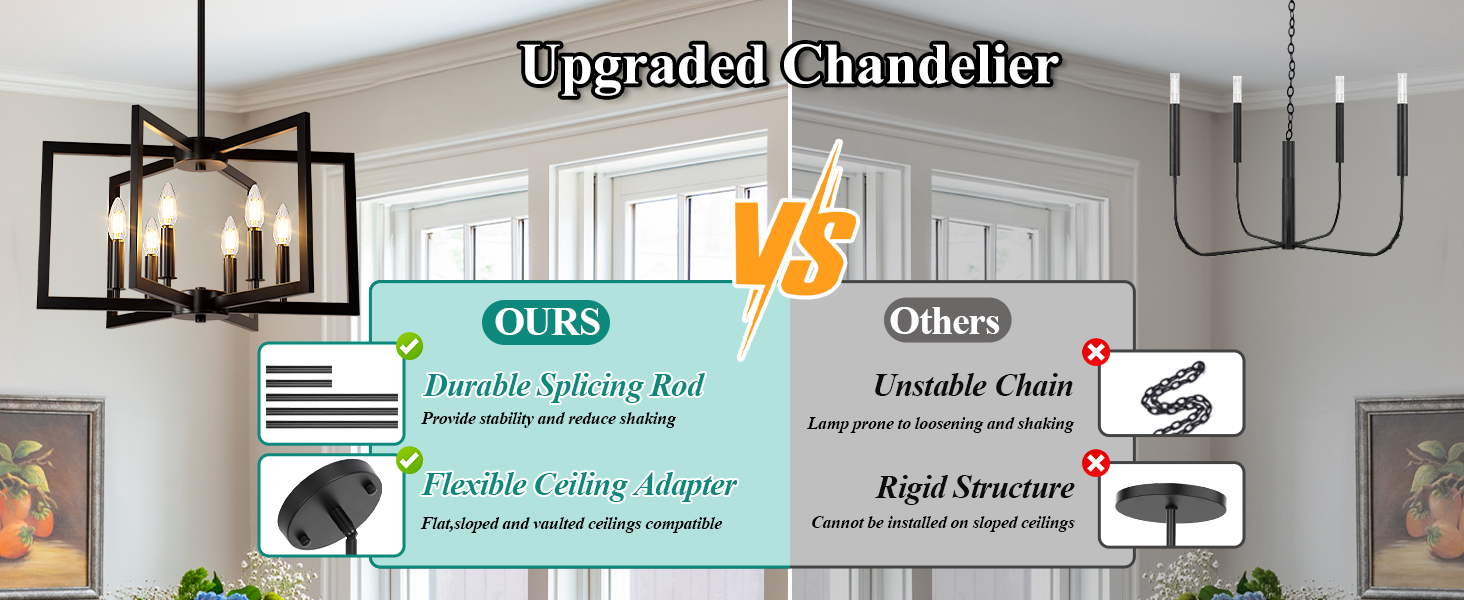
Figure 3: Customizing Chandelier Height
- Жичне везе: Connect the fixture wires to the house wires using wire nuts. Connect the black wire from the fixture to the black (live) wire from the ceiling, the white wire from the fixture to the white (neutral) wire from the ceiling, and the ground wire from the fixture to the ground wire from the ceiling. Secure connections with electrical tape.
- Планина Канопи: Carefully push the canopy up to the ceiling, covering the junction box, and secure it to the mounting bracket with the provided screws.
- Инсталирајте сијалице: Screw E12 base bulbs (not included, max 40W each) into the lamp утичнице.
- Врати снагу: Када је инсталација завршена, вратите напајање на главном прекидачу.

Figure 4: Ceiling Type Compatibility
Video 1: Bairth 6 Lights Modern Geometric Chandelier Product OverviewОвај видео пружа визуелни приказview of the chandelier, its design, and features. While not a step-by-step installation guide, it offers context for the product.
Упутство за употребу
Once installed and powered, the chandelier operates like any standard light fixture controlled by a wall switch. For enhanced functionality, consider the following:
- Функција затамњивања: This chandelier is fully dimmable when used with dimmable E12 bulbs and a compatible dimmer switch (both not included). Install a dimmer switch according to its manufacturer's instructions to control light intensity.
- Избор сијалица: The fixture supports various E12 base bulbs including LED, CFL, and Incandescent, up to 40W per socket. Choose bulbs that match your desired light color and brightness.

Figure 5: Dimmable Feature Overview

Figure 6: Daylight White vs. Warm White Bulb Effect
Одржавање
Regular maintenance ensures the longevity and optimal performance of your chandelier.
- Чишћење: Always turn off the power before cleaning. Use a soft, dry cloth to wipe the fixture. Avoid using harsh chemicals, abrasive cleaners, or polishes as they may damage the finish.
- Замена сијалице: Ensure the power is off and bulbs have cooled before attempting to replace them. Unscrew the old bulb and screw in a new E12 base bulb (max 40W).
- инспекција: Периодично проверавајте све спојеве и монтажне елементе како бисте били сигурни да су безбедно причвршћени.
Решавање проблема
Ако наиђете на проблеме са лустером, погледајте следеће уобичајене проблеме и решења:
| Проблем | Могући узрок | Решење |
|---|---|---|
| Светло се не пали | 1. Напајање је искључено 2. Loose wiring connection 3. Неисправна сијалица | 1. Проверите осигурач/прекидач. 2. Проверите да ли су сви жичани прикључци безбедни (прво се уверите да је напајање искључено). 3. Replace bulb with a new, working one. |
| Светло трепери | 1. Лабава сијалица 2. Incompatible dimmer switch/bulb 3. Лабаво ожичење | 1. Затегните сијалицу. 2. Ensure dimmable bulbs are used with a compatible dimmer switch. 3. Check wiring connections (ensure power is off first). |
| Зујање уређаја | 1. Incompatible dimmer switch/bulb 2. Лабаве компоненте | 1. Ensure dimmable bulbs are used with a compatible dimmer switch. 2. Проверите да ли постоје лабави делови и затегните их. |
Ако проблем и даље постоји након покушаја ових решења, обратите се корисничкој подршци.
Гаранција и подршка
This Bairth chandelier comes with a 1-годишња ограничена гаранција from the date of purchase. This warranty covers defects in materials and workmanship under normal use. If your lamp has any defects or stops working within this period, we will troubleshoot or send a replacement.
For warranty claims, technical assistance, or any questions regarding your product, please contact the seller, BrightHome USA, through your Amazon order details page. Please have your model number (D3201-06-BK) and purchase date available when contacting support.