
1. Увод
Thank you for choosing the ACEZUK 7000A Car Jump Starter & 150PSI Air Compressor. This device is a versatile tool designed for emergency vehicle jump-starting, tire inflation, and as a portable power bank. Please read this manual thoroughly before use to ensure safe and optimal operation. Keep this manual for future reference.

Image 1.1: The ACEZUK 7000A Car Jump Starter and Air Compressor, ready for use with jumper cables.
2. Безбедносна упутства
Always observe the following safety precautions to prevent injury or damage to the device and your vehicle:
- Do not operate the jump starter if the battery clampс или каблови су оштећени.
- Ensure proper polarity when connecting the jumper cables to the vehicle battery (red to positive, black to negative). Reverse polarity can cause sparks and damage.
- Не стартујте замрзнуту батерију.
- Држите уређај ван домашаја деце.
- Do not expose the device to rain or extreme temperatures.
- Избегавајте кратки спој батеријеamps.
- Wear eye protection when working with vehicle batteries.
- Do not use the air compressor continuously for more than 10 minutes to prevent overheating. Allow it to cool down between uses.
- Чувајте уређај на хладном и сувом месту када се не користи.

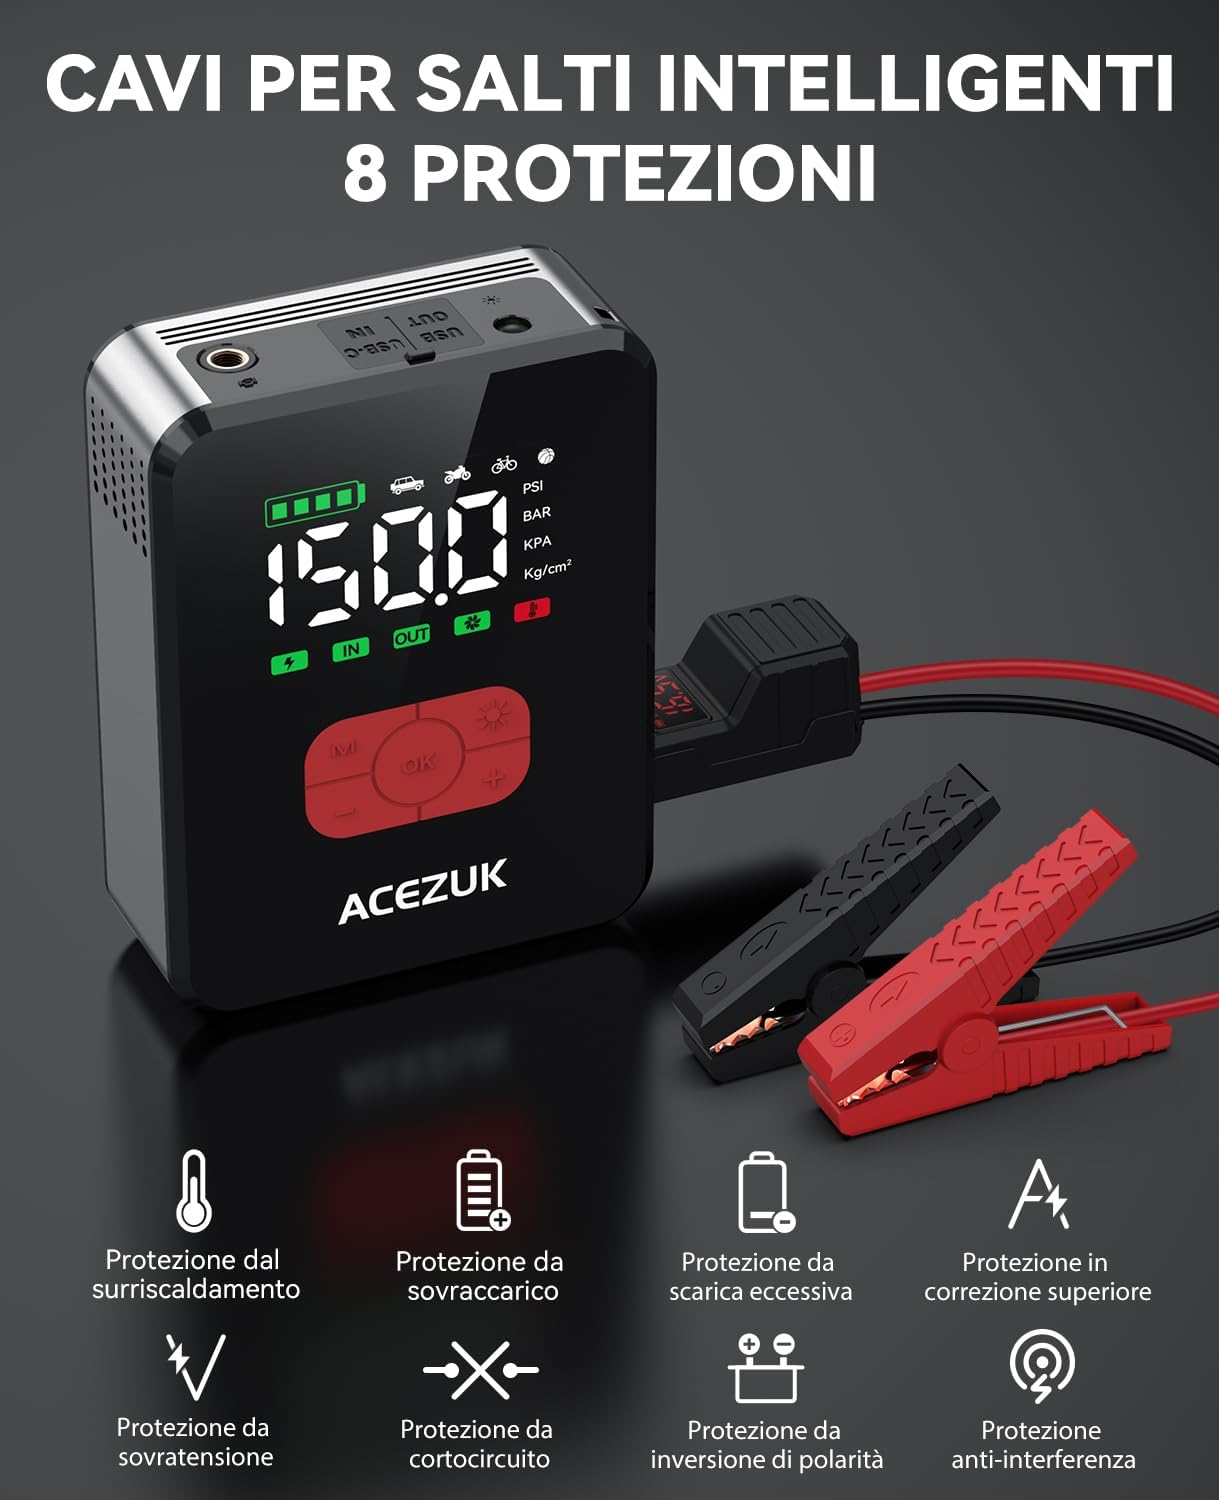
Image 2.1: The smart jumper cables feature 8 protection mechanisms for safe operation, including protection against overheating, overcharging, over-discharge, overcurrent, overvoltage, short circuits, reverse polarity, and anti-interference.
3. Садржај пакета
Проверите да ли су све ставке присутне у пакету:
- ACEZUK Jump Starter & Air Compressor Unit
- Смарт Јумпер каблови
- Аир Хосе
- УСБ кабл за пуњење типа Ц
- Various Nozzle Adapters (for balls, bicycles, inflatable toys)
- Торба за складиштење
- Кориснички приручник (овај документ)

Image 3.1: The complete package contents, including the main unit, jumper cables, air hose, charging cable, various adapters, and a storage bag.
4. Производ је готовview
Familiarize yourself with the components and controls of your ACEZUK device.
4.1 Главна јединица
- 3.4" ЛЦД екран: Shows battery level, tire pressure, and operating modes.
- Контролна дугмад: M (Mode), OK (Power/Confirm), +/-(Adjust Pressure), Light (LED).
- Порт за покретање програма: For connecting smart jumper cables.
- Прикључак за црево за ваздух: For connecting the air hose.
- USB Output Ports (x2): За пуњење екстерних уређаја.
- Type-C Input Port (x1): For charging the jump starter unit.
- ЛЕД светло: Интегрисана батеријска лампа са више режима.

Image 4.1: The control panel of the ACEZUK device, highlighting the LCD display and function buttons.

Image 4.2: The device's display provides real-time information on battery level and tire pressure.
5. Подешавање
5.1 Пуњење уређаја
Before first use, fully charge the ACEZUK jump starter. Connect the provided USB Type-C cable to the device's Type-C input port and a suitable USB power adapter (not included). The LCD display will show the charging status. A full charge is indicated when the battery icon is full.
Important: Ensure the device is fully charged before attempting to jump-start a vehicle.
6. Упутство за употребу
6.1 Покретање возила скоком
- Уверите се да је стартер напуњен најмање 50%.
- Искључите паљење возила и сву додатну опрему.
- Insert the smart jumper cable plug into the jump start port on the ACEZUK unit.
- Повежите црвени (+) цлamp на позитивни пол акумулатора вашег возила.
- Повежите црни (-) цлamp на негативни терминал акумулатора вашег возила.
- Once connected, the smart cable indicator light will show its status. If it's green, it's safe to proceed. If it's red or flashing, check connections and battery status.
- Покрените мотор вашег возила.
- Once the engine starts, immediately remove the jumper cables from the vehicle battery (black first, then red), and then disconnect the cable from the jump starter unit.
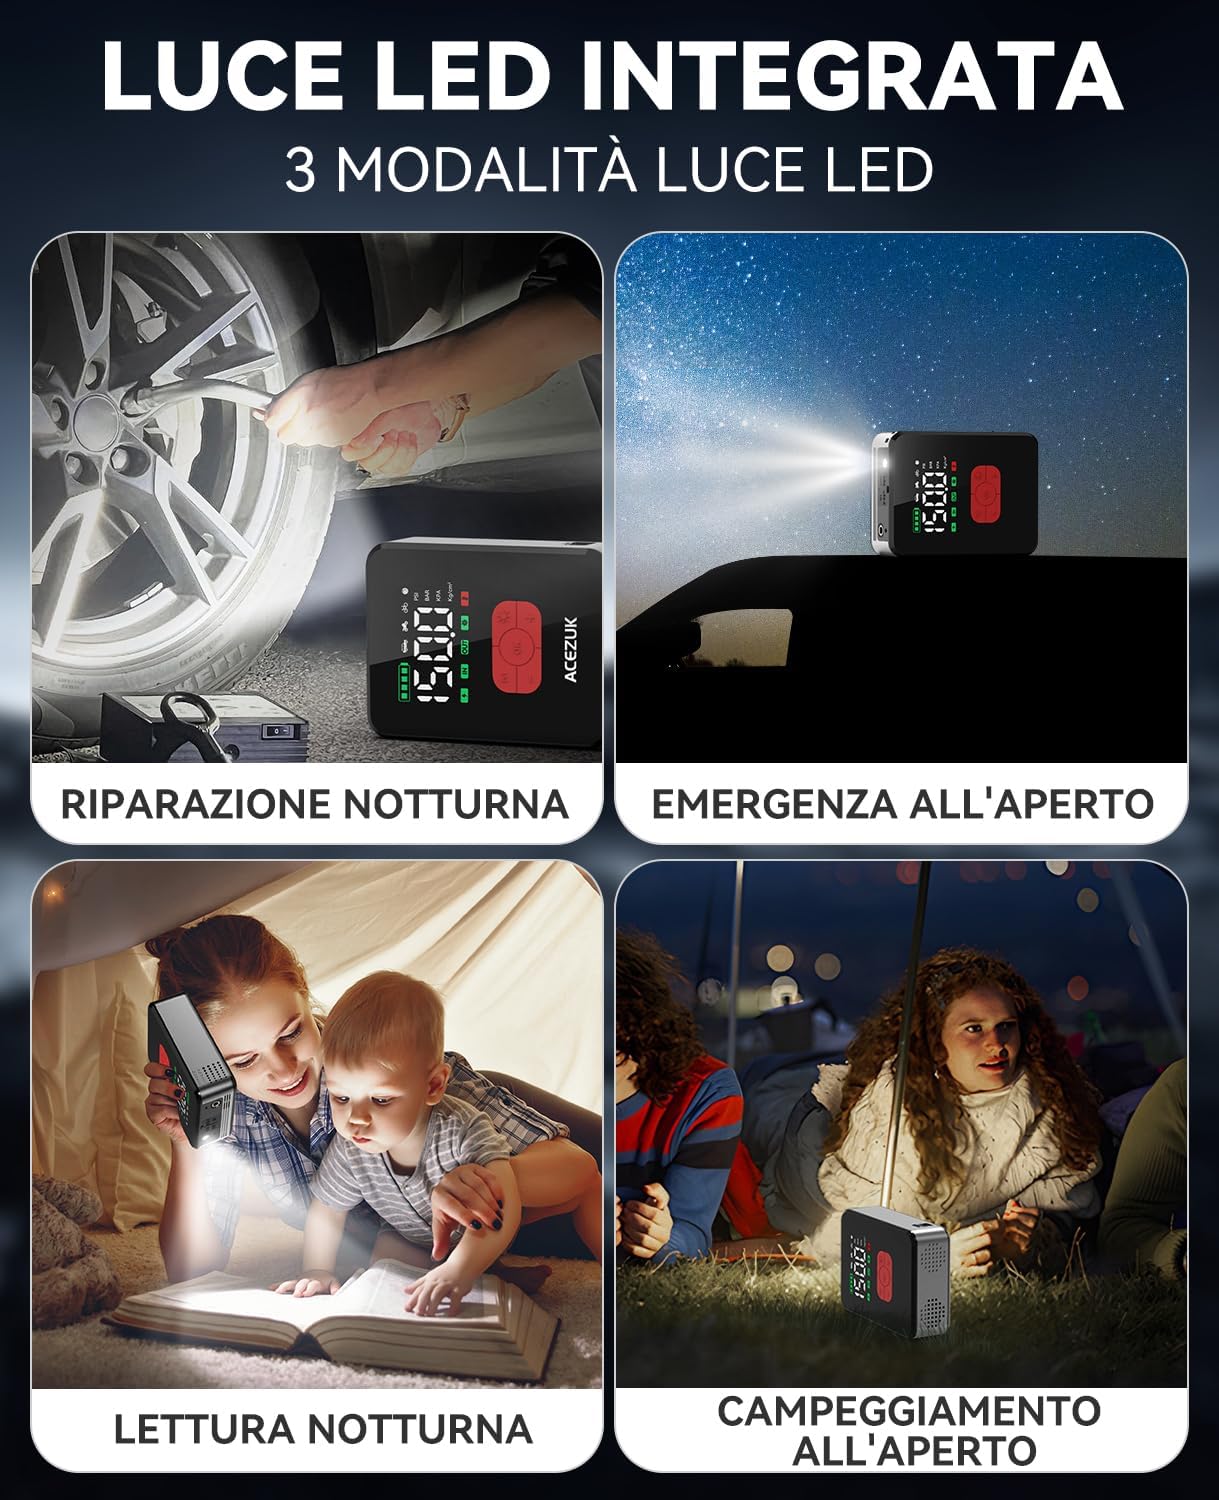
Image 6.1: The jump starter connected to a car battery, illustrating the correct setup for jump-starting.
6.2 Коришћење ваздушног компресора
- Connect the air hose to the air hose port on the ACEZUK unit.
- Attach the other end of the air hose to the tire valve or use the appropriate nozzle adapter for other inflatables.
- Press the "OK" button briefly to turn on the compressor. The LCD will display the current pressure.
- Press the "M" button to cycle through inflation modes (Car, Motorcycle, Bicycle, Ball, Manual). Each mode has a preset pressure range.
- Use the "+" and "-" buttons to adjust the target pressure. Press briefly to change by small increments, or long-press for rapid adjustment.
- Press the "OK" button to start inflation. The compressor will automatically stop once the target pressure is reached.
- Disconnect the air hose from the tire/inflatable and the unit.
Note: Do not operate the compressor for more than 10 minutes continuously. Allow a 10-minute cool-down period after each 10 minutes of use.

Image 6.2: The device actively inflating a car tire using its integrated air compressor function.

Image 6.3: Step-by-step guide for using the air compressor to inflate a tire.

Слика 6.4: Готовоview of preset inflation modes and their respective pressure ranges.
6.3 Коришћење ЛЕД светла
The integrated LED light has three modes: Bright, Strobe, and SOS.
- Press the Light button briefly to turn on the LED light (Bright mode).
- Press again to cycle through Strobe mode.
- Press a third time for SOS mode.
- Press a fourth time to turn off the LED light.
Слика 6.5: Примерamples of the LED light's utility in various situations, including night repairs and outdoor activities.
6.4 Коришћење као преносне батерије
The device can charge other electronic devices via its USB output ports.
- Connect your electronic device (smartphone, tablet, etc.) to one of the USB output ports using a compatible USB cable.
- The ACEZUK unit will automatically begin charging your device.

Image 6.6: The device functioning as a portable power bank, charging various electronic gadgets.
7. Одржавање
- Очистите уређај сувом, меком крпом. Не користите јаке хемикалије или абразивна средства за чишћење.
- Пуните уређај свака 3-6 месеци, чак и ако се не користи, како бисте одржали здравље батерије.
- Store the device in a cool, dry environment, away from direct sunlight and extreme temperatures.
- Inspect jumper cables and air hose for any damage before each use.
КСНУМКС. Решавање проблема
| Проблем | Могући узрок | Решење |
|---|---|---|
| Vehicle does not start after jump-starting. | Low charge on jump starter; incorrect cable connection; vehicle battery severely damaged; other vehicle issues. | Ensure jump starter is fully charged. Check cable connections for correct polarity. If issues persist, consult a mechanic. |
| Ваздушни компресор се не надува. | Air hose not properly connected; target pressure not set; device not turned on; hose or nozzle leak. | Ensure all connections are secure. Set target pressure and press OK to start. Check for leaks in the hose or nozzle. |
| ЛЦД екран је празан. | Device is off; battery is completely drained. | Press the OK button to turn on. Charge the device if the battery is drained. |
| Device not charging external devices. | Device battery low; incorrect USB cable; external device issue. | Charge the ACEZUK unit. Use a different USB cable or try another external device. |
9. Спецификације
| Феатуре | Детаљ |
|---|---|
| Бранд | АЦЕЗУК |
| Број модела | М06 |
| Пеак Цуррент | 7000А |
| Притисак ваздушног компресора | До 150 ПСИ |
| Тип батерије | Литијум-јонски |
| Волtage | 12 Волтс |
| Компатибилни типови возила | Сви бензински мотори, дизел мотори до 12 литара |
| ЛЕД светло | 600 Lumens, 3 Modes (Bright, Strobe, SOS) |
| Дисплаи | 3.4" ЛЦД екран |
| Тежина | 1200 грама |
| УСБ излаз | 2 портова |
| Улаз типа Ц | 1 порт |
10. Гаранција и подршка
ACEZUK products come with a standard manufacturer's warranty. For specific warranty details, please refer to the warranty card included in your package or contact ACEZUK customer support.
If you encounter any issues or have questions regarding your product, please contact our customer support team through the retailer where you purchased the product or visit the official ACEZUK webсајт за контакт информације.
Сачувајте доказ о куповини за гаранцијске захтеве.