Please read and understand all instructions before beginning installation. Failure to do so may result in electric shock, fire, or other injuries that could be hazardous or even fatal. Keep these instructions for future reference.
Always turn off the main power supply at the circuit breaker before installing or servicing the fixture.
Консултујте квалификованог електричара ако нисте сигурни у процес инсталације.
Користите само сијалице наведеног типа и снагеtagе. Немојте прекорачити максималну снагуtage.
Уверите се да су сви електрични прикључци безбедни и да су у складу са локалним прописима и прописима.
Do not install this fixture in wet locations unless specifically rated for such use. This fixture is rated for indoor use only.
2. Садржај пакета
Carefully unpack your fixture and check that all parts are included. Retain all packaging material until installation is complete to prevent loss of small parts.
Fixture Body with Back Plate
Clear Glass Shades (4 pieces)
Mounting Hardware (Crossbar, Screws, Wire Nuts)
Упутство за употребу
Note: Bulbs are not included and must be purchased separately.
3. Подешавање и инсталација
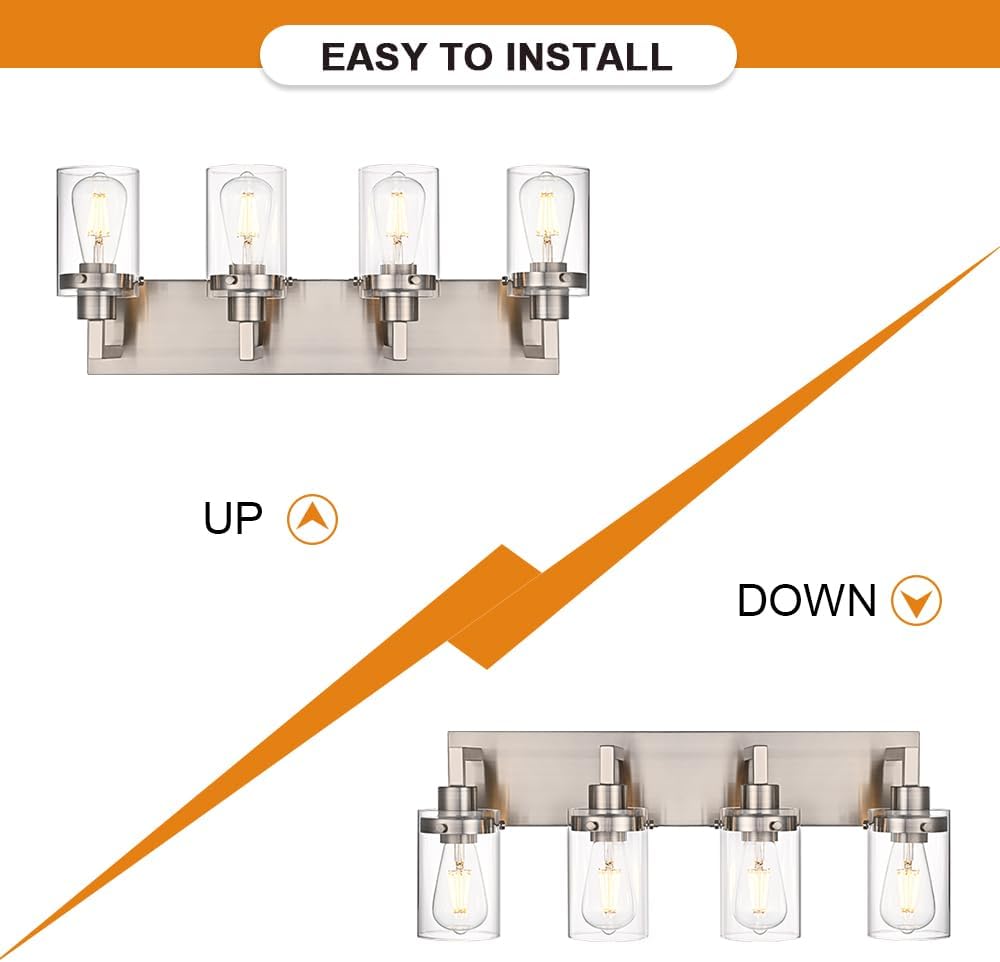
Before you begin, ensure the power is turned off at the circuit breaker. This fixture can be mounted with the lights facing up or down.
3.1 Потребни алати (нису укључени)
Одвијач (Пхиллипс и Флатхеад)
Скидачи жице
Електрична трака
Клијешта
Заштитне наочаре
3.2 Кораци инсталације
Искључите напајање: Locate the circuit breaker controlling the light switch and turn it off. Verify power is off using a voltagе тестер.
Припремите монтажу: Attach the mounting crossbar to the junction box using the provided screws. Ensure it is securely fastened.
Жичне везе:
Спојите црну жицу уређаја на црну (врућу) жицу куће помоћу жичане навртке.
Повежите белу жицу уређаја са белом (неутралном) жицом куће помоћу жичане навртке.
Connect the fixture's ground wire (bare copper or green) to the house's ground wire and to the mounting crossbar's ground screw.
Secure all wire connections with electrical tape.
Монтажа: Carefully tuck all wires into the junction box. Align the fixture's back plate with the mounting screws on the crossbar and secure it with the decorative nuts.
Инсталирајте стаклене завесе: Attach each clear glass shade to the fixture by screwing it onto the socket assembly. Ensure they are finger-tight.
Инсталирајте сијалице: Screw in the required E26 base bulbs (not included) into each socket. Do not exceed 60W per bulb.
Врати снагу: Поново укључите напајање на прекидачу и тестирајте светиљку.
Image: The VINLUZ vanity light can be installed with the glass shades facing upwards or downwards, offering versatile aesthetic options.
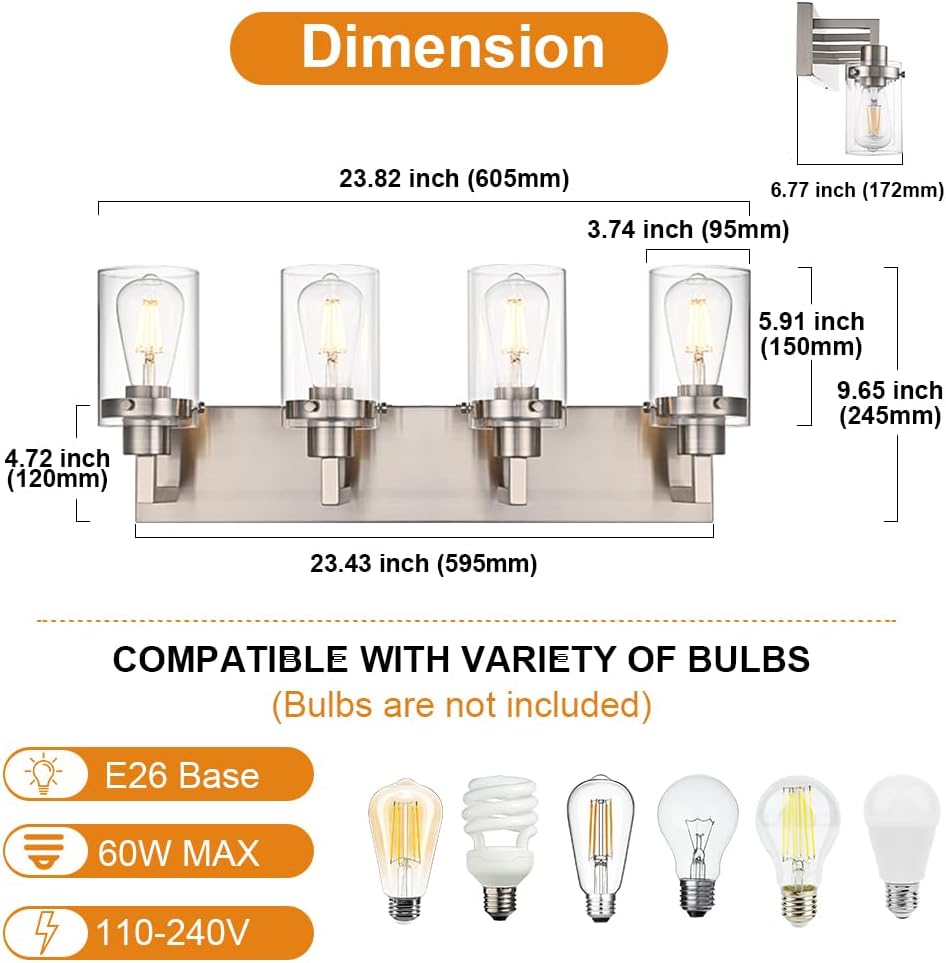
Image: Detailed dimensions of the fixture (23.82 inches wide, 9.65 inches high) and a visual guide to compatible E26 base bulbs (max 60W, 110-240V).
4. Упутство за употребу
This VINLUZ vanity light is designed for simple operation once installed.
Укључивање/искључивање: Користите свој стандардни зидни прекидач да укључите или искључите светиљку.
Захтеви за сијалицу: The fixture uses E26 standard base bulbs. Each socket supports a maximum of 60 watts. Do not exceed this wattage.
Функционалност затамњивања: This fixture is compatible with a dimmer switch (not included). If you wish to use a dimmer, ensure you install a compatible E26 dimmable bulb and a suitable dimmer switch.
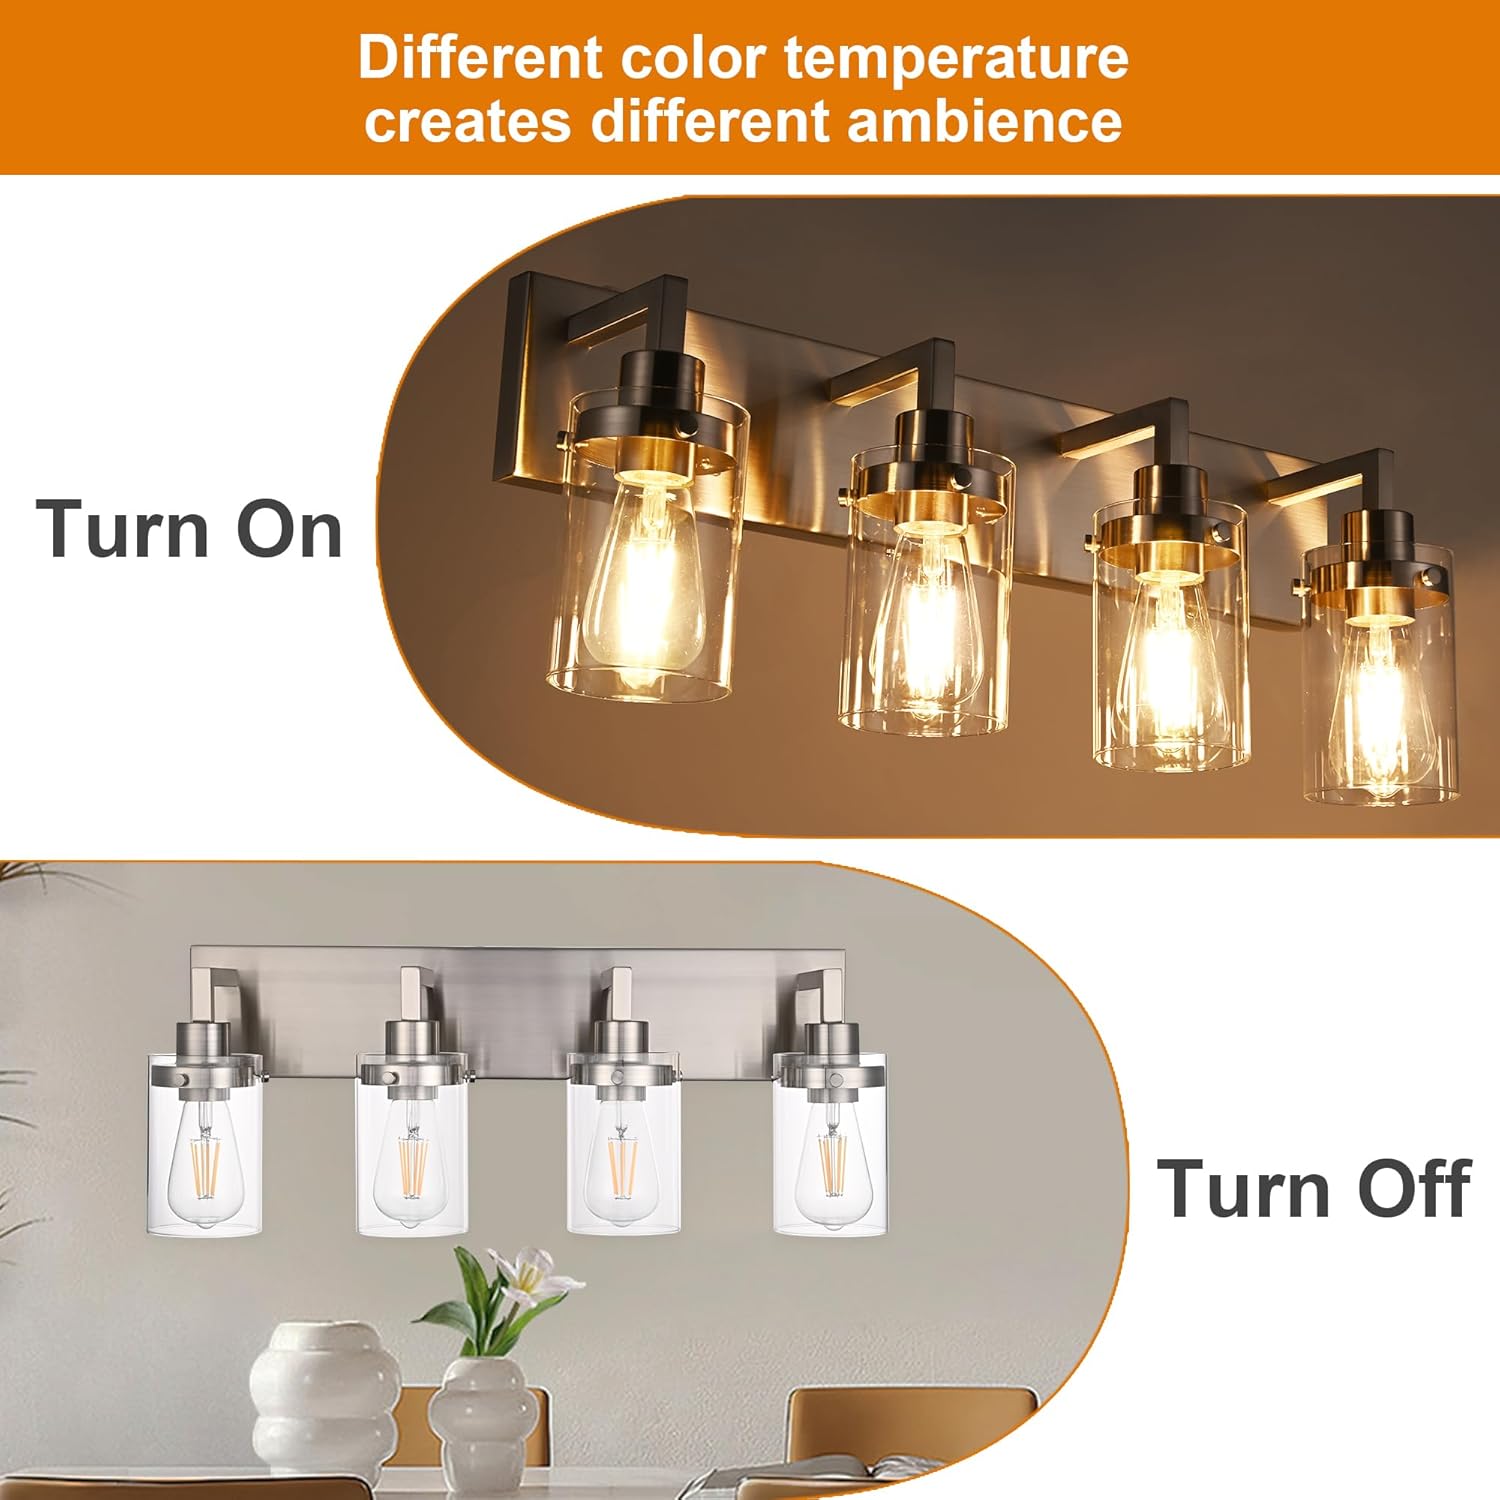
Image: Visual representation of the light fixture in both 'Turn On' and 'Turn Off' states, illustrating how different bulb color temperatures can create varied ambiances.
5. Одржавање
Regular maintenance will help preserve the appearance and functionality of your VINLUZ vanity light.
Чишћење: To clean the fixture, ensure the power is off. Wipe the brushed nickel finish with a soft, dry cloth. For the glass shades, use a mild glass cleaner and a soft cloth. Avoid abrasive cleaners or harsh chemicals, as these can damage the finish.
Замена сијалице: Always turn off the power before replacing bulbs. Allow bulbs to cool completely before handling. Replace with E26 base bulbs, not exceeding 60 watts.
Замена стакла: In case of a broken glass shade, contact VINLUZ customer service for a free replacement.
КСНУМКС. Решавање проблема
If you encounter issues with your VINLUZ vanity light, refer to the following common problems and solutions:
Проблем
Могући узрок
Решење
Светлост се не пали.
Нема струје за уређај.
Слаба жичана веза.
Неисправна сијалица.
Проверите осигурач и зидни прекидач.
Проверите да ли су сви прикључци безбедни (прво се уверите да је напајање искључено).
Replace bulb with a new, working one.
Светло трепери.
Лоосе булб.
Неисправан тип сијалице за димер (ако је применљиво).
Слаба жичана веза.
Tighten bulb securely.
Ensure dimmable bulbs are used with a dimmer switch.
Проверите жичне везе (прво се уверите да је напајање искључено).
Glass shade is broken.
Случајна штета.
Contact VINLUZ customer service for a free replacement.
7. Спецификације
Број модела
1751-4W-SN
Бранд
ВИНЛУЗ
Произвођач
ВИНЛУЗ
Стиле
Modern, Farmhouse, Industrial
Боја/завршна обрада
Брусхед Ницкел
Материјал
Метал, Провидно стакло
Тежина артикла
7.83 фунти
Димензије пакета
24.25 к 12.75 к 6.25 инча
Специфичне употребе
Indoor use only (Bathroom, Living Room, Dining Room, Bedroom, Hallway)
Извор напајања
AC
Волtage
110-240В
Булб Басе
Стандард Е26
Мак Ватtagе по сијалици
60В
Батерије су потребне
бр
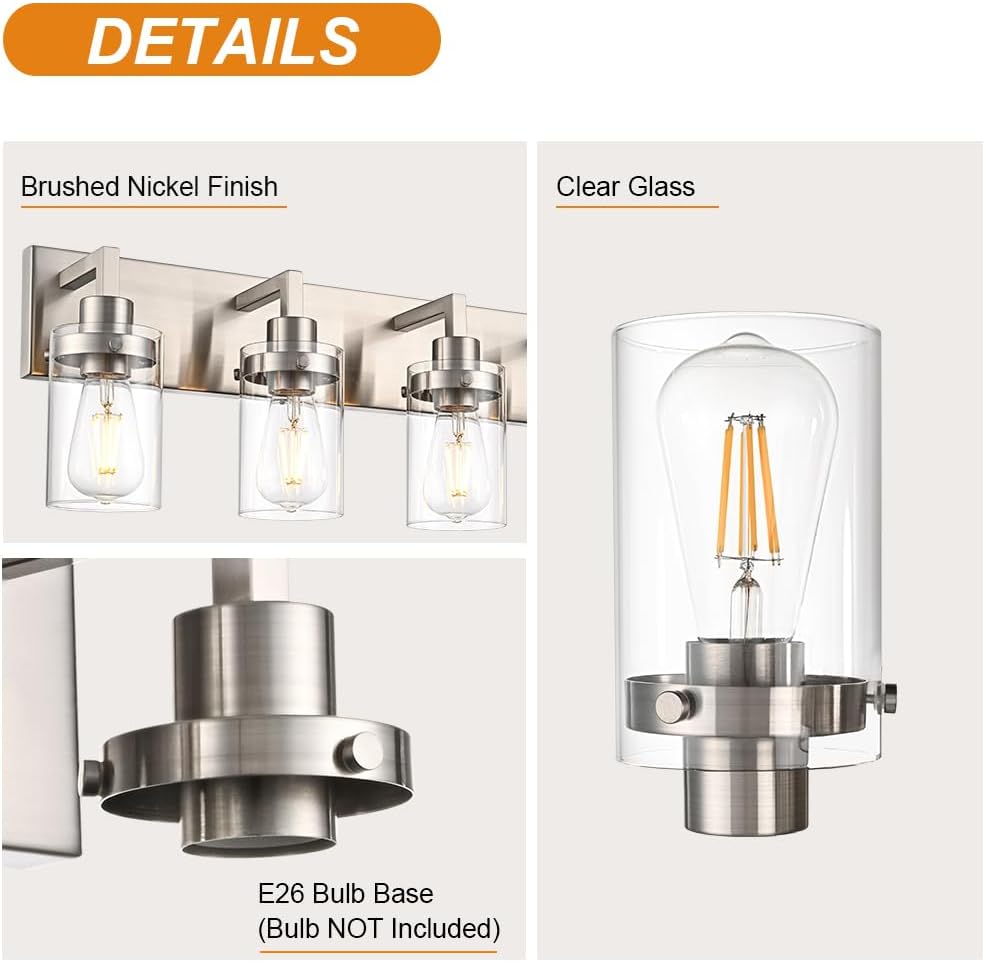
Слика: Детаљна view highlighting the brushed nickel finish, clear glass shade, and the E26 bulb base (bulb not included).
8. Гаранција и корисничка подршка
VINLUZ is committed to providing quality products and customer satisfaction.
Замена стакла: VINLUZ offers free replacement for broken glass shades.
Општа подршка: For any quality issues, skill problems, or replacement parts, please contact the original manufacturer, LightingPlus. You can typically find their contact information on the platform where you purchased the product (e.g., Amazon seller page).
Начин контакта: On Amazon, you can click on "LightingPlus" (the seller name) and then click on "Ask a question" to contact them directly.
Ask a question about this manual
Ask about setup, troubleshooting, compatibility, parts, safety, or missing instructions. Manuals+ will review the question and use this page’s manual context to help answer it.