
1. Увод
This manual provides detailed instructions for setting up, operating, and maintaining your AWOW AK11 Mini PC. Please read this manual thoroughly before using the device to ensure proper functionality and safety. The AWOW AK11 is a compact and powerful mini desktop computer designed for various applications, including office work, 4K video playback, home theater, and educational use.
2. Безбедносне информације
- Уверите се да је адаптер за напајање компатибилан са вашим локалним напајањем.
- Не излажите уређај води, влази или екстремним температурама.
- Избегавајте постављање уређаја у близини извора топлоте или на директном сунцу.
- Не покушавајте сами да отворите или поправите уређај. Обратите се квалификованом сервисеру.
- Оставите вентилационе отворе слободним да спречите прегревање.
3. Садржај пакета
Проверите да ли су све ставке присутне у пакету:
- AWOW AK11 Mini PC
- Повер Адаптер
- ХДМИ кабл
- Кориснички приручник (овај документ)
- Mounting Bracket (Vesa mount, if included)
4. Производ је готовview
The AWOW AK11 Mini PC features a comprehensive set of ports for connectivity and expansion. Familiarize yourself with the layout below.

Слика 4.1: Front and Rear Panel Interfaces of the AWOW AK11 Mini PC. The front panel includes 3.5mm Audio/MIC jack, Type-C port, two USB 3.2 Gen2 ports, a Power Button, and a CLR CMOS button. The rear panel features the Power input, two LAN (1000M) ports, a DisplayPort (4K 60Hz), an HDMI port (4K 60Hz), and two USB 2.0 ports.
Предњи панел:
- 3.5mm Audio/MIC: For connecting headphones, speakers, or a microphone.
- USB 3.2 Gen2 (x2): High-speed data transfer ports for peripherals.
- Тип-Ц: Multi-functional port for data, video output, or power delivery (check specific model capabilities).
- Дугме за напајање: Да бисте укључили или искључили уређај.
- CLR CMOS: Button to clear CMOS settings (use with caution).
Задња плоча:
- Напајање: Овде прикључите приложени адаптер за напајање.
- LAN (1000M) (x2): Gigabit Ethernet ports for wired network connection.
- 4K 60Hz DP (DisplayPort): Видео излаз за повезивање монитора.
- 4K 60Hz HDMI: Video output for connecting a monitor or TV.
- УСБ 2.0 (к2): Standard USB ports for peripherals.
5. Водич за подешавање
5.1 Повезивање периферних уређаја
- Повежи екран: Use an HDMI or DisplayPort cable to connect your monitor to the corresponding port on the Mini PC. For triple display, use HDMI, DisplayPort, and the Type-C port (with a compatible adapter if needed).
- Повежите тастатуру и миш: Plug your USB keyboard and mouse into any available USB ports (USB 3.2 Gen2 or USB 2.0).
- Повежи мрежу (опционо): For a wired connection, plug an Ethernet cable into one of the LAN ports. For wireless, ensure your WiFi network is available.
- Прикључите напајање: Plug the power adapter into the "Power In" port on the Mini PC, then plug the adapter into a power outlet.
5.2 Укључивање
Press the Power Button on the front panel. The power indicator light will illuminate, and the system will begin to boot.
5.3 Почетна инсталација Windows-а
Upon first boot, you will be guided through the Windows 11 Pro setup process. Follow the on-screen instructions to configure language, region, network, user accounts, and other settings.
6. Упутство за употребу
6.1 Основни рад
- Укључивање/искључивање: Press the power button to turn on. To turn off, use the Windows Shut Down option or press and hold the power button for 5 seconds for a forced shutdown (not recommended for regular use).
- Поново покрени: Use the Windows Restart option.
- Режим спавања: Use the Windows Sleep option or briefly press the power button.
6.2 Display Configuration (Triple Display)
The AWOW AK11 supports up to three 4K@60Hz displays simultaneously using the HDMI, DisplayPort, and Type-C outputs. After connecting your monitors, Windows will automatically detect them. You can configure display settings (extend, duplicate, or show only on one) via Settings > System > Display.
6.3 Мрежна повезаност
- Жичани етернет: Connect an Ethernet cable to one of the two Gigabit LAN ports. The system will automatically establish a connection.
- Ви-Фи 6: Да бисте се повезали на бежичну мрежу, идите на Подешавања > Мрежа и Интернет > Ви-Фи, укључите Wi-Fi и изаберите жељену мрежу. Унесите лозинку ако се то од вас затражи.
6.4 Блуетоотх 5.2
To connect Bluetooth devices (e.g., headphones, keyboard, mouse), go to Подешавања > Bluetooth и уређаји, ensure Bluetooth is enabled, and click "Add device" to pair.
6.5 Проширење складишног простора
The Mini PC includes a 512GB PCIe3.0 SSD. You can expand storage by adding a 2.5-inch SATA HDD/SSD (up to 2TB, not included). Refer to the product's internal layout for the SATA drive bay and connection points. This typically involves opening the bottom panel of the device.
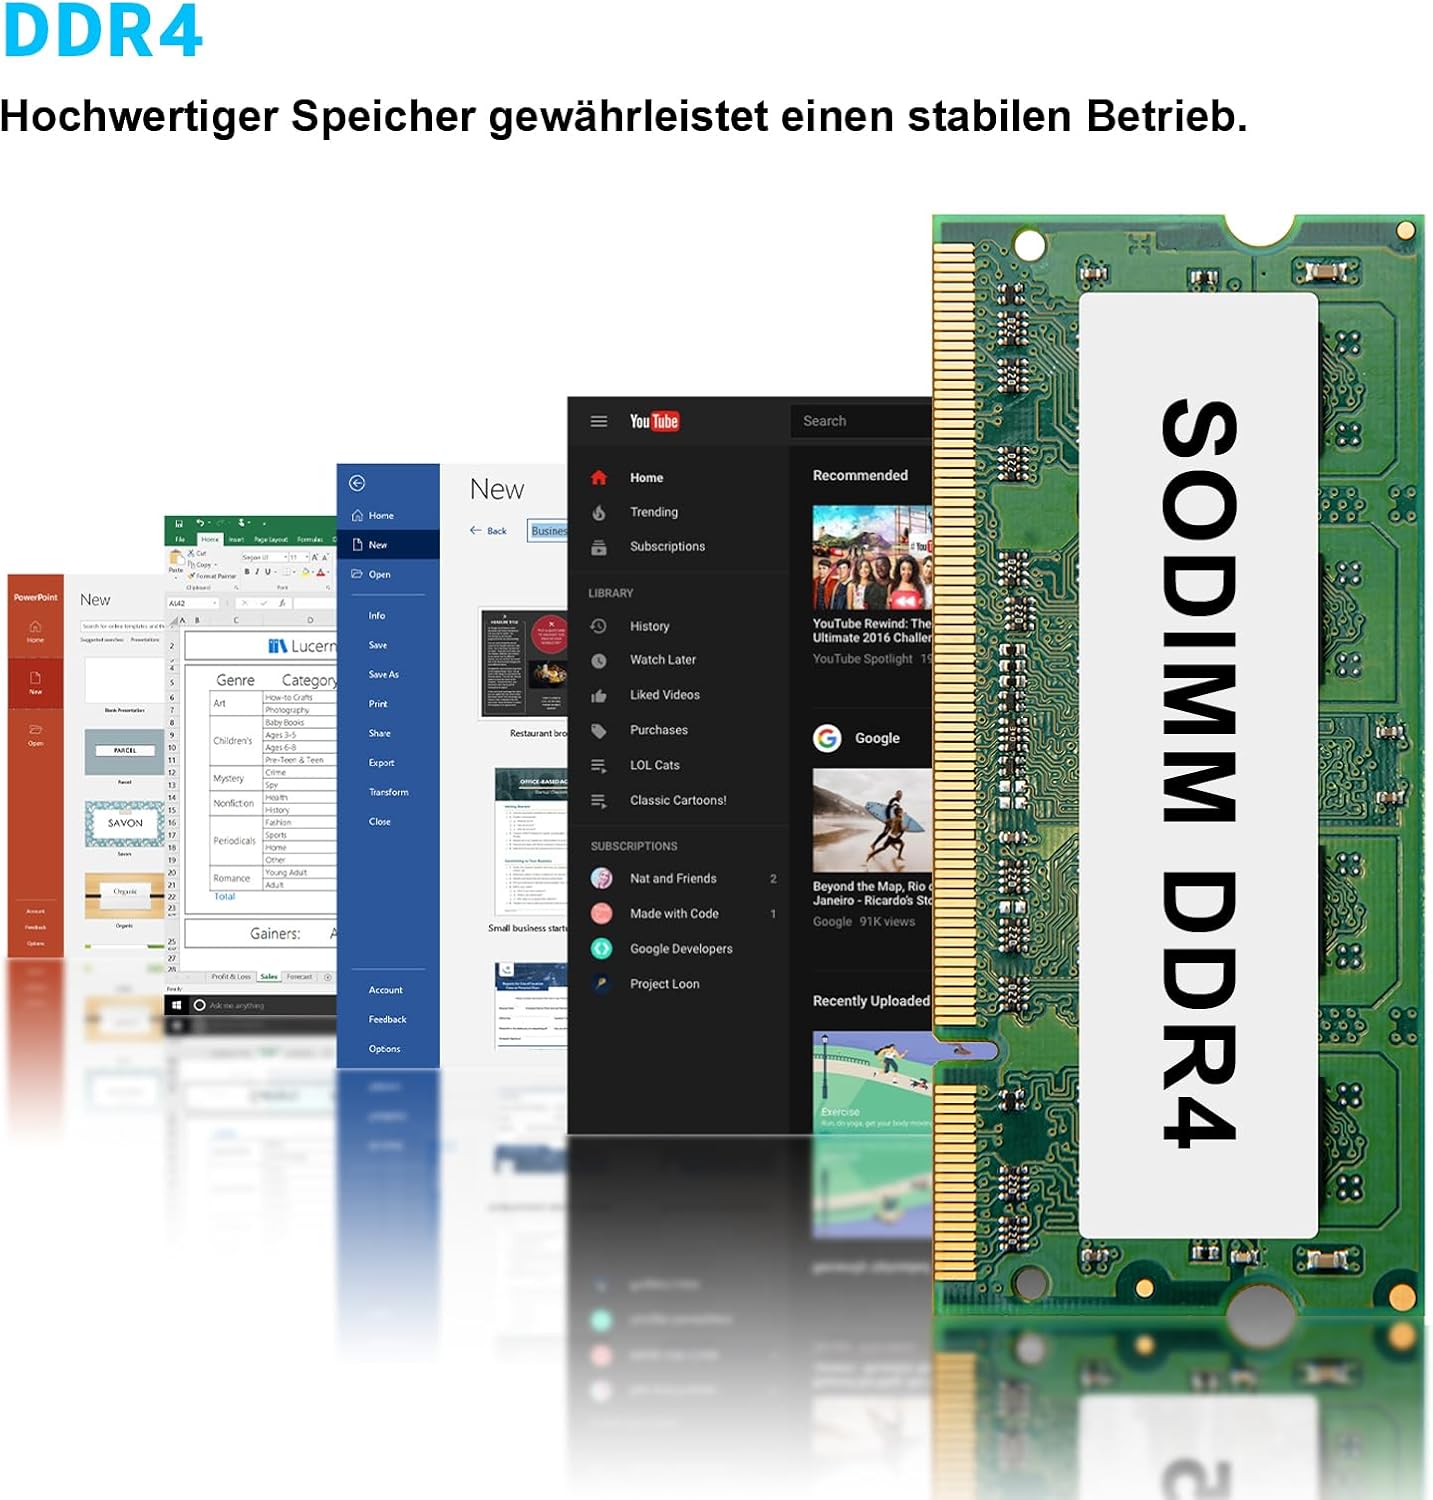
Слика 6.1: Example of a SODIMM DDR4 memory module, similar to what is installed in the AWOW AK11. The device supports 16GB DDR4 RAM and allows for storage expansion with a 2.5-inch SATA drive.
7. Одржавање
7.1 Чишћење
- Use a soft, dry cloth to clean the exterior of the Mini PC.
- За тврдокорне трагове, благо дampи крпу са водом или благим, неабразивним средством за чишћење.
- Keep ventilation openings free of dust using compressed air.
- Увек искључите адаптер за напајање пре чишћења.
7.2 Ажурирања софтвера
Regularly check for Windows updates via Подешавања > Windows Update to ensure your system has the latest security patches and performance improvements. Also, check the AWOW website for any driver updates specific to the AK11 model.
7.3 Управљање складиштем
Periodically manage your storage by deleting unnecessary files, emptying the recycle bin, and using Windows Disk Cleanup to free up space. Consider backing up important data regularly.
КСНУМКС. Решавање проблема
- Нема напајања: Ensure the power adapter is securely connected to both the Mini PC and a working power outlet. Try a different outlet.
- Без приказа: Check all display cable connections (HDMI, DP, Type-C). Ensure the monitor is powered on and set to the correct input source. Try connecting to a different display or using a different cable.
- Нема мрежне везе: For wired, check the Ethernet cable and router. For Wi-Fi, ensure Wi-Fi is enabled in Windows settings and you are connected to the correct network with the right password. Restart your router and the Mini PC.
- Споре перформансе: Close unnecessary applications. Check for background processes consuming high resources (Task Manager). Ensure sufficient free storage space.
- CLR CMOS Button: If experiencing boot issues or incorrect BIOS settings, you can press the CLR CMOS button (usually requires the device to be off and disconnected from power) to reset BIOS settings to default. Consult the AWOW support for specific instructions if needed.
9. Спецификације
Below are the technical specifications for the AWOW AK11 Mini PC:

Слика 9.1: Visual representation of the Intel N150 processor, highlighting its specifications: 3.6GHz Max Turbo Frequency, 4 Cores/4 Threads, 16GB RAM, and 512GB SSD.
| Феатуре | Опис |
|---|---|
| Модел | АК11 |
| Процесор | Intel N150 (4C/4T, up to 3.6 GHz) |
| Графика | Intel UHD Graphics (up to 1 GHz) |
| РАМ | 16 GB DDR4 (3200 MHz) |
| Складиштење | 512 GB PCIe3.0 SSD (expandable with 2.5" SATA HDD/SSD up to 2TB) |
| Оперативни систем | Виндовс 11 Про |
| Видео Оутпут | HDMI (4K@60Hz), DisplayPort (4K@60Hz), Type-C (4K@60Hz) - Triple Display Support |
| Мрежа | Dual Gigabit Ethernet, WiFi 6 (802.11ax) |
| Блуетоотх | Блуетоотх 5.2 |
| УСБ портови | 2x USB 3.2 Gen2, 2x USB 2.0, 1x Type-C |
| Аудио | 3.5mm Audio/MIC Jack |
| Метод хлађења | Ваздушно хлађење |
| Потрошња енергије | 6 Watt (typical) |
| Димензије | 27.6 x 16.1 x 6.1 цм (паковање) |
| Тежина | 810 grams (Package) |
10. Гаранција и подршка
AWOW products come with a standard manufacturer's warranty. For specific warranty terms and conditions, please refer to the warranty card included with your product or visit the official AWOW website. For technical support, driver downloads, or further assistance, please visit the AWOW support page or contact their customer service.