1. Увод
This manual provides essential information for the safe and effective operation of your GROVIEW Native 1080P Bluetooth Projector. Please read it thoroughly before use and retain it for future reference. This projector is designed to deliver a high-quality visual experience for home theater, gaming, and presentations.
2. Безбедносне информације
- Напајање: Користите само наведени адаптер за напајање. Уверите се да је јачина звукаtagе одговара вашем локалном извору напајања.
- вентилација: Не блокирајте вентилационе отворе. Обезбедите адекватан проток ваздуха око пројектора како бисте спречили прегревање.
- топлота: Пројектор лamp generates heat. Avoid touching the lens or vents during operation.
- Влага: Do not expose the projector to rain, moisture, or immerse it in water.
- Чишћење: Искључите напајање пре чишћења. Користите меку, суву крпу. Не користите течна или аеросолна средства за чишћење.
- Пласман: Place the projector on a stable, flat surface. Avoid placing it in direct sunlight or near heat sources.
- Заштита очију: Не гледајте директно у сочиво пројектора када је укљученоamp је укључено, јер јако светло може изазвати напрезање или оштећење очију.
3. Садржај пакета
Проверите да ли су све ставке присутне у вашем пакету:
- ГРОVIEW Мини пројектор
- Упутство за употребу
- Ремоте Цонтрол
- ХДМИ кабл
- Комплет за чишћење
4. Производ је готовview
4.1 Компоненте пројектора
Familiarize yourself with the main parts of your projector.

4.2 Улазно/излазни портови
The projector features various ports for connecting external devices.

- ХДМИ порт: Connects to devices such as laptops, gaming consoles (PS5, Xbox), TV sticks, and Blu-ray players.
- USB Ports (USB1, USB2): За повезивање УСБ дискова за репродукцију медија files.
- Аудио излаз (3.5 мм): Повезује се са екстерним звучницима или слушалицама.
- Улазна снага: Повезује адаптер за напајање.
5. Подешавање
5.1 Почетно смештање
Place the projector on a stable surface. Ensure the projector lens is facing the projection surface (wall or screen). For optimal image quality, position the projector perpendicular to the screen.
5.2 Прикључак за напајање
- Прикључите адаптер за напајање на улазни порт за напајање пројектора.
- Укључите адаптер за напајање у утичницу.
- Индикаторска лампица напајања на пројектору ће се упалити.
6. Упутство за употребу
6.1 Укључивање/искључивање
- Укључено: Press the power button on the projector or the remote control. The projector will start up, and the lamp ће се укључити.
- Искључивање: Press the power button again. Confirm shutdown if prompted. Allow the fan to run briefly to cool down the lamp before completely disconnecting power.
6.2 Навигација кроз мени
Use the arrow buttons on the projector or remote control to navigate through the on-screen menu. The 'OK' or 'Enter' button confirms selections, and the 'Back' or 'Exit' button returns to the previous menu.
7. Повезивање
7.1 ХДМИ веза
Connect your HDMI-enabled device (e.g., laptop, game console, streaming stick) to the projector's HDMI port using the provided HDMI cable. Select the corresponding HDMI input source from the projector's input menu.
7.2 Репродукција USB медија
Insert a USB flash drive into one of the projector's USB ports. Navigate to the media player function in the projector's menu to browse and play supported video, audio, or image files.
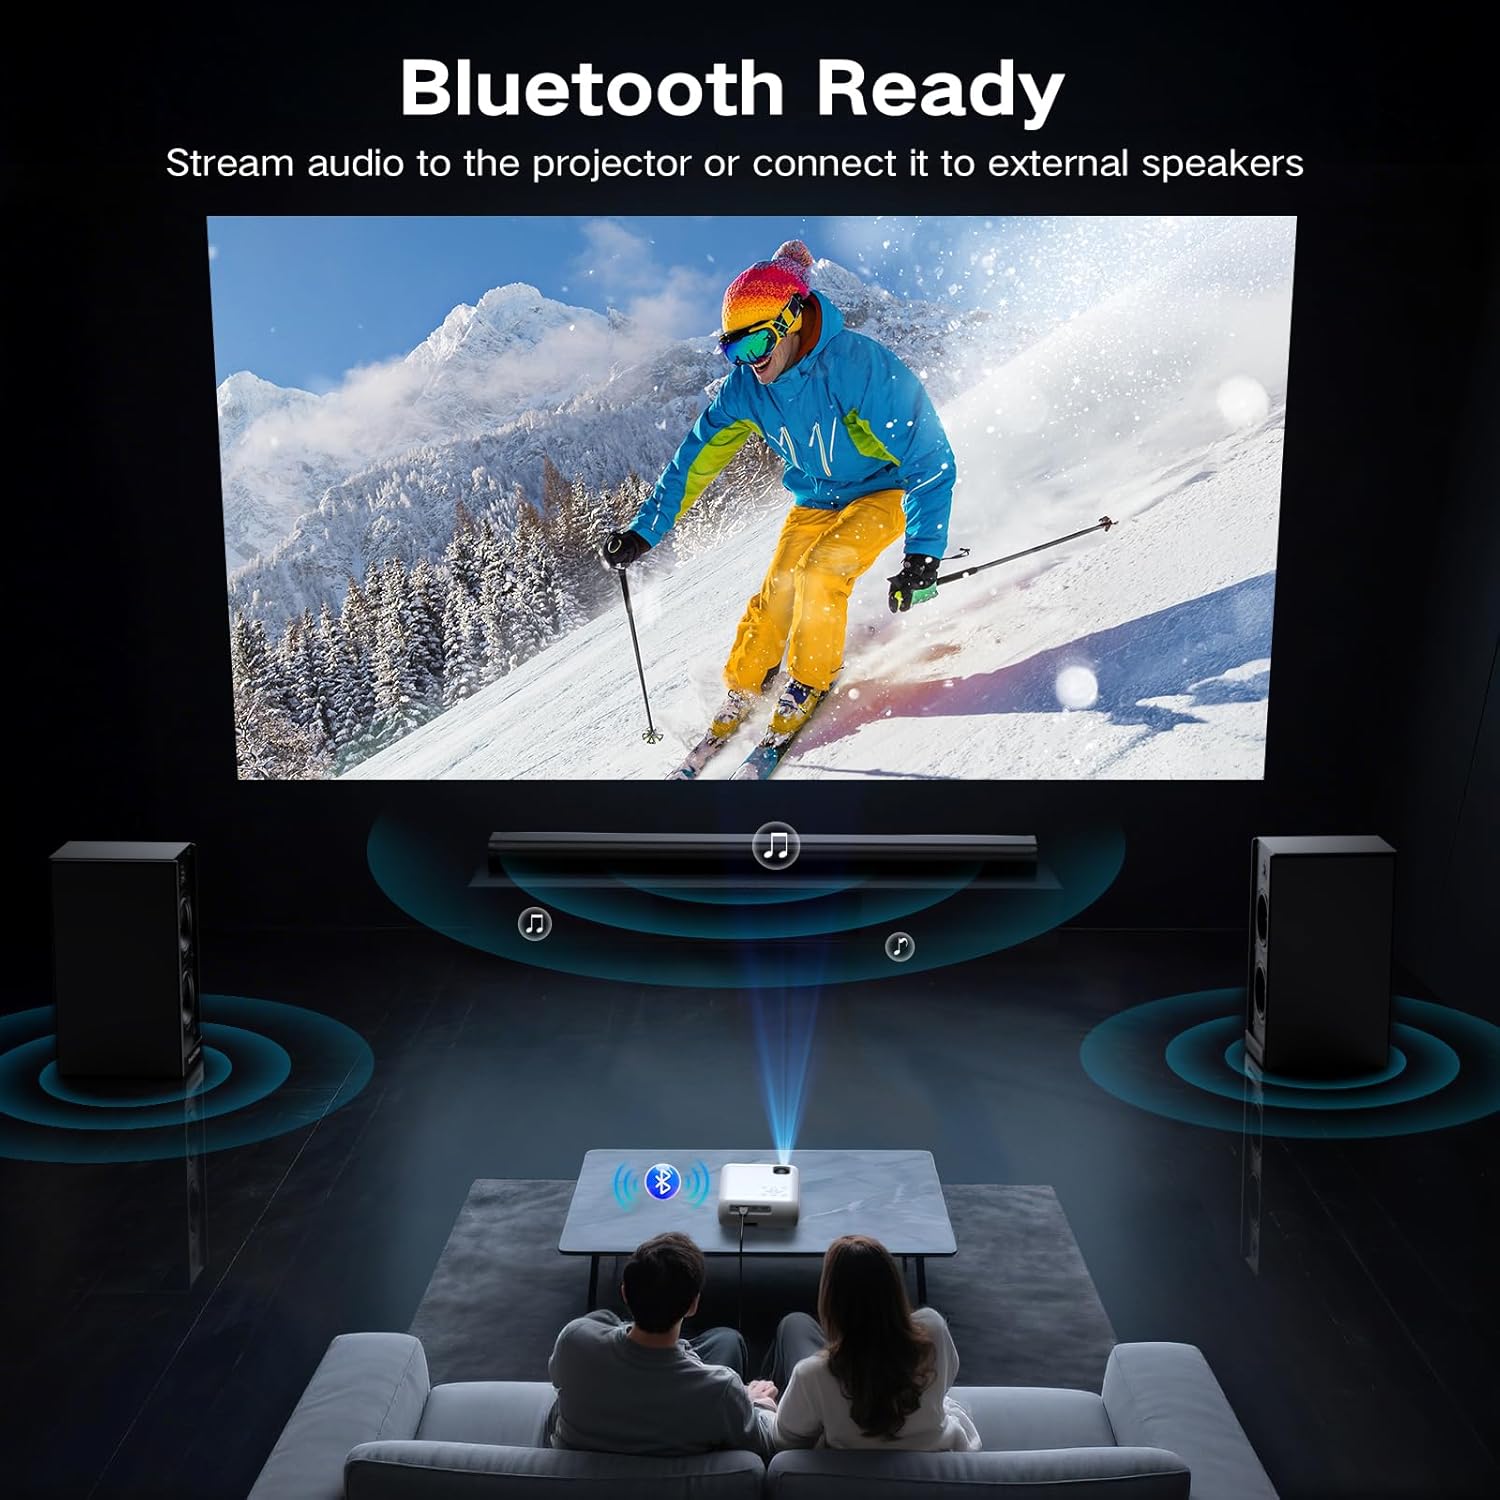
7.3 Bluetooth Connection (Audio)
The projector supports Bluetooth 5.0 for connecting to external Bluetooth speakers or headphones. This allows for enhanced audio output.

- Enable Bluetooth on your external audio device and set it to pairing mode.
- На пројектору идите до менија подешавања Bluetooth-а.
- Изаберите свој аудио уређај са листе доступних уређаја за упаривање.
7.4 Smartphone Connection
To connect a smartphone, an additional adapter (not included) is required:

- За Андроид телефоне: Use a Micro USB/Type C to HDMI cable.
- За иПхоне: Use a Lightning to HDMI cable.
Connect the adapter to your phone and then to the projector's HDMI port. Select the HDMI input source.
8. Подешавање слике
8.1 Подешавање фокуса
Rotate the focus ring on the projector lens until the projected image appears sharp and clear. This is a manual adjustment.
8.2 Digital Vertical Keystone Correction
The projector features digital vertical keystone correction to adjust image distortion when the projector is not perfectly perpendicular to the screen. This helps achieve a rectangular image.
Access the keystone settings in the projector's menu and use the arrow buttons to adjust the vertical angle until the image is properly aligned.
8.3 Функција зумирања
The projector includes a digital zoom function, allowing you to reduce the size of the projected image without moving the projector. Access this feature in the display settings menu.
9. Аудио поставке
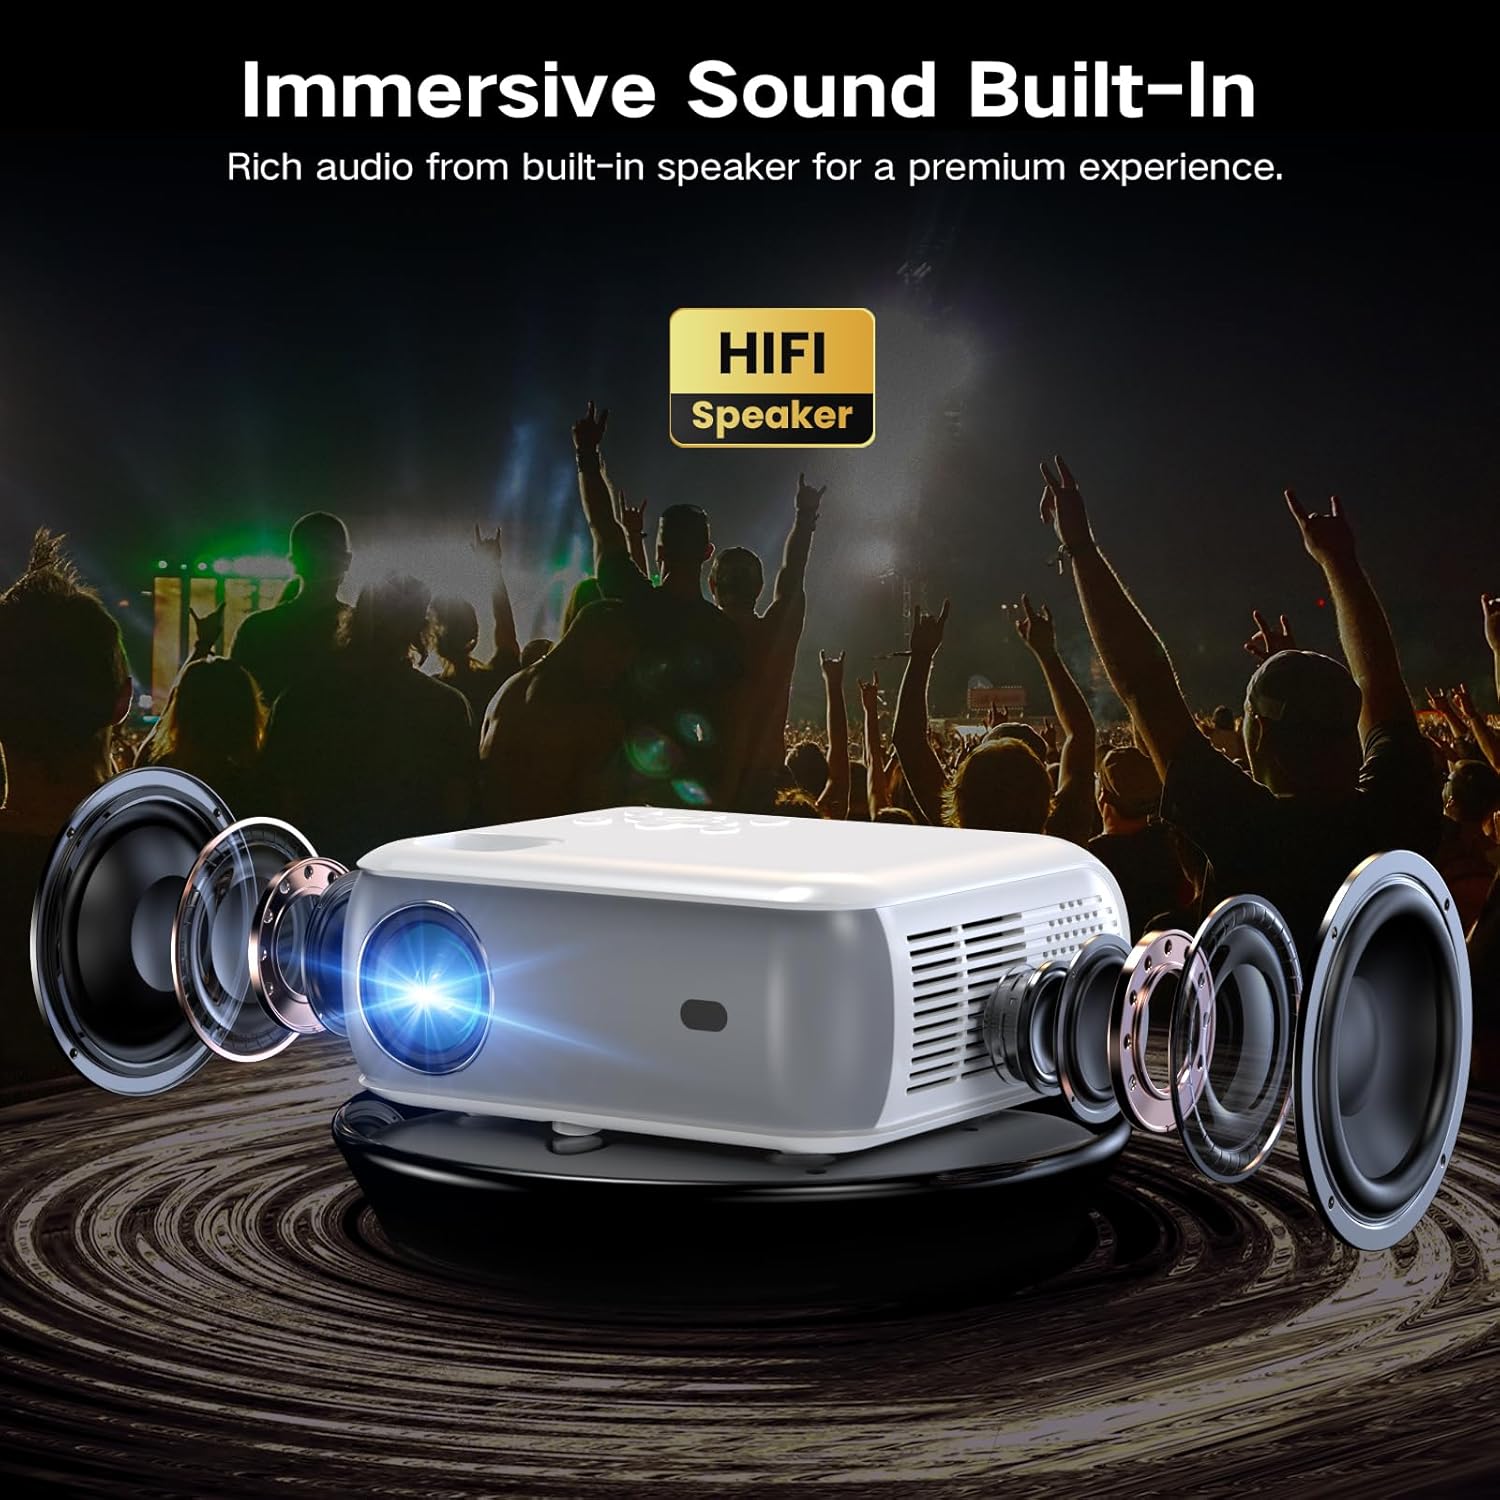
The projector has built-in HiFi stereo speakers for direct audio output. You can adjust the volume using the remote control or the projector's control panel. For a more immersive experience, connect external speakers via the 3.5mm audio out port or Bluetooth (see Section 7.3).
10. Одржавање
10.1 Чишћење сочива
Use a soft, lint-free cloth specifically designed for optical lenses. Gently wipe the lens in a circular motion. Avoid using abrasive materials or harsh chemicals.
10.2 Чишћење кућишта пројектора
Обришите спољашњост пројектора меком, сувом крпом. За тврдокорне мрље, благо дamp cloth can be used, followed by a dry cloth. Ensure no liquid enters the ventilation openings.
10.3 Air Filter Cleaning (if applicable)
Refer to the specific model's design for air filter maintenance. If an accessible air filter is present, clean it regularly to ensure proper ventilation and prevent dust buildup.
10.4 Складиштење
Када се пројектор не користи дуже време, чувајте га на хладном, сувом и месту без прашине. Користите оригинално паковање или заштитну футролу да бисте спречили оштећења.
КСНУМКС. Решавање проблема
| Проблем | Могући узрок | Решење |
|---|---|---|
| Нема пројектоване слике | Power not connected; Incorrect input source; Device not connected properly | Check power cable; Select correct HDMI/USB input; Ensure source device is on and connected. |
| Слика је мутна | Focus not adjusted; Projector too far/close; Lens dirty | Adjust the focus ring; Reposition projector; Clean the lens. |
| Слика је искривљена (трапезоидног облика) | Projector not perpendicular to screen; Keystone not adjusted | Adjust Digital Vertical Keystone Correction in settings. Try to position the projector as straight as possible. |
| Нема звука | Volume too low; Muted; Incorrect audio output selected; Bluetooth not paired | Increase volume; Unmute; Check audio settings; Re-pair Bluetooth device. |
| Бука вентилатора је гласна | Normal operation; Blocked vents | Ensure proper ventilation; Fan noise is typical for projectors. |
| Даљински управљач не ради | Batteries low/dead; Obstruction between remote and projector | Replace batteries; Ensure clear line of sight to the IR receiver. |
12. Спецификације
| Феатуре | Спецификација |
|---|---|
| Бранд | Гроview |
| Модел | Изворни 1080П Блуетоотх пројектор |
| Резолуција екрана | 1920 x 1080 (Native 1080P) |
| Осветљеност | КСНУМКС АНСИ Луменс |
| Технологија повезивања | HDMI, USB, Bluetooth 5.0 |
| Посебне карактеристике | Digital Keystone Correction, Two-way Bluetooth, Zoom |
| Препоручена употреба | Home Cinema, Gaming, Business, Education |
| Димензије производа | 7.13 к 6.33 к 3.15 инча |
| Тежина артикла | 1.9 фунти |
| Уграђени звучник | Yes (HiFi Stereo) |
| Max Display Size | До 200 инча |
13. Гаранција и подршка
The GROVIEW Native 1080P Bluetooth Projector comes with a 2-year customer service and replacement policy. For any technical assistance, warranty claims, or support inquiries, please contact GROVIEW customer service through the retailer where the product was purchased or visit the official GROVIEW webсајт за контакт информације.
Молимо вас да сачувате доказ о куповини ради потврде гаранције.