
1. Увод
This manual provides essential information for the safe assembly, operation, and maintenance of your Aivituvin Outdoor Storage Cabinet. Please read these instructions thoroughly before beginning assembly and retain them for future reference. This outdoor storage cabinet is designed to provide secure and weather-resistant storage for various outdoor items, including trash cans, gardening tools, and accessories.
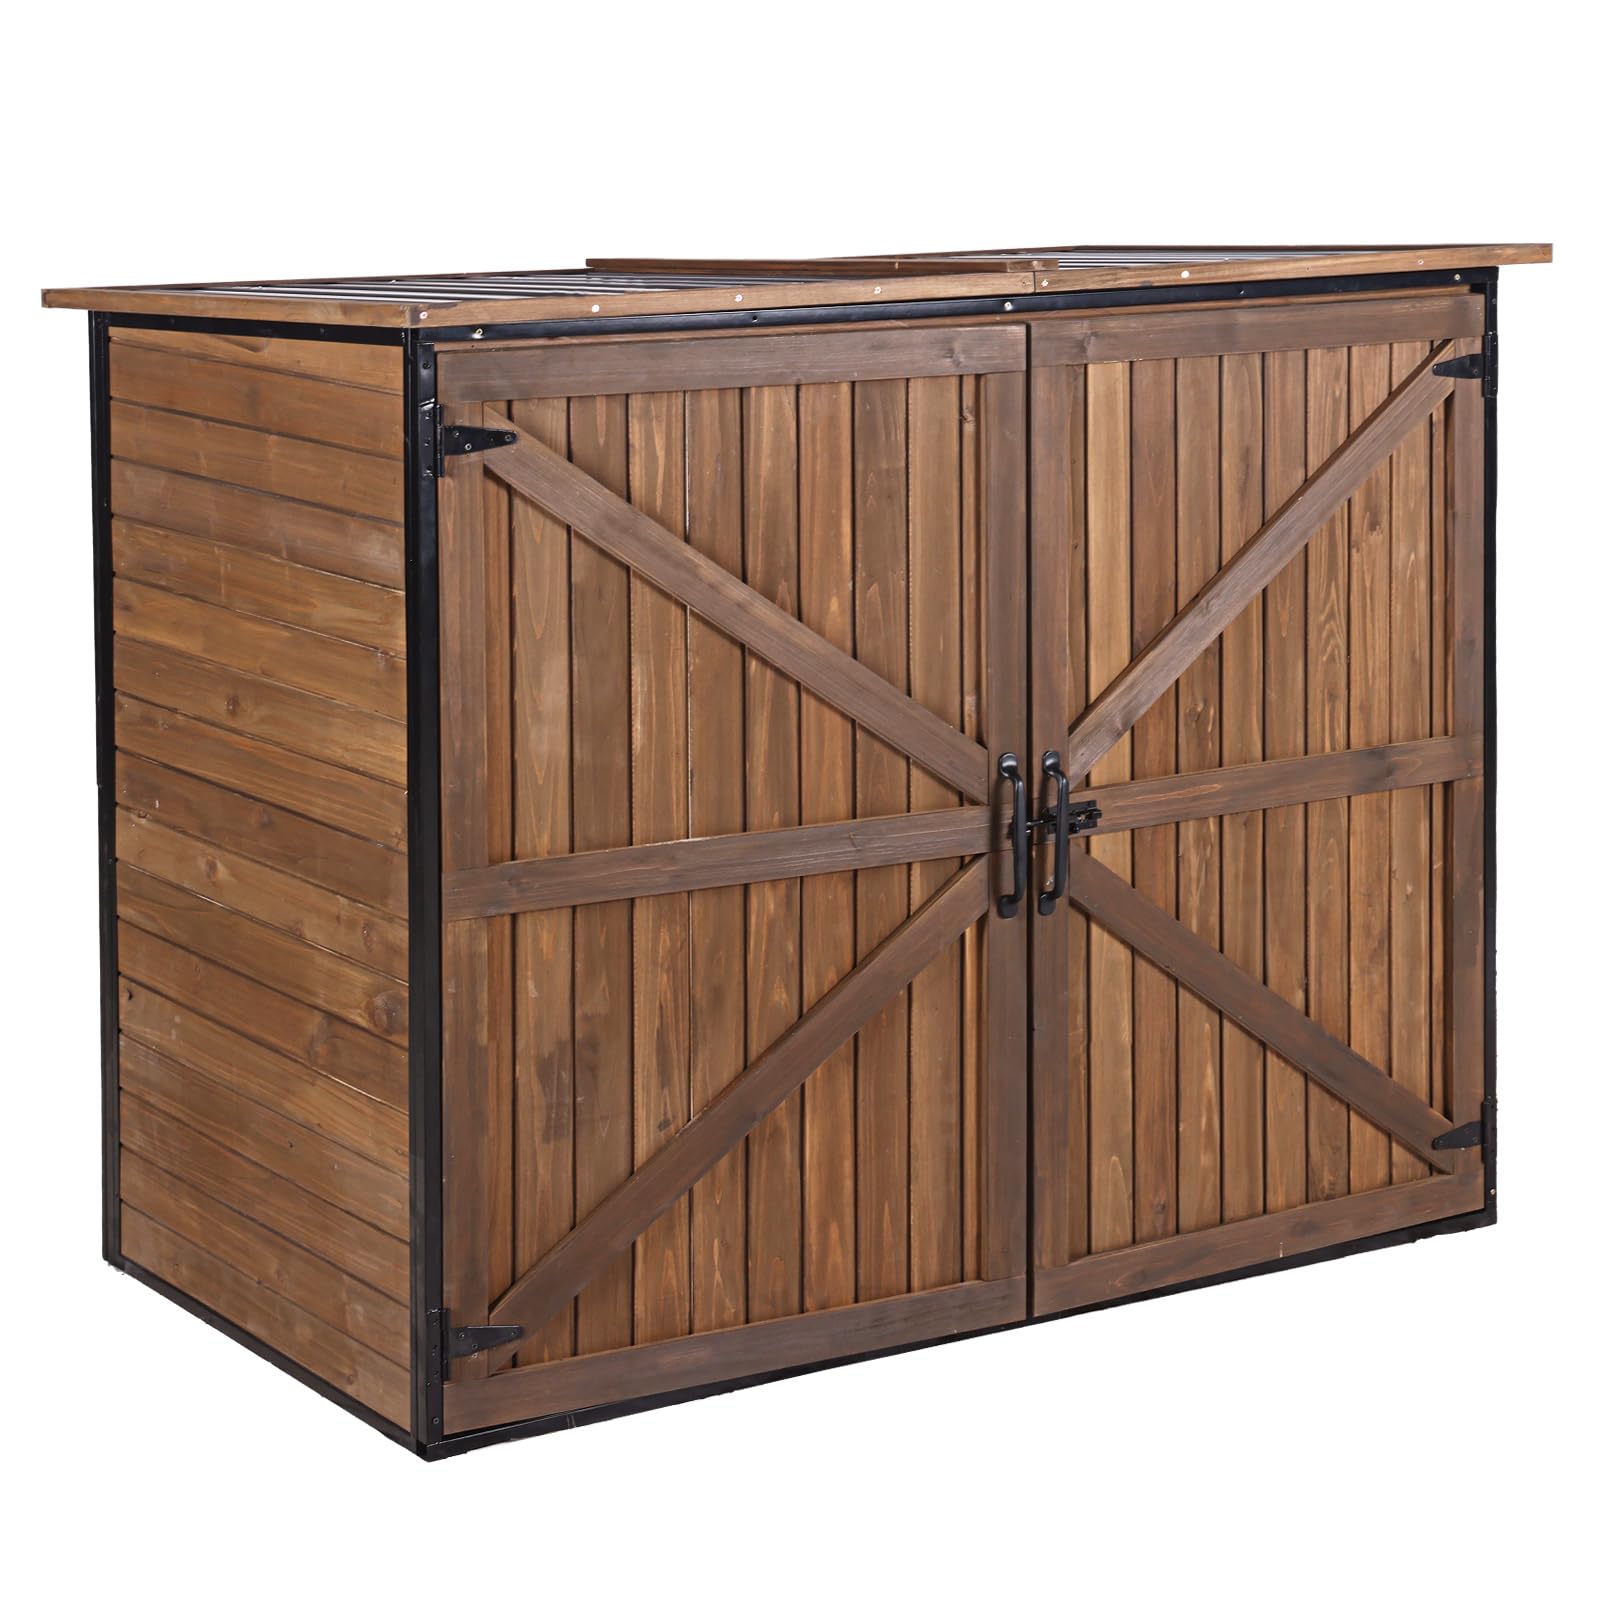
Figure 1: Aivituvin Outdoor Storage Cabinet, Light Brown.
2. Безбедносне информације
To ensure safe use and prevent injury or damage, please observe the following safety guidelines:
- Always assemble this product on a flat, stable surface.
- Чувати даље од извора топлоте и отвореног пламена.
- Do not expose to extreme weather conditions without proper sealing or protection.
- Be cautious when handling heavy components during assembly. It is recommended to have at least two people for assembly.
- Keep tools and equipment away from the shed when not in use to prevent accidents.
- Always follow the manufacturer's instructions for safe and proper usage.
- Ensure the shed is securely anchored to prevent tipping, especially in windy conditions.
3. Садржај пакета
Before beginning assembly, verify that all parts are present and undamaged. Refer to the included parts list in your packaging. Typical components include:
- Wooden panels (sides, back, doors, shelves, floor)
- Компоненте металног оквира
- Plastic roof panel
- Hardware kit (screws, hinges, latches, handles, magnetic catches)
- Упутство за монтажу
Note: Some extra screws are typically included in the hardware kit.
4. Упутство за монтажу
Assembly typically requires 2-4 hours for one person. A drill with a screwdriver attachment is highly recommended due to the number of screws. Follow the step-by-step diagrams provided in your package. Pay close attention to the orientation of panels (up-down, inside-outside, left-right) and pre-drilled holes.
4.1 Key Assembly Tips:
- Фондација: Ensure the shed is placed on a level, stable surface. Consider using concrete blocks to elevate the shed and protect the wooden floor from ground moisture.
- Оријентација панела: Carefully check each panel for its correct orientation before fastening. Pre-drilled screw locations may be subtle.
- Склоп врата: To simplify door installation, attach the top door panel to the bottom door panel using the provided board first. This ensures proper alignment before mounting the combined door units to the frame.
- Монтажа крова: Be sure to locate and correctly install the clear vinyl weatherproofing strip for the roof to ensure water resistance.

Слика 2: Завршеноview of the shed's construction materials: solid wood panels, a robust metal frame, and a waterproof plastic roof.

Figure 3: The internal metal frame provides structural integrity.
5. Операција
5.1 Accessing the Interior:
- Улазна врата: The shed features two front doors equipped with metal handles and a latch for secure closure. To open, disengage the latch and pull the handles.
- Top-Opening Lid: For quick access to items stored in the upper section, the shed includes a top-opening lid. Lift the lid to access the interior from above.

Figure 4: Metal handles and latch for secure door closure.

Figure 5: Magnetic catches help keep doors tightly closed.
5.2 Interior Organization:
The shed comes with two removable shelves and offers four adjustable height options, allowing you to customize the interior space to suit your storage needs. This flexibility is ideal for organizing tools, bins, or accommodating larger items like two 32-gallon garbage cans or snow blowers.

Figure 6: Interior configured for tools and garbage cans, highlighting adjustable shelves.

Figure 7: Adjustable shelves allow for flexible storage configurations.

Figure 8: Removable wooden floor panels for easy cleaning and access.
6. Одржавање и њега
Proper maintenance will extend the life of your outdoor storage cabinet.
- Нега дрвета: The shed is constructed from fir wood. To enhance durability and weather resistance, especially if exposed to direct weather, consider applying a wood sealer or paint. This will help prevent warping and extend the lifespan of the wood.
- Хидроизолација: The shed features a leak-proof sloped plastic roof designed to keep water out. For added protection, particularly in areas with heavy rainfall, inspect the roof and seams periodically. Applying silicone caulking to internal seams can further prevent water ingress.
- Чишћење: Очистите спољашње и унутрашње површине помоћу адamp cloth. Avoid harsh chemicals that may damage the wood finish.
- хардвер: Periodically check all screws and hardware to ensure they are tight. Lubricate hinges and latches as needed.

Figure 9: The waterproof plastic roof protects contents from rain and snow.

Figure 10: The wood and metal frame construction offers enhanced durability compared to resin or thin metal alternatives.
КСНУМКС. Решавање проблема
7.1 Doors Do Not Close Properly:
If the doors do not close smoothly or appear to bow out, this may indicate an issue with frame alignment or door fit. Ensure the shed is on a perfectly level surface. Recheck all assembly steps, particularly those involving the door hinges and frame connections, to confirm correct installation and alignment. Adjust hinges if necessary to achieve proper closure.
7.2 Water Leakage:
If water is found inside the shed, inspect the roof and all seams. Ensure the weatherproofing strip on the roof is correctly installed and intact. Apply silicone sealant to any gaps or joints, especially around the roof edges and where panels meet, to improve water resistance.
7.3 Flimsy Latches:
The provided latches are functional. If you require enhanced security or find the latches to be insufficient, consider replacing them with more robust aftermarket latches.
8. Спецификације
| Феатуре | Детаљ |
|---|---|
| Бранд | Ајвитувин |
| Број модела | АИР105 |
| Боја | Светло браон |
| Материјал | Fir, Metal |
| Димензије производа (Д x Ш x В) | 27.6"Д к 50"Ш к 41"В |
| Тежина артикла | 97 фунти |
| Унутрашњи простор | 33.3 цу. фт. |
| Доор Стиле | Двокрилна врата |
| Ниво отпорности на воду | Водоотпоран |
| Обавезна монтажа | Да |
9. Гаранција и корисничка подршка
For warranty information or customer support, please refer to the documentation included with your product or contact Aivituvin customer service directly through their official website or the retailer where the product was purchased. Please have your model number (AIR105) and purchase date available when contacting support.