
OMPHOBBY M2 V3 PRO
Упутство за употребу OMPHOBBY M2 V3 PRO RC хеликоптера
Model: M2 V3 PRO
1. Увод
This manual provides essential information for the safe and effective operation, setup, and maintenance of your OMPHOBBY M2 V3 PRO RC Helicopter. Please read this manual thoroughly before operating the helicopter to ensure proper function and to prevent damage or injury.

Figure 1.1: OMPHOBBY M2 V3 PRO RC Helicopter (Green Variant)
2. Безбедносне информације
WARNING: ADULTS ONLY - Not For Kids. This is a professional RC helicopter and not a toy. It requires remote control helicopter experience and is unsuitable for children or beginners. Improper handling can result in serious injury or property damage.
- Always operate in open areas, away from people, animals, buildings, and power lines.
- Уверите се да су све компоненте безбедно причвршћене пре сваког лета.
- Не радите у неповољним временским условима (нпр. јак ветар, киша).
- Keep hands and face clear of rotating blades.
- Always disconnect the battery after use and during transport.
- Follow all local regulations regarding RC aircraft operation.

Figure 2.1: Safety warnings on product packaging.
3. Садржај пакета
The OMPHOBBY M2 V3 PRO RC Helicopter (PNP version) package typically includes the following items:
- OMPHOBBY M2 V3 PRO RC Helicopter (assembled)
- Главне лопатице ротора
- Tail Rotor Blades
- Battery (1 Lithium Ion battery included)
- Упутство за употребу
- Small parts and tools (e.g., screws, hex wrenches)
Напомена: The PNP (Plug-N-Play) version requires a separate transmitter and a compatible receiver (not included). Compatible systems include Futaba S-FHSS, Spektrum DSMX/DSM2, and FrSky, among others.

Figure 3.1: Typical package contents for the M2 V3 PRO.
4. Спецификације
| Феатуре | Спецификација |
|---|---|
| Димензије производа | 17.5 к 6.3 к 4.3 инча |
| Тежина артикла | 2 pounds (approximately 320g) |
| Препоручена старост произвођача | 14 година и више |
| Батерије | Потребна је 1 литијум-јонска батерија (укључена) |
| Систем контроле лета | OFS3 Flight Control |
| Тип мотора | Директни погон без четкица |

Figure 4.1: OMPHOBBY M2 V3 PRO dimensions.
5. Подешавање
5.1. Почетни преглед
Upon unpacking, carefully inspect the helicopter for any signs of damage during shipping. Ensure all parts are present and securely attached. Check the main and tail rotor blades for any cracks or deformities.
5.2. Инсталација и пуњење батерије
- Ensure the helicopter is powered off before installing or removing the battery.
- Carefully insert the provided Lithium Ion battery into its designated compartment.
- Connect the battery to the helicopter's power connector.
- For charging, use only the charger recommended by OMPHOBBY. Follow the charger's instructions for safe charging practices.

Figure 5.1: Battery installation on the M2 V3 PRO.
5.3. Transmitter and Receiver Setup (PNP Version)
As a PNP version, you will need to provide your own compatible transmitter and receiver. Refer to your transmitter's manual for specific binding procedures. The OFS3 Flight Control system supports various protocols including Futaba S-FHSS, Spektrum DSMX/DSM2, and FrSky.
- Install your chosen receiver into the helicopter's receiver slot.
- Connect the receiver to the OFS3 Flight Control board according to the wiring diagram (refer to the detailed diagram in the full manual or online resources).
- Power on your transmitter, then power on the helicopter.
- Initiate the binding process as per your transmitter and receiver instructions.
- Once bound, verify all control surfaces respond correctly to transmitter inputs.

Figure 5.2: Flight controller and receiver connection points.
6. Упутство за употребу
6.1. Провере пре лета
- Уверите се да је батерија потпуно напуњена.
- Проверите све завртње и спојеве да ли су чврсто затегнути.
- Verify main and tail rotor blades are free from damage and rotate smoothly.
- Confirm proper function of all servos and flight controls via your transmitter.
- Check the flight area for obstacles and people.
6.2. Flight Modes (OFS3 Flight Control)
The advanced OFS3 flight controller offers three distinct flight modes:
- Stabilize Mode: Provides enhanced stability, ideal for learning basic flight maneuvers.
- Soft 3D Mode: Offers increased agility for introductory 3D aerobatics.
- Violet 3D Mode: Delivers maximum responsiveness and control for advanced 3D flight.
These modes can be seamlessly switched mid-flight via your transmitter, allowing for versatile performance tailored to your skill level and desired maneuvers.
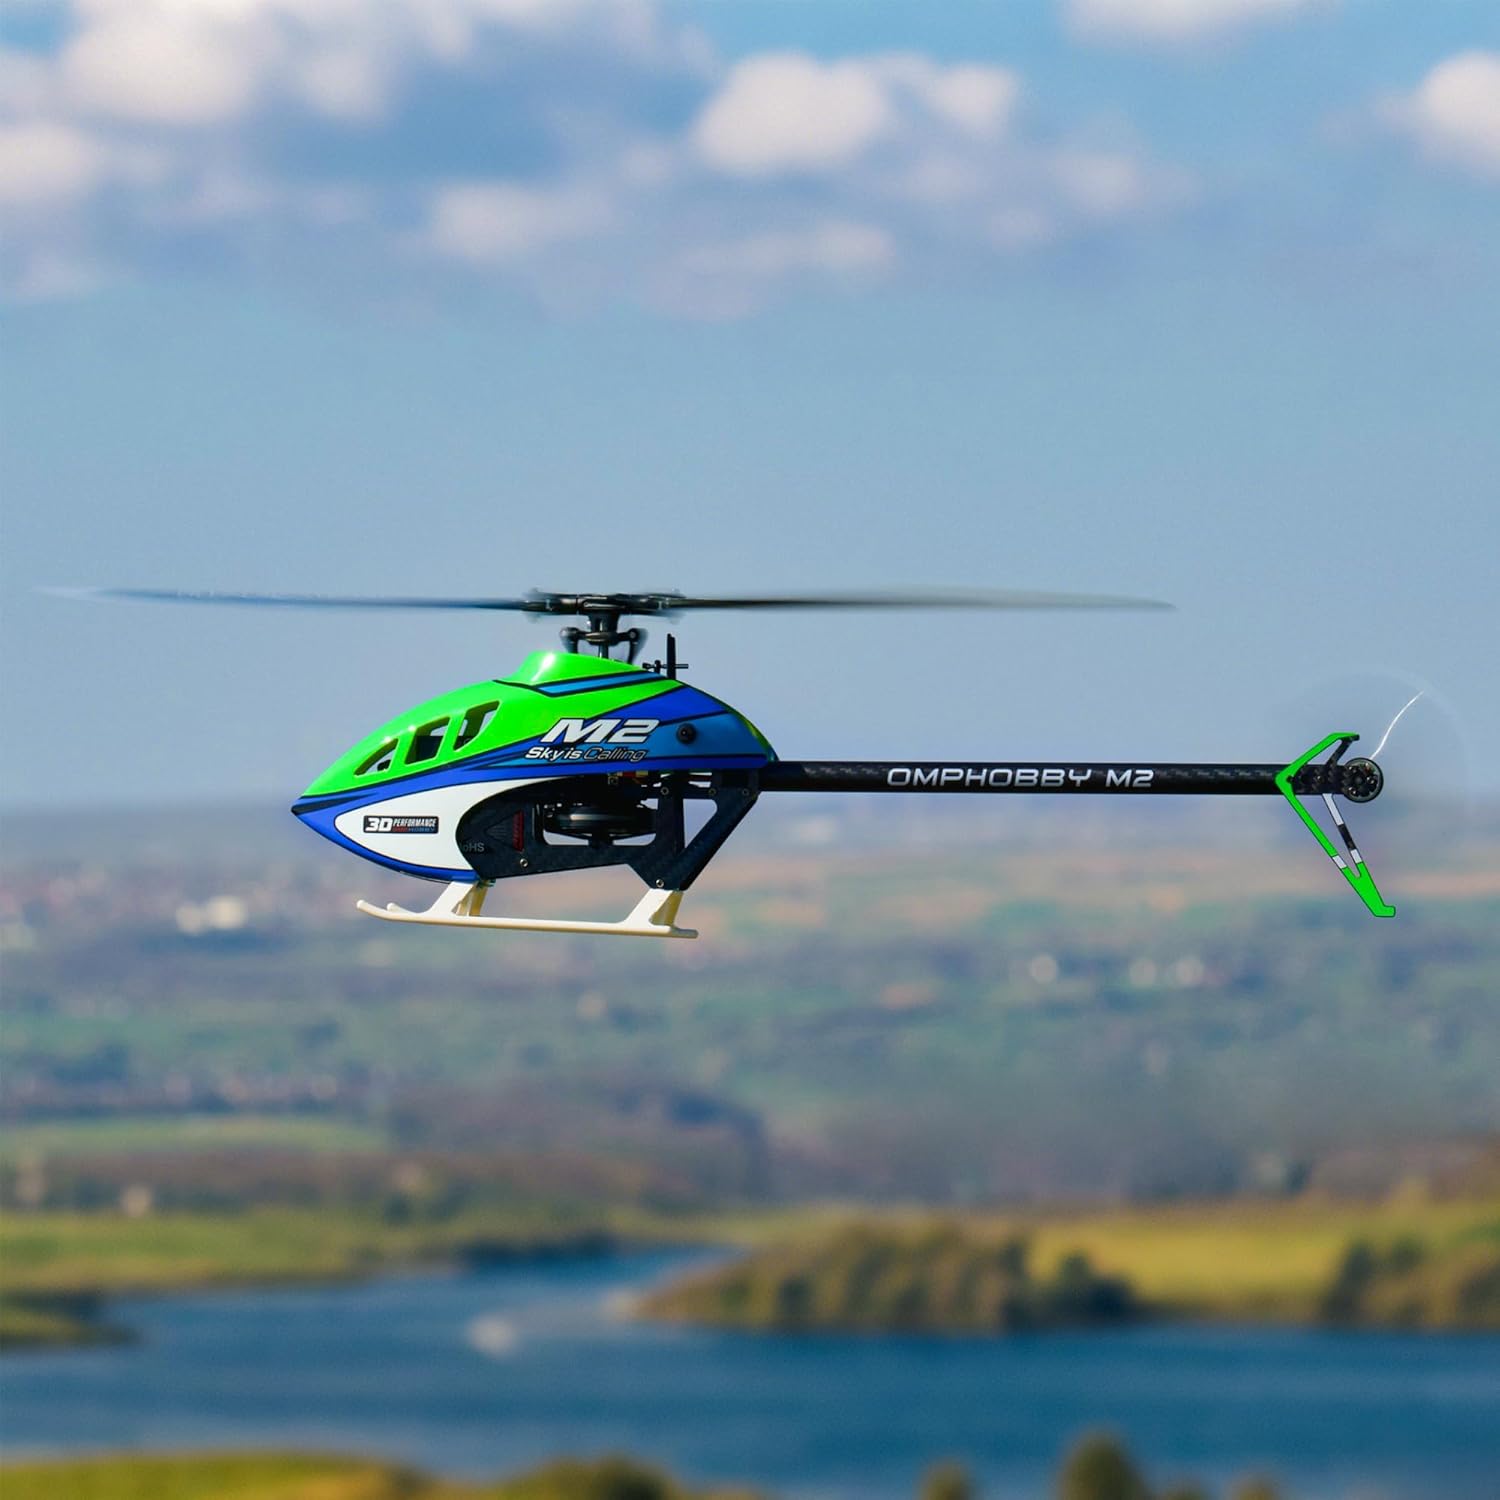
Figure 6.1: M2 V3 PRO in flight.
6.3. Полетање и слетање
- Поставите хеликоптер на равну, хоризонталну површину.
- Slowly increase throttle until the helicopter lifts off smoothly. Maintain a stable hover.
- For landing, gradually reduce throttle while maintaining control, allowing the helicopter to descend gently.
- Once on the ground, fully reduce throttle and disconnect the battery.
7. App Tuning & Telemetry
The OMPHOBBY M2 V3 PRO supports smartphone app tuning and real-time data telemetry, similar to the MK2 model. This feature allows for personalized adjustment of flight parameters and monitoring of critical flight data.
7.1. Повезивање апликације
Download the official OMPHOBBY flight control app from your smartphone's app store. Follow the in-app instructions to connect your smartphone to the helicopter's flight control system via Bluetooth or a dedicated connection module (if required).
7.2. Подешавање параметара
The app provides an interface to adjust various flight parameters, including:
- Gain settings for different axes (roll, pitch, yaw)
- Collective pitch curves
- Flight mode specific settings
- Other advanced tuning options for experienced pilots.

Figure 7.1: App interface for basic flight parameter tuning.

Figure 7.2: App interface for expert flight parameter tuning.
7.3. Real-time Telemetry
The app also displays real-time telemetry data, allowing you to monitor key performance indicators during flight. This includes battery voltage, current draw, motor RPM, and temperature, aiding in performance optimization and flight safety.

Слика 7.3: Прample of real-time telemetry data.
8. Одржавање
Regular maintenance is crucial for the longevity and safe operation of your OMPHOBBY M2 V3 PRO.
- After Each Flight: Inspect main and tail blades for damage. Check for loose screws or connections.
- периодично: Clean the helicopter to remove dust and debris. Check motor and servo functionality. Lubricate moving parts as recommended by OMPHOBBY.
- Замена компоненти: Replace any damaged or worn components immediately with genuine OMPHOBBY parts.

Figure 8.1: Main and tail rotor blades.
КСНУМКС. Решавање проблема
This section addresses common issues you might encounter. For more detailed troubleshooting, refer to the official OMPHOBBY support resources.
| Проблем | Могући узрок | Решење |
|---|---|---|
| Helicopter does not power on | Battery not charged or improperly connected. | Ensure battery is fully charged and correctly connected. Check power switch. |
| Loss of control during flight | Weak transmitter signal, receiver issue, or environmental interference. | Check transmitter battery. Ensure clear line of sight. Avoid areas with strong electromagnetic interference. Re-bind transmitter/receiver. |
| Unstable flight or drifting | Improper flight control settings, damaged blades, or unbalanced helicopter. | Adjust flight parameters via the app. Inspect and replace damaged blades. Ensure helicopter is balanced. |
| Tail rotor not responding | Damaged tail motor or servo, loose connection. | Check tail motor and servo connections. Inspect for physical damage and replace if necessary. |
10. Гаранција и подршка
For warranty information, technical support, and spare parts, please refer to the official OMPHOBBY webсајт или директно контактирајте њихову корисничку службу. Сачувајте доказ о куповини за потребе гаранције.
You can visit the OMPHOBBY store for additional products and support: OMPHOBBY Store
Ask a question about this manual
Ask about setup, troubleshooting, compatibility, parts, safety, or missing instructions. Manuals+ will review the question and use this page’s manual context to help answer it.