
1. Увод
This manual provides comprehensive instructions for the setup, operation, and maintenance of your FLYRUIT Dementia Clock Set. This set includes both a 7-inch black and a 10.1-inch white digital day clock, designed to display time, date, and day of the week clearly. Key features include auto-dimming, six customizable alarms, and remote control operation.
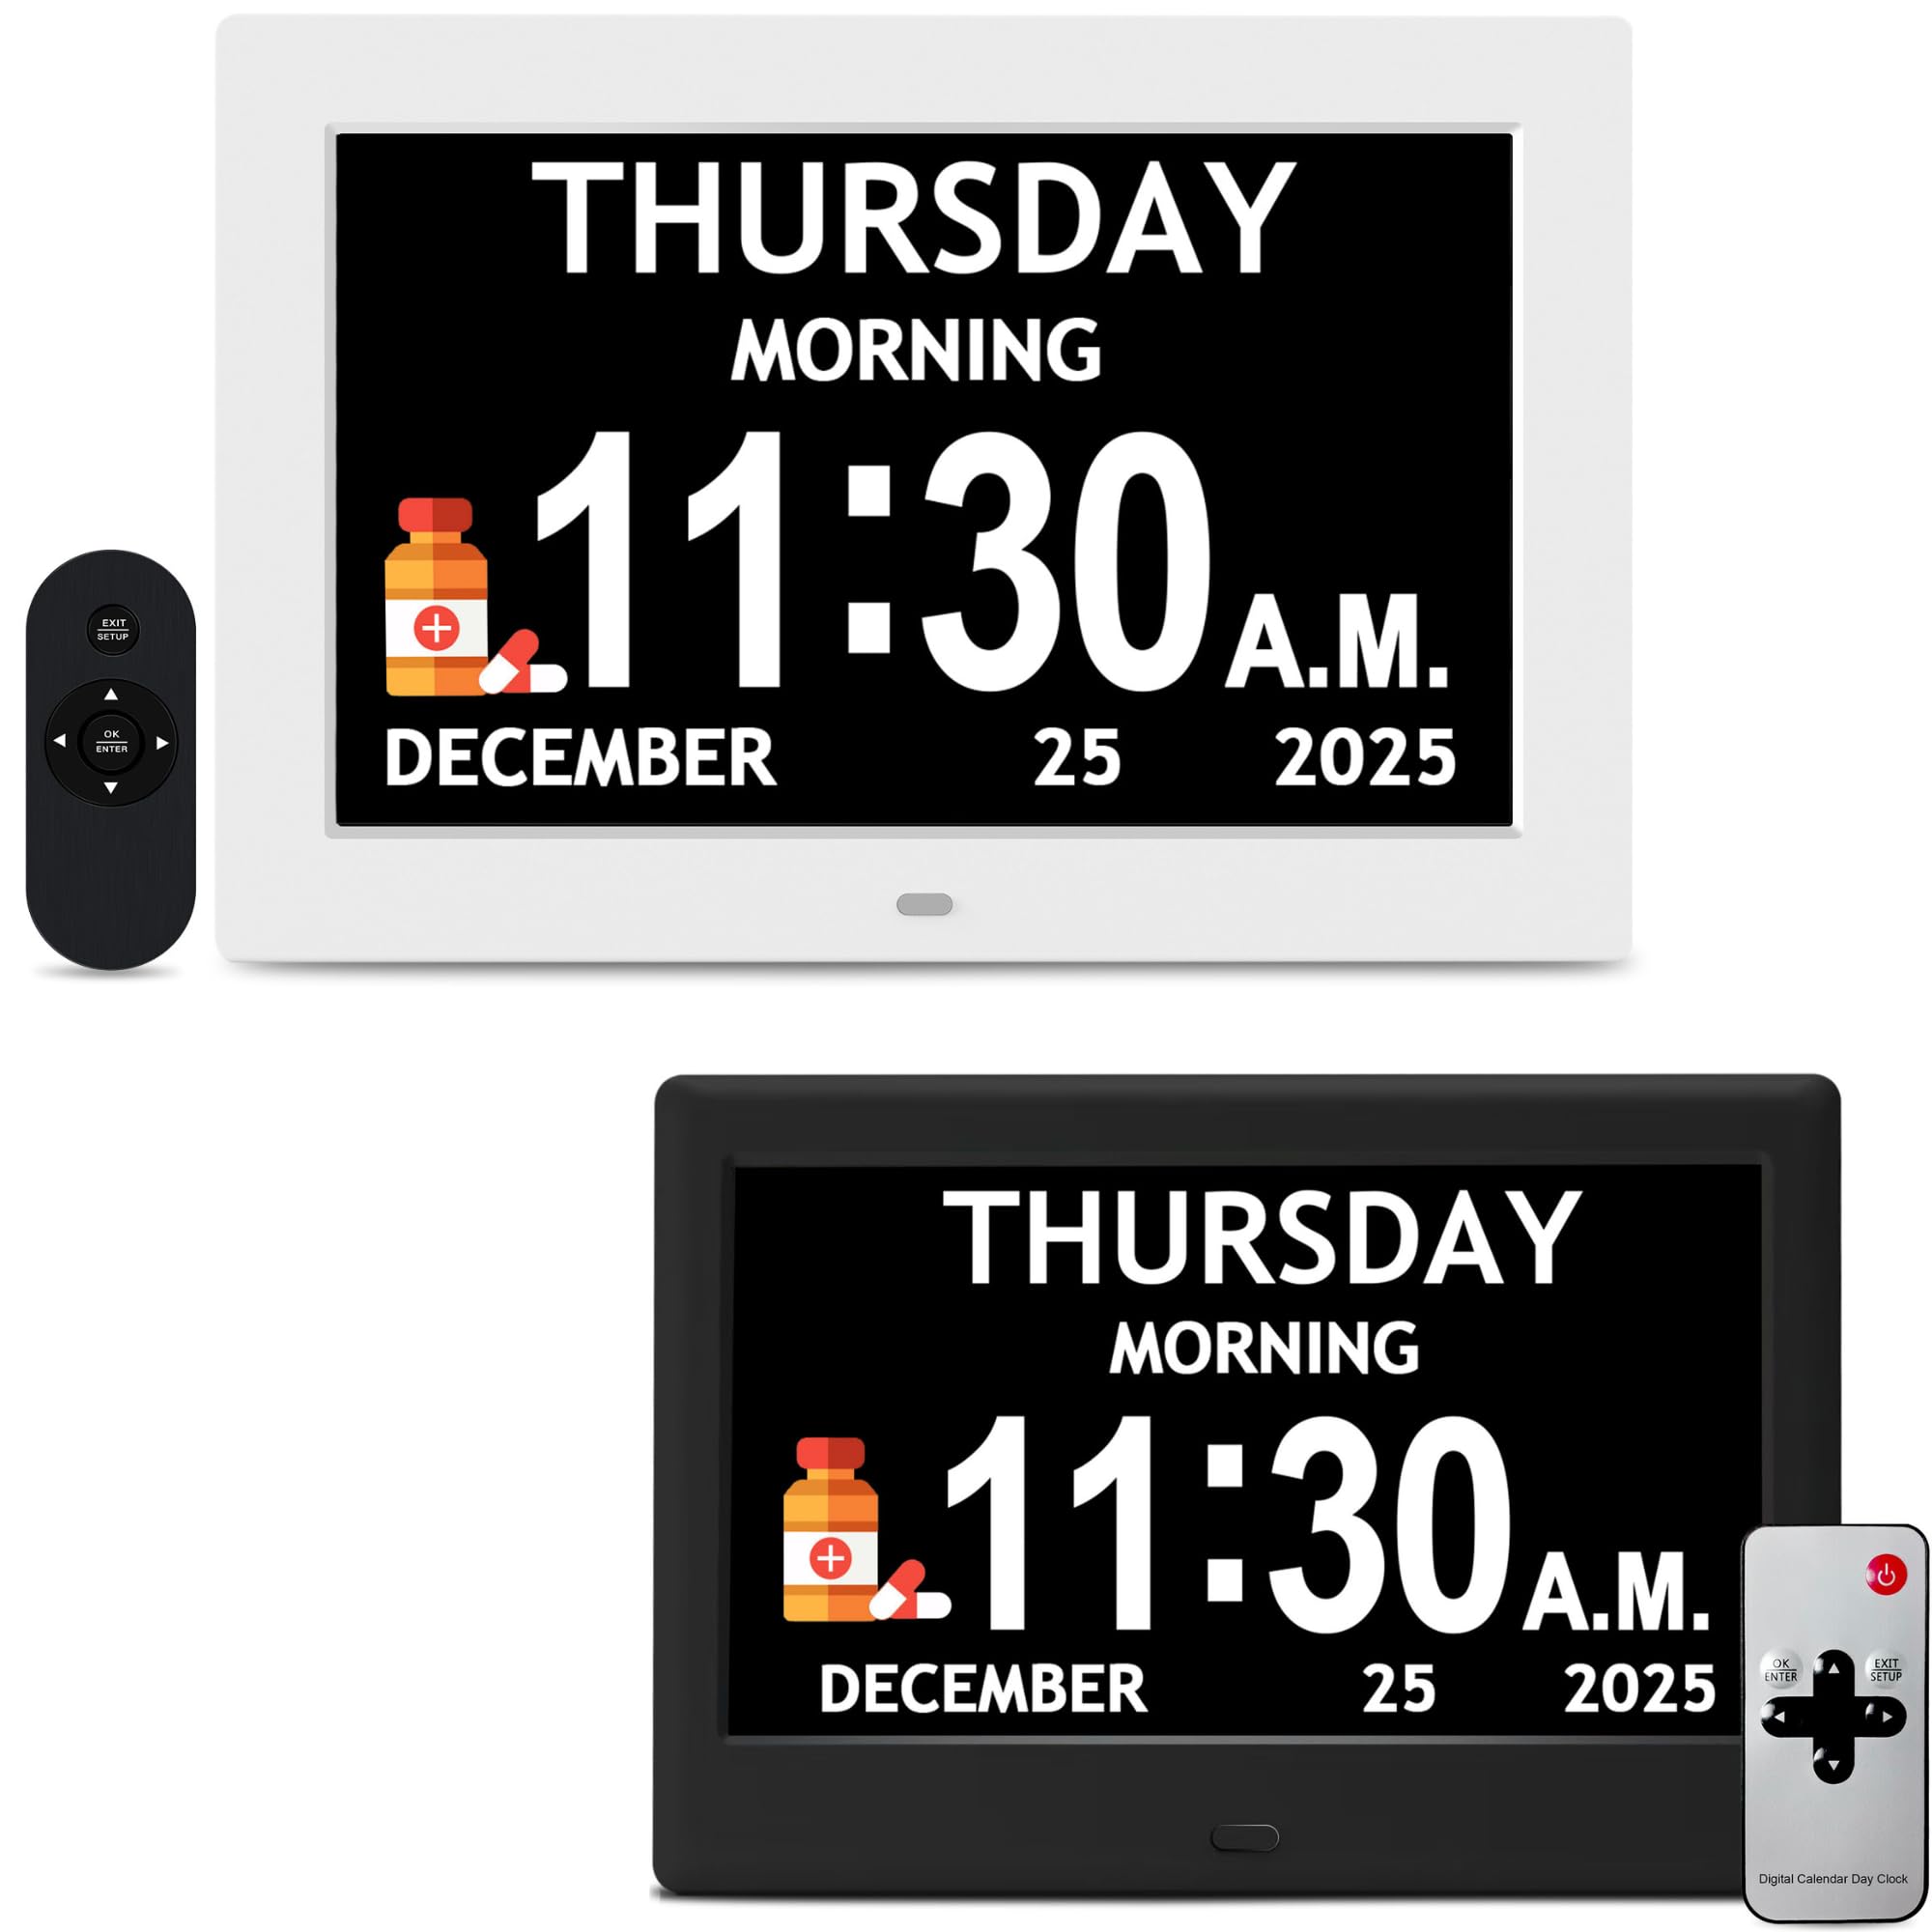
Image 1.1: The 7-inch black digital day clock with its remote control.
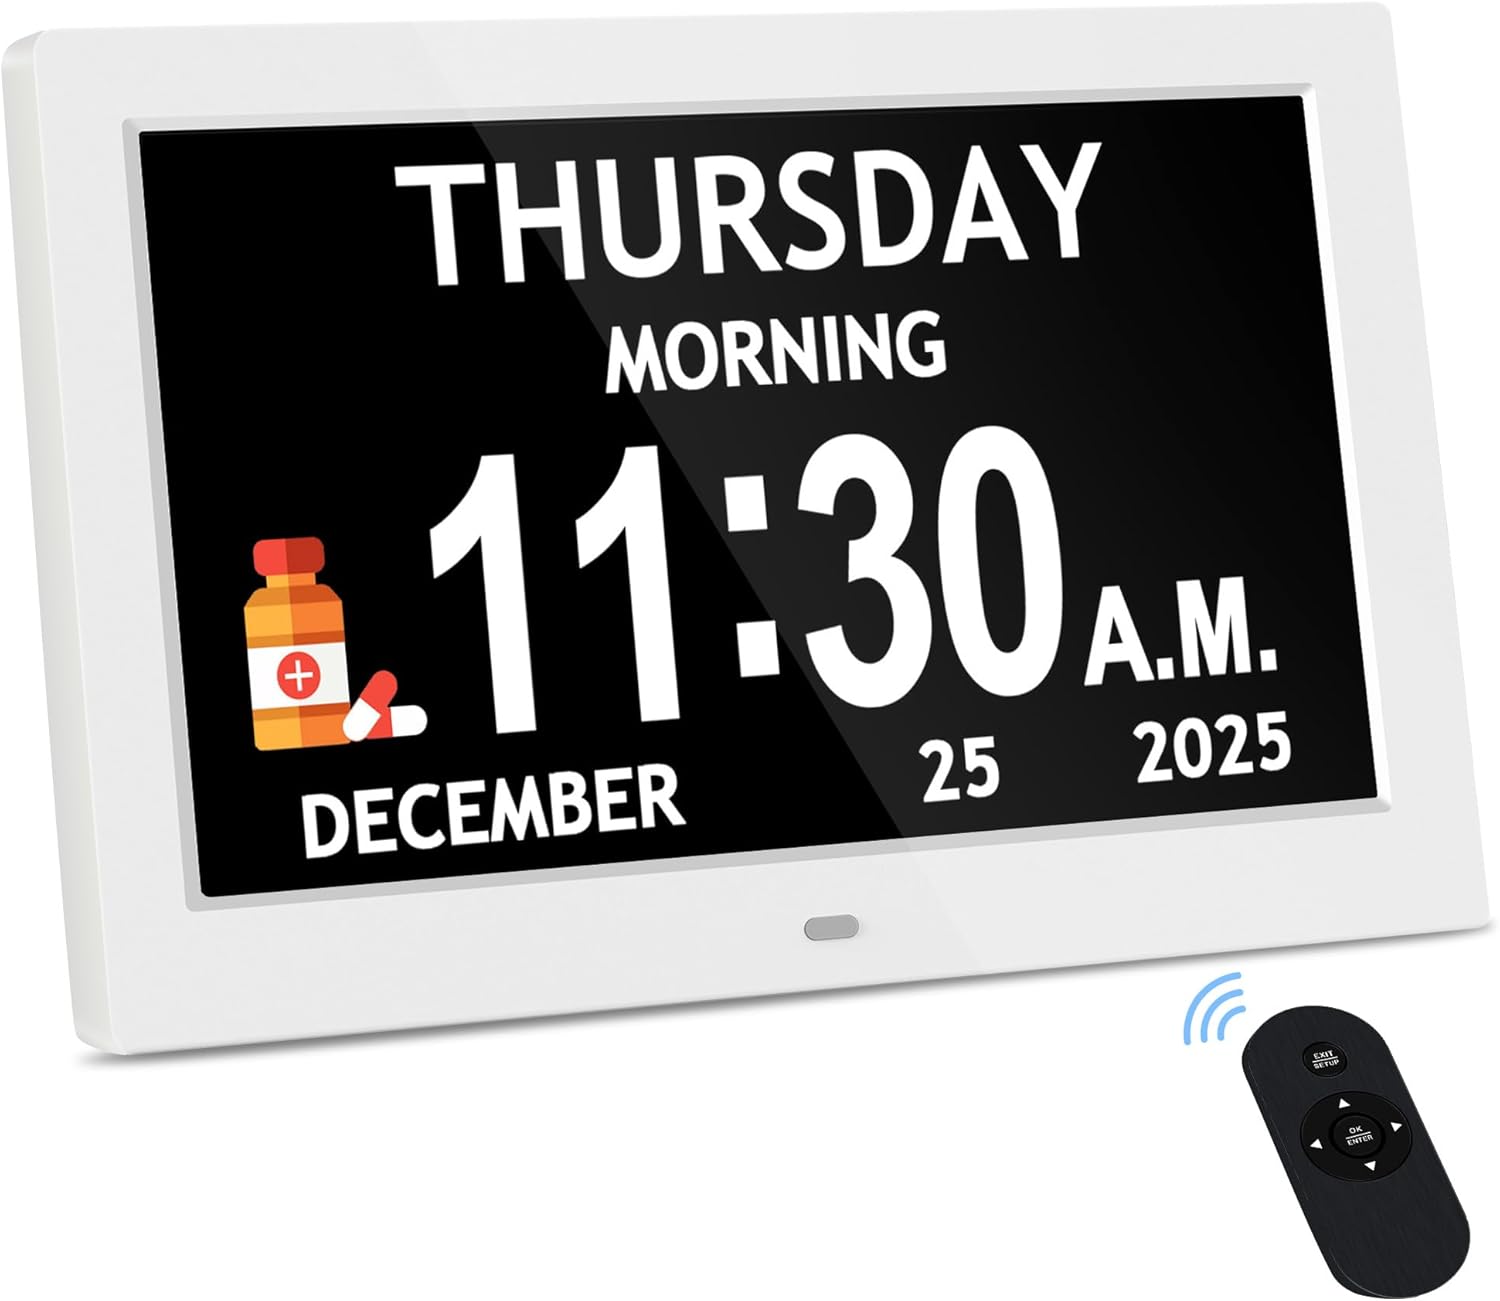
Image 1.2: The 10.1-inch white digital day clock with its remote control.
2. Садржај пакета
Молимо вас да проверите да ли су све ставке присутне у вашем пакету:
- 1 x 7-inch Digital Day Clock (Black)
- 1 x 10.1-inch Digital Day Clock (White)
- 2 к адаптера за напајање
- 2 к даљински управљач
- 2 x Упутства за употребу (овај документ)
3. Подешавање
Follow these steps to set up your FLYRUIT Dementia Clock:
- Распакујте сат: Carefully remove the clock and all accessories from the packaging.
- Прикључите напајање: Insert the power adapter cable into the DC IN port on the back of the clock. Plug the other end of the adapter into a standard electrical outlet. The clock will power on automatically.
- Почетни приказ: Upon first power-on, the clock will display the default time and date. You may need to adjust these settings using the remote control.
- Пласман: Place the clock on a stable, flat surface or mount it on a wall using the integrated mounting holes (mounting hardware not included). Ensure it is in a location where the display is clearly visible.

Image 3.1: The back of the clock with the power input and a view of the remote control for setup.
4. Упутство за употребу
4.1. Basic Operation with Remote Control
The included remote control allows for easy adjustment of settings. Point the remote directly at the clock's sensor for optimal response.
- Дугме за напајање: Turns the clock display on or off.
- Дугме менија: Приступа главном менију подешавања.
- Дугмад са стрелицама (горе/доле/лево/десно): Крећите се кроз опције менија и подешавајте вредности.
- Дугме ЕНТЕР: Потврђује изборе.
- EXIT/STOP Button: Exits the current menu or stops an alarm.
4.2. Подешавање времена и датума
- Притисните тастер МЕНУ дугме на даљинском управљачу.
- Navigate to 'Time Settings' or 'Date Settings' using the arrow buttons and press ЕНТЕР.
- Use the arrow buttons to adjust the hour, minute, year, month, and day. Press ЕНТЕР after each adjustment to move to the next field.
- Once all settings are correct, navigate to 'Save' or press ЕКСИТ да бисте потврдили и изашли из менија.
4.3. Setting Alarms and Reminders
The clock supports 6 separate alarms and 10 customizable reminders.
- Притисните тастер МЕНУ дугме.
- Navigate to 'Alarm Settings' or 'Reminder Settings' and press ЕНТЕР.
- Select an alarm slot (e.g., Alarm 1, Alarm 2) or reminder slot.
- Set the desired time for the alarm/reminder using the arrow buttons and ЕНТЕР.
- Choose the alarm type (e.g., once, daily, weekdays, weekends) and the reminder text (if applicable).
- Ensure the alarm/reminder is set to 'ON'.
- Сачувајте подешавања и изађите из менија.

Image 4.1: The clock displaying a 'Take Medicine' reminder, illustrating the utility of the 6 alarms and 10 reminders for daily routines.
4.4. Auto Dimming and Brightness Adjustment
The clock features smart auto-brightness by default, adjusting the display intensity based on ambient light. You can also manually select from 5 adjustable brightness levels.
- Притисните тастер МЕНУ дугме.
- Navigate to 'Display Settings' or 'Brightness' and press ЕНТЕР.
- Select 'Auto' for automatic adjustment or choose a specific level from 1 to 5.
- Сачувајте подешавања и изађите.

Image 4.2: Illustration of the Smart Auto Brightness feature and the 5 adjustable manual brightness levels.
4.5. Day/Night Clarity Display
The clock's display is designed for optimal readability throughout the day and night, clearly indicating periods like 'Morning', 'Afternoon', 'Evening', 'Night', and 'Before Dawn'.

Слика 4.3: Примерamples of the clock's display for various times of day, ensuring clear readability.
5. Одржавање
Proper care ensures the longevity and optimal performance of your clock.
- Чишћење екрана: Use a soft, dry, lint-free cloth to gently wipe the screen. For stubborn smudges, slightly dampОбришите крпу водом или средством за чишћење екрана. Избегавајте абразивне материјале или јаке хемикалије.
- Генерално чишћење: Обришите ц сатаasinг меком, сувом крпом.
- даљински управљач: If the remote control's response becomes sluggish, replace its batteries (typically 2x AAA, not specified in product details, check remote for battery type).
- Избегавајте течности: Не излажите сат води или прекомерној влази.
- температура: Operate the clock within normal room temperature ranges. Avoid extreme heat or cold.
КСНУМКС. Решавање проблема
If you encounter issues with your FLYRUIT Dementia Clock, refer to the following common problems and solutions:
| Проблем | Могући узрок | Решење |
|---|---|---|
| Сат се не укључује. | Адаптер за напајање није повезан или је утичница неисправна. | Ensure the power adapter is securely plugged into the clock and a working electrical outlet. Try a different outlet. |
| Даљински управљач не реагује. | Low or dead batteries; obstruction between remote and clock sensor. | Replace remote control batteries. Ensure there is a clear line of sight between the remote and the clock's sensor. |
| Аларм се не оглашава. | Аларм није правилно подешен или је јачина звука прениска. | Verify alarm settings in the menu. Ensure alarm volume is not muted or set too low. |
| Екран је превише таман или превише светао. | Brightness settings need adjustment. | Adjust brightness settings manually or select 'Auto' mode in the 'Display Settings' menu. |
| Приказано је погрешно време или датум. | Време/датум није правилно подешено. | Access 'Time Settings' and 'Date Settings' via the menu and adjust as needed. |
7. Спецификације
Key technical specifications for the FLYRUIT Dementia Clock Set:
- Display Sizes: КСНУМКС-инцх и КСНУМКС-инцх
- Тип приказа: Дигитални ИПС екран
- Резолуција: 1280 x 800 HD (for 10.1-inch model, typical for similar 7-inch models)
- Карактеристике: Large Digital Display, Date/Time, Auto Dimming, 6 Alarms, 10 Reminders, Remote Control, Extra Large Font, Dual Controls
- ASIN: B0FF51TDXS
- Прво доступно: 5. маја 2025. године

Image 7.1: The 10.1-inch clock showcasing its display size, resolution, and other features.

Image 7.2: Size comparison between the 10.1-inch and 7-inch digital day clocks.
8. Информације о гаранцији
Specific warranty details for the FLYRUIT Dementia Clock Set are typically provided with the product packaging or available directly from the manufacturer or seller. Please refer to the documentation included with your purchase or contact FLYRUIT customer support for detailed warranty terms and conditions.
9. Корисничка подршка
For further assistance, technical support, or inquiries regarding your FLYRUIT Dementia Clock Set, please contact the seller or manufacturer through the platform where the product was purchased. Have your product model and ASIN (B0FF51TDXS) ready when contacting support.
10. Званични видео снимци производа
Тренутно нису били доступни званични видео снимци производа од продавца за уграђивање.