
Увод
This manual provides essential instructions for the proper setup, operation, and maintenance of your PUR 8-Cup Slim Water Filter Pitcher. Please read this manual thoroughly before using the product to ensure optimal performance and longevity.
The PUR 8-Cup Slim Water Filter Pitcher is designed to provide cleaner, great-tasting water by reducing various chemical and physical substances, including chlorine. Its slim design allows for efficient use of space in various environments.
Садржај пакета
Приликом распакивања, проверите да ли су присутне све доле наведене ставке:
- 1 PUR 8-Cup Slim Water Filter Pitcher
- 1 PUR Water Filter
- 1 Owner's Manual (this document)
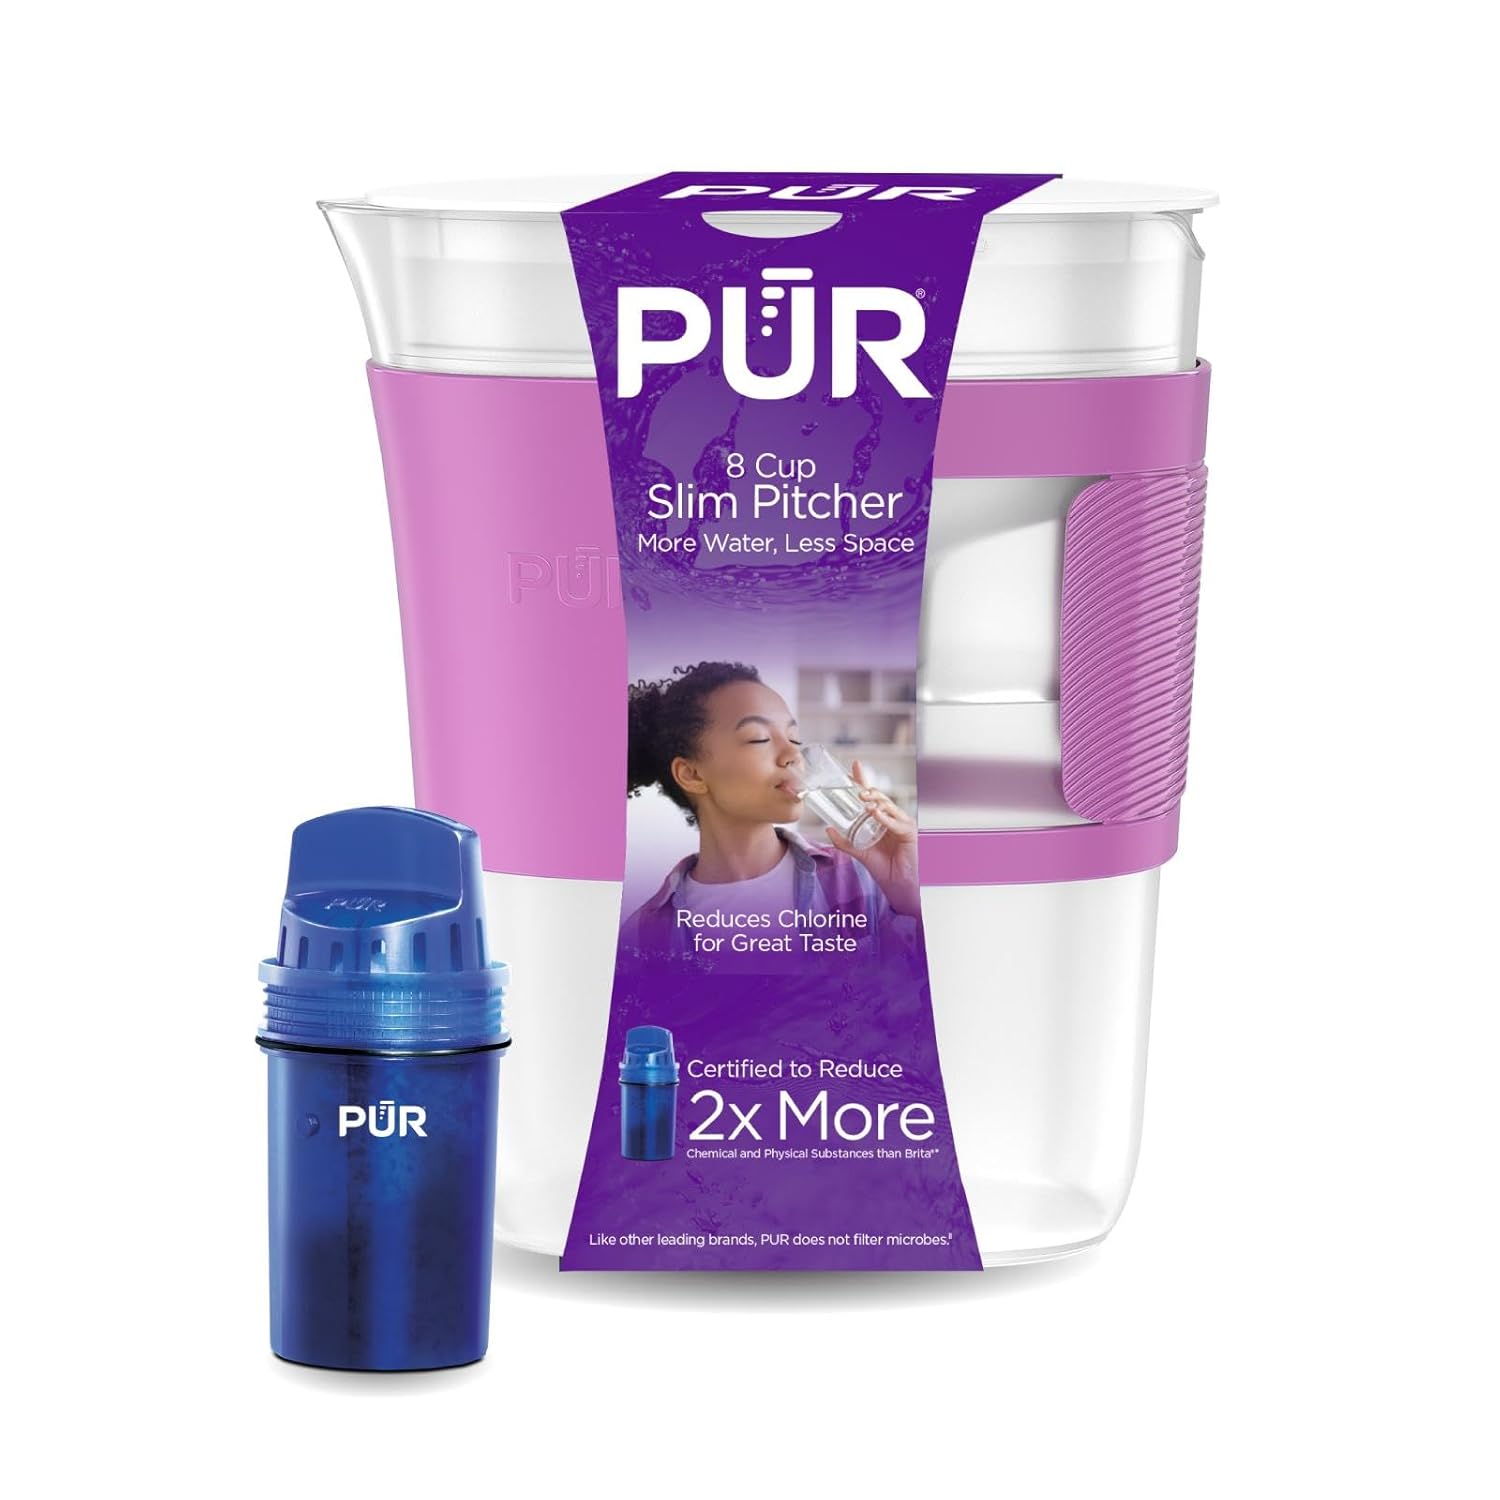
Image: The PUR 8-Cup Slim Water Filter Pitcher shown with its included filter.
Упутства за подешавање
- Распакујте компоненте: Пажљиво уклоните све делове из паковања.
- Wash Pitcher Components: Wash the pitcher, lid, and sleeve with mild soap and water. All components, except the filter, are dishwasher safe. Ensure they are thoroughly rinsed.
- Припремите филтер: Remove the PUR filter from its packaging. Rinse the filter under cold tap water for 15 seconds. This helps to remove any loose carbon dust.
- Инсталирај филтер: Insert the rinsed filter into the designated opening in the pitcher's reservoir. Twist or push down firmly to ensure a secure, leak-free fit.
- Почетна филтрација: Fill the top reservoir with cold tap water. Allow the water to filter through completely. Discard the first two pitchers of filtered water. This primes the filter and removes any remaining carbon dust.
- Спреман за употребу: Your PUR Slim Water Filter Pitcher is now ready for use.

Image: Visual guide showing the pitcher being filled, water being consumed, and filtered water being used for cooking.
Упутство за употребу
Using your PUR Slim Water Filter Pitcher is straightforward:
- Напуните резервоар: Open the lid and pour cold tap water into the upper reservoir. Do not overfill.
- Процес филтрације: The water will slowly pass through the filter into the lower pitcher section. The fast-acting filter reduces wait time.
- Изливање: Once the water has filtered, you can pour it directly from the pitcher. The re-designed sleeve and secure lid allow for precise pouring, even if there is still water in the upper reservoir.
- Складиштење: Store the pitcher in your refrigerator for chilled, filtered water. Its slim design is ideal for fitting into mini-fridge doors or narrow countertop spaces.

Image: The PUR pitcher fits conveniently in a mini-fridge, highlighting its compact size.

Image: The pitcher's slim design allows it to fit neatly in tight spaces on a kitchen counter.
Одржавање
Чишћење бокала
All parts of the PUR Slim Water Filter Pitcher, except the filter, are dishwasher safe. For manual cleaning:
- Disassemble the pitcher by removing the lid, filter, and sleeve.
- Wash the pitcher body, lid, and sleeve with warm water and mild dish soap.
- Темељно исперите све компоненте да бисте уклонили остатке сапуна.
- Оставите делове да се потпуно осуше на ваздуху пре поновног састављања.

Image: The pitcher's components are shown in a dishwasher, illustrating its dishwasher-safe feature.
Замена филтера
The PUR filter should be replaced approximately every 2 months or after filtering 40 gallons of water, whichever comes first. This ensures optimal filtration performance.
- Remove the old filter from the reservoir.
- Одбаците стари филтер.
- Prepare the new filter by rinsing it under cold tap water for 15 seconds.
- Insert the new filter into the reservoir opening, ensuring a snug fit.
- Filter and discard the first two pitchers of water to prime the new filter.
Replacement filters are available from PUR retailers. Look for PUR pitcher filters, such as the PUR PLUS filter (PPF900Z2 or PPF900Z3 for multi-packs).

Image: Information on the PUR PLUS filter, which is compatible with this pitcher.
Решавање проблема
| Проблем | Могући узрок | Решење |
|---|---|---|
| Slow filtration rate | Filter may be clogged or nearing end of life. | Replace the filter. Ensure the filter was properly rinsed before installation. |
| Water tastes or smells unusual | Filter needs replacement or was not properly primed. | Replace the filter. Ensure the first two pitchers of filtered water were discarded after new filter installation. |
| Water leaks from filter area | Филтер није правилно постављен. | Remove and re-insert the filter, ensuring it is twisted or pushed down firmly for a secure seal. |
| Difficulty pouring when upper reservoir is full | This design allows pouring while filtering. Ensure the lid is securely in place. | The lid is designed to prevent spills during pouring even with water in the upper chamber. Ensure the lid is properly aligned and sealed. |
Спецификације
| Феатуре | Детаљ |
|---|---|
| Број модела | PPT650U |
| Капацитет | 8 Цупс |
| Димензије производа (Д к Ш к В) | 8.27 cm x 3.62 cm x 10.12 cm |
| Тежина артикла | 1.43 фунти |
| Посебне карактеристике | Dishwasher Safe (excluding filter), Space Saving Design |
| Подржани максимални ниво TDS воде | 600 ППМ |
| УПЦ | 328785012668 |
Гаранција и подршка
For warranty information and customer support, please refer to the official PUR website or contact PUR customer service directly. Details are typically provided on the product packaging or the manufacturer's webсајту.
You can visit the official PUR store for more information and to purchase replacement filters: PUR Official Store