
1. Безбедносне информације
УПОЗОРЕЊЕ: Опасност од струјног удара
- Before installing this ceiling fan, disconnect the power supply by turning off the circuit breaker.
- Сви електрични прикључци морају бити у складу са локалним и националним електричним кодексом (НЕЦ) стандардима и АНСИ/НФПА 70.
- Обратите се квалификованом електричару ако нисте упознати са правилним прикључцима електричних инсталација.
- Немојте мењати, поново лоцирати или уклањати ожичење када ништа не крене наопако са производом.
- Двапут проверите све прикључке и завртње да бисте били сигурни да су затегнути и исправни.
- Проверите да ли је залиха волtage is correct (120V) by comparing it with the product information.
- To avoid fire, shock, and serious personal injury, please read all instructions carefully.
- Make sure the installation site allows a minimum of 7.5 feet from the blades to the floor.
- Use a conventional on/off switch. Do not use gear switches or dimmer switches.
2. Package Contents (Accessories List)
Please check the contents of your package against the list below to ensure all parts are present before beginning installation.
- Склоп мотора плафонског вентилатора
- 3 Wood Blades
- Downrod (White)
- Надстрешница
- Цанопи Цовер
- Децоративе Цовер
- Носач вешалица
- Remote Control (2 included for 2-pack)
- Прибор за монтажу (шрафови, навртке за жицу итд.)
- Упутство за употребу

Image: All components of the addlon 52-inch White Wood Blade Ceiling Fan.
3. Подешавање (инсталација)
Follow these steps carefully for proper installation. It is recommended to watch the installation video for visual guidance.
- Separate Mounting Bracket: Separate the mounting bracket from the canopy.
- Secure Hanger Bracket: According to your ceiling type, choose the appropriate screws to secure the provided addlon hanger bracket to the ceiling junction box.
- Prepare Downrod: String the decorative cover, canopy cover, and canopy onto the downrod.
- Remove Motor Protection Plates: Carefully remove the 3 motor protection plates from the fan motor assembly.
- Attach Downrod to Motor: Thread the electrical cord through the downrod. Then, plug the pin into the motor, insert the fixing back, and tighten the screws to secure the downrod to the motor.
- Hang Motor Assembly: Hang the downrod and motor assembly to the ceiling bracket. Ensure the downrod ball engages the ridge on the hanger bracket for secure placement.
- Уметните пријемник: Insert the receiver into the bracket for wiring.
- Жичне везе: Повежите жице на следећи начин:
- Green Wire: Connect to the Ground wire.
- White Wire: Connect to the Neutral wire.
- Black Wire: Connect to the Live wire.
- Безбедна надстрешница: Slide up the canopy and tighten the screws, then push the canopy cover upward until it sits flush.
- Инсталирајте лопатице: Install each blade with 2 screws. Don't forget that spacers are required on all screws for proper alignment and stability.
- Завршно затезање: Install all 3 blades and tighten all 6 screws to ensure the stability of the fan.
Video: Detailed installation guide for the addlon 52-inch Wood Ceiling Fan (No Light).
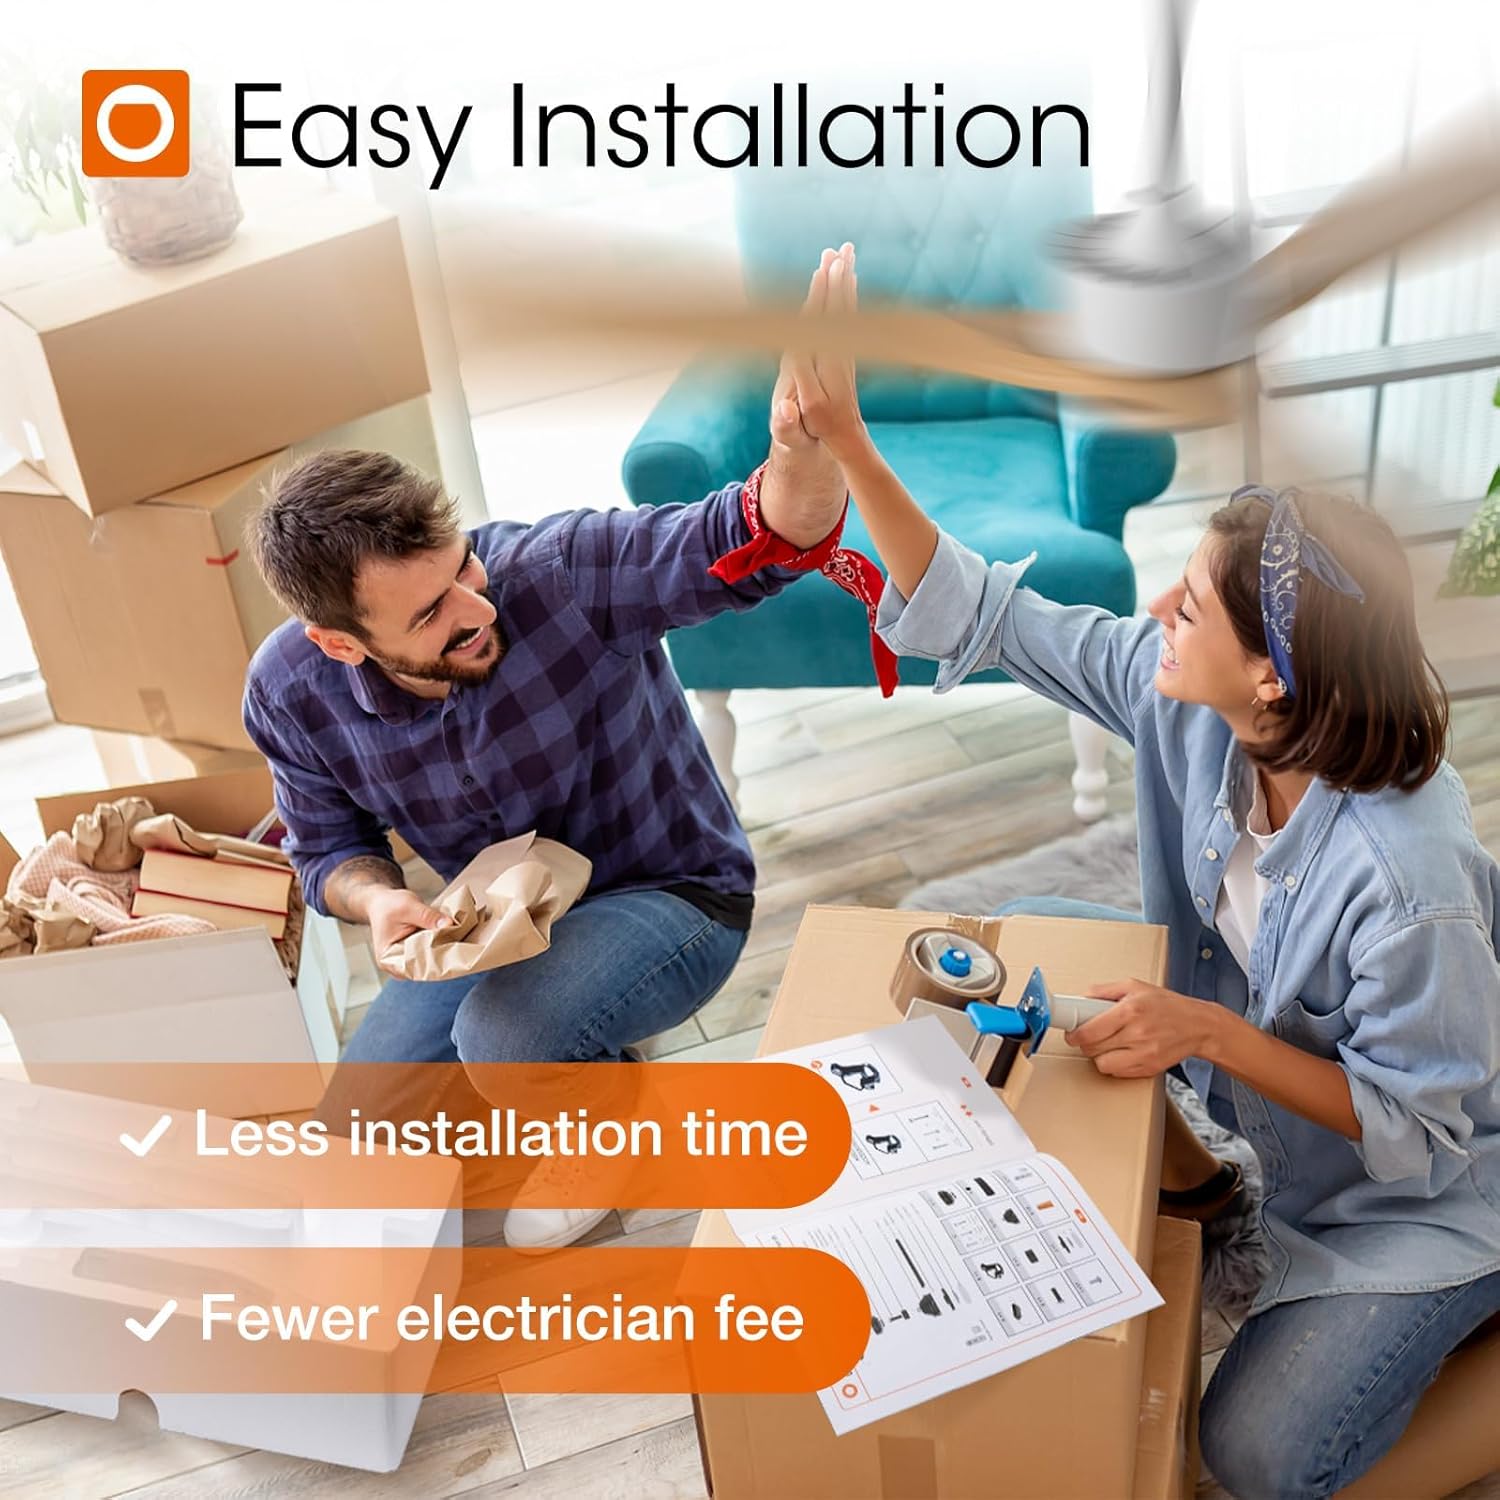
Image: Illustration of the easy installation process, highlighting reduced time and electrician fees.
4. Упутство за употребу
Your addlon ceiling fan comes with a remote control for convenient operation of all functions.
- Укључивање/искључивање: Притисните дугме за напајање на даљинском управљачу да бисте укључили или искључили вентилатор.
- Брзина вентилатора: Adjust the fan speed with 6 levels using the dedicated speed buttons (1-6) on the remote.
- Реверзибилни једносмерни мотор: Use the reverse button on the remote to change the direction of the fan blades. This feature helps circulate air to keep you cool in summer (forward mode) and warm in winter (reverse mode).
- Функција тајмера: Set the fan to automatically turn off after 1, 2, 4, or 8 hours using the timer buttons on the remote.
- Функција меморије: The fan has a memory function that will recall the last used speed setting when turned back on.

Image: The remote control allows for easy adjustment of fan speed, direction, and timer settings.
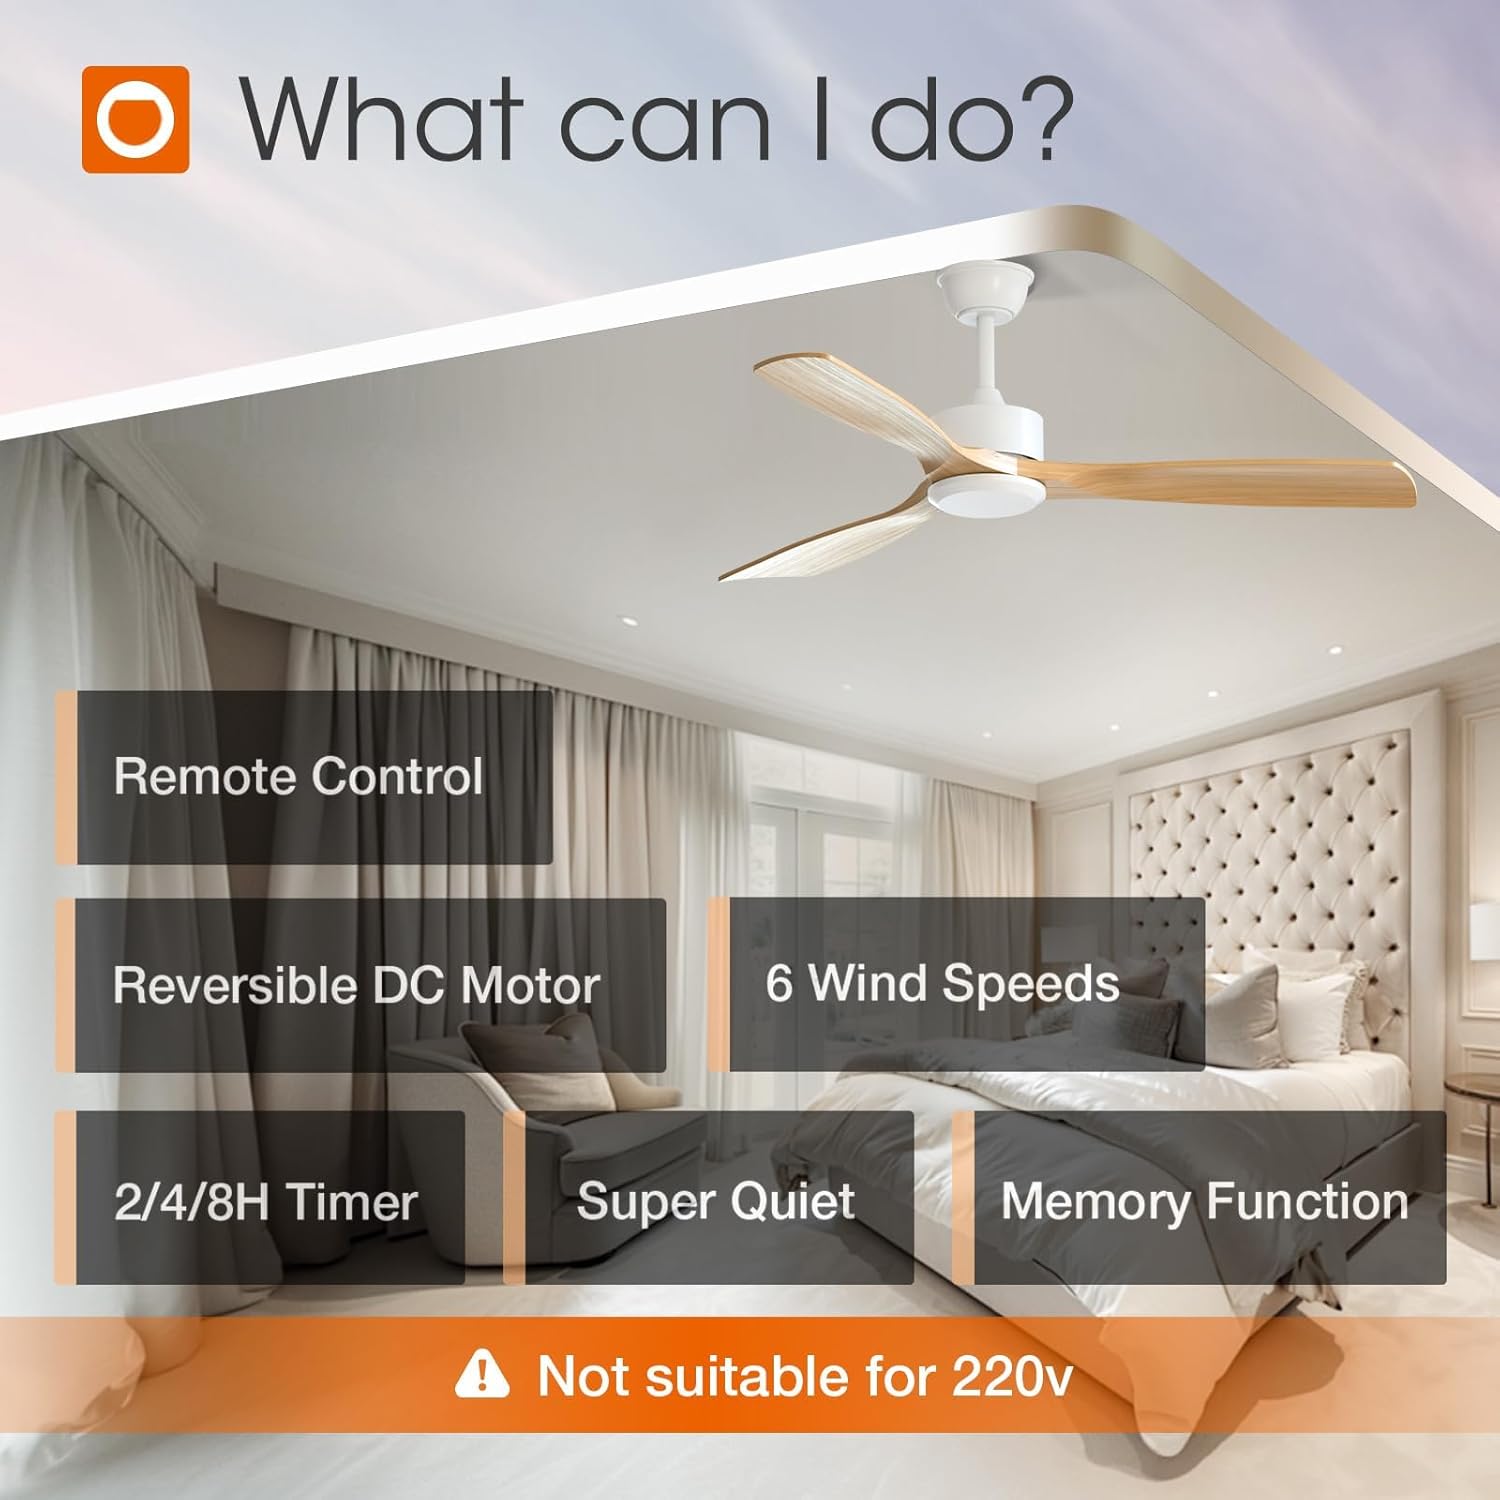
Image: Visual representation of the 6 selectable wind speeds: low comfortable, medium natural, and high cooling wind.

Image: Diagram illustrating the reversible DC motor function for optimal air circulation in both summer and winter.
5. Одржавање
Редовно одржавање осигурава оптималне перформансе и дуготрајност вашег плафонског вентилатора.
- Чишћење: Да бисте очистили вентилатор, обришите га меком крпомamp cloth. Do not use abrasive cleaners or solvents. Ensure the power is off before cleaning.
- Инспекција сечива: Periodically check the fan blades for any dust buildup or damage. Clean the blades gently to maintain balance and airflow.
- Затегните завртње: Over time, screws may loosen. Periodically check and tighten all screws on the motor housing and blade attachments to prevent wobbling and noise.
- Подмазивање мотора: ДЦ мотор је трајно подмазан и не захтева додатно подмазивање.
КСНУМКС. Решавање проблема
If you encounter any issues with your addlon ceiling fan, refer to the following common troubleshooting steps:
- Вентилатор се не покреће:
- Check if the power is turned on at the circuit breaker and wall switch.
- Ensure all wire connections are secure and correct as per installation instructions.
- Проверите да ли су батерије даљинског управљача испражњене и да ли су правилно уметнуте.
- Fan Wobbly:
- Check that all blade screws are tightened securely.
- Ensure the mounting bracket is firmly attached to the ceiling junction box.
- Verify that the downrod ball is properly seated in the hanger bracket.
- Бучна операција:
- Confirm all screws are tight. Loose parts can cause vibration and noise.
- Check for any obstructions in the fan's path.
- Ensure the fan is installed on a flat, stable surface.
- Даљински управљач не ради:
- Замените батерије у даљинском управљачу.
- Ensure there are no obstructions between the remote and the fan receiver.
- If controlling multiple fans, ensure each remote is paired correctly or that you are using the correct remote for the intended fan.
If the problem persists after trying these steps, please contact addlon customer support.
7. Спецификације
| Бранд | аддлон |
| Број модела | KDM52WOO3B03R0-D |
| Боја | White-Downrod Mount |
| Дизајн електричног вентилатора | Плафонски вентилатор |
| Извор напајања | AC |
| Димензије производа | 52"Д к 52"Ш к 15.75"В |
| Тип собе | Bedroom, Dining Room, Home Office, Living Room, Patio |
| Посебна карактеристика | 6 speed, Quiet Operation, Remote Controlled, Reversible |
| Тип монтаже | Ceiling Mount (Downrod) |
| Тип контролера | Ремоте Цонтрол |
| Број брзина | 6 |
| Ниво буке | 35 децибела |
| Ватtage | 50 вати |
| Број оштрица | 3 |
| Капацитет протока ваздуха | 3288 Cubic Centimeters Per Minute |
| Волtage | 120 Волтс |
| Унутрашња употреба на отвореном | У затвореном, на отвореном |
| Материјал | Дрво |
| Спецификација Мет | ЕТЛ |

Image: Detailed dimensions of the addlon 52-inch ceiling fan and recommended room sizes.
8. Гаранција и подршка
addlon is committed to providing high-quality products and excellent customer service.
- Гаранција на мотор: We offer up to 120 months (10 years) warranty on the motor.
- Гаранција вентилатора: A 2-year warranty is provided on the rest of the fan components.
- Корисничка подршка: We offer 24-hour customer support. Please feel free to contact us with any questions you may have during installation or use, and we will be happy to assist you.

Image: After-sales information detailing warranty periods for the fan and motor.