1. Увод
This manual provides detailed instructions for the setup, operation, maintenance, and troubleshooting of your Sharkoon Light² 200 Gaming Mouse. Please read this manual thoroughly before using the device to ensure optimal performance and longevity.
2. Садржај пакета
Проверите да ли су све ставке присутне у пакету:
- Sharkoon Light² 200 Gaming Mouse
- Interchangeable Solid Top Cover (7g)
- Set of Replacement PTFE Glide Feet
- Упутство за употребу
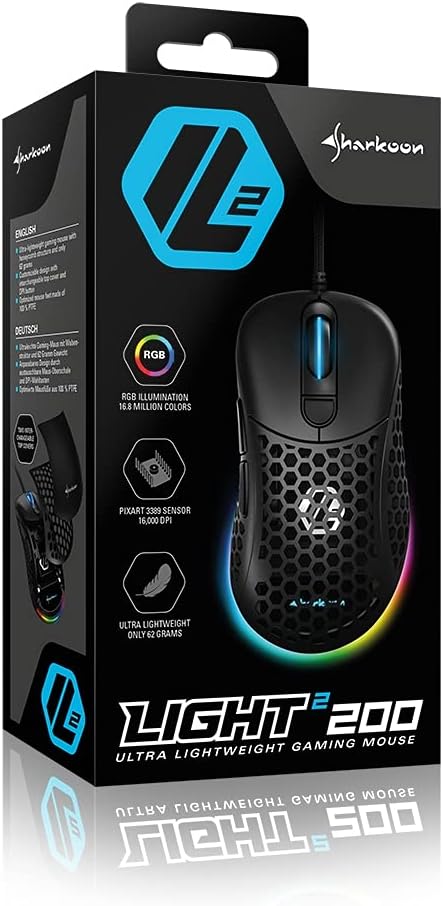
Image: The retail packaging for the Sharkoon Light² 200 Gaming Mouse, showing the mouse and its key features.
3. Подешавање
3.1 Повезивање миша
- Unpack the Sharkoon Light² 200 Gaming Mouse from its packaging.
- Укључите УСБ конектор кабла миша у слободан УСБ порт на рачунару.
- Оперативни систем ће аутоматски открити и инсталирати потребне драјвере.

Image: The Sharkoon Light² 200 Gaming Mouse with its USB cable, ready for connection to a computer.
3.2 Инсталација софтвера
For full customization and access to all features, download and install the Sharkoon gaming software from the official Sharkoon website. The software allows for DPI adjustments, button programming, and RGB lighting control.
- Visit the official Sharkoon webсајту.
- Navigate to the support or downloads section for the Light² 200 Gaming Mouse.
- Download the latest version of the gaming software.
- Пратите упутства на екрану да бисте довршили инсталацију.
4. Управљање мишем
4.1 Основне функције
The Light² 200 features standard mouse buttons and a scroll wheel:
- Леви клик: Примарно дугме за акцију.
- Десни клик: Дугме за секундарну акцију, обично за контекстне меније.
- Точак за померање: For vertical scrolling. Can also be pressed for a middle-click function.
- Бочна дугмад: Two buttons located on the left side, typically for 'forward' and 'back' navigation.
- Дугме ДПИ: Located behind the scroll wheel, used to cycle through DPI settings.

Слика: Са стране view of the Sharkoon Light² 200 Gaming Mouse, highlighting the two programmable side buttons and the honeycomb structure.
4.2 ДПИ подешавање
The optical PixArt sensor supports up to 16,000 DPI. You can adjust the DPI sensitivity using the dedicated DPI button behind the scroll wheel or through the Sharkoon gaming software. The RGB lighting on the scroll wheel and rear of the mouse indicates the current DPI profile.
4.3 Програмабилна дугмад
The Light² 200 features six programmable buttons. Use the Sharkoon gaming software to assign custom functions, macros, or key bindings to these buttons for an optimized gaming experience.
4.4 Прилагођавање RGB осветљења
The mouse features adjustable RGB illumination on the scroll wheel and the back end. The gaming software allows you to customize colors, effects, and brightness to match your preferences or gaming setup.
4.5 Modular Design: Changing the Top Cover
The Light² 200 has a modular design, allowing you to change the top surface. The default honeycomb top cover can be replaced with a closed 7-gram alternative for a different feel or aesthetic.
- Gently lift the rear edge of the honeycomb top cover to detach it. It is held by magnets.
- Align the replacement solid top cover with the mouse body and gently press it down until the magnets secure it in place.

Image: The Sharkoon Light² 200 Gaming Mouse with its honeycomb top cover removed, revealing the internal structure and magnetic attachment points.
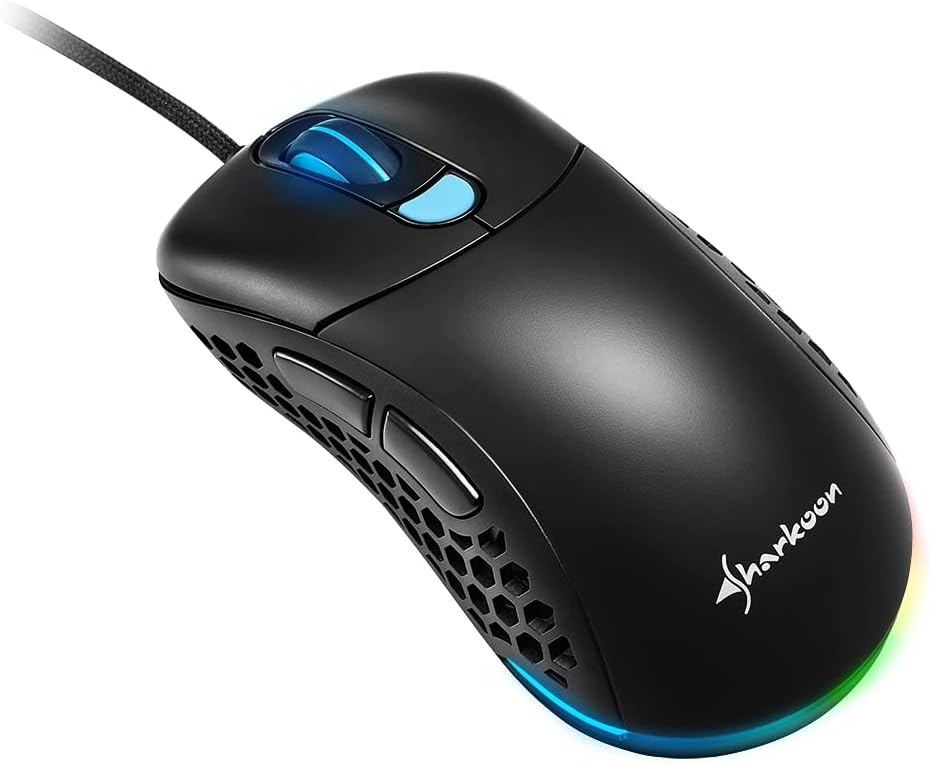
Image: The Sharkoon Light² 200 Gaming Mouse with the alternative solid top cover installed, providing a different aesthetic and feel.
5. Одржавање
5.1 Чишћење миша
Да бисте одржали оптималне перформансе, редовно чистите миш:
- Искључите миш из рачунара.
- Користите меку, суву крпу да обришете површину миша.
- За тврдокорну прљавштину, благо дampОбришите крпу водом или благим раствором за чишћење. Избегавајте јаке хемикалије.
- Use compressed air to clear dust from the honeycomb structure and around buttons.
- Clean the optical sensor area with a cotton swab lightly dampнапуњен изопропил алкохолом.
5.2 Replacing PTFE Glide Feet
The PTFE glide feet ensure smooth movement. If they become worn, replace them using the included spare set:
- Carefully peel off the old PTFE feet using a thin, non-abrasive tool.
- Clean the surface where the feet were attached to ensure no residue remains.
- Peel the new PTFE feet from their backing and carefully apply them to the corresponding areas on the mouse's underside.
- Чврсто притисните да бисте осигурали правилно приањање.

Image: The underside of the Sharkoon Light² 200 Gaming Mouse, showing the optical sensor, the DPI switch, and the four white PTFE glide feet.
КСНУМКС. Решавање проблема
- Миш не реагује:
- Ensure the USB cable is securely connected to a working USB port.
- Try connecting the mouse to a different USB port or another computer to rule out port or system issues.
- Поново покрените рачунар. - DPI settings not changing:
- Ensure the Sharkoon gaming software is installed and running.
- Check if the DPI button is functioning correctly. - RGB осветљење не ради или је неисправно:
- Verify that the Sharkoon gaming software is installed and that lighting settings are configured correctly.
- Ensure the mouse is properly connected. - Mouse movement is erratic or imprecise:
- Очистите оптички сензор на доњој страни миша.
- Ensure you are using the mouse on a suitable surface (e.g., a mouse pad).
- Check for any physical obstructions around the sensor. - Дугмад не реагују:
- Check button assignments in the Sharkoon gaming software.
- Ensure no physical debris is obstructing the button mechanism.
7. Спецификације
| Феатуре | Детаљ |
|---|---|
| Назив модела | Лигхт² 200 |
| Број модела ставке | 4044951029013 |
| Димензије производа | 4.72 к 2.6 к 1.65 инча (120 к 66 к 42 мм) |
| Тежина артикла | 2.19 унце (62 грама) |
| Технологија детекције покрета | Optical (PixArt Sensor) |
| Мак ДПИ | 16,000 ДПИ |
| Програмабилна дугмад | 6 |
| Технологија повезивања | УСБ |
| Посебна карактеристика | RGB LED Lights, Modular Design |
| Произвођач | Схаркоон Тецхнологиес |
8. Гаранција и подршка
8.1 Информације о гаранцији
Sharkoon products are covered by a manufacturer's warranty against defects in materials and workmanship. The specific warranty period and terms may vary by region. Please retain your proof of purchase for warranty claims.
8.2 Техничка подршка
For technical assistance, driver downloads, or further information, please visit the official Sharkoon webсајт:
- Webсајт: ввв.схаркоон.цом
You may also find FAQs and troubleshooting guides on their support pages.