Увод
This manual provides detailed instructions for the setup, operation, and maintenance of your Gioteck SC3 Wireless Pro Controller. Designed for use with Nintendo Switch, PC, and mobile devices, this controller features programmable back buttons, customizable RGB lighting, and changeable magnetic thumb sticks for an enhanced gaming experience.
1. Подешавање
1.1 Садржај пакета
- Gioteck SC3 Wireless Pro Controller
- УСБ кабл за пуњење
- Additional Magnetic Thumb Sticks (if included)
- Кориснички приручник (овај документ)
1.2 Пуњење контролера
Before initial use, fully charge the controller. Connect the supplied USB charging cable to the controller's charging port and the other end to a USB power source (e.g., Nintendo Switch dock, PC USB port, or USB wall adapter).
- ЛЕД индикатор ће показати статус пуњења.
- Потпуно пуњење обично траје отприлике 2-3 сата.
Слика: Доња страна view of the Gioteck SC3 controller, highlighting the USB-C charging port located between the two textured grips.
1.3 Упаривање са Nintendo Switch-ом
- From the Nintendo Switch HOME Menu, select Контролори, онда Промените Грип/Ред.
- On the SC3 controller, press and hold the Дугме за упаривање (usually a small button on the top or back) for a few seconds until the LED indicators begin to flash rapidly.
- Once the controller is recognized by the Switch, the player LED(s) on the controller will illuminate solid, indicating successful pairing.
- Притисните тастер Дугме потврдити.
Note: For subsequent uses, the controller should automatically reconnect to the last paired Switch console when powered on.
1.4 Connecting to PC/Mobile (Bluetooth)
- Ensure Bluetooth is enabled on your PC or mobile device.
- On the SC3 controller, press and hold the Дугме за упаривање for a few seconds until the LED indicators flash rapidly.
- On your PC/mobile device, navigate to Bluetooth settings and search for new devices.
- Select "Gioteck SC3" or similar from the list of available devices to pair.
- The controller's LED will become solid upon successful connection.
1.5 Installing Magnetic Thumb Sticks
The SC3 controller features changeable magnetic thumb sticks. To replace them:
- Gently pull the existing thumb stick straight up to remove it.
- Align the desired magnetic thumb stick with the base and gently push it down until it snaps into place.

Слика: Фронт view of the Gioteck SC3 controller, showcasing the magnetic thumb sticks and button layout.
2. Упутство за употребу
2.1 Изглед дугмета
The SC3 controller features a traditional button layout. Refer to the image below for button identification.

Слика: Угаони предњи део view of the Gioteck SC3 controller, displaying the full button layout including face buttons, D-pad, analog sticks, and shoulder buttons.
- Леви/десни аналогни штапићи: За кретање и контролу камере.
- Д-Пад: Усмерени унос.
- Дугмад A/B/X/Y: Дугмад за акције.
- Дугмад Л/Д/ЗЛ/ЗР: Дугмад за раме и окидач.
- +/- Дугмад: Start/Select equivalents.
- Хоме дугме: Returns to the console's home menu.
- Дугме за снимање: Прави снимке екрана.
2.2 Програмабилни тастери за назад
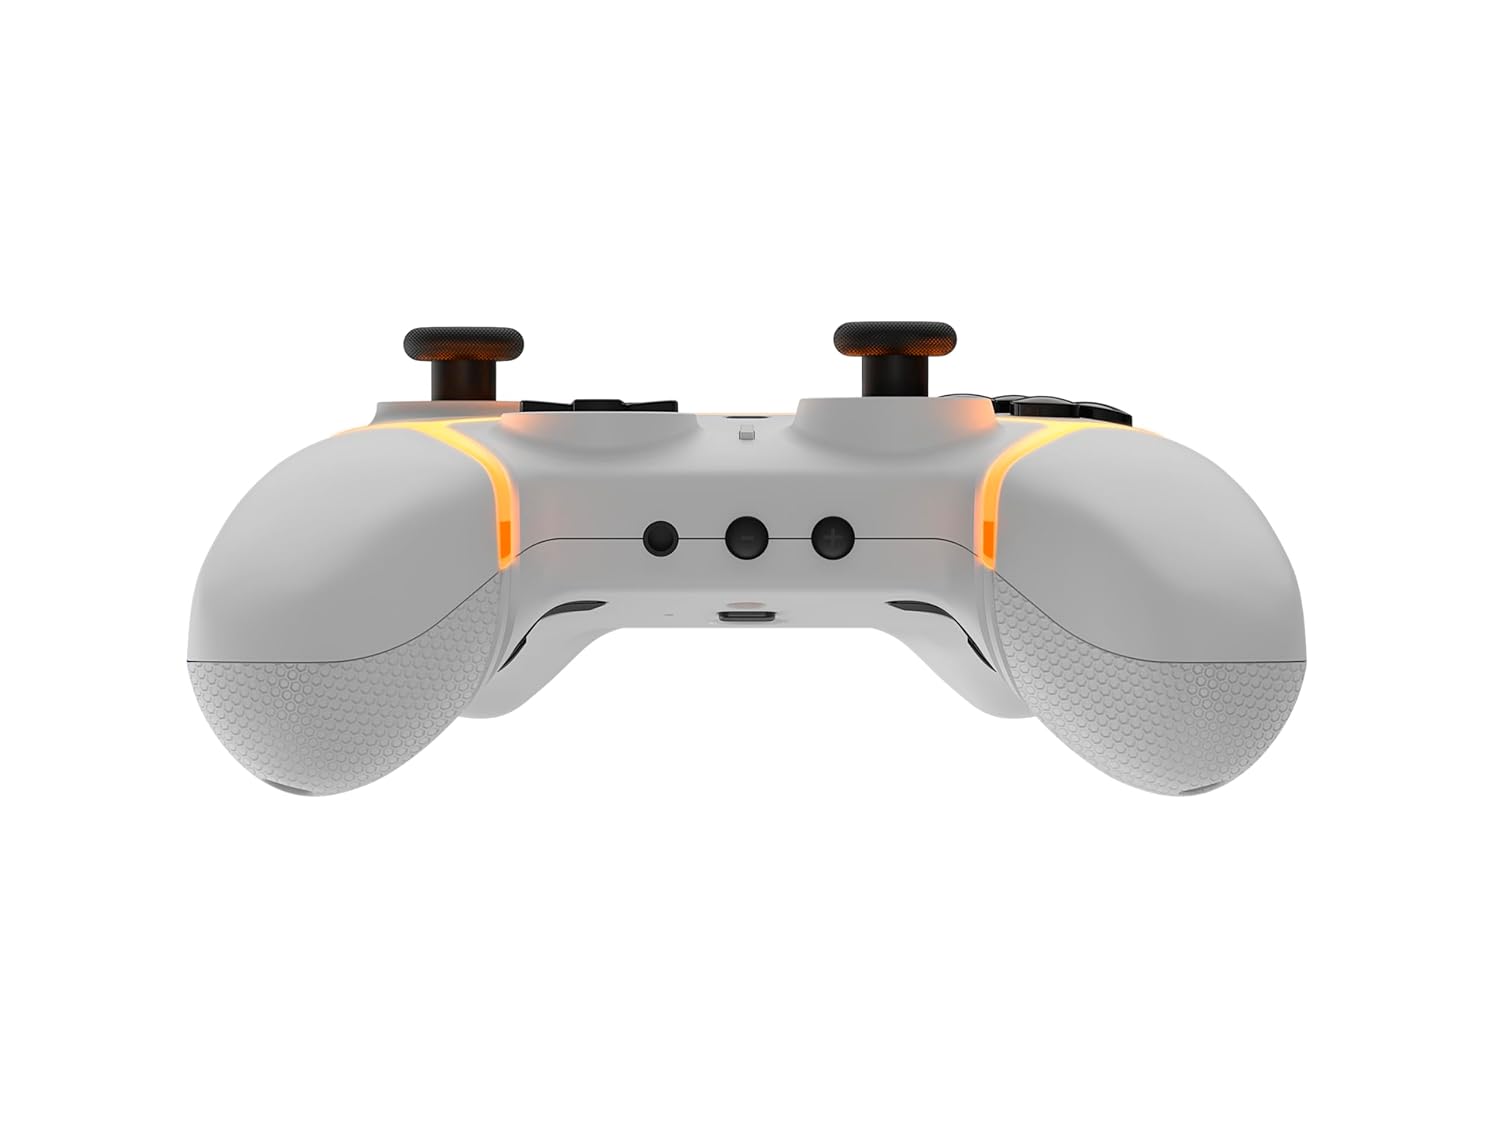
The SC3 controller includes programmable back buttons (M1, M2, M3, M4) for custom assignments.

Слика: Позади view of the Gioteck SC3 controller, clearly showing the four programmable back buttons (M1, M2, M3, M4) and textured grips.
Кораци програмирања:
- Притисните и држите Програм дугме (refer to diagram if available, usually a small button on the back) until the LED indicator flashes.
- Притисните тастер Дугме за повратак (M1, M2, M3, or M4) you wish to program. The LED will flash slowly.
- Притисните тастер Дугме за унос (e.g., A, B, X, Y, L, R, ZL, ZR, D-pad direction) you want to assign to the back button.
- Притисните тастер Програм дугме again to save the assignment. The LED will stop flashing.
- Repeat for other back buttons as desired.
To clear a programmed button, follow steps 1-2, then press the Program Button again without pressing an input button.
2.3 Прилагођавање RGB осветљења
The controller features customizable RGB lighting. Specific instructions for changing colors or effects are typically found in the product's quick start guide or by pressing a dedicated button combination (e.g., Function + R3).
Consult the quick start guide included with your controller for precise button combinations to adjust RGB lighting.
2.4 Контроле покрета
The SC3 controller supports motion controls, allowing for immersive gameplay in compatible Nintendo Switch titles. No special setup is usually required; motion controls activate automatically when supported by the game.
2.5 Audio Headset Jack
A 3.5mm audio headset jack is located on the controller for connecting compatible headsets. It includes dedicated mute and volume control buttons.
- Појачавање/утишавање: Подесите аудио излаз.
- Дугме за утишавање: Mute/unmute microphone input.

Слика: Врх view of the Gioteck SC3 controller, highlighting the 3.5mm audio jack, volume controls, and mute button.
3. Одржавање
3.1 Чишћење
Да бисте очистили контролер, користите меку, суву крпу. За тврдокорну прљавштину, благо обришитеampобришите крпу водом. Избегавајте употребу јаких хемикалија, абразивних средстава за чишћење или растварача, јер они могу оштетити завршну обраду контролера и унутрашње компоненте.
- Do not immerse the controller in water or any other liquid.
- Ensure all ports are dry before charging or connecting devices.
3.2 Складиштење
Чувајте контролер на хладном и сувом месту, даље од директне сунчеве светлости и екстремних температура. Избегавајте стављање тешких предмета на контролер како бисте спречили оштећења.
3.3 Одржавање батерије
The controller contains a rechargeable battery. To prolong battery life:
- Избегавајте често потпуно пражњење батерије.
- Charge the controller regularly, even if not in use for extended periods (e.g., once every 3-6 months).
- Do not expose the controller to temperatures above 60°C (140°F).
КСНУМКС. Решавање проблема
4.1 Контролер се не повезује/не упарује
- Проверите батерију: Уверите се да је контролер довољно напуњен.
- Поново упарите: Follow the pairing instructions in Section 1.3 or 1.4.
- сметње: Move closer to the console/device and away from potential sources of wireless interference (e.g., Wi-Fi routers, other Bluetooth devices).
- Ресетуј контролер: Locate a small reset button (often a pinhole) on the back of the controller. Use a paperclip to press and hold it for a few seconds. Then attempt to re-pair.
- Update Console/Device Software: Ensure your Nintendo Switch, PC, or mobile device's operating system is up to date.
4.2 Buttons/Sticks Not Responding
- Поново синхронизуј: Искључите и поново повежите контролер.
- чисто: Уверите се да нема остатака око дугмади или штапића.
- Test in another game/menu: Determine if the issue is specific to a game or system-wide.
- Ресетуј контролер: Perform a hard reset as described above.
4.3 Motion Controls Not Working
- Компатибилност игара: Verify that the game you are playing supports motion controls.
- Поново калибрирај: On Nintendo Switch, you can recalibrate motion controls in the system settings.
- Ресетуј контролер: Извршите хард ресет.
5. Спецификације
| Модел: | Gioteck SC3 Wireless Pro Controller |
| Компатибилност: | Nintendo Switch (Original, Lite, OLED), PC, Mobile Devices |
| Повезивање: | Блуетоотх бежични |
| Димензије (приближно): | 2.87 к 5.35 к 6.34 инча (7.29 к 13.59 к 16.1 цм) |
| Тежина (приближно): | 10.6 унце (300 грама) |
| Аудио прикључак: | 3.5mm with mute and volume controls |
| Посебне карактеристике: | Programmable back buttons, Magnetic thumb sticks, RGB lighting, Motion controls |
6. Информације о гаранцији
The Gioteck SC3 Wireless Pro Controller comes with a manufacturer's warranty. For specific details regarding warranty coverage, duration, and claims process, please refer to the warranty card included with your product or visit the official Gioteck webсајту.
Молимо вас да сачувате доказ о куповини ради гаранције.
7. Корисничка подршка
If you encounter any issues or have questions not covered in this manual, please contact Gioteck customer support. Contact information can typically be found on the product packaging or the official Gioteck webсајту.
Gioteck Official Webсајт: ввв.гиотецк.цом


