1. Увод
This manual provides essential information for the setup, operation, maintenance, and troubleshooting of your JVC IPS Display Ultra Thin Monitor, Model B0CM6W2CHB. Please read this manual thoroughly before using the product to ensure proper and safe operation.
The JVC IPS Display Ultra Thin Monitor features a 23.8-inch IPS panel with a 1920 x 1080 resolution, offering clear and vibrant images. Its ultra-thin design and wide 178-degree viewing angle enhance the visual experience. Key features include an energy-efficient LED backlight, blue light filter, and flicker-free technology designed to reduce eye strain.
2. Садржај пакета
Проверите да ли су све ставке присутне у пакету:
- JVC IPS Display Ultra Thin Monitor (23.8-Inch)
- Постоље за монитор (база и врат)
- Повер Адаптер
- ХДМИ кабл
- Кориснички приручник (овај документ)
3. Упутства за подешавање
3.1 Састављање постоља за монитор
- Пажљиво извадите компоненте монитора и постоља из паковања.
- Причврстите врат постоља на панел монитора. Уверите се да је безбедно закачено на своје место или да је причвршћено завртњима ако су приложени.
- Спојите основу постоља са вратом постоља. Затегните све завртње да бисте причврстили склоп.
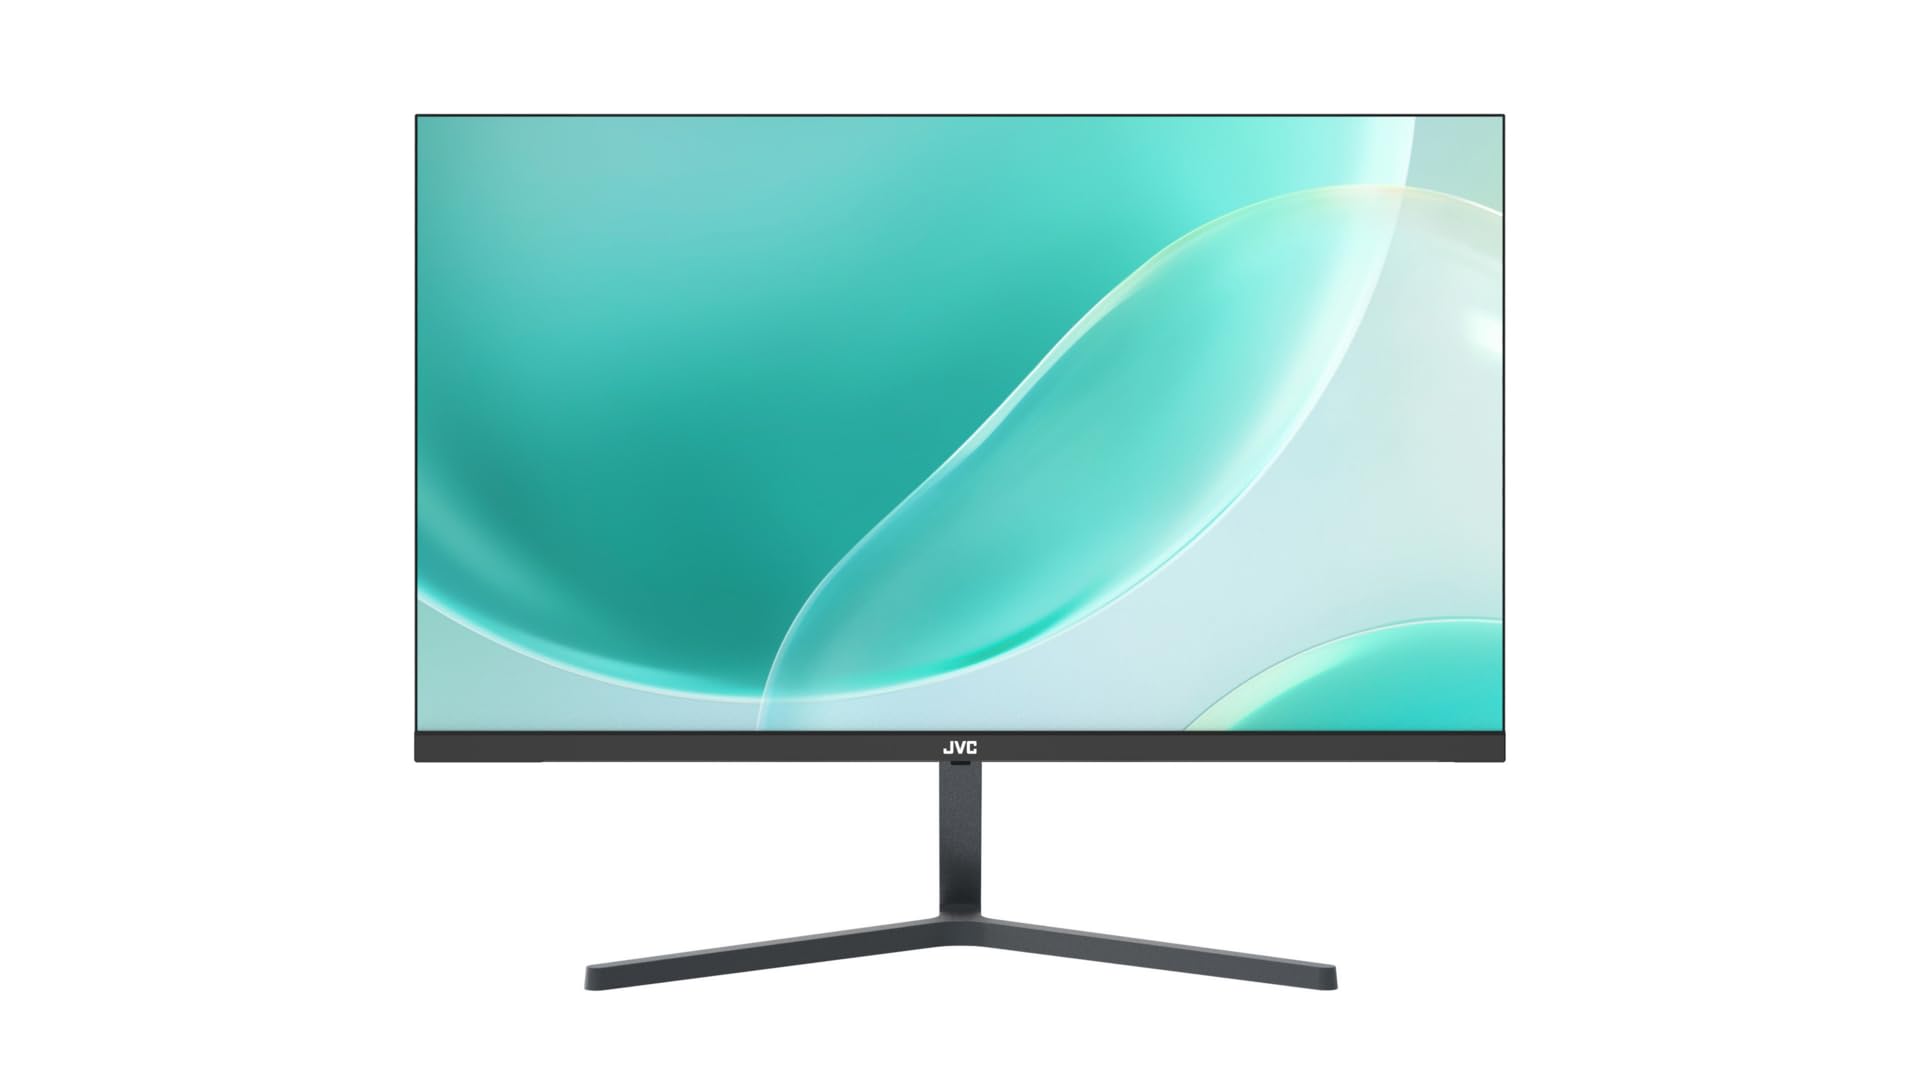
Слика 3.1: Предња страна view of the JVC monitor with its stand assembled, showcasinг његов ултратанки професионалацfile.
3.2 Каблови за повезивање
Locate the input ports on the rear of the monitor.
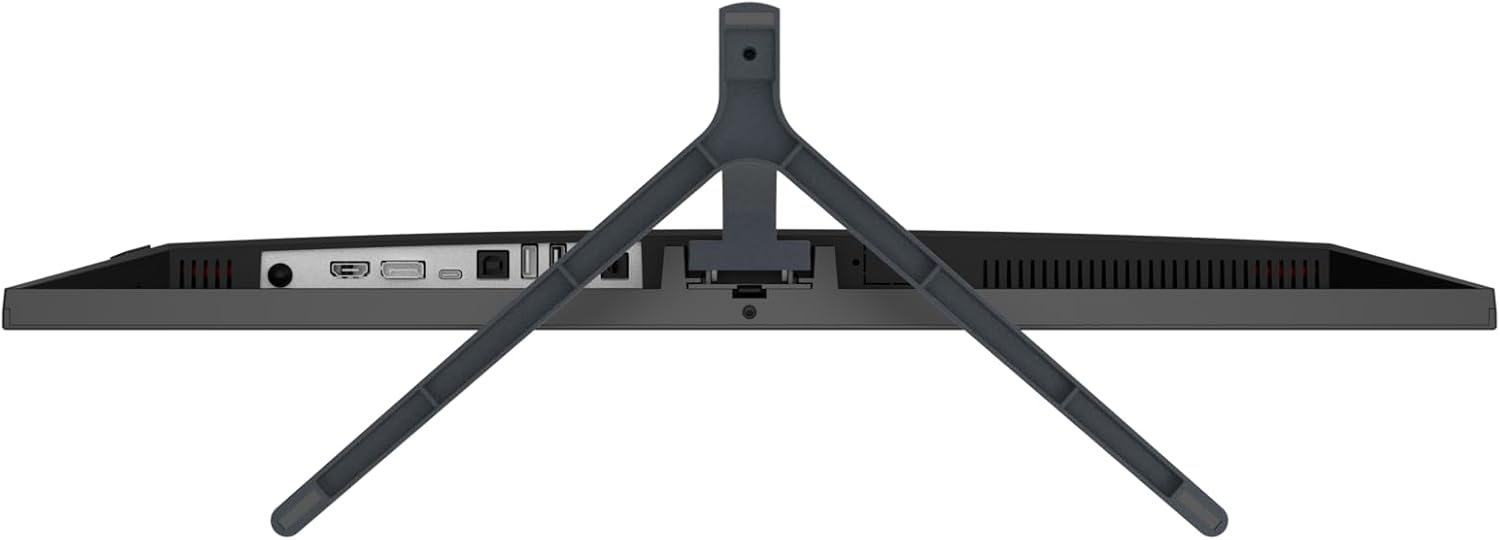
Слика 3.2: Задња страна view of the JVC monitor, highlighting the HDMI, DisplayPort, and power input ports.
- Прикључак за напајање: Прикључите адаптер за напајање на улазни порт за напајање монитора, а затим укључите адаптер у утичницу.
- Видео веза: Connect one end of the HDMI cable to the HDMI port on your computer or video source, and the other end to the HDMI port on the monitor. The monitor also supports DisplayPort connectivity.
3.3 Почетно укључивање
Press the power button, typically located on the rear or bottom edge of the monitor, to turn it on. The monitor will automatically detect the active input source.
4. Руковање монитором
4.1 Укључивање/искључивање
Press the power button to turn the monitor on or off. A power indicator light will typically illuminate when the monitor is active.
4.2 Приказ на екрану (ОСД) мени
The OSD menu allows you to adjust various monitor settings. Access the OSD menu by pressing the designated OSD button (refer to the physical buttons on your monitor). Navigate through the menu using the directional buttons and confirm selections with the enter button.
4.3 Подешавање подешавања
Уобичајена подесива подешавања укључују:
- Осветљеност/контраст: Подесите укупни ниво осветљености и контраста.
- Подешавања боја: Промените температуру боје, нијансу и засићеност.
- Извор уноса: Manually select between HDMI or DisplayPort inputs if auto-detection fails.
- Филтер плавог светла: Activate this feature to reduce blue light emissions, which can help minimize eye strain during prolonged use.
- Технологија без треперења: This monitor is designed with flicker-free technology to provide a more comfortable viewing experience by eliminating screen flickering.
- Размера: Adjust the display aspect ratio (e.g., 16:9).

Слика 4.1: Бочни професионалацfile of the JVC monitor, demonstrating its ultra-thin design.
5. Одржавање
5.1 Чишћење монитора
- Увек искључите монитор и извуците кабл за напајање пре чишћења.
- Лагано користите меку крпу која не оставља длачице дampводом или специјализованим средством за чишћење екрана.
- Не прскајте средство за чишћење директно на екран.
- Избегавајте употребу абразивних средстава за чишћење, воскова или растварача.
5.2 Општа нега
- Избегавајте постављање монитора на директну сунчеву светлост или близу извора топлоте.
- Обезбедите одговарајућу вентилацију око монитора.
- Не блокирајте отворе за вентилацију.
КСНУМКС. Решавање проблема
Ако наиђете на проблеме са монитором, погледајте следеће уобичајене кораке за решавање проблема:
- Нема напајања: Уверите се да је кабл за напајање безбедно повезан и са монитором и са утичницом. Проверите да ли је утичница функционална.
- Нема сигнала: Check that the video cable (HDMI or DisplayPort) is firmly connected to both the monitor and your computer. Ensure the correct input source is selected in the OSD menu. Try restarting your computer.
- Треперећи екран: Verify that the video cable is properly connected. Adjust the refresh rate in your computer's display settings. The monitor features flicker-free technology, so persistent flickering may indicate an external issue.
- Изобличење слике/лош квалитет: Ensure the monitor's resolution is set to its native 1920 x 1080. Adjust brightness, contrast, and color settings via the OSD menu.
- Дугмад не реагују: Unplug the monitor's power cable, wait 30 seconds, then plug it back in and try again.
7. Спецификације
| Феатуре | Спецификација |
|---|---|
| Бранд | ЈВЦ |
| Број модела | B0CM6W2CHB |
| Величина екрана | 23.8 инча |
| Дисплаи Типе | ИПС |
| Резолуција | FHD 1080p (1920 x 1080) |
| Аспецт Ратио | 16:9 |
| Рефресх Рате | 60 Хз |
| Однос контраста слике | 1000:1 |
| Viewинг Англе | 178 степени |
| Опис површине екрана | Глосси |
| Технологија повезивања | ХДМИ, ДисплаиПорт |
| Посебне карактеристике | Blue light filter, Flicker-free, Wide viewугао уласка |
| Произвођач | ЈВЦ |
| Земља порекла | Кина |
8. Гаранција и подршка
8.1 Информације о гаранцији
This JVC monitor comes with a 1 година гаранције from the date of purchase. This warranty covers manufacturing defects and workmanship under normal use. It does not cover damage caused by misuse, accidents, unauthorized modifications, or external factors.
8.2 Корисничка подршка
For technical assistance, warranty claims, or further inquiries, please contact JVC customer support through their official website or the contact information provided with your purchase documentation. Please have your model number (B0CM6W2CHB) and proof of purchase ready when contacting support.


