1. Производ је готовview
The Brother DCP-L2680DW is a versatile multi-function mono laser printer designed for efficient printing, scanning, and copying. This device offers high-speed monochrome printing, automatic duplex printing, and various connectivity options including Ethernet, USB, and Wi-Fi.
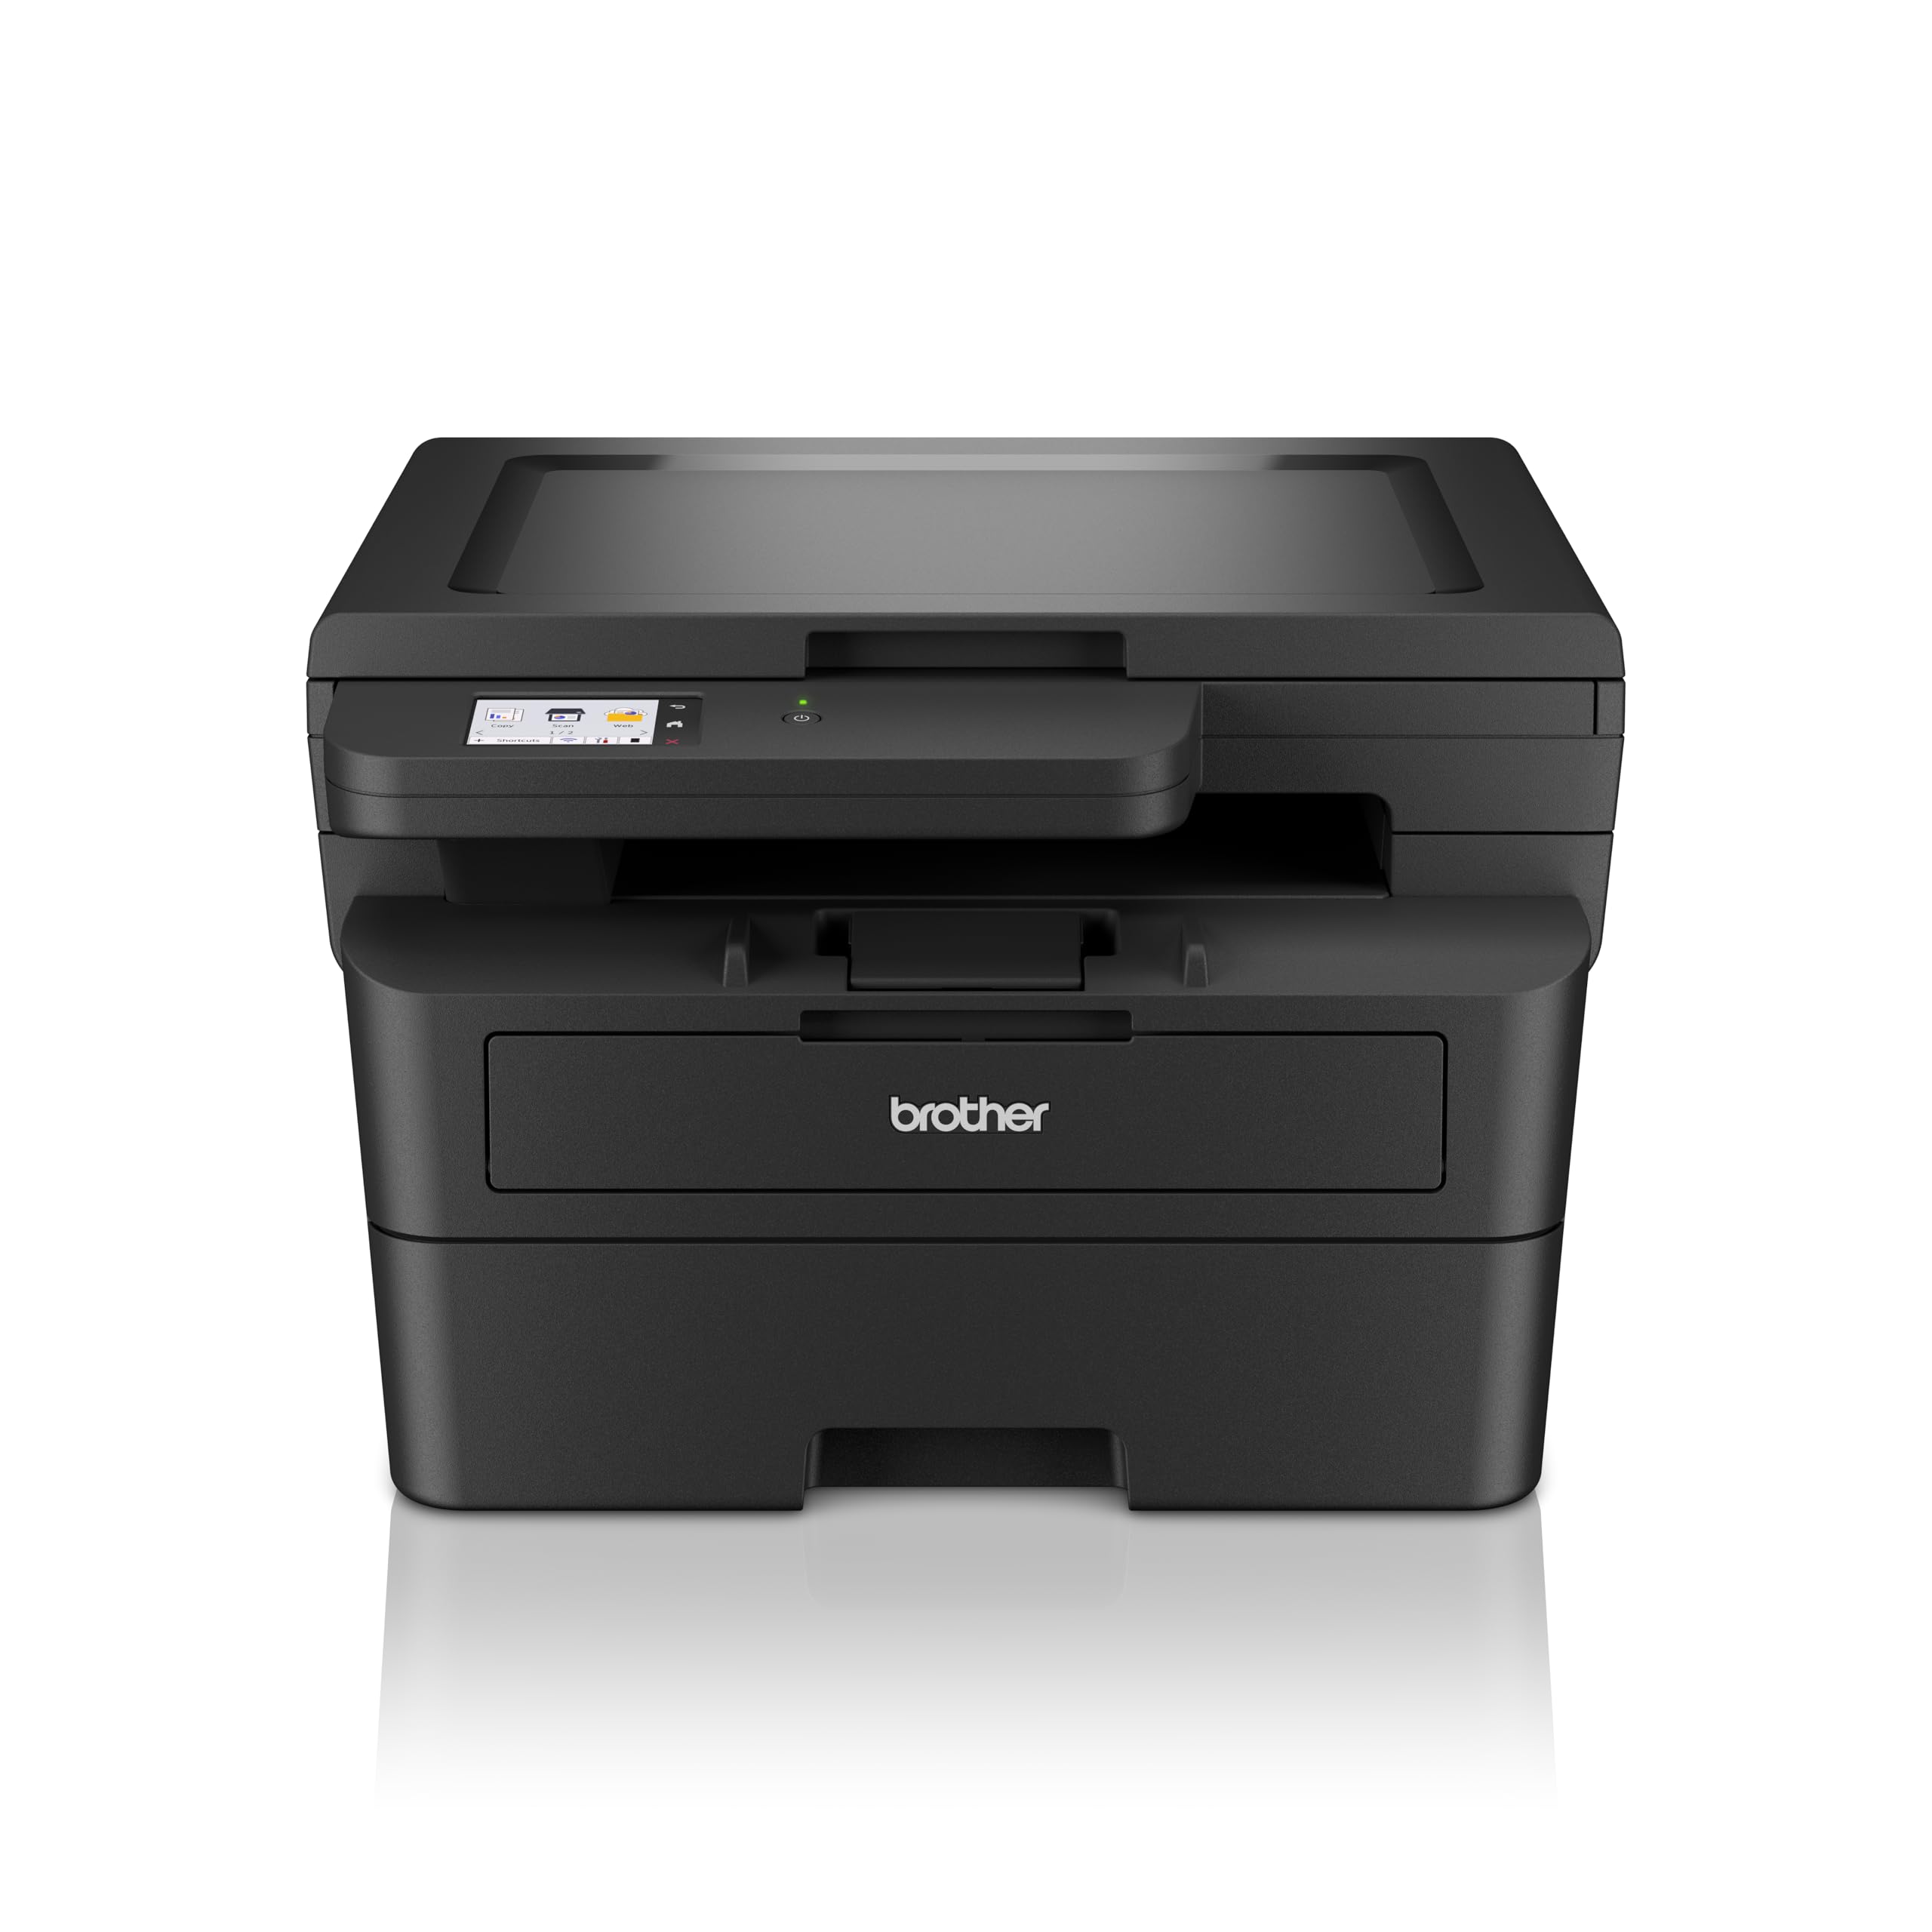
Слика 1.1: Предња страна view of the Brother DCP-L2680DW printer.
Кључне карактеристике:
- Print, Scan, Copy: Integrated functionality for diverse office tasks.
- Up to 36 ppm: Fast monochrome printing speed.
- Automatic 2-sided (Duplex) Print: Штеди папир и време.
- Мобилно штампање: Print directly from compatible mobile devices.
- Повезивање: Supports Ethernet, USB, and Wi-Fi connections.
- 2.7" Touchscreen Colour LCD Display: Intuitive control panel for easy navigation.
2. Почетно подешавање
Follow these steps to set up your Brother DCP-L2680DW printer for the first time.
2.1 Распакивање штампача
- Пажљиво извадите штампач из амбалаже.
- Уклоните све заштитне траке и материјал за паковање са спољашњости и унутрашњости штампача.
- Поставите штампач на стабилну, равну површину са одговарајућом вентилацијом.
2.2 Инсталирање кертриџа са тонером и јединице бубња
- Отворите предњи поклопац штампача.
- Remove the drum unit and toner cartridge assembly from its protective bag.
- Insert the toner cartridge firmly into the drum unit until it locks into place.
- Slide the drum unit and toner cartridge assembly back into the printer until it clicks.
- Затворите предњи поклопац.
2.3 Убацивање папира
- Потпуно извуците лежиште за папир.
- Подесите вођице за папир тако да одговарају величини папира који убацујете.
- Load paper into the tray, ensuring it is flat and below the maximum paper mark.
- Пажљиво вратите лежиште за папир у штампач.
2.4 Connecting Power and Initial Power On
- Прикључите кабл за напајање на штампач, а затим на уземљену електричну утичницу.
- Притисните дугме за напајање да бисте укључили штампач.
- Follow the on-screen instructions on the LCD display to select your language and region.
2.5 Connecting to a Computer/Network
The DCP-L2680DW supports USB, Ethernet, and Wi-Fi connectivity.
- УСБ веза: Повежите USB кабл са штампача на рачунар.
- Етхернет веза: Повежите Етернет кабл са штампача на мрежни рутер или прекидач.
- Ви-Фи веза: On the printer's control panel, navigate to Network settings, then WLAN, and follow the instructions to connect to your wireless network.
After connecting, install the printer drivers from the official Brother support webсајт (ввв.бротхер.цом) or the included installation CD (if applicable).
3. Упутство за употребу
This section covers basic operations of your multi-function printer.
3.1 Штампање докумената
- Уверите се да је штампач укључен и повезан са вашим уређајем.
- Отворите документ који желите да одштампате на рачунару или мобилном уређају.
- Изаберите опцију штампања из ваше апликације.
- Choose the Brother DCP-L2680DW from the list of available printers.
- Adjust print settings (e.g., number of copies, paper size, duplex printing) as needed.
- Кликните на „Штампај“.
3.2 Скенирање докумената
- Ставите документ лицем надоле на стакло скенера.
- На контролној табли штампача изаберите „Скенирање“.
- Choose your desired scan destination (e.g., PC, Email, USB).
- Подесите подешавања скенирања као што су резолуција, режим боје и file формату.
- Притисните „Старт“ да бисте започели скенирање.
3.3 Копирање докумената
- Ставите документ лицем надоле на стакло скенера.
- На контролној табли штампача изаберите „Копирај“.
- Enter the number of copies required using the numeric keypad or arrow buttons.
- Adjust copy settings (e.g., reduce/enlarge, quality) if necessary.
- Притисните „Старт“ да бисте започели копирање.
4. Одржавање
Редовно одржавање осигурава оптималне перформансе и дуготрајност вашег штампача.
4.1 Замена кертриџа са тонером
When the "Toner Low" or "Replace Toner" message appears on the display:
- Отворите предњи поклопац.
- Remove the drum unit and toner cartridge assembly.
- Press the green lock lever and pull the toner cartridge out of the drum unit.
- Unpack a new toner cartridge and shake it gently side to side several times.
- Insert the new toner cartridge firmly into the drum unit until it locks.
- Slide the drum unit and new toner cartridge assembly back into the printer.
- Затворите предњи поклопац.
4.2 Replacing the Drum Unit
The drum unit is a consumable item that needs replacement after a certain number of pages. The printer will indicate when replacement is due.
- Follow steps 1-3 from "Replacing the Toner Cartridge" to remove the old toner and drum unit.
- Unpack a new drum unit.
- Insert the existing toner cartridge into the new drum unit until it locks.
- Slide the new drum unit and toner cartridge assembly back into the printer.
- Затворите предњи поклопац.
- Reset the drum counter via the printer's menu (refer to the on-screen instructions or full manual for specific steps).
4.3 Чишћење штампача
- Екстеријер: Обришите спољашњост штампача меком крпом која не оставља влакна. Не користите абразивна средства за чишћење или раствараче.
- Стакло скенера: Use a soft, dry cloth or a cloth dampочистите средством за чишћење стакла (без амонијака).
КСНУМКС. Решавање проблема
Овај одељак се бави уобичајеним проблемима на које можете наићи са штампачем.
5.1 Заглављивање папира
Ако дође до заглављивања папира, екран штампача ће приказати поруку о грешци и назначено место заглављивања.
- Искључите штампач и извуците кабл за напајање.
- Open the indicated cover or tray.
- Пажљиво извуците заглављени папир у смеру путање папира. Избегавајте цепање папира.
- Уверите се да су сви фрагменти папира уклоњени.
- Close all covers and plug in the power cord, then turn on the printer.
5.2 Проблеми са квалитетом штампе
- Избледели отисци: Проверите ниво тонера у кертриџу. Замените га ако је низак.
- Streaks or Spots: Clean the drum unit. Refer to the full user manual for detailed cleaning instructions for the drum unit's corona wire.
- Uneven Density: Ensure the paper type setting matches the paper loaded in the tray.
5.3 Проблеми са повезивањем
- УСБ: Уверите се да је USB кабл безбедно повезан и са штампачем и са рачунаром. Покушајте са другим USB портом или каблом.
- Етхернет: Verify the Ethernet cable is properly connected to the printer and the network device. Check network settings on the printer.
- Ви-Фи: Confirm the printer is connected to the correct wireless network. Restart your router and the printer. Ensure the printer is within range of the Wi-Fi signal.
6. Спецификације
Detailed technical specifications for the Brother DCP-L2680DW printer.

Image 6.1: Dimensions of the Brother DCP-L2680DW printer (H: 272mm, W: 410mm, D: 399mm).
| Феатуре | Спецификација |
|---|---|
| Бранд | брате |
| Назив модела | ДЦП-Л2680ДВ |
| Технологија повезивања | Етернет, УСБ, Ви-Фи |
| Технологија штампе | Ласер |
| Излаз штампача | Моноцхроме |
| Max Monochrome Printing Speed | 36 ппм |
| Тежина артикла | 9 килограма |
| Димензије производа (Д x Ш x В) | 41Д к 27.2Ш к 39.9В центиметара |
| Тип скенера | Флатбед |
| Дисплаи Типе | ЛЦД |
| Резолуција | 1200 к 1200 дпи |
| Контролни метод | Додирните |
| Максимални капацитет листова | 250 листова |
| Двострано штампање | Да (аутоматски дуплекс) |
7. Информације о гаранцији
The Brother DCP-L2680DW printer comes with a Једногодишња гаранција на лицу места. Please retain your proof of purchase for warranty claims. For detailed terms and conditions, refer to the warranty documentation included with your product or visit the official Brother webсајту.
8. Корисничка подршка
For further assistance, technical support, or product-related information, please contact Brother customer service.

Image 8.1: Brother customer support contact details.
Контакт информације:
- Бесплатни бројеви:
- 1-800-222-422 (For MTNL and BSNL users)
- 1-800-209-8904 (For Others and all Mobiles)
- Подршка путем е-поште: customercare@brother.in
- ВхатсАпп подршка: 7045 450 450
- Четбот: Доступно на ввв.бротхер.ин
- Webсајт: ввв.бротхер.ин
Support hours are typically Monday to Friday: 8:30 AM - 6:30 PM, and Saturday: 9:00 AM - 6:00 PM (local time).


