Увод
This manual provides instructions for the Disney Spiderman 3D Digital Alarm Clock with Nightlight, Model SPD3621. This device features an LED display for time and date, an alarm function, and a comforting nightlight. Please read these instructions carefully before use to ensure proper operation and to maximize the product's lifespan.
Садржај пакета
- 1 x Spiderman 3D Digital Alarm Clock with Nightlight (Model SPD3621)
- 1 x Упутство за употребу (овај документ)
Напомена: Батерије нису укључене и морају се купити засебно.
Безбедносне информације
- Држите уређај даље од воде и влаге.
- Не излажите екстремним температурама или директној сунчевој светлости.
- Use only the recommended battery type and ensure correct polarity during installation.
- Уклоните батерије ако се уређај неће користити дужи период.
- Немојте мешати старе и нове батерије или различите типове батерија.
- Овај производ није играчка. За малу децу се препоручује надзор одраслих.
Сетуп
- Инсталација батерије: Locate the battery compartment on the underside of the alarm clock. Open the compartment cover. Insert the required batteries (e.g., 3 x AAA, specific type not provided in data) ensuring correct polarity (+/-). Close the battery compartment cover securely.
- Почетно укључивање: Once batteries are installed, the LED display should illuminate, showing a default time.
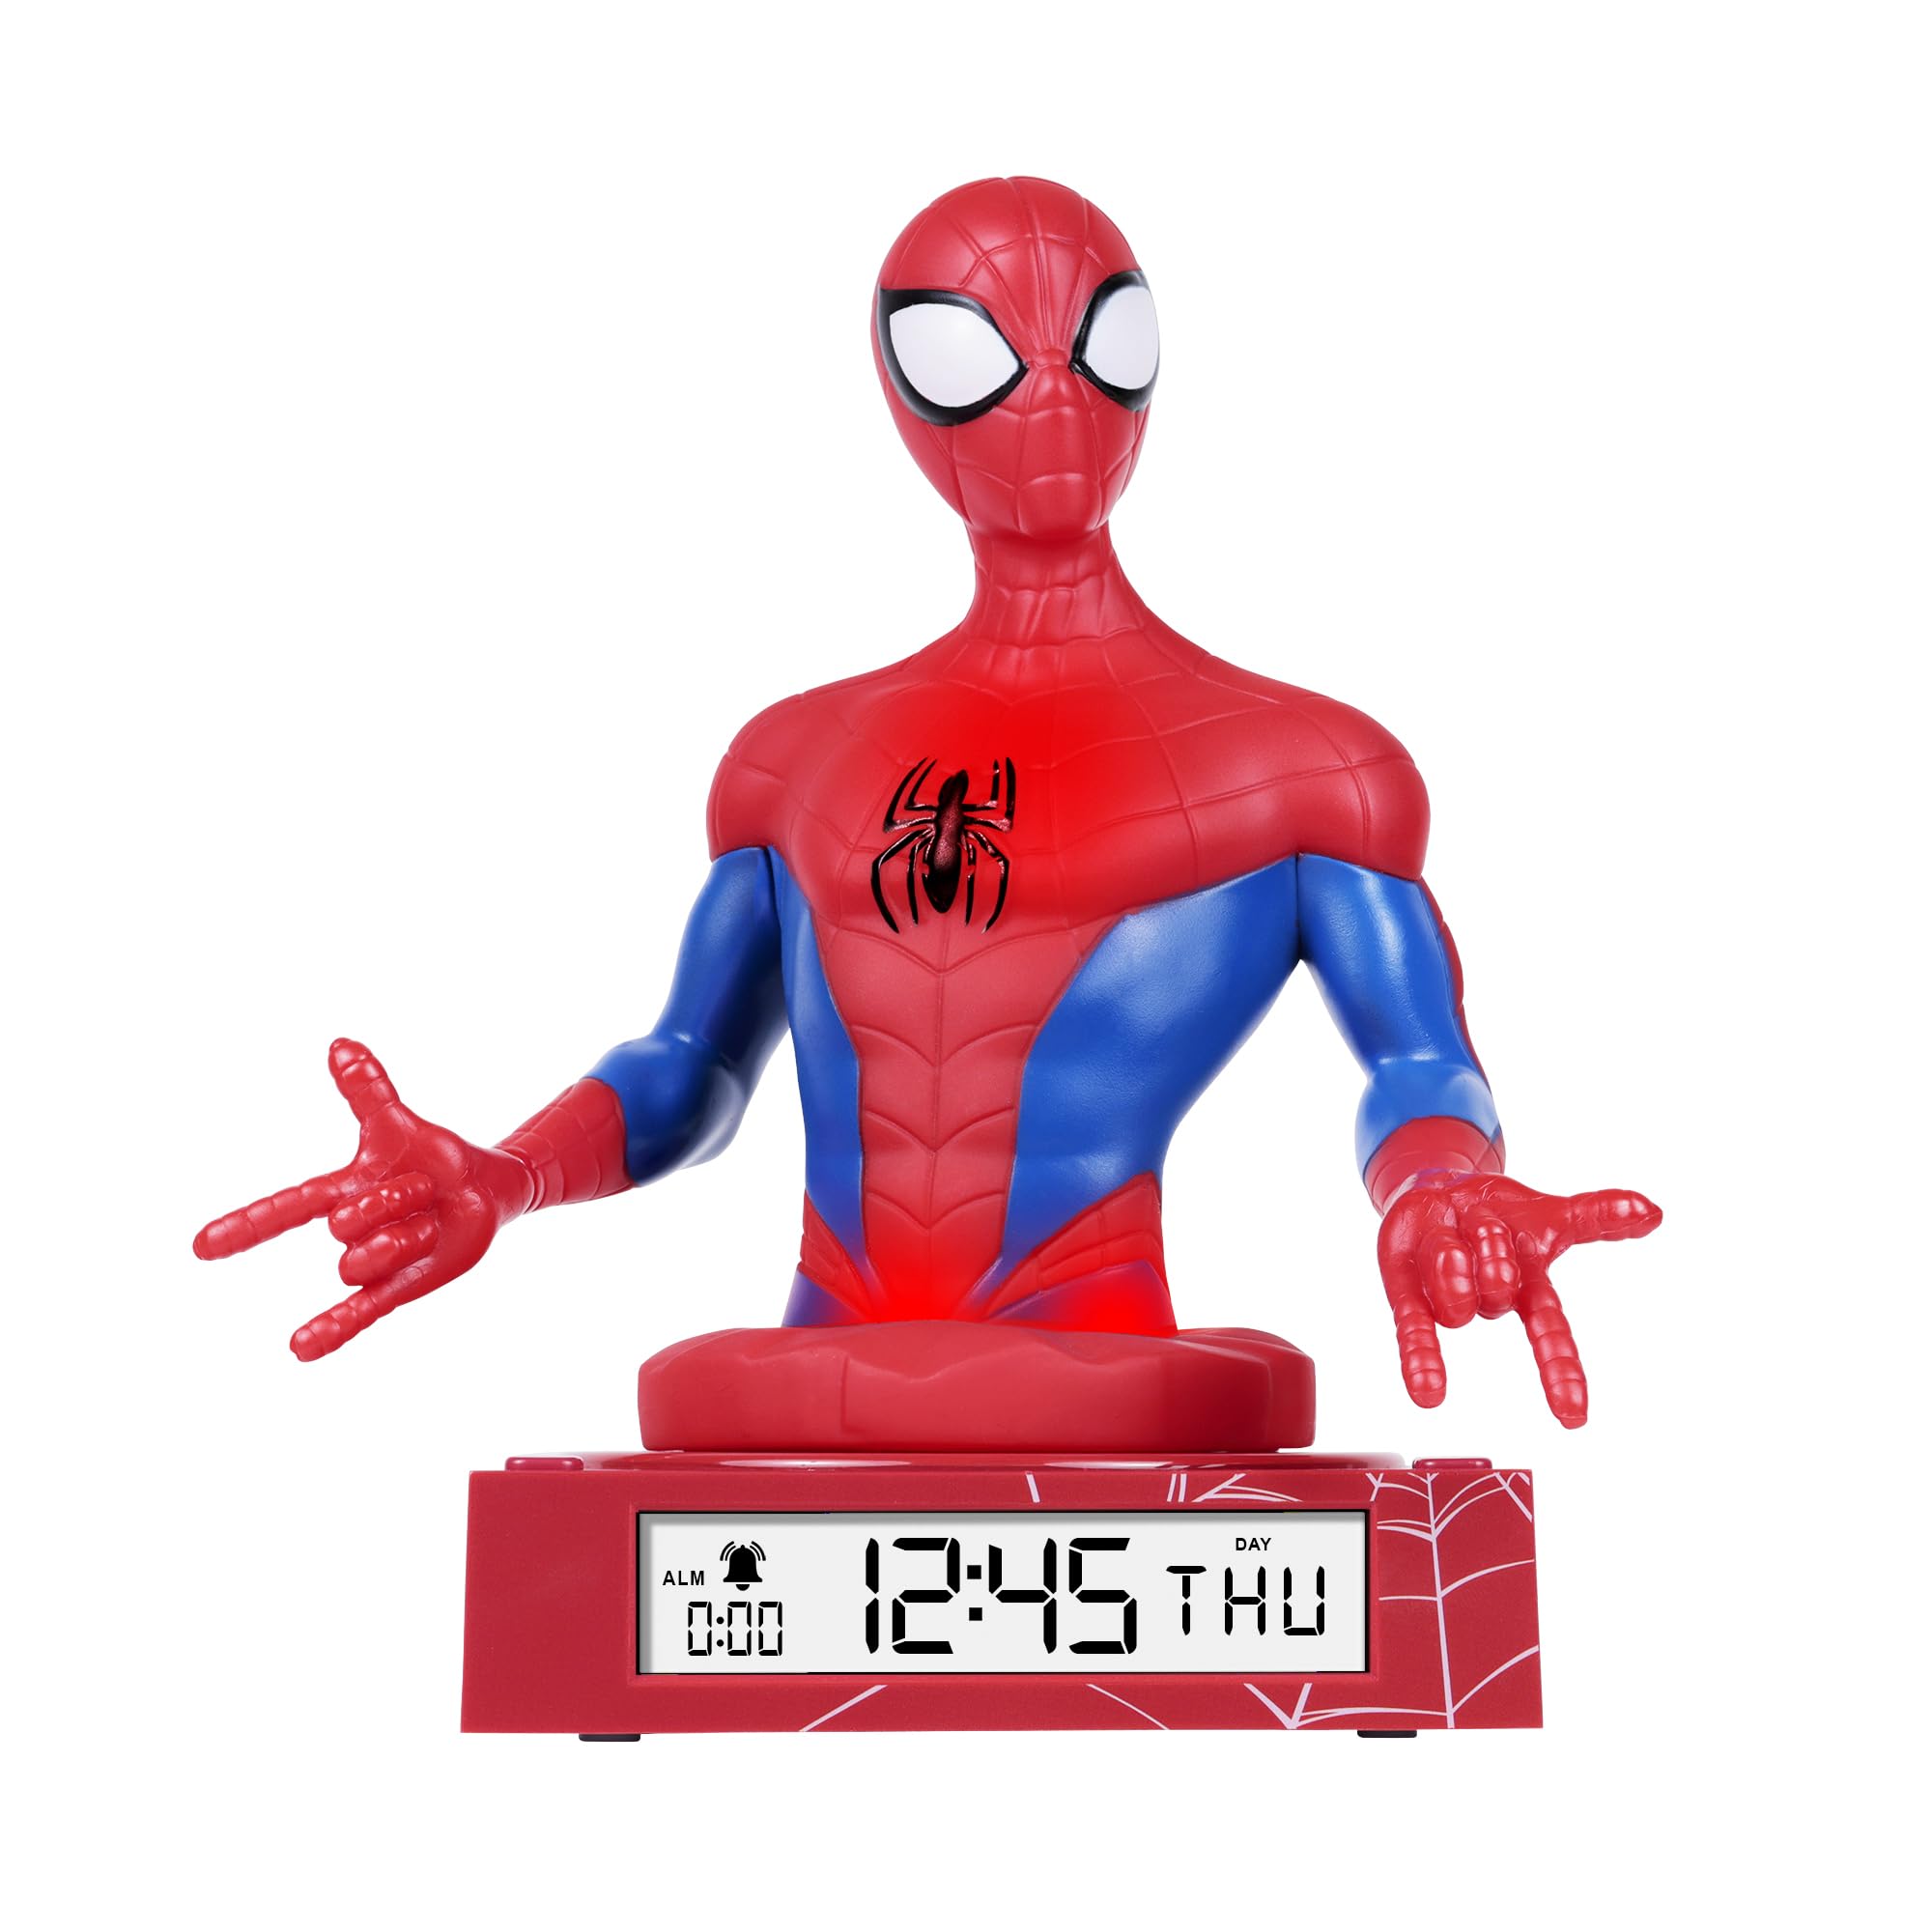
Figure 1: Spiderman 3D Digital Alarm Clock. The image displays the red and blue Spiderman figure on a red base, with the digital time '12:45 THU' visible on the LED display. The base also shows a spiderweb образац.
Упутство за употребу
The alarm clock features several buttons, typically located on the back or bottom of the unit, for setting time, date, and alarm functions. Refer to the labels on your specific unit for exact button identification.
Подешавање времена и датума
- Enter Time/Date Setting Mode: Притисните и држите СЕТ button (or similar, e.g., MODE) for a few seconds until the time display starts flashing.
- Прилагоди сате: Користите UP и ДОВН buttons (or similar, e.g., HOUR/MINUTE) to adjust the hour. Press СЕТ поново да бисте потврдили и прешли на минуте.
- Прилагоди минуте: Користите UP и ДОВН дугмад за подешавање минута. Притисните СЕТ again to confirm and move to date settings (Year, Month, Day).
- Прилагоди датум: Follow the same procedure using UP/ДОВН и СЕТ buttons to set the Year, Month, and Day.
- Изађите из режима подешавања: Након подешавања дана, притисните СЕТ one last time, or wait a few seconds for the display to stop flashing automatically.
Постављање аларма
- Уђите у режим подешавања аларма: Притисните тастер АЛАРМ СЕТ button (or similar, e.g., ALM) once. The alarm time will be displayed, and the hour digits may flash.
- Adjust Alarm Hours: Користите UP и ДОВН дугмад да бисте подесили жељени сат аларма. Притисните АЛАРМ СЕТ да потврдите и пређете на минуте.
- Adjust Alarm Minutes: Користите UP и ДОВН buttons to set the desired alarm minutes. Press АЛАРМ СЕТ потврдити.
- Активирај/деактивирај аларм: After setting the alarm time, there may be a separate switch or button (e.g., ALARM ON/OFF) to enable or disable the alarm. A bell icon on the display usually indicates the alarm is active.
- Одгода функција: Када се огласи аларм, притиском на СНООЗЕ button (if available, often a large button on top) will temporarily silence the alarm for a few minutes.
- Заустави аларм: To stop the alarm completely, press any other button (e.g., АЛАРМ ОФФ or СЕТ). The alarm will reset for the next day.
Коришћење ноћног светла
The Spiderman figure on the alarm clock functions as a nightlight. There is typically a dedicated button or switch to control this feature.
- Turn On/Off Nightlight: Притисните тастер НОЋНО СВЕТЛО button (or similar, e.g., LIGHT) to turn the nightlight on or off.
- The nightlight provides a soft glow, helping children feel secure in the dark.
Одржавање
- Чишћење: Wipe the surface of the alarm clock with a soft, dry cloth. Do not use abrasive cleaners or solvents, as these may damage the finish.
- Замена батерије: When the display dims or the functions become erratic, it is time to replace the batteries. Follow the battery installation steps in the "Setup" section.
Решавање проблема
| Проблем | Могући узрок | Решење |
|---|---|---|
| Екран је празан или замагљен. | Батерије су празне или су неправилно постављене. | Замените батерије новим, водећи рачуна о исправном поларитету. |
| Аларм се не оглашава. | Аларм није активиран или је погрешно подешен. | Ensure the alarm is set and activated (check for bell icon on display). Verify alarm time. |
| Ноћно светло не ради. | Nightlight function is off or batteries are low. | Press the NIGHTLIGHT button to turn it on. Replace batteries if necessary. |
| Време је погрешно. | Time was not set correctly or batteries were removed. | Reset the time and date following the operating instructions. |
Спецификације
- Бренд: Диснеи
- Број модела: СПД3621
- Тип приказа: Дигитал ЛЕД
- Посебне карактеристике: Alarm, 3D Spiderman Design, Nightlight Mode
- Извор напајања: Ради на батерије (батерије нису укључене)
- Димензије: Approximately 20 cm (L) x 17 cm (H)
- Материјал: Пластика
- Боја: Црвени
Гаранција и подршка
This product comes with a one-year warranty from the date of purchase. This warranty covers manufacturing defects under normal use. It does not cover damage caused by misuse, accidents, unauthorized modifications, or normal wear and tear.
For warranty claims or technical support, please contact the retailer where the product was purchased. Please retain your proof of purchase for warranty validation.


